







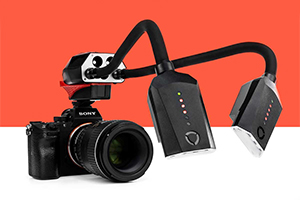
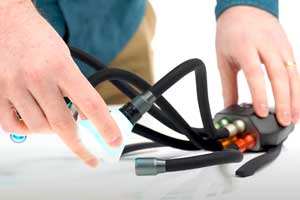

How to Photograph a Bottle of Whiskey with Creative Lighting – Watch on YouTube
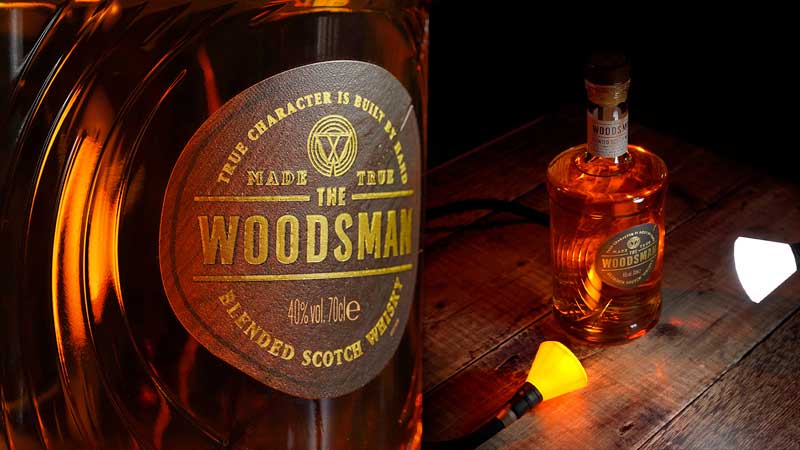
Photographing glass bottles can be surprisingly challenging. Reflections, transparency, labels and embossed details all compete for attention. However, when the lighting is carefully controlled, even a simple bottle can become a striking product photography subject.
In this guide, we’ll explore how to photograph a whiskey bottle using a combination of coloured and diffused lighting. The techniques covered here can also be applied to perfume bottles, spirits, decorative glass products and other reflective subjects.
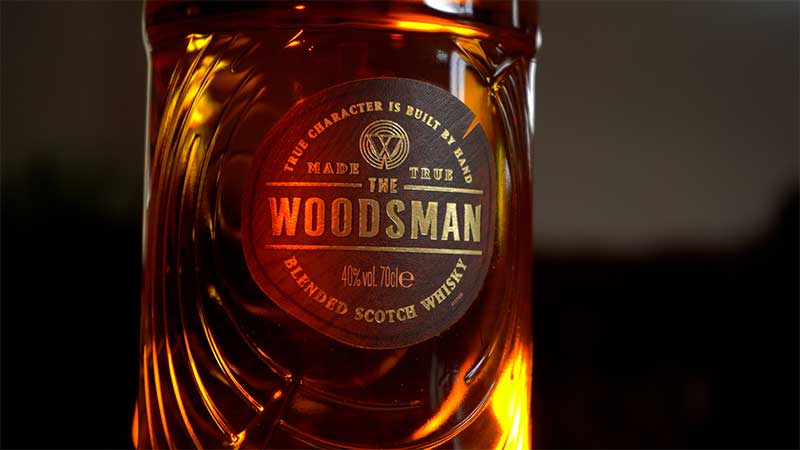
The bottle featured in this shoot is a bottle of The Woodsman blended Scotch whisky. What makes it especially interesting is the combination of amber liquid, embossed glass textures and a label that uses reflective spot UV elements. These features create plenty of opportunities for creative lighting.
In this Article
- Lighting glass bottles for clean, professional results
- Using backlighting to reveal colour and depth
- Controlling reflections in product photography
- Highlighting texture with creative lighting
- Capturing labels and branding with clarity
Equipment Used.
Camera
- Sony A7III
- Sony 100mm f/2.8 Macro
Lighting
Understanding the Subject
Before placing any lights, spend a few moments studying the bottle itself. The Woodsman bottle includes several design elements that influence how it should be photographed:
- A rich amber liquid that glows when backlit
- Embossed wood grain textures moulded into the glass
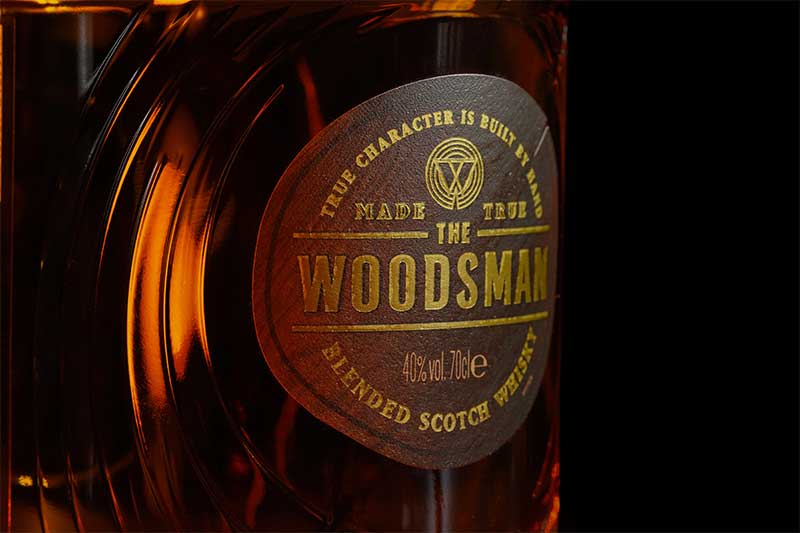
- A dark label with reflective metallic text
- Curved surfaces that catch highlights from different angles
Each of these elements reacts differently to light. The amber whisky benefits from illumination shining through the bottle, while the embossed glass requires light positioned at shallow angles to reveal texture. The metallic lettering needs carefully placed highlights to stand out without overpowering the design.
Rather than treating the bottle as a single object, think of it as a collection of different materials that each need their own lighting solution.
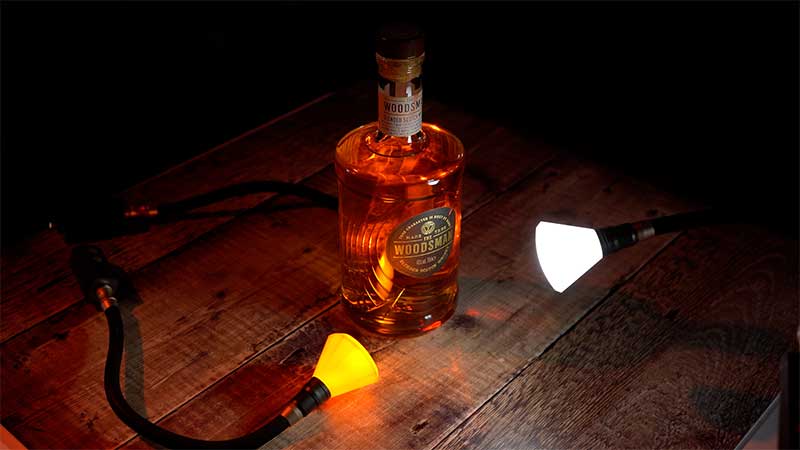
Remove Unwanted Ambient Light
One of the biggest obstacles when photographing reflective products is uncontrolled ambient light. Large room lights and video lights tend to create broad reflections across the surface of glass. These highlights often appear as bright white streaks that obscure details and distract from the product.
Turning off unnecessary light sources gives you complete control over what appears in the final image. By working in a darker environment, every highlight can be introduced deliberately. This is especially important when photographing bottles because their curved surfaces can reflect virtually anything in the room.
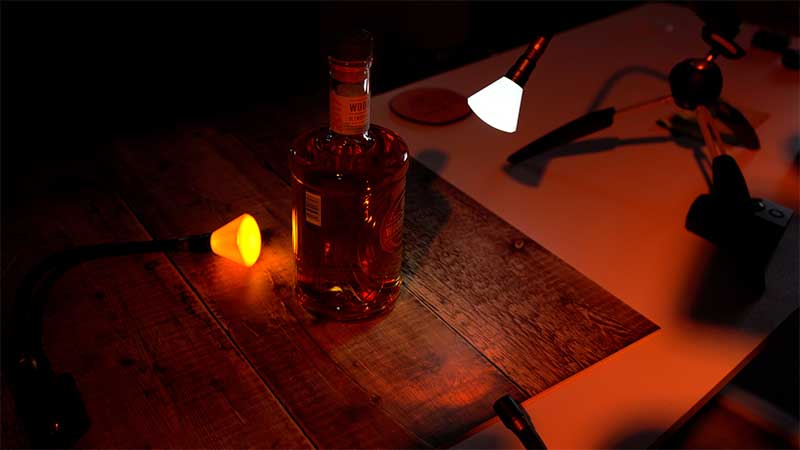
Use Backlighting to Reveal the Whisky
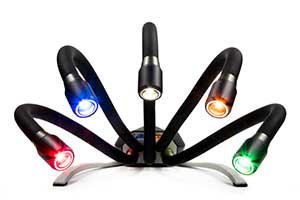
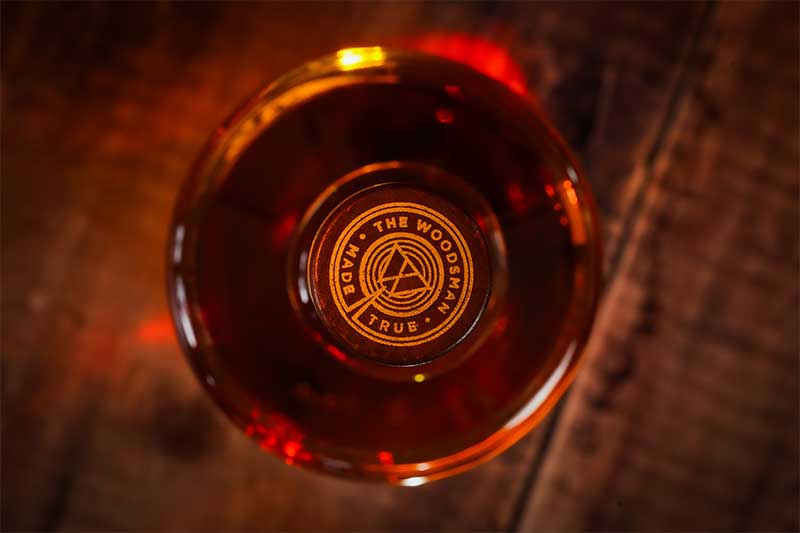
The most eye-catching feature of this bottle is the colour of the liquid itself. Placing an amber or orange filtered light behind the bottle allows the whisky to glow from within. The light travels through the liquid, refracts through the glass and creates warm highlights throughout the bottle.
This effect immediately gives the image more depth and atmosphere. The position of the rear light is critical. Even small adjustments of a few centimetres can dramatically alter the way the light travels through the bottle. Sometimes the amber glow fills the entire frame, while at other angles it may only illuminate specific sections of the glass.
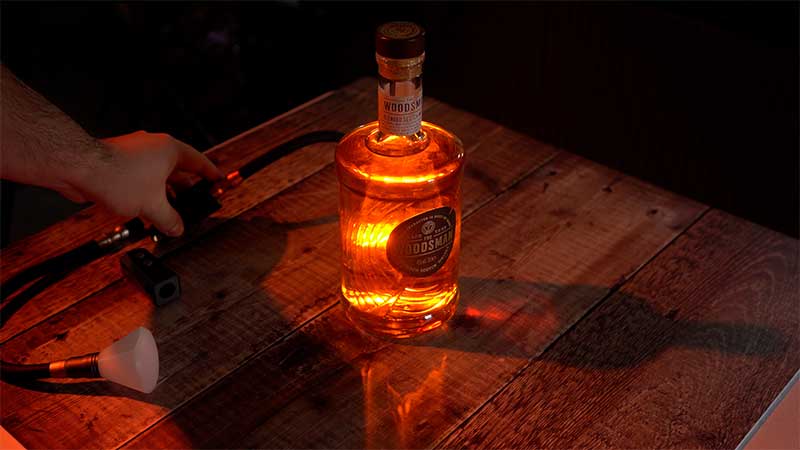
Balance the Scene with Diffused Front Lighting
While backlighting reveals the liquid, it often leaves other areas underexposed. Adding a soft diffused white light from the front helps restore balance and ensures the label remains visible.
The goal is not to flood the bottle with light. Instead, the front illumination should gently lift the shadows while maintaining the dramatic mood created by the amber lighting.
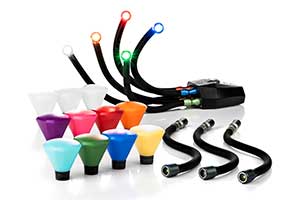
Diffusion is particularly important here. A bare LED can produce harsh reflections on glass surfaces, whereas a diffused light creates smoother, more controlled highlights.
Careful positioning allows the label text to become clear while preserving the rich shadows and contrast around the rest of the bottle.
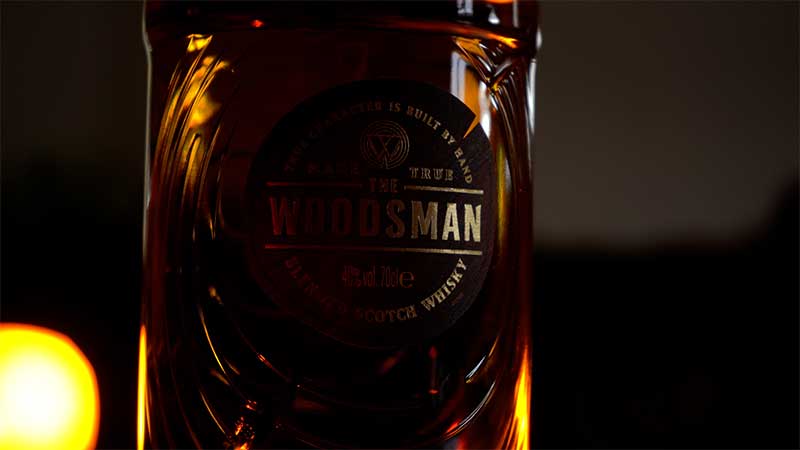
Make Reflective Labels Stand Out
Spot UV and metallic printing add another layer of complexity. These finishes rely on reflections to be visible, meaning the light must strike the surface at just the right angle before bouncing into the camera.
Too much light can create distracting glare. Too little light causes the reflective elements to disappear altogether. The solution is to use controlled highlights that emphasise the metallic lettering while avoiding large blown-out reflections.
On this bottle, the reflective gold details become particularly attractive when illuminated by a combination of warm and neutral light. The contrast between the amber glow and the natural label colour helps the branding stand out without overwhelming the image.
Small Movements Create Big Changes
One of the most important lessons when learning how to photograph a whiskey bottle is understanding how sensitive glass is to lighting adjustments. Unlike many other product photography subjects, every movement affects the appearance of reflections throughout the entire bottle.
Moving a light by just a few millimetres can:
- Reveal embossing
- Remove unwanted glare
- Brighten the whisky
- Improve label visibility
- Create a stronger sense of depth.
Likewise, changing your camera position often has just as much impact as moving the lights. When working with reflective products, always evaluate the scene from the camera’s perspective rather than relying on what you can see with your eyes.
Creating Atmospheric Product Photography
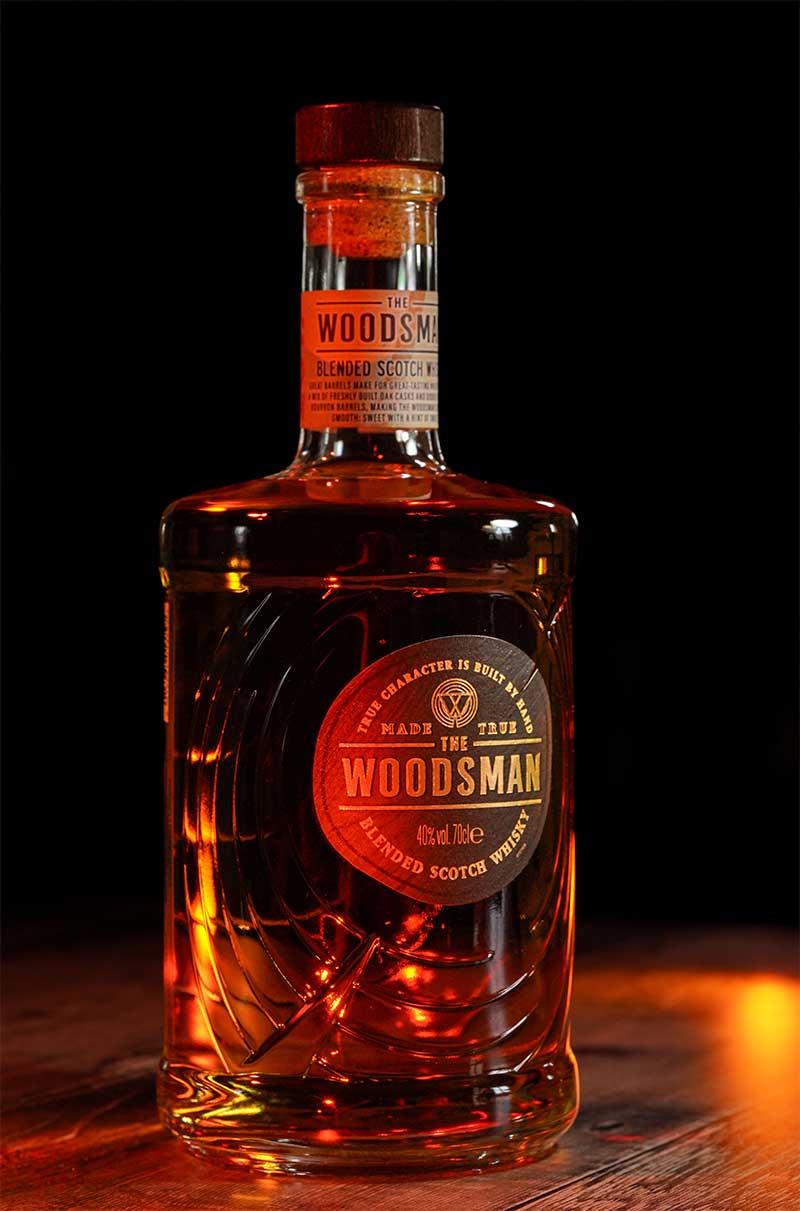
The final images combine several different lighting techniques to create a dramatic and premium look. A warm amber glow reveals the colour of the whisky. Diffused white light adds contrast and clarity. Carefully placed highlights bring attention to the branding, while side lighting reveals the unique wood-inspired textures moulded into the glass.
The result is a set of photographs that feel consistent with the product’s woodland-themed identity. Most importantly, the images demonstrate that successful bottle photography is rarely about following a fixed lighting diagram. Every bottle is different. Different labels, glass shapes and liquid colours all require their own approach.
The most effective workflow is simple. Place your lights. Look through the camera. Adjust the lights. Evaluate the result. Repeat. With a little patience and experimentation, even a challenging glass subject can become an impressive product photography project.
Learning how to photograph a whiskey bottle is an excellent exercise in understanding reflections, transparency and controlled lighting. Bottles combine several photographic challenges into a single subject, making them ideal for developing your lighting skills.
By using a combination of coloured backlighting, diffused front lighting and carefully positioned highlights, you can reveal every aspect of the bottle’s design, from the glowing liquid to the finest embossed details.
Whether you’re photographing whiskey, perfume or any other glass product, the same principles apply. Control the reflections, light each element intentionally and don’t be afraid to experiment until everything comes together.

- Best Flexible LED Lighting for Macro Photography - 1st October 2026
- What’s inside your chocolate bar? – Food Macro with flexible LED Lighting - 27th September 2026
- Adaptalux Macro Lighting System vs Ring Lights for Macro Photography - 18th September 2026


