









How to Photograph a Fairytale Mushroom with LED Lighting – Watch on YouTube
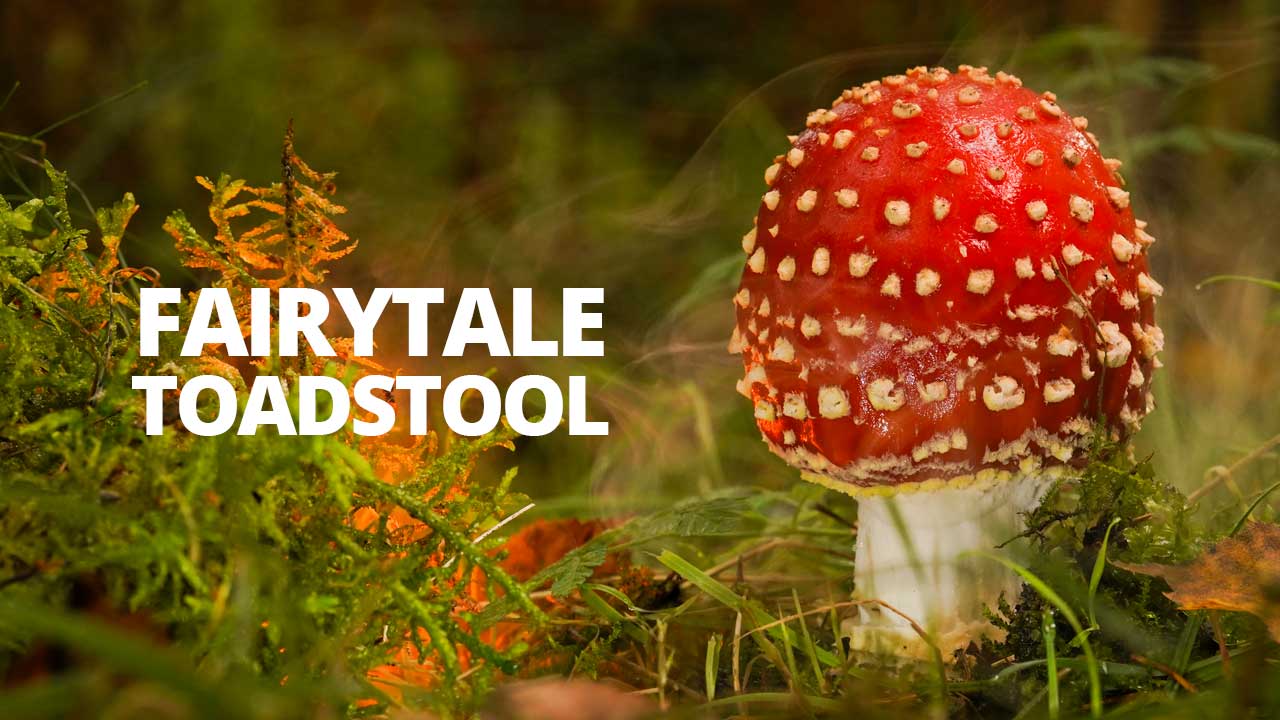
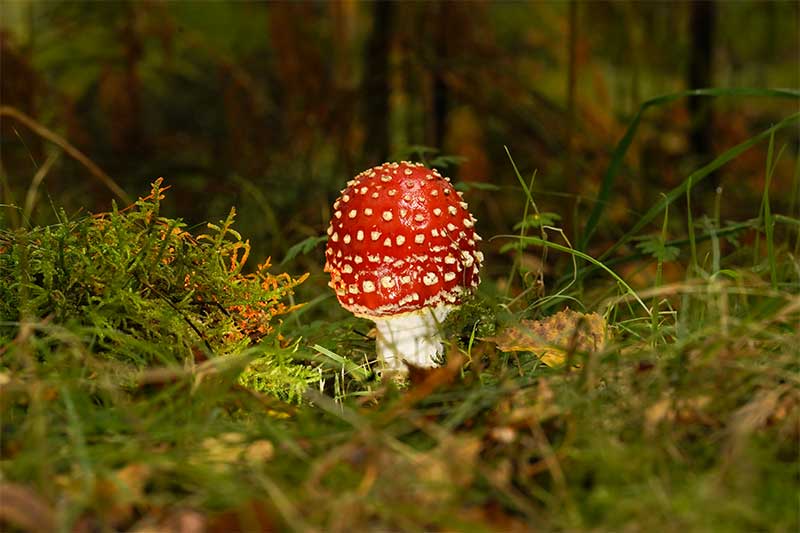
A red fly agaric surrounded by moss is one of the most recognisable sights in woodland photography. Its bright cap and white spots already look as though they belong in a storybook.
However, finding the right mushroom is only the beginning. Natural woodland light can leave the subject looking flat. Careful composition, controlled macro lighting and a little atmosphere can transform it into a much stronger image.
This guide explains how to photograph a fairytale mushroom using flexible LED lighting, colour and subtle fog.
In this Article
- Composing a fairytale mushroom photograph
- Using diffused LED lighting to reveal woodland detail
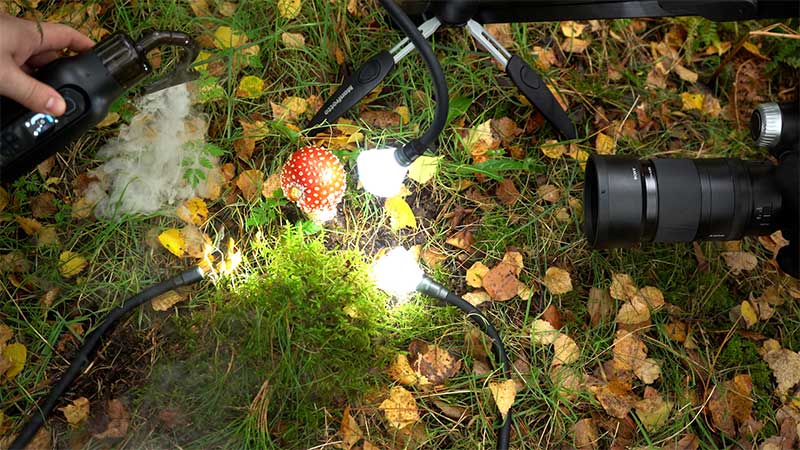
- Positioning hidden lights around the mushroom
- Adding amber light and colour for a fantasy effect
- Using subtle fog to create depth and atmosphere
Equipment Used.
Find a strong woodland subject
The first step is to find a mushroom with a clear shape in an interesting setting.
Fly agaric mushrooms work particularly well because of their bold red caps and white markings. Moss, leaves and small plants provide useful foreground detail. They also help establish the scale of the scene.
Avoid disturbing the mushroom or clearing too much vegetation from around it. The surrounding undergrowth is part of the composition. It gives the photograph context and helps create the impression of a miniature woodland world.
Look at the subject from several directions before setting up the camera. A low viewpoint will often reveal more of the stem and underside of the cap. It can also make the mushroom appear larger within its environment.
Choose a wide macro composition
Fairytale mushroom photography does not always require the closest possible view.
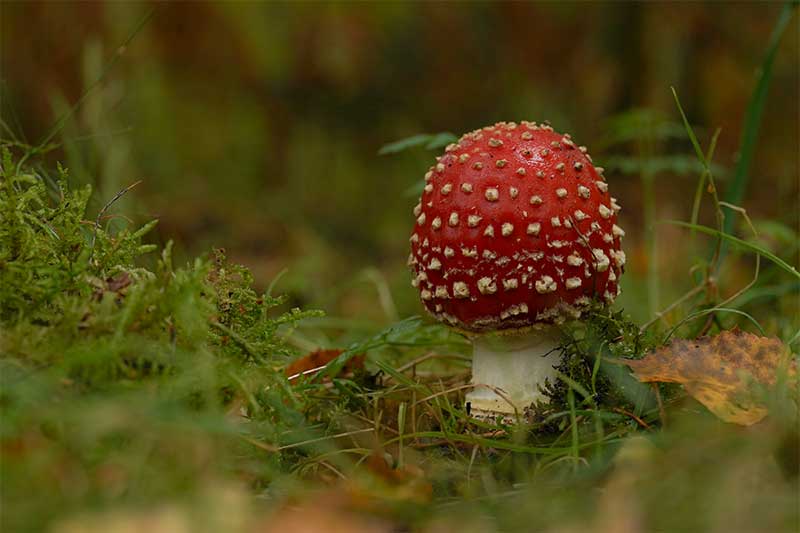
When the mushroom is fairly large, pull the camera back and include some of its surroundings. Moss, greenery and distant woodland detail can all contribute to the fantasy setting.
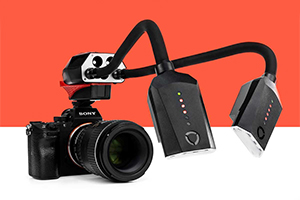
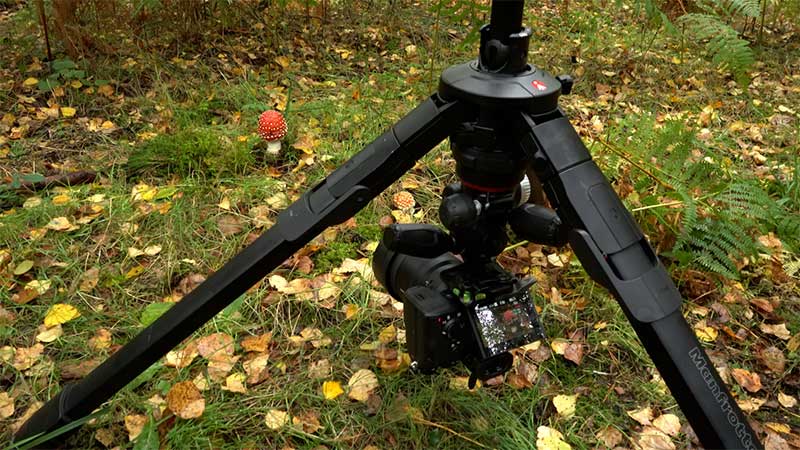
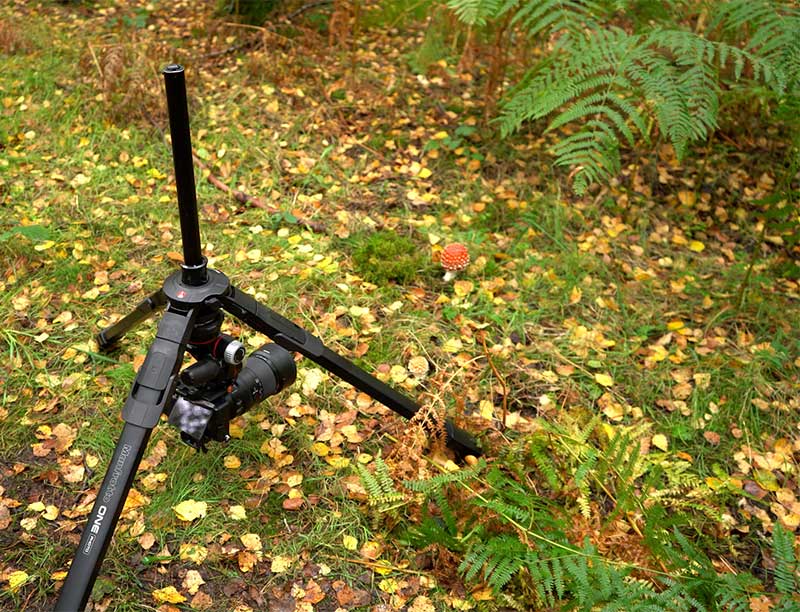
A 100mm macro lens is useful for this approach. It can capture close detail, but it also provides enough working distance for a wider environmental photograph. The original setup used a Sony A7 III with a Sony 100mm f/2.8 macro lens and a Manfrotto tripod.
Use a tripod to refine the framing and keep the camera stable. An underslung camera position can help when the mushroom is low to the ground. A three way tripod head also makes small compositional adjustments easier.
Check the edges of the frame carefully. Remove visual distractions by changing the camera position rather than damaging the surrounding habitat.
Start with the available light
Overcast conditions are ideal for photographing mushrooms. Cloud cover creates soft light and reduces harsh contrast on the cap.
The top of a wet mushroom may also reflect the sky. This can create a natural highlight that defines its shape. If this reflection already looks good, there is no need to overpower it with another light.
Instead, identify the areas that need help. These are likely to include the stem, the underside of the cap and the shaded vegetation around the mushroom.
Natural light can produce a usable exposure, but a woodland photograph may still look flat. Adding light selectively lets you separate the mushroom from its surroundings and guide attention towards it.
Build the lighting one arm at a time
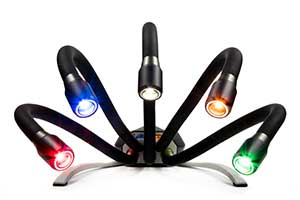
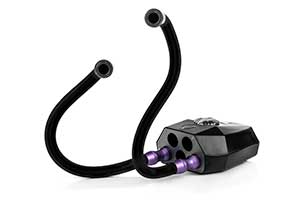
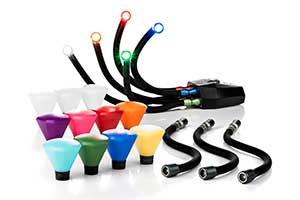
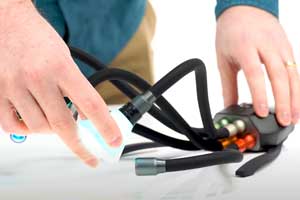
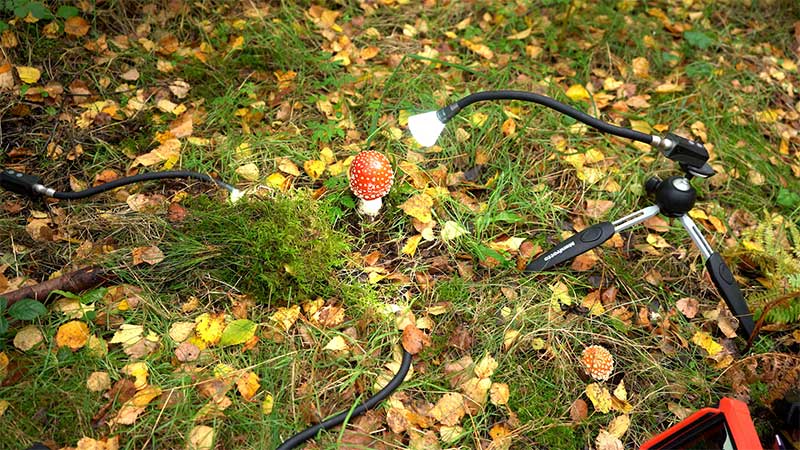
The Adaptalux Mushroom Photography LED Lighting Pack includes three white Lighting Arms, an amber Lighting Arm, three diffusers, pink and blue colour filters, and three independently controlled Pod Minis. The flexible arms are designed to be positioned within woodland undergrowth.
Begin with one diffused white Lighting Arm. Position it near the shaded side of the mushroom and direct it towards the edge of the cap or stem.
A light placed behind a small ridge of moss can produce two useful effects. It can brighten the darker side of the mushroom and create a soft glow along the moss. This adds separation without making the scene look artificially illuminated.
Next, add another diffused white light near the front. Use it to lift the shadows beneath the cap and around the stem.
Keep the brightness restrained. If the foreground becomes noticeably brighter than the natural surroundings, reduce the power or move the light farther away. Small changes in the position and intensity of continuous LEDs can have a significant effect.
One advantage of compact Lighting Arms and Pod Minis is that they can be concealed close to the subject.
Place the pods behind moss, leaves or existing vegetation. A loose leaf can hide part of an arm, but make sure it is placed gently and does not alter the scene unnecessarily.
Check the entire frame after positioning each light. The light source should remain outside the composition, even when the glow it creates is visible.
The flexible arms allow the angle to be adjusted precisely. As the LEDs provide continuous light, the result is visible through the camera before the photograph is taken. Brightness can be adjusted manually or through the Adaptalux App
Working with Multiple Light Sources
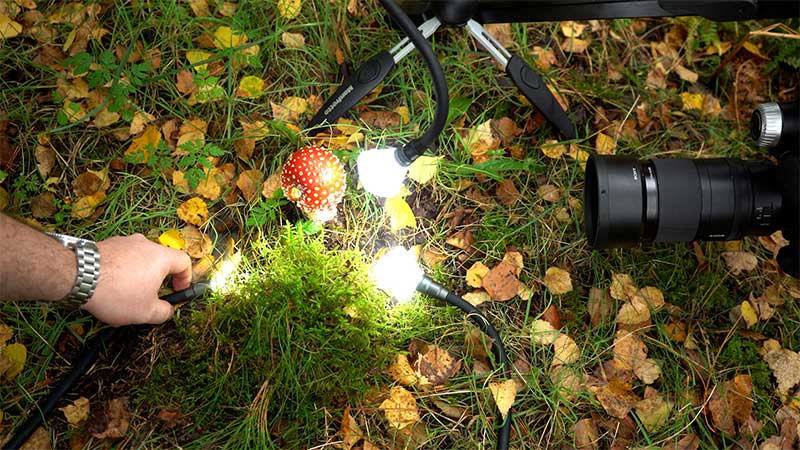
Another advantage of Adaptalux LED lighting is the ability to build up the scene using several lights at once as part of the same system. Rather than relying on a single source of illumination, multiple lights can be positioned around the subject to control different areas independently.
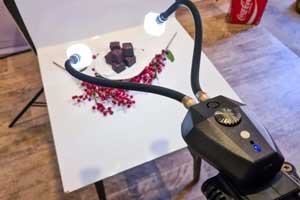
One light might be used to illuminate the main section of chocolate. Another can target the interior texture. This layered approach creates a greater sense of depth and makes the final image appear more three dimensional.
The Adaptalux system also allows multiple lights to be adjusted through the accompanying app, making it easy to fine tune brightness and colour during the shoot. For photographers exploring macro photography LED lighting, this flexibility makes experimentation much easier.
One advantage of compact Lighting Arms and Pod Minis is that they can be concealed close to the subject.
Place the pods behind moss, leaves or existing vegetation. A loose leaf can hide part of an arm, but make sure it is placed gently and does not alter the scene unnecessarily.
Check the entire frame after positioning each light. The light source should remain outside the composition, even when the glow it creates is visible.
The flexible arms allow the angle to be adjusted precisely. As the LEDs provide continuous light, the result is visible through the camera before the photograph is taken. Brightness can be adjusted manually or through the Adaptalux App.
Use amber light for a fairytale glow
Not all chocolate bars photograph the same way. Aerated chocolate often produces landscapes of bubbles and tunnels. Wafer based bars contain repeating patterns that become highly detailed at macro magnifications. Chocolate coated biscuits reveal crumbs and textures that are invisible at normal viewing distances.
Even the process of breaking a chocolate bar apart can create interesting compositions. Jagged edges, loose crumbs and fractured surfaces often provide more visual interest than perfectly clean cuts.
The beauty of food macro photography is that ordinary subjects suddenly become extraordinary when viewed up close. Every chocolate bar has its own internal structure waiting to be discovered.
Add subtle woodland atmosphere
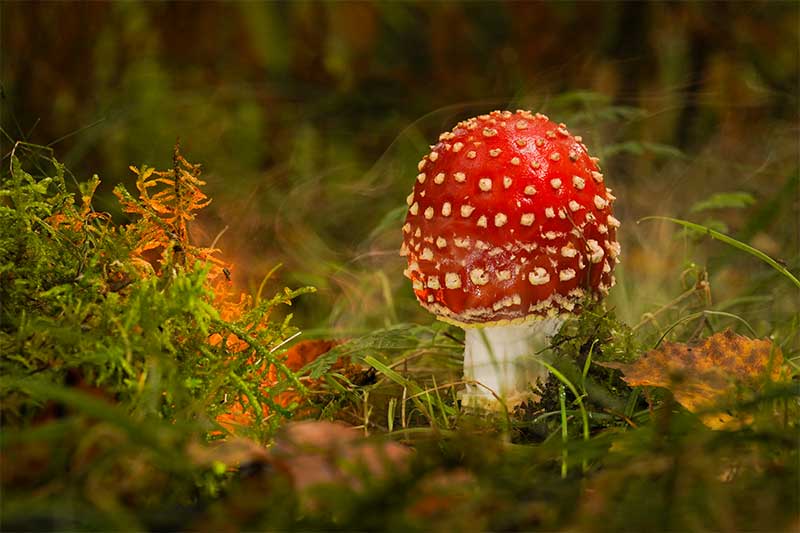
A small portable fog machine can add another layer of depth. Direct a light mist behind the mushroom rather than covering the subject. The fog catches the backlight and makes its colour more visible. With amber illumination, it can resemble mist in warm morning light. With white light, it can suggest cool woodland fog or drifting spores.
Use as little as possible. Thin wisps are more convincing than a dense cloud. Too much fog will hide the background, soften the mushroom and make the effect dominate the photograph.
Wait for the mist to drift into position, then take several frames. Its shape changes quickly, so each photograph will be different.
Keep the lighting believable
The best fairytale mushroom photography balances creativity with control.
Start with white diffused light and solve the practical problems first. Lift the underside of the cap, reveal the stem and separate the mushroom from the surrounding moss.
Once that foundation looks natural, introduce amber light or a colour filter. Finish with a small amount of fog if the composition has enough background space to show it.
Flexible LED lighting is particularly useful because the lights can be placed close to the mushroom and adjusted while viewing the result. Their compact heads can also be hidden among existing leaves and moss.
With a considered composition and a few carefully placed lights, a familiar woodland subject can become a convincing fairytale scene.

- How to Photograph a Fairytale Mushroom with LED Lighting - 25th October 2026
- Best Flexible LED Lighting for Macro Photography - 1st October 2026
- What’s inside your chocolate bar? – Food Macro with flexible LED Lighting - 27th September 2026


