Watch on YouTube – An introduction to lighting for macro photography
Lighting for Macro Photography.
Macro lighting comes in a few different flavours, which one suits your style of photography the most depends on what you are shooting. Today we are going to take a look at some of the terms that you may hear people use when it comes to lighting and break down what they mean. Before that, a quick cheat sheet of the 3 main types of lighting you may want to consider.
- Sunlight is free
- Available during daytime
- Natural effects
- Effective for video
- Flexible and adaptable
- Always visible
- Easy to control
- Effective for video
- Low thermal output (LEDs)
- Bright & powerful
- Good for large subjects
- Good for fast moving subjects
- Great for super sharp images
Natural Light
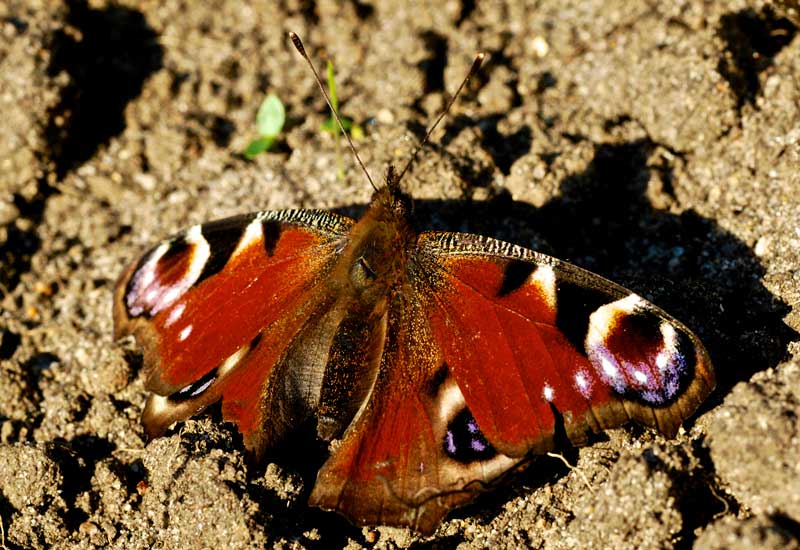
Let’s first take a look at by far the most common source of light, the Sun. Natural light comes predominantly from our Sun. During the day, many interesting effects can be achieved exclusively with natural light. It’s very common for photographers to never consider adding additional light sources into their images.
The main advantage natural light has, is that it is free and very abundant. Everyone has access to daylight and it can offer some of the best settings when shooting in bright sunshine.
Unfortunately, it’s not always the best option for photography, especially macro. Using the sun makes us dependant on the time of day, time of year and the weather. If you want direct sunlight, but it’s cloudy? Tough. Want to shoot after work in the winter? Nope, the sun has already gone down.
Proper lighting for macro photography also often requires a lot of control. Sunlight is hard to limit, hard to change its direction, and often hard to diffuse. You might think you are cutting down on equipment shooting in the sun, but find yourself, carrying large reflectors, diffusers and other light modifiers just in case.
Top tip for macro photographers – Try shooting near a window. Placing your macro subject on a windowsill gives you an element of directional control over your natural light and you can add diffusion material over the glass to change how the light falls.
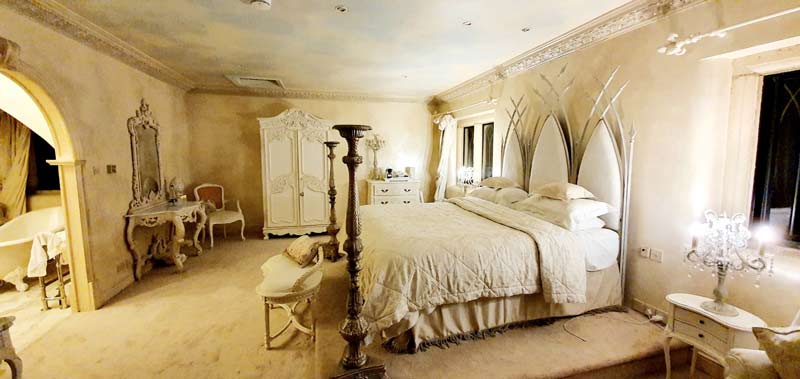
Available Light
You may hear a lot of photographers talking about shooting with available light. This is a tricky one, as people can often use it interchangeably with both artificial and natural light. It is considered to be a bit of both.
Available light is any light source that has not been added to the scene for the purpose of the photograph. For room scenes and portraits, this can include natural light coming in through windows, as well as the artificial light from light bulbs already in the room. There are too many possible sources of available light to list, as any light source not deliberately placed by the photographer can fall under this umbrella.
But what about flash?
Flash is almost exclusively used for photography. However, a flash caught from another photographer would be considered as available light. It wouldn’t be fair to say a shot of a stadium full of concert fans was “taken with flash” simply because it includes the pinpoint light of many other photographs being taken.
Top tip for macro photographers – Don’t confine yourself to only one source of light. Think about your environment and move your subject to take advantages of any light source already in the room. A good example is using Christmas tree lights to form colourful bokeh in the background of your shots!
Artificial Light
Artificial light is man-made light, which can be added to your photographs to enhance and change how your subject looks. Most photographers will use artificial light in some capacity, even if it falls under available light too. Generally, adding artificial light to your images gives you much more control over how they look. There are two categories that cover artificial light which we will look at next.
One question we hear a lot – is fire artificial or natural light? Well, both… sort of.
Candles, fireplaces, gas lanterns etc, can all be considered artificial light. We can add them to our photographs deliberately to enhance the look of the image and are created by people.
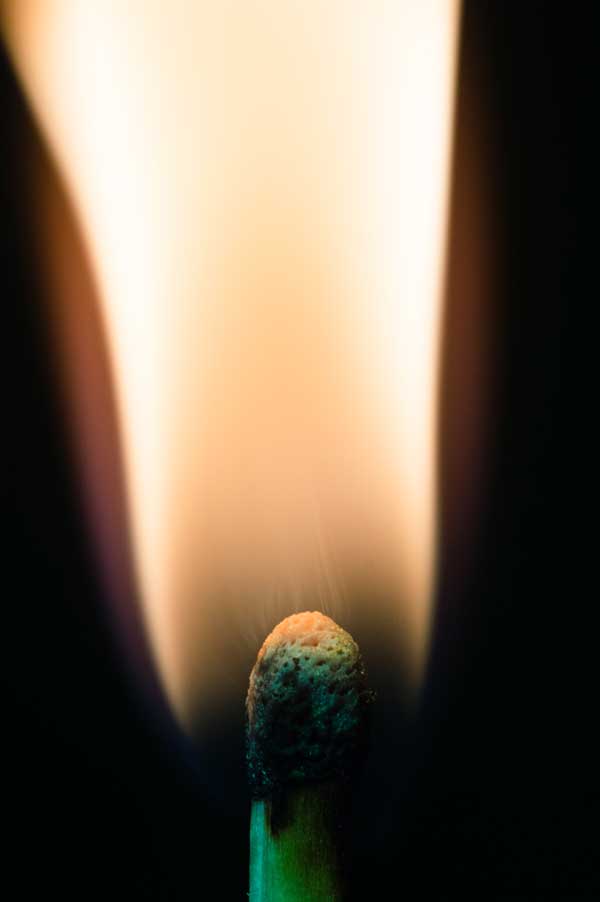
Things like forest fires, volcanic fire and other naturally occurring sources of flame can be considered natural light. They would also mostly be considered available light too, unless you are starting forest fires to light your portraits (definitely don’t do that!).
Top tip for macro photographers – Don’t be afraid of using artificial light. There is a lot to consider when adding additional light to your photos, but the results can often be very rewarding and it will open doors to new styles and techniques of photography.
Continuous Light
Continuous light is on all of the time. It’s as simple as that. This can include the lightbulbs in the lamps of your home as well as LEDs and more specialised bulbs for photography.
The Adaptalux Studio has primarily used continuous LED lighting. It brings with it a lot of advantages, particularly for macro photography. The main advantage is that you can see the light falling on your subject. It makes it very easy for you to position your light and make adjustments whilst looking through the viewfinder or live view.
The fact that the light is on all of the time means you can also use it for videography! Great fun if you have a lively or interesting moving subject like an insect or bubbles in a liquid.
We covered continuous lighting in a little more details in a similar article a while ago if you would like to learn more.
Top tip for macro photographers – Add colour and diffusion to your images. Because you can see how the changes you make affect your image, its easy to experiment and learn how your light affects your subject. Try new things!
Flash
Flash will now be coming to the Adaptalux Studio after our latest Kickstarter has ended. This opens up a whole new world of lighting options for macro.
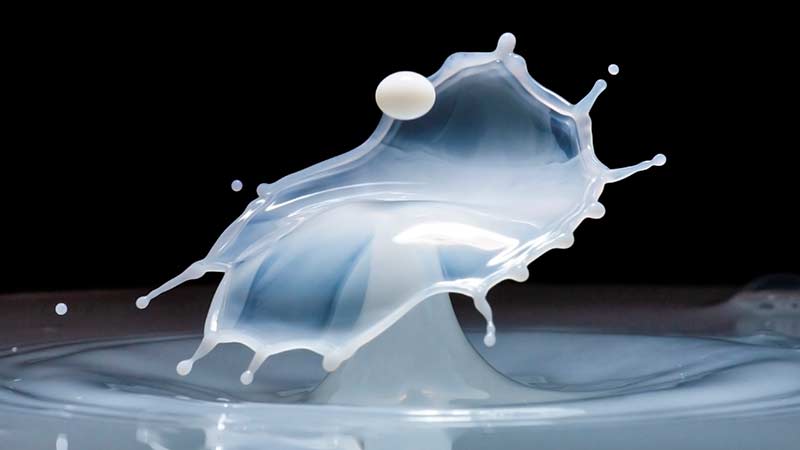
Flash is primarily used for its raw power output and the ability to freeze subjects. A lot more light can be outputted because the power from a flash is only needed for a fraction of a second. It means flash can provide better settings and a lot of light when you need it.
Because of that very short duration, it will also freeze moving subjects. This also means there is little or no camera shake when handholding your camera.
The main disadvantage of flash is the opposite to continuous. Because it’s not on at all times, you can’t use it for video or see how lighting changes will effect your image.
Top tip for macro photographers – Just because you have a lot of power from your flash, don’t let that stop you experimenting. It’s tempting to blast the maximum amount of light at every shot and forget about modifying your light and changing the lighting direction!
If you would like to learn more about lighting for macro photography, head over to our YouTube Channel and subscribe. We publish videos regularly exploring new subjects, techniques and ideas for your macro photography.
- Cool paper photography tricks that you should try at home - 14th April 2024
- Egg Macro Photography – Easter Egg Lightpainting - 30th March 2024
- Using Tonic Water to create amazing UV flower photography! - 16th March 2024


