


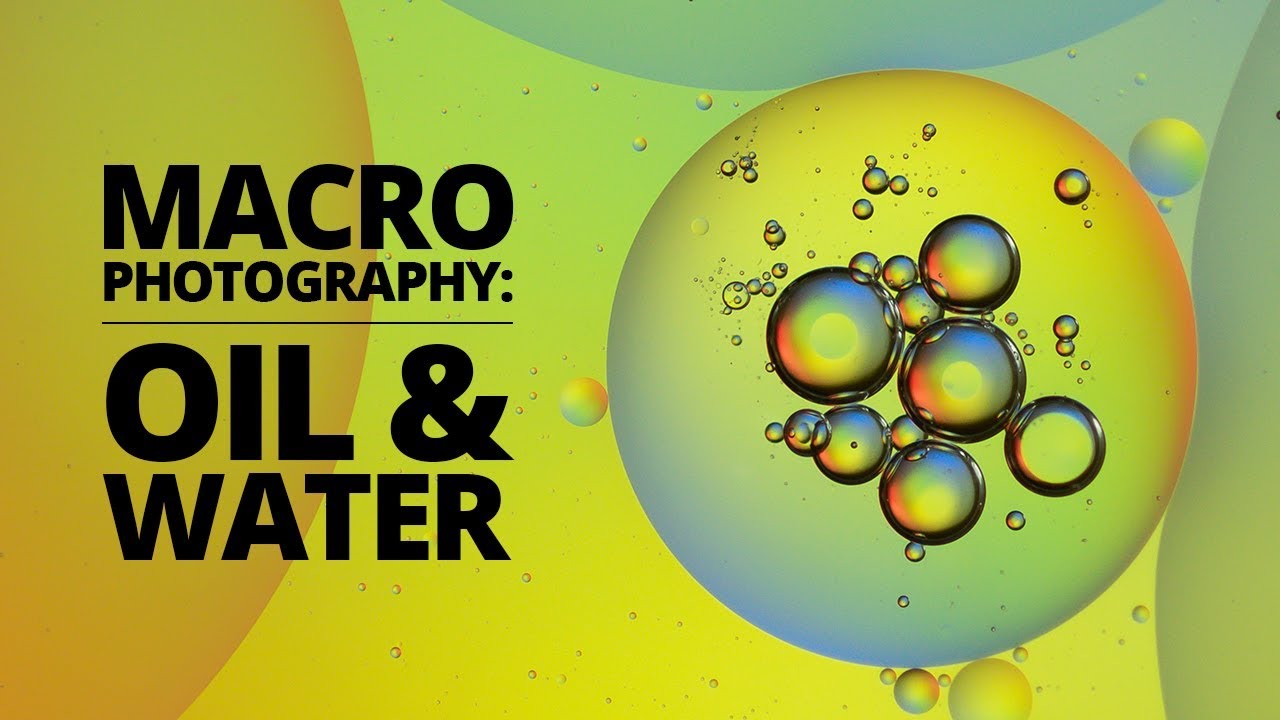
Watch on YouTube – Oil and Water Photography How-to Guide
If you have a macro lens, and you haven’t tried oil and water photography before you are missing out. We have already covered other kinds of bubbles in our dish soap bubble tutorial, but we think this way is easier for beginners. This method of shooting bubbles is one of the first macro photography subjects that people tend to shoot around their home, simply because it’s so simple to set up! Here we are going to walk though what you need and how to get the best results.

Oil and Water Photography – What you need:
There’s not much equipment to it, you only need a camera and a tripod. A macro lens will help you get nice and close to your bubbles, however you can also crop down your shots to get the bubbles you want in Photoshop.
For the subject you will need is some oil, water and something to put them in. Most cooking oil will works well, Sunflower, vegetable, olive etc. Grab some from the kitchen, you don’t need much. A tablespoon or so is a good starting point for how much oil to add to your water. Remember that you can always add more, but once it’s in you can’t take it out again!

The other item you will need from the kitchen is some glassware. We are going to be shooting down through our oil and water, onto something colourful. You therefore need a transparent container to hold your solution off the ground. Glass baking trays work well as they tend to have a flat, clear base to see though unobstructed.
Try to get nice clear glass with no marks or scratches. Imperfections in the glass might show up in your photos if you’re not careful.
The Setup
For vibrant and colourful oil and water photography and videography, we need space under the oil for some light and colour. Setting your glass tray up on some books with a space underneath is a great option. We had a glass coffe table that was very convenient for shooting though.
The camera and tripod need to be set pointing directly down onto your oil. The more parallel the front of your lens is with the surface, the easier it will be to focus. If your camera is pointing down at an angle, your plane of focus will intersect the water and oil, and make it very difficult to get the whole image in focus.

The Lighting
Under your solution and glass goes lighting and colour. For this we used the Adaptalux Studio and Colour Filters with an extra layer of diffusion to really smooth out the colours. Some paper should do the trick if you need it. We used some paper kitchen towels (that were also handy for cleaning spills).

A lot of people also light colourful objects with white light. Printed book covers or multi coloured clothing items work well when brightly lit. Let the colours of the object do the work if you don’t have the luxury of colour filters or gels.
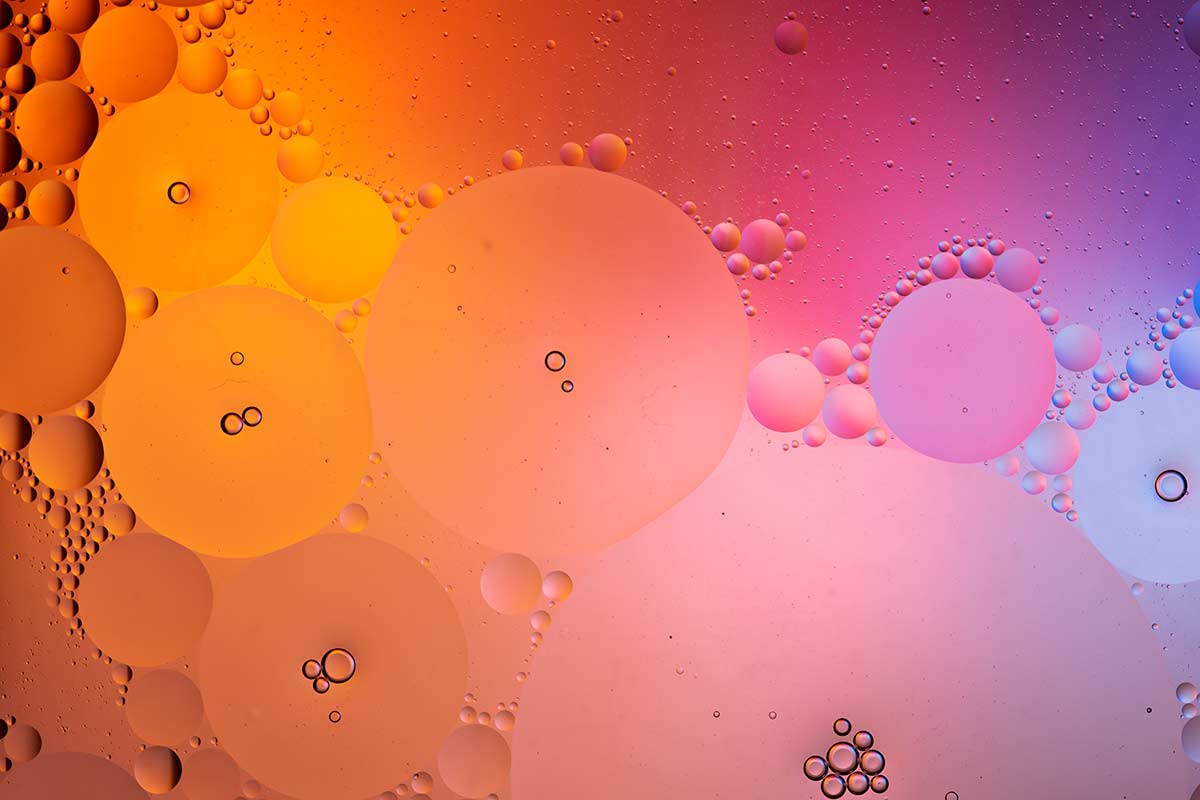
At this point you will see the colour shine through and highlight the bubbles!

Experiment!
One of the keys to getting great results from your oil and water photography is to experiment and change your lighting, while agitating the liquid. No two shots will ever be the same, keep going until you have a huge variety of shapes and colours!

If you are stirring your mixture, try to use a fast shutter speed to freeze the motion of those bubbles. Conveniently, you also want a wide aperture for a shallow depth of field. This will ensure that only the bubbles are in focus and not the background objects too! For most of the shots here, we used 1/350s, f2.5 and ISO 200 more than enough to satisfy all of our needs.

That’s about all there is to it! Oil and water photography is probably the most fun you can have with the least setup and hassle. Of course, don’t forget to hit record on your camera and grab some amazing videos too!. If you’re done with these bubbles, why not try our other bubble tutorial for a different kind of bubble and a greater challenge!

If you enjoyed this quick how-to, don’t forget to subscribe to our YouTube channel for regular macro photography tutorials, ideas and inspiration.

- Seashell Still Life Photography: A Macro Photography Guide - 26th July 2026
- CPU Macro Photography – Create Abstract Cityscapes with Light and Detail - 12th July 2026
- Photographing Grains of Sand at High Magnification - 28th June 2026


This guide is so comprehensive I really think it worth publishing as a book given the wide range of subjects you now embrace. I have a large library covering individual topics but this guide brings together often quite obscure technical topics such as ultra violet reflectivity and radiation in a way that will send users down whole areas of photographic innovation.
The explanatory charging sequence was useful but I wish the unit had a simple traffic light system perhaps showing green for fully charged. There is a spelling mistake of the word categories in your recent posts list. I think I would have liked a little more information on show to use the three buttons on the device as I often find myself removing the arms as a quicker means of turning the lights off. But overall I have found this one of the most useful devices I have ever bought.
Thanks for your kind words Derek, we may publish a book in the future! We are glad you find the guides useful and enjoy using our products. Thanks for your suggestions, we will look into these.
The whole team has thoroughly enjoyed seeing your photos posted regularly on the Adaptalux Studio Facebook group and we hope you continue to contribute moving forwards.
Thanks from the whole of Adaptalux 🙂