What is Macro Lighting?
Macro Lighting unveils the miniature world, which can be beautiful, fantastic and unbelievable at times.
Capturing images of tiny subjects and enlarging them to sizes that let us marvel at every detail is the perfect way to stretch your photographic muscles.
For beginners however, the task can be daunting. You have your new macro lens, a tripod and a subject, but where to start? Well, as with regular photography, the key is in the lighting. In this post we are going to focus on continuous macro lighting (because we think it’s the best kind!)

What is Continuous Light?
If you have ever picked up a camera, you already know about two forms of light at the photographer’s disposal – natural (or “available”) light, and flash. Continuous light is in some ways, a mix of the two. Instead of a single powerful burst in a split second (Flash). continuous lighting equipment provides a steady “always on” source of light.
Technically, the most common source of continuous light is the sun. For the purpose of photography, the sun is classified as natural light to make it distinct from artificial light sources. No matter where you get your light from, there are always challenges to face and considerations to make. This is especially true for macro photography.
Here is a quick non-exhaustive “cheat sheet” of the main advantages of different methods of lighting your macro photographs.
- Flexible and adaptable
- Always visible
- Easy to control
- Effective for video
- Low thermal output (LEDs)
- Sunlight is free
- Available during daytime
- Natural effects
- Effective for video
- Bright & powerful
- Good for large subjects
- Good for fast moving subjects
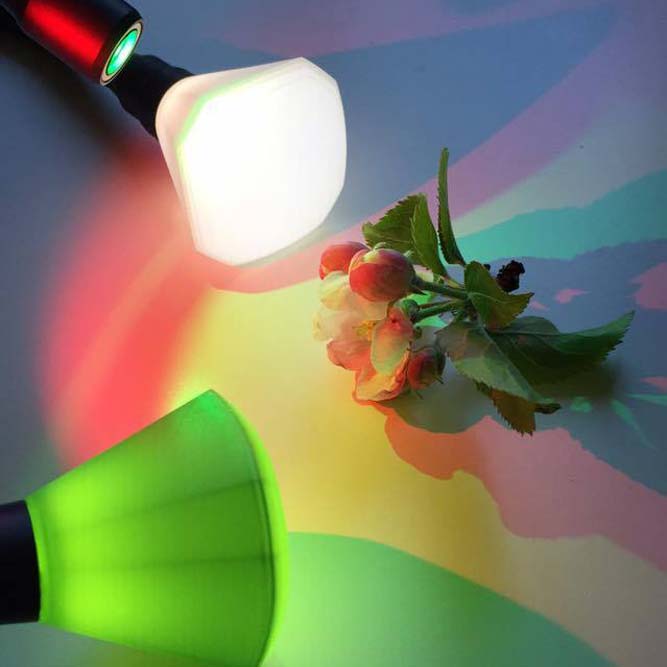
Why use a continuous light source?
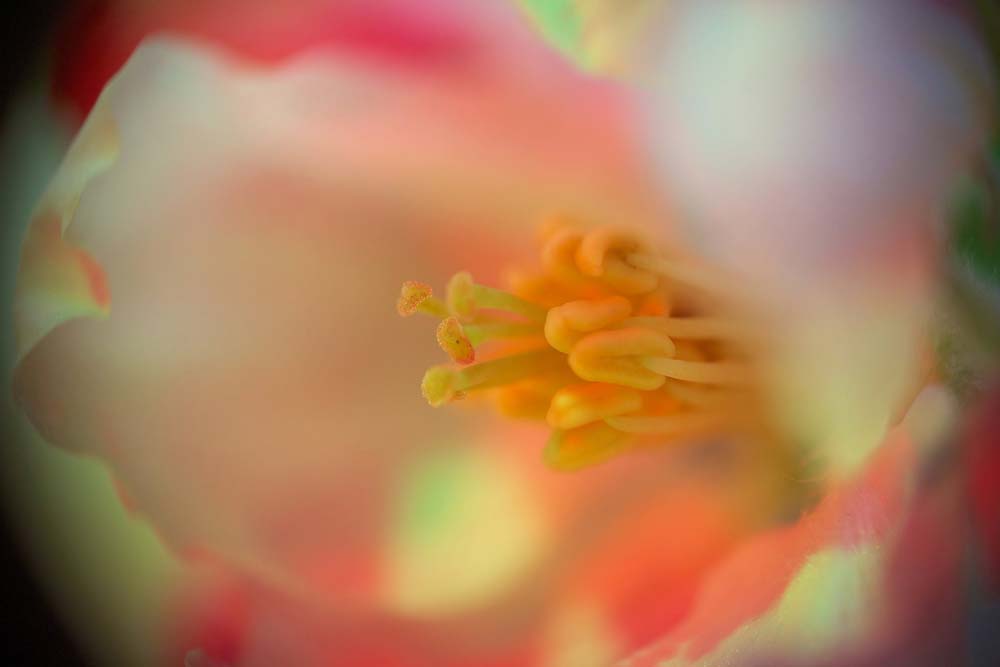
Continuous lighting is great for controlling a number of lighting characteristics in macro photography, where attention to detail is paramount. One of the most significant advantages is that you can see how your light falls as you set up your shot. With flash it’s often hard to tell where your shadows will be, or how harsh they will be, until you take a test shot. As a result, this means lots of shooting and adjusting to get the shot just right which is not ideal.
Being able to see results on the viewfinder as you set up your lights will allow you to develop your understanding of how lighting effects macro photography. At macro scale, every little adjustment to your lighting can have dramatic effects on your image. The immediate feedback provided by experimenting with continuous light will inevitably result in you becoming a better photographer!
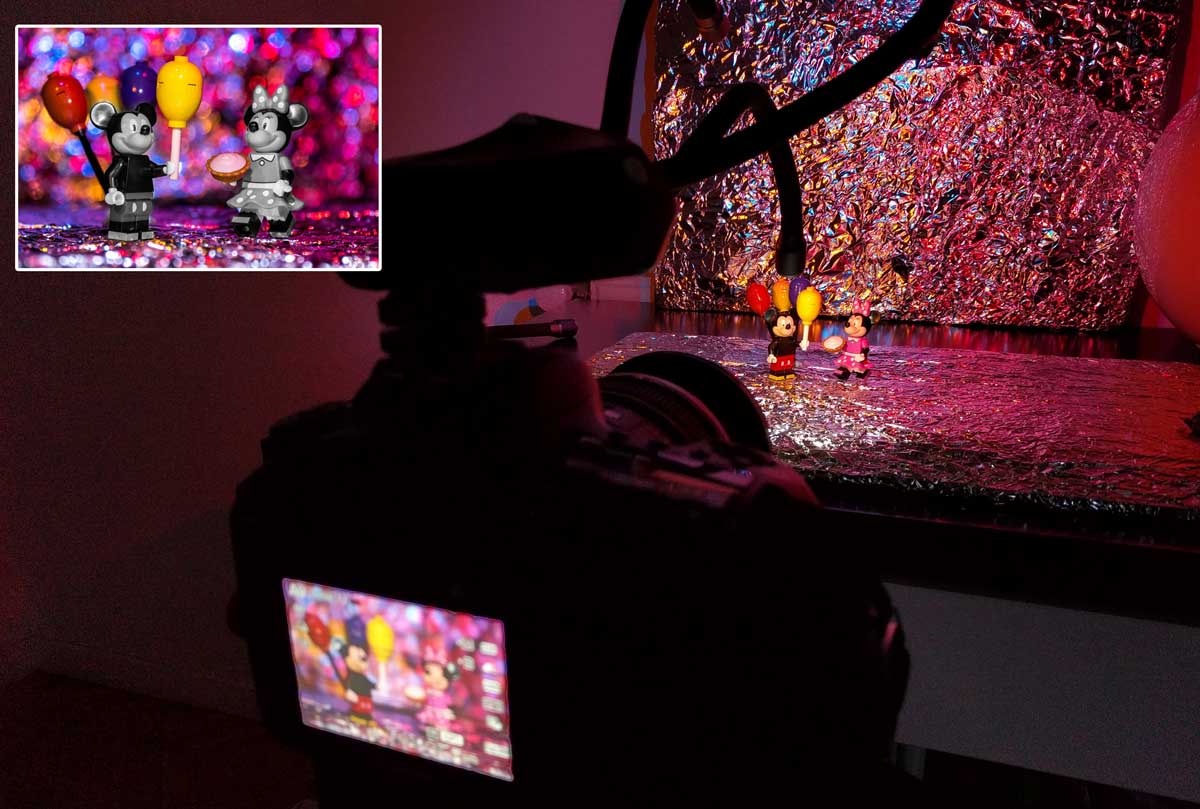
Better Control
Continuous lighting also offers a much more convenient way to direct light on to specific areas of a subject. Alongside this is provides an easy method of introducing colours and effects into the shot. This gives you full control of the lighting environment, which can result in some stunning photographs.
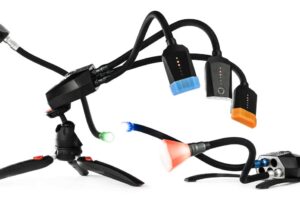
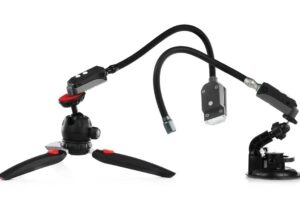
With Adaptalux Studio in particular, we make this even easier. With interchangeable flexible lighting arms and magnetic snap-on effect components, there has never been an easier way to get creative with your macro lighting.
Continuous lighting adds another element to macro photography with a video capable camera. Macro videography can be captivating and with continuous lighting, you don’t need to change anything about your lighting setup to switch between capturing photos and videos.
If you would like to know more about how to light your macro photos, get in touch with us via our contact page (we love to discuss methods and see the creative lighting solutions people use!). We also have a brand new pdf guide for beginners in macro photography where we discuss all the lighting options available to the creative macro photographer…
[thrive_leads id=’5911′]
Remember, we always love to see your macro shots, especially if you used your Adapalux Studio to create them. Send your shots over to pictures@adaptalux.com or #adaptalux for a chance to be featured in our gallery or on our Flickr Channel.


