Watch on YouTube – Shaving foam bubble macro photography tutorial
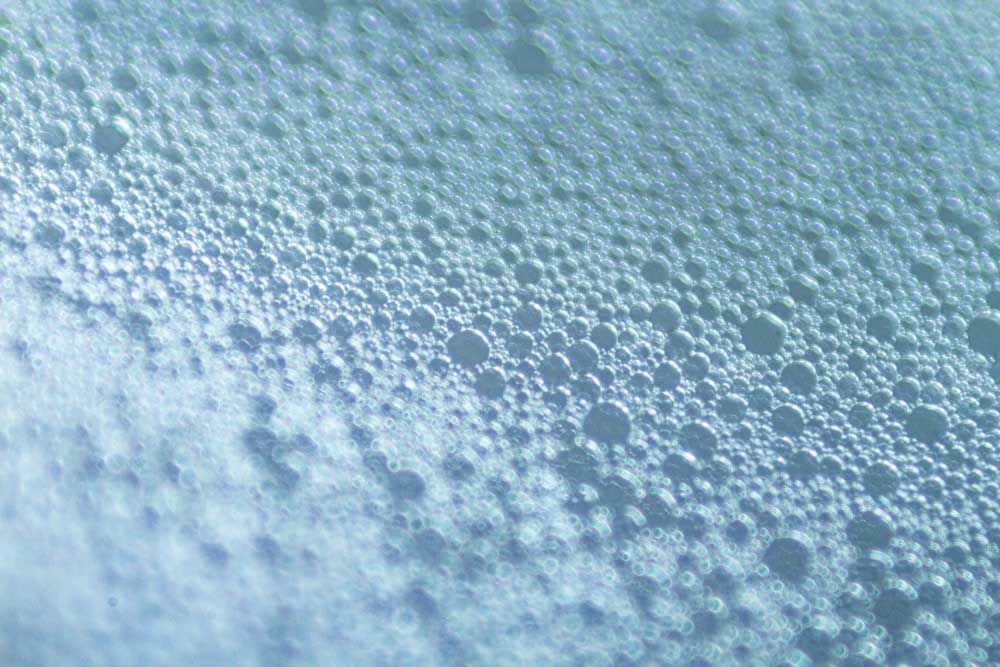
Shaving foam bubbles are tiny. Really tiny. That makes them the perfect challenge for macro photographers who would like a subject to shoot indoors this winter. However, this is an easy subject to shoot at home, and can create some cool abstract stills and video!
Shaving Foam Bubble Macro Photography
Firstly for this shoot, we needed to get really close. The bubbles found in aerosol foam are hard to even see with the naked eye, so we need a lot of magnification. To get close enough, we are using a reversed lens setup with an extension tube. This is a really convenient and cheap way to get a lot of magnification without shelling out for a very expensive dedicated lens. If you want to learn a bit more about reversing lenses, check out our blog post here.
When getting this close to a subject, the camera shake can be a problem. You certainly won’t be able to hand-hold your camera without a huge amount of light, and high shutter speeds. That is unless you use flash.
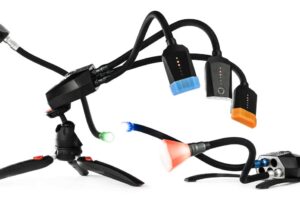
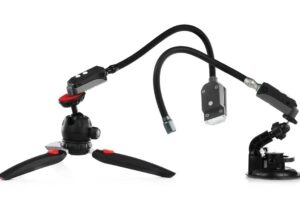
We made great use of our brand new Flash Lighting Arms for the Adapatalux studio in this shoot. They were perfect for freezing the motion of the camera shake while getting down into the very small area between the lens and the subject. The working distance was only about 5cm with the lens we were using.
[thrive_leads id=’8508′]
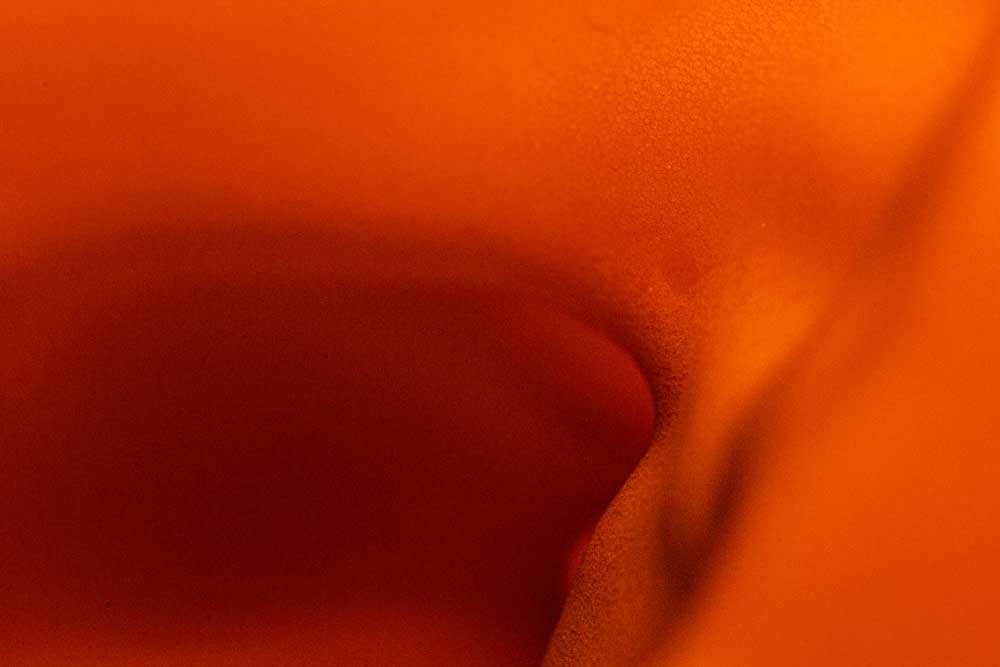
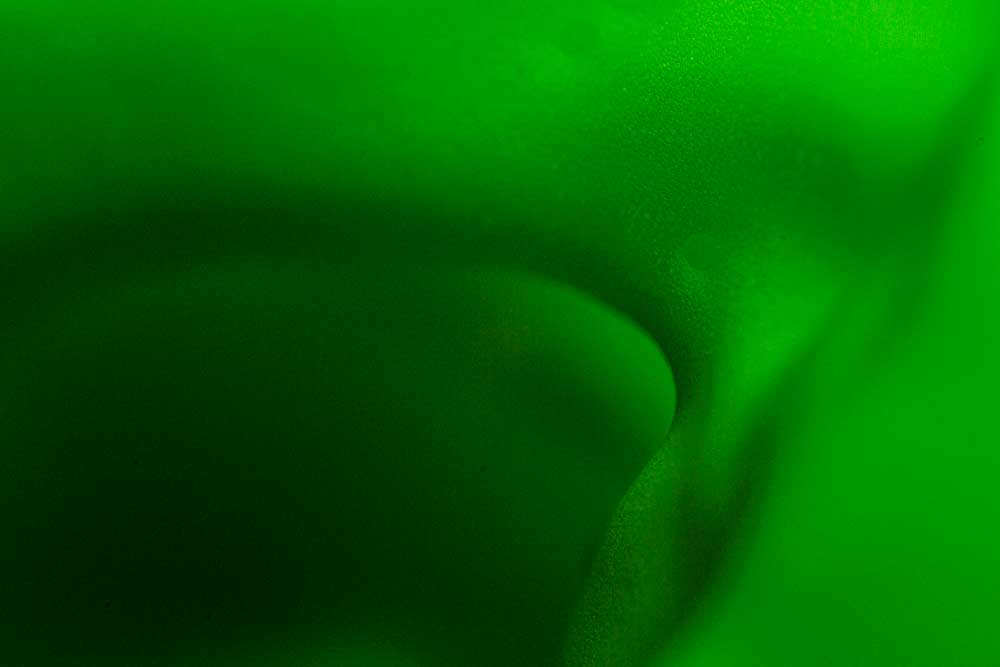
As with other types of bubble macro photography, colour can add a lot of visual interest into your shots. We added gels to the end of our flash lighting arms to add colour to the waving landscapes of the shaving foam.
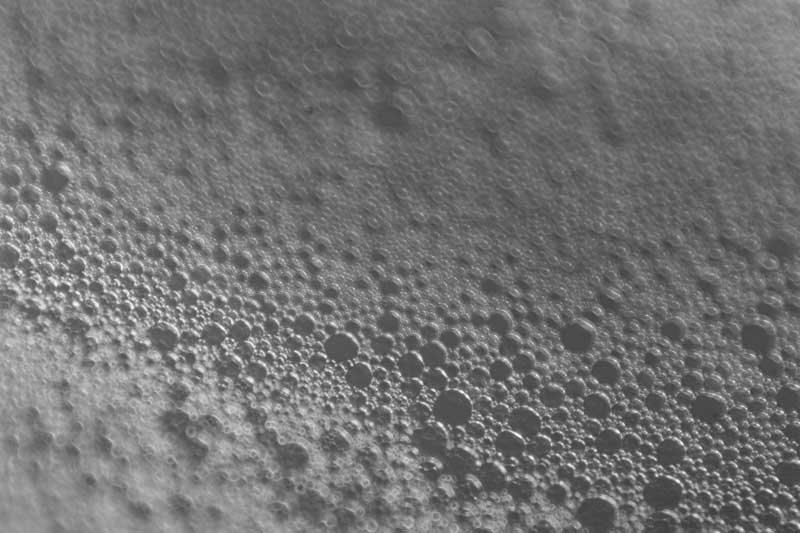
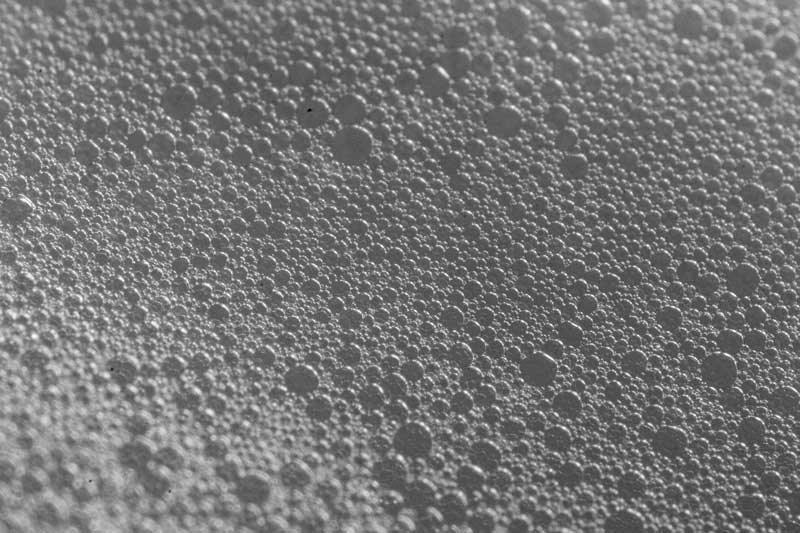
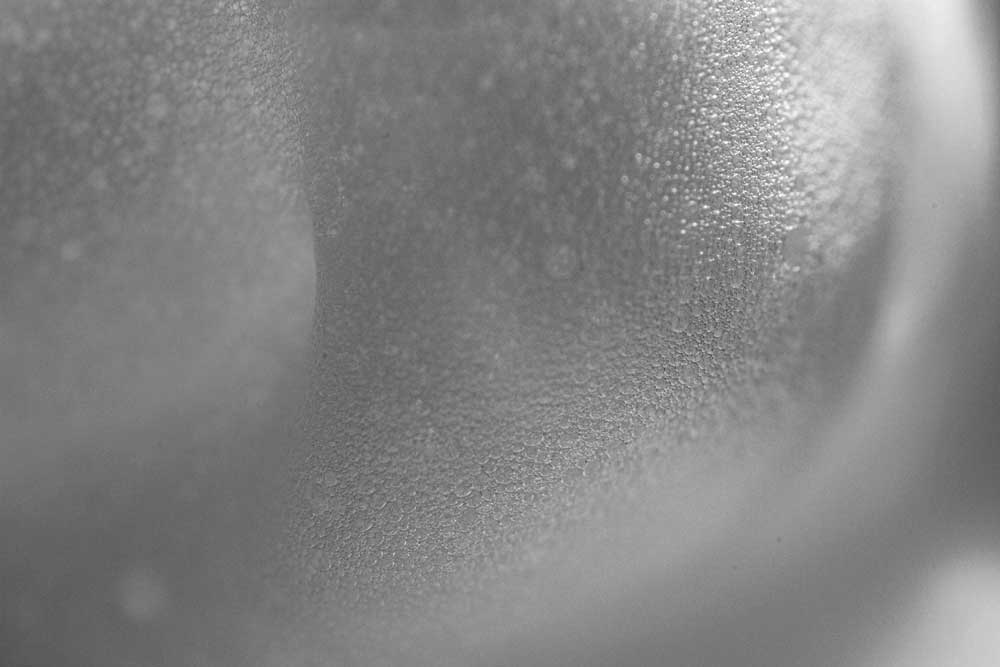
When getting this close, your depth of field is going to be almost as tiny as the bubbles themselves. You can take advantage of this by capturing the smooth curves and shadows created by the foam. If you would like more of your bubbles in focus, close down you aperture and slow down your shutter speed to compensate. Using flash means we can push out shutter speeds much slower than normal and still get a nice sharp image.
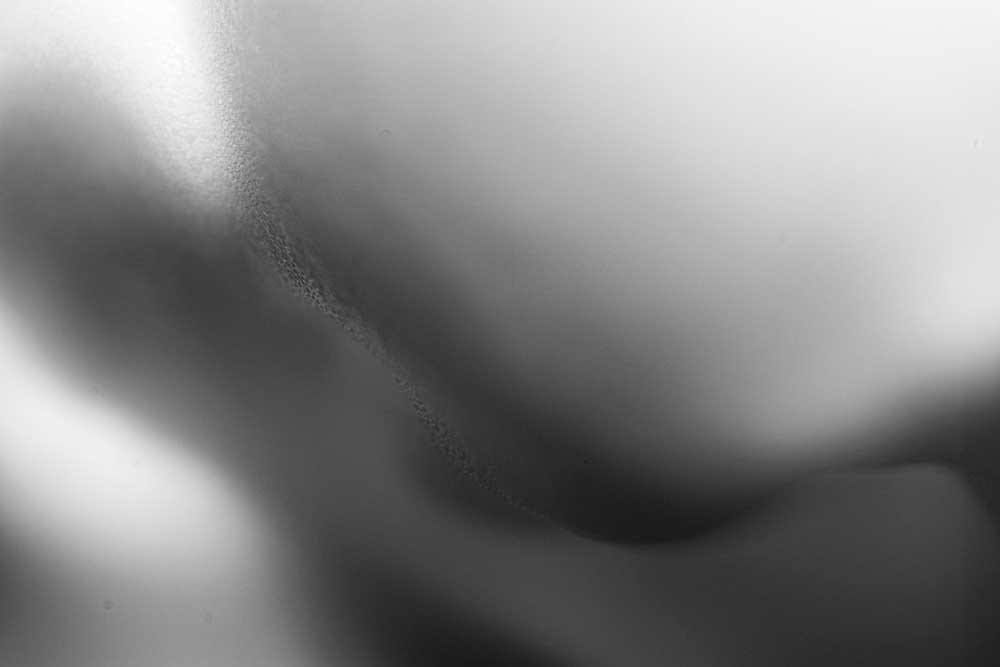
The flexibility of the Lighting Arms really helps with a shoot like this. Being able to get the light exactly where you need it with such a small working distance is very handy. Without control over the direction of your light, the foam can look very flat. Try not to lose all the interesting texture created by the bubbles and the wavy surface!
Finally, don’t forget to subscribe to our YouTube channel for more macro photography tutorials, ideas and inspiration!


