The basics of macro texture photography – Watch on YouTube
Texture is something we mention often when it comes to macro photography. After all, most subjects have some sort of texture up close. What if you want to exploit that texture and capture it up close? In this article, we are looking at the basics of macro texture photography.
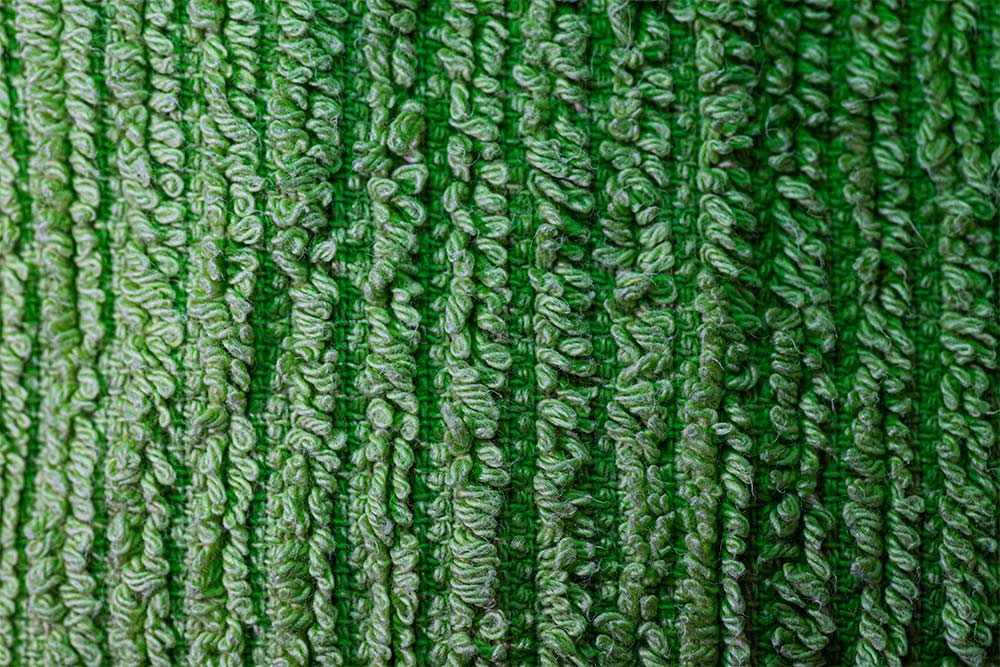
Macro Texture Photography
The most obvious starting point for macro texture photography is simply finding textures to photograph. A lot of interesting textures, patterns and shapes hide around us in plain sight.
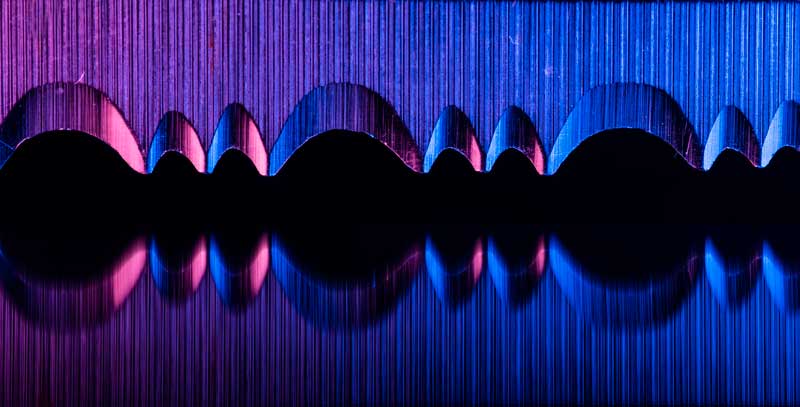
If you’re looking for a minimalistic sort of shot, try man-made objects. They tend to have uniform patterns and can make for great minimalist or abstract shots. We exploited the reflective surfaces of cutlery in a previous shoot.
There are no straight lines in nature, so for more organic looking images, you can turn to rocks, leaves, fabrics, food. There’s no shortage of subjects to explore with your macro lens.
Accentuate the texture
Sometimes the surface relief on a subject is minimal, meaning the texture doesn’t stick out very far. There’s a couple of lighting tricks you can use to highlight texture and create more contrast in the image.
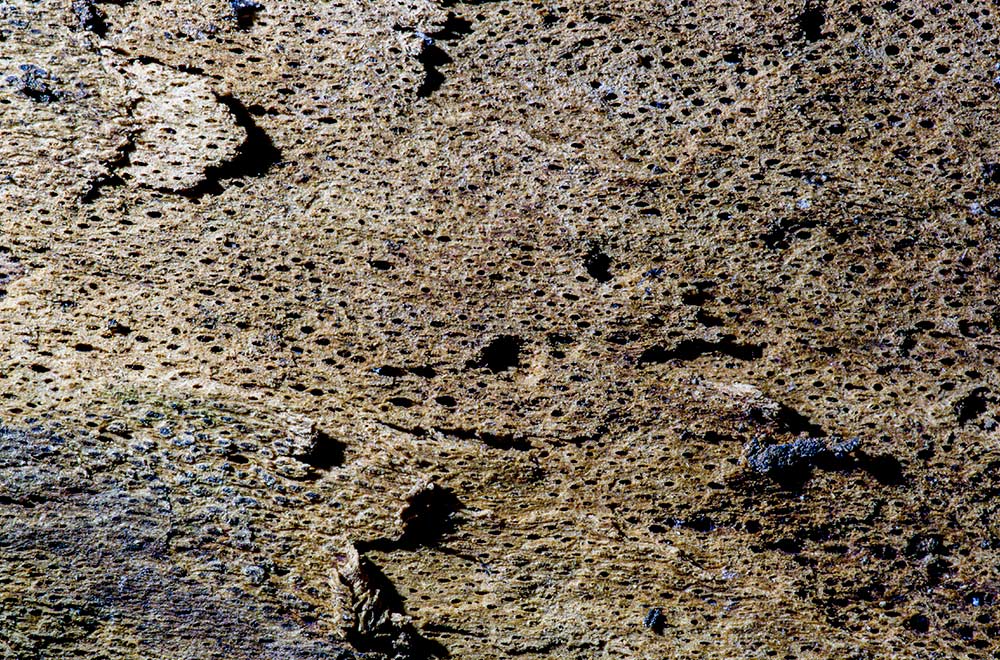
Use a single point of light.
All of the light coming from one direction will cause shadows, this is key for making the most out of your texture macro photography.
Low angle light
Move your light source low down, so it sines across the surface for longer more dramatic shadows.
High angle camera
Combined with light shining across the surface, a “flat” angle on across the surface of your subject helps keep the depth of field in check. If your subject is very deep, try focus stacking a to keep everything in sharp focus.
No Diffusion
While this is more of a stylistic choice, shooting with direct light can make for harsher shadows. With the right subject and angle, undiffused light can accentuate texture. If you’re unsure, try both as diffused light is often more pleasing to the eye and might suit the subject more.
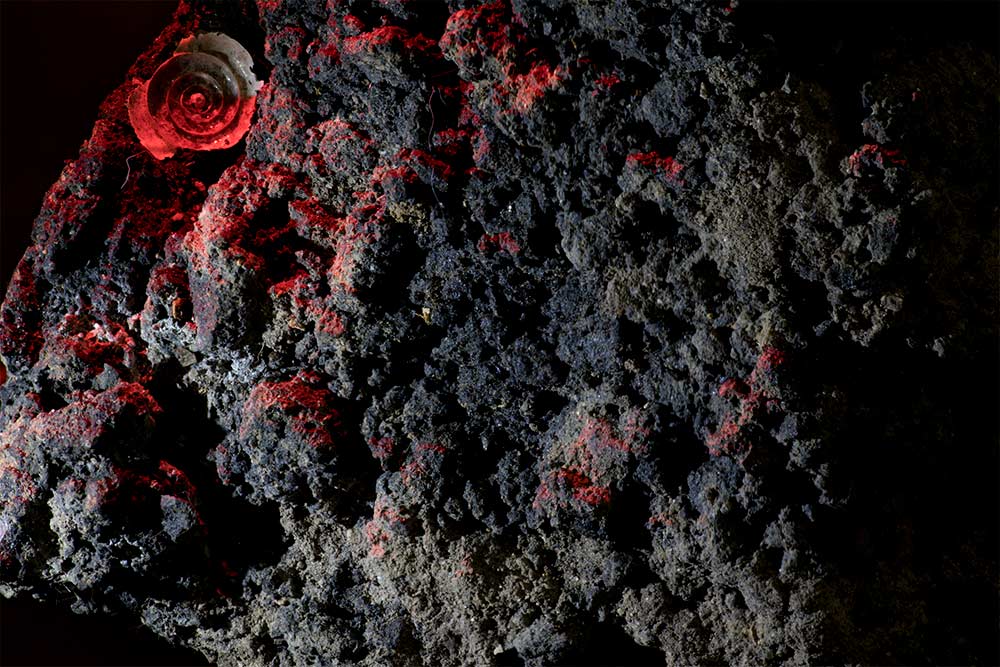
Add Colour
Sometimes adding a dash of coloured light can make an image pop. It’s something we experiment with regularly and it can work well with texture too.
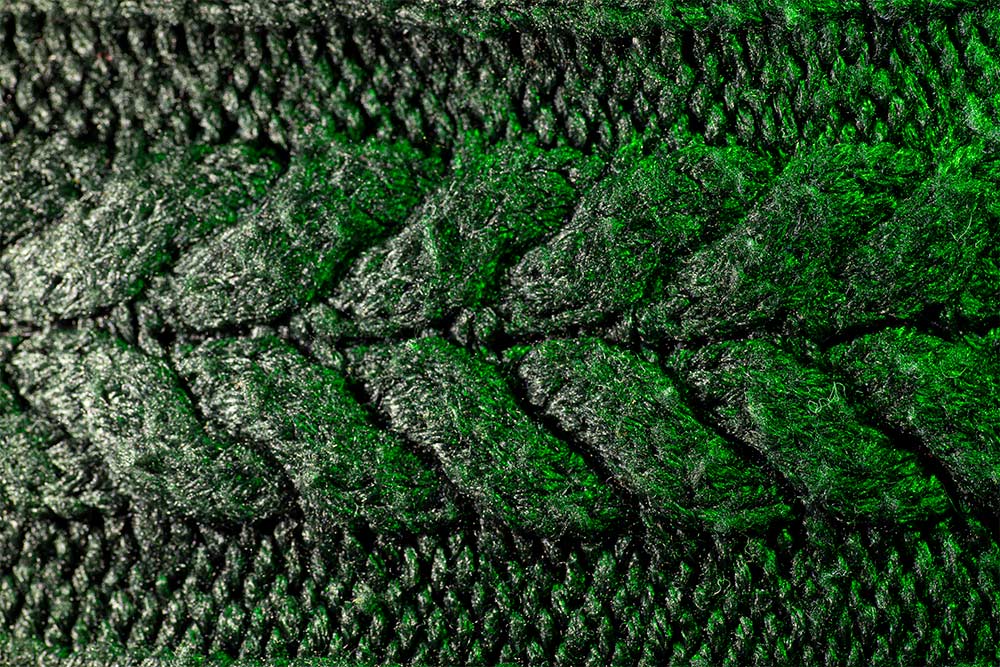
Use coloured light from a new direction to fill some of the shadows created by the main light. Sometimes a subtle hint is better, but try different styles to see what suits your subject most.
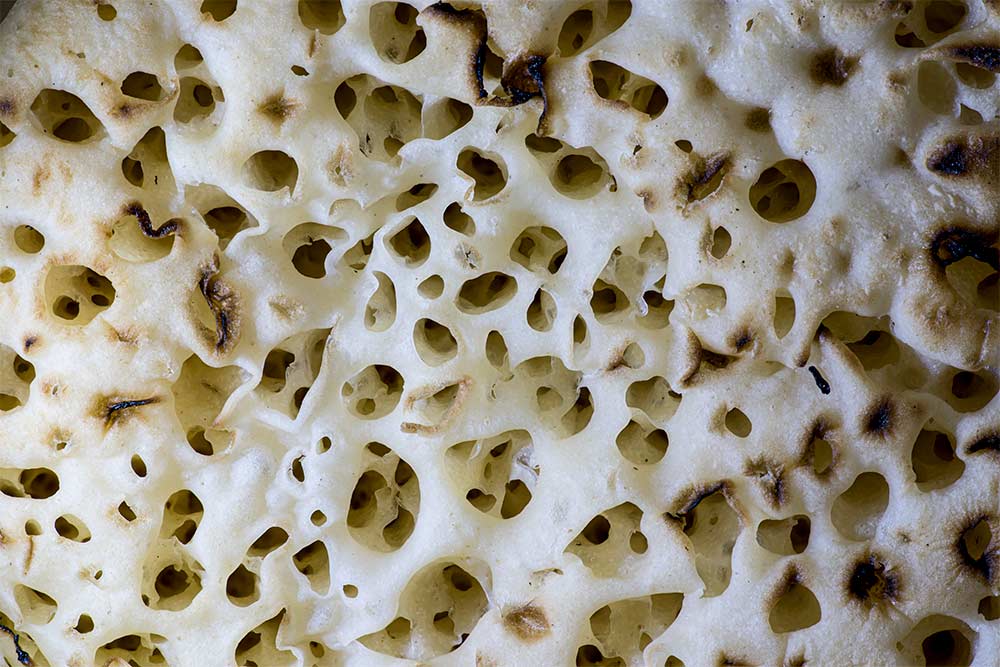
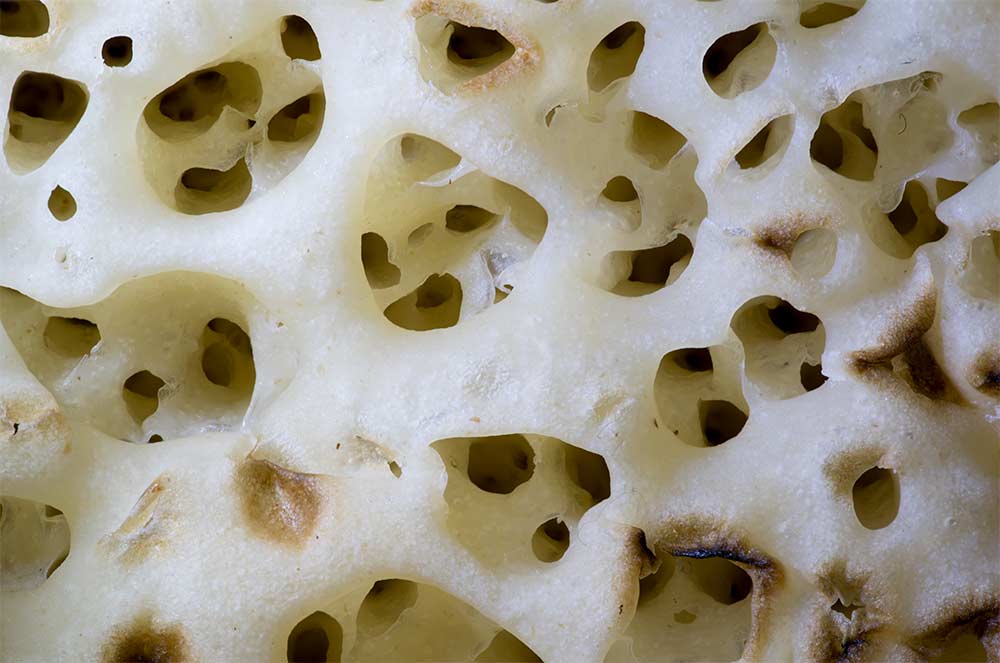
We particularly enjoyed the texture of the crumpet above. Those deep holes required some photo stacking, but food items like this have some amazing and surprising structures. For more like this, check out our fruit photography tutorial that makes use of lots of colour and light!
If you enjoy macro texture photography, make sure to subscribe to our YouTube channel for more macro photography tutorials, ideas and inspiration!
- Cool paper photography tricks that you should try at home - 14th April 2024
- Egg Macro Photography – Easter Egg Lightpainting - 30th March 2024
- Using Tonic Water to create amazing UV flower photography! - 16th March 2024


