15 tips to improve your macro photography – Watch on YouTube
Macro photography is a rabbit hole that many only scratch the surface of. The more you delve into the genre, the more subjects, techniques and effects you discover! In this article, we have gathered together some of our top tips to instantly improve your macro photography!
How to improve your macro photography
Focus
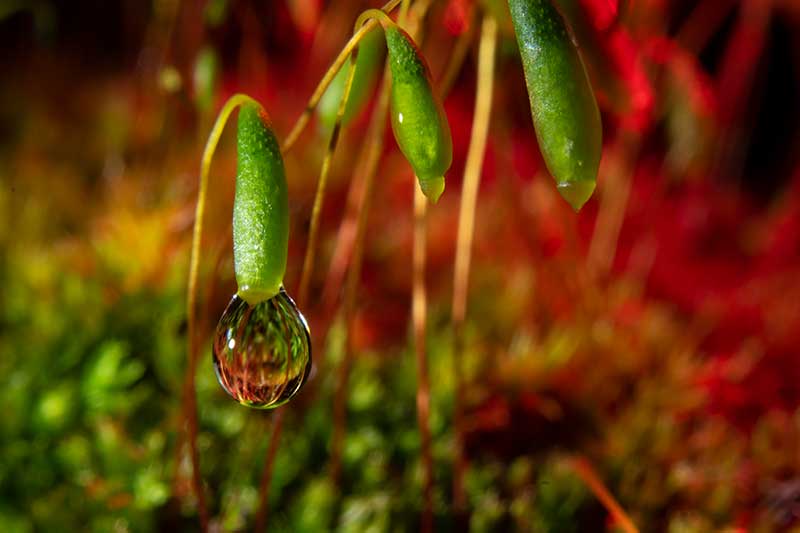
Focus and depth of field are huge factors in macro. The more magnified your subject, the less of it will be in focus. Here are some tips on how to get better focus in your images.
Tip #1 – Use a narrow aperture.
Aperture is the setting in your camera that changes how much light is let into the camera. This is done by changing a ring inside the lens, the larger the hole in the ring, the lower the f number.
A low f number (large aperture) means a very shallow depth of field. If you want more of your macro photo to be in focus, the easiest way is to increase your f number, making the aperture smaller.
This sometimes requires additional steps, like adding more light, or compensating with your other settings – Shutter speed and ISO.
Tip #2 – Focus Stack
Focus stacking is a technique that can totally eliminate the problem of depth of field. It involves moving your point of focus through the scene, taking multiple photos as you go. Once you have a series (or “stack”) of images, software is used to merge them together, keeping only the in-focus parts of each image.
We have a full tutorial on focus stacking right here – Beating depth of field in macro photography
Tip #3 – Focus Manually
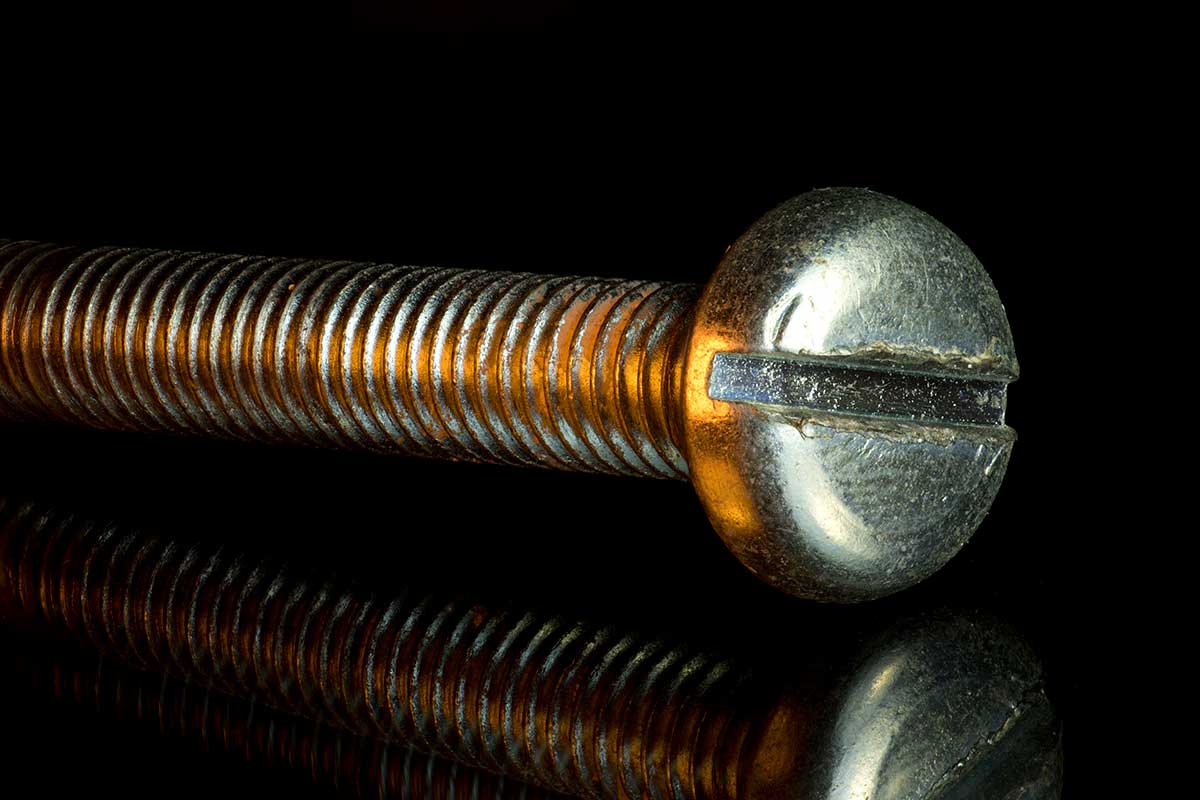
Most macro photographers will focus their lenses manually. Either by moving the ring on the lens, or by locking focus at a specific point and moving in and out of the scene with the camera.
Autofocus is great for larger subjects, but for macro, the camera often struggles to focus where the action is. When focus is such an important part of an image, it’s better to take your time and focus exactly where you want.
Tip #4 – Check and triple check
Check your focus! Even a small knock to the camera can change the focus of a macro photo, so make sure you are focused where you think you are!
If you want to be super precise, you can use your camera’s rear screen to zoom all the way in to your image. Some modern cameras also have settings for focus peaking, which highlights the sharpest parts of an image – super handy for macro!
Tip #5 – Forget about focus
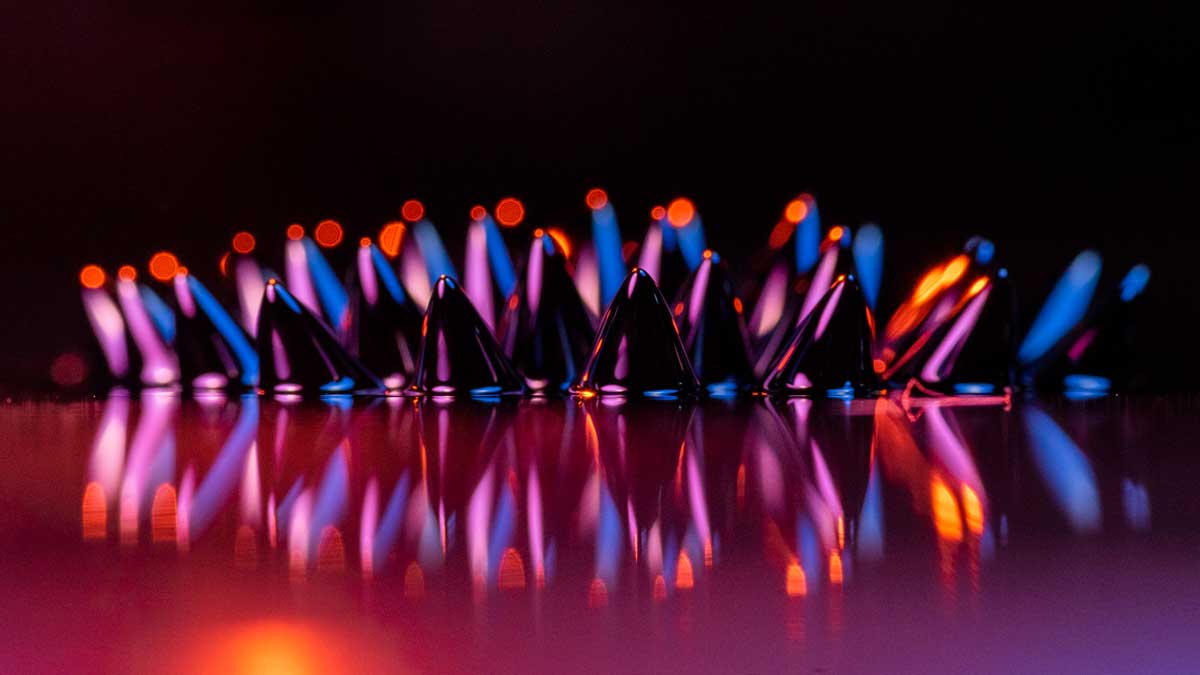
Ok, so focus and depth of field are a challenge for macro… why not embrace that? Not every photograph needs to be pinpoint sharp. The soft focus look of macro can make for some very pleasing images, especially if you enjoy abstract photography.
Try shooting with a very shallow depth of field from new angles. You might be surprised at the effect!
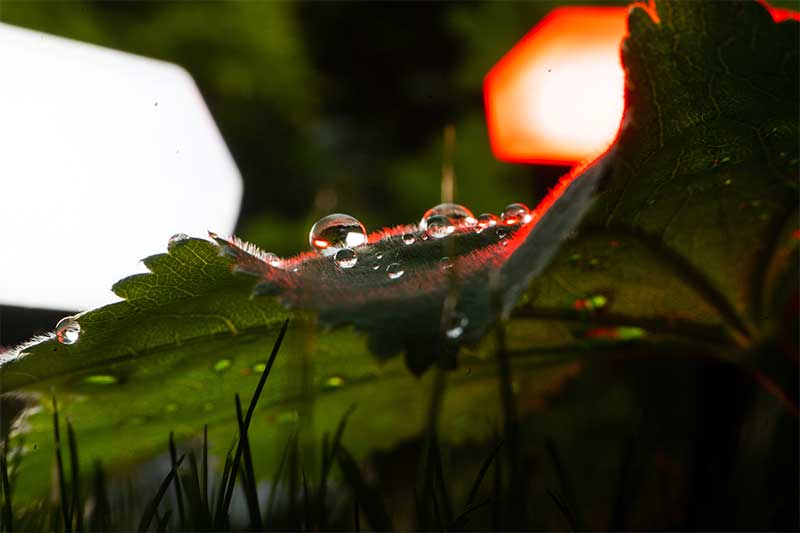
Bokeh is formed around points of light that are out of focus. By shooting with a shallow depth of field, you can make the most of the effect!
Composition
Tip #6 – Use a Tripod
This one is a bit of personal taste. Not everybody likes elaborate setups, or being stationary. However, it’s hard to deny that keeping your camera stable comes with some benefits.
Shooting macro can get very close, magnifying the effect of movement. It’s also much easier to focus manually and be precise when your camera and subject are fixed in position.
Tip #7 – Take your time
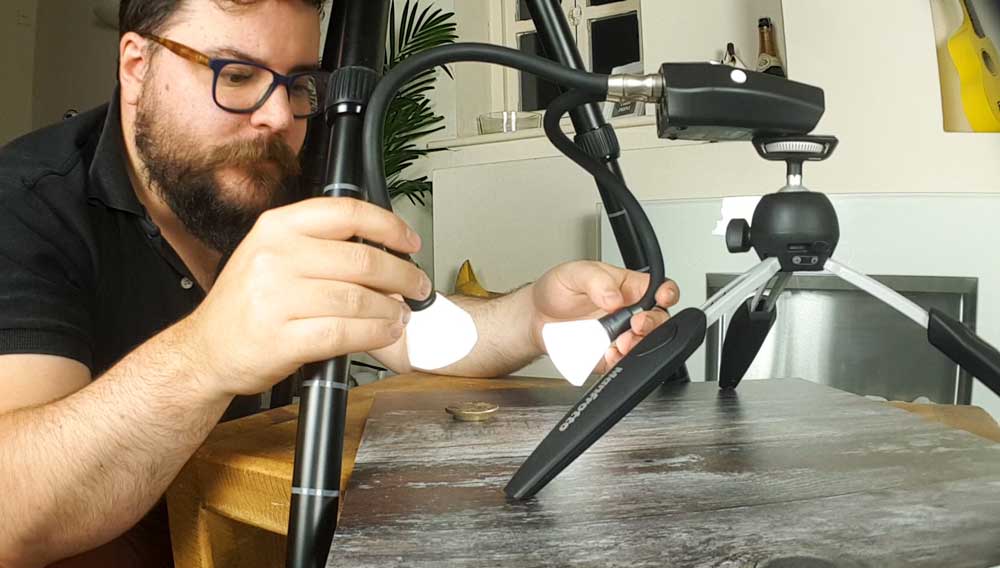
Macro is a genre that can afford the photographer time to set up a shot carefully. Especially if you like to practise your photography at home or in a studio. Take your time to frame your shot and consider every aspect of it, from lighting to focus.
This goes hand in hand with our other tips to improve your macro photography. Using a tripod, dedicated lighting and focusing manually all give you the time to get the perfect shot.
Tip #8 – Move the subject not the camera
Unlike with other types of photography, it’s often easier to move and position the subject than it is to move the camera. Manipulating the scene in front of your lens and leaving the camera on the tripod can allow you to “explore” the subject in new ways.
Remember that moving the subject will still change the lighting and focus too!
Tip #9 – Don’t forget the backdrop!
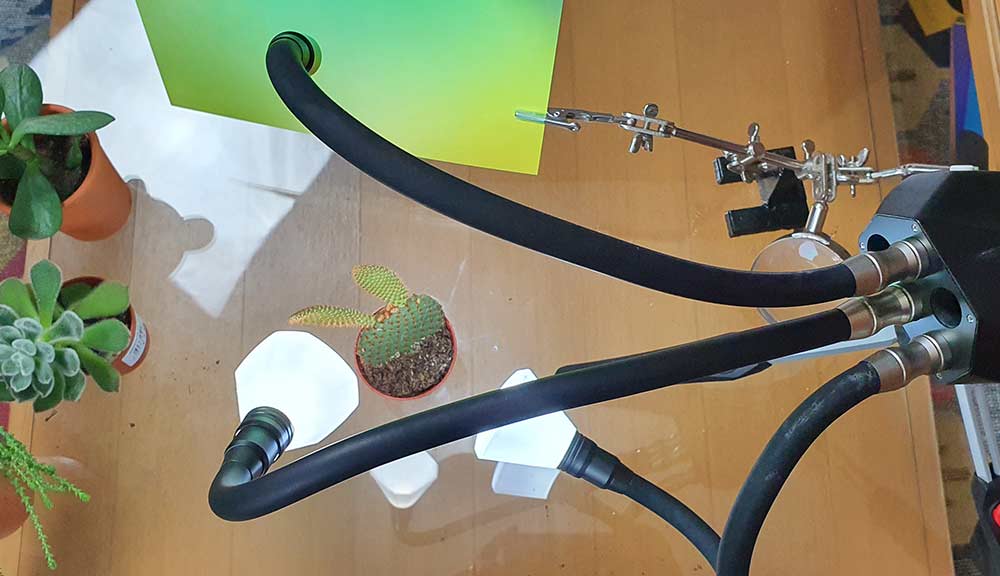
It’s easy to get caught up in the interesting detail of your subject and forget about the rest of the image. Consider your background too, even if you want it to just be plain. It’s easy to add some colour into the back of a macro photo using something like our Background Gradient Cards. Alternatively, it’s much easier to achieve a pure black background in macro, we have a tutorial for that here – How to shoot black background product photography without a backdrop!
Lighting
Tip #10 – Dedicated Lighting!
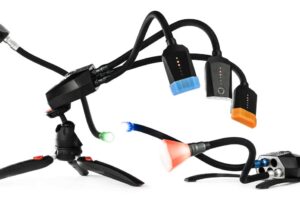
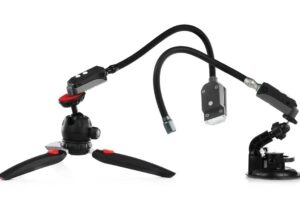
This one is a bit obvious, considering we invented the Adaptalux Studio for this exact purpose. With subjects so small and so much magnification in macro photography, it’s very hard to get the right lighting. We strongly recommend that any macro photographer have at least one artificial light source at hand.
You can rely on the sun and natural light… but if conditions don’t go your way, it’s not going to do your subject and your images justice!
Tip #11 – Go continuous
Getting a dedicated light source for your photography can seem a little daunting. Where do you put it? How bright does it need to be? What effect does diffusion have?
If you are just starting to take control of your lighting, continuous light is the way to go. Continuous lights like LEDs are on all of the time. This means you can make changes to your lighting and see the results right away!
Using continuous light is a very fast way to experiment and learn how best to light your shots!
Tip #12 – Use colour
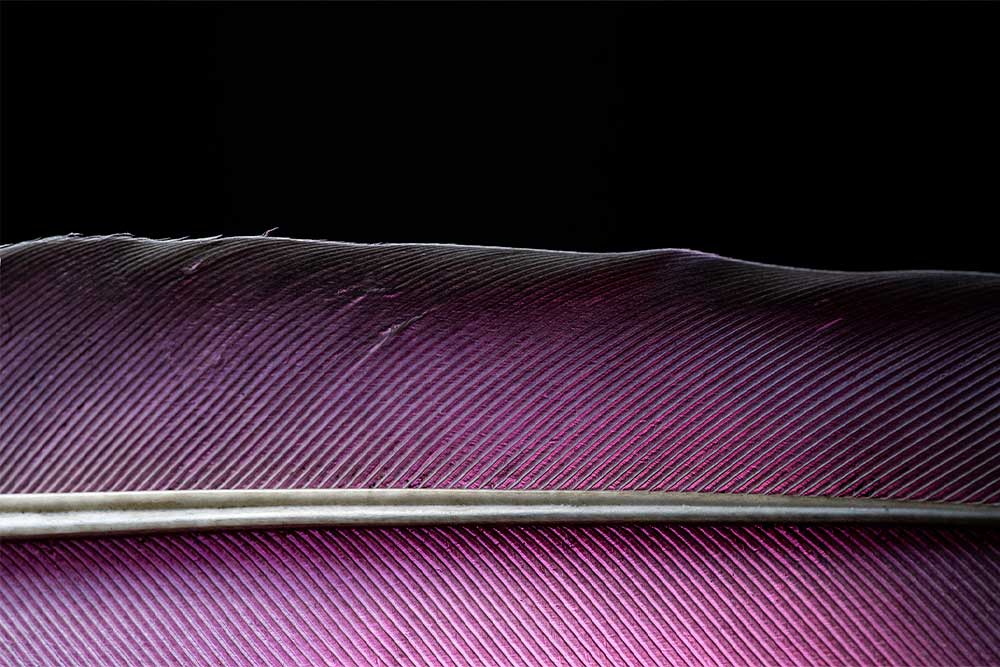
When considering how to improve in macro photography, don’t overlook colour. You can add colour to your images in several ways, but manipulating the colour of your light can have some very striking results. We put a big emphasis on colour in our lighting, with our coloured Lighting Arms, Colour Filters, and gels for flash.
It doesn’t need to be too over the top either, only a small amount of coloured light can make all the difference to a photo! If you only ever use white lighting… you’re missing out on lots of fun!
Techniques
Tip #13 – Go experimental
Try new things. It’s all too easy to fall into a category and never leave. If you have only ever shot flowers or only insects… push yourself to find something new!
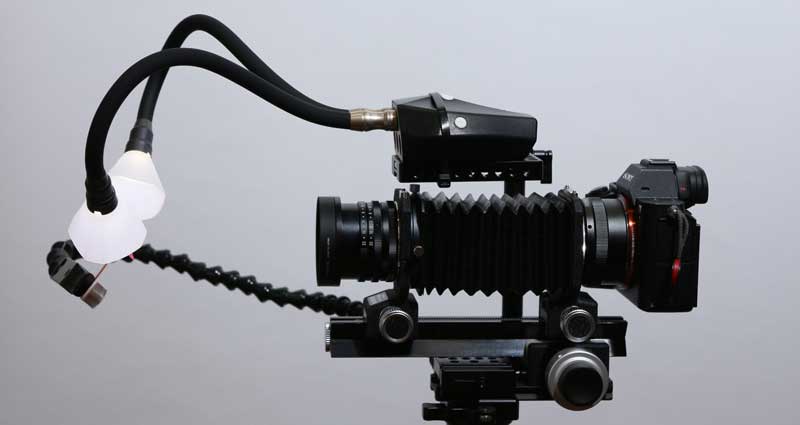
Not everything has to be done by the book and there is a huge amount of different techniques and subjects to explore. Embrace the abstract and photograph strange subjects like Ferrofluid, or even try shooting without a lens at all.
You can even keep your favourite subject and just try a new technique. UV photography has a shallow learning curve but opens up a whole new world for plants and insects!
Tip #14 – Go elaborate
Not everything can be achieved with only creativity and a camera. Some things take time, some research and some new equipment. Take water drop photography for instance. With a flash and a water drop kit you will find yourself lost in hours of tinkering to create water drop collisions. It can lead to elaborate setups that beginners would find intimidating, but the payoff can be incredible, both for your learning experience, and photographs!
We went through the process of learning water drop photography in a tutorial here – Macro Water Drop Photography
Tip #15 – Have fun
This is the most important tip for improvement we have. If you feel like you are in a rut, or your work is not meeting your own standards, you may be suffering from the dunning-kruger effect. It states that the people that the more competent you become with something, the lower you estimate your own abilities. This can manifest in photographers very easily and put a damper on how you feel about your own work.
Don’t over think things. Have fun and photograph for yourself. Learn at your own speed and shoot the things you enjoy. Don’t get intimidated by complexities and keeping up with the photographers you follow on Instagram.
We hope you find these 15 tips useful on your macro journey. If you have your own tips for other photographers, let us know in the comments, or feel free to ask questions if you need help!
Lastly, make sure to subscribe to our YouTube channel for more macro photography tutorials, ideas, and inspiration!


