How to beat depth of field in macro photography – Watch on YouTube
Depth of field in macro photography is one of the biggest hurdles that can stop people in their tracks. In this article, we are going to explore a well-known technique to combat the extremely shallow depth of field faced when taking close-up and macro photographs.
What is Depth of Field?
Firstly, let’s take a look at the problem we are dealing with. If you haven’t heard the term before, you will certainly have seen its effects
Put simply;
Depth of field is how much of your scene can be in focus at once.
When you focus on an object in front of your camera, the background may be blurry. This means the object is within the depth of field (DoF), but the DoF is too shallow to also include your background. The “depth” of your depth of field can be affected by many factors like sensor size, lens focal length and aperture.
Depth of Field in Macro Photography
Here’s the problem
Macro and close up photography creates the perfect storm for shallow depth of field. Getting close up to very small objects gives you a very shallow DoF. It’s also far more noticeable and a dead giveaway of the limitations of photography.
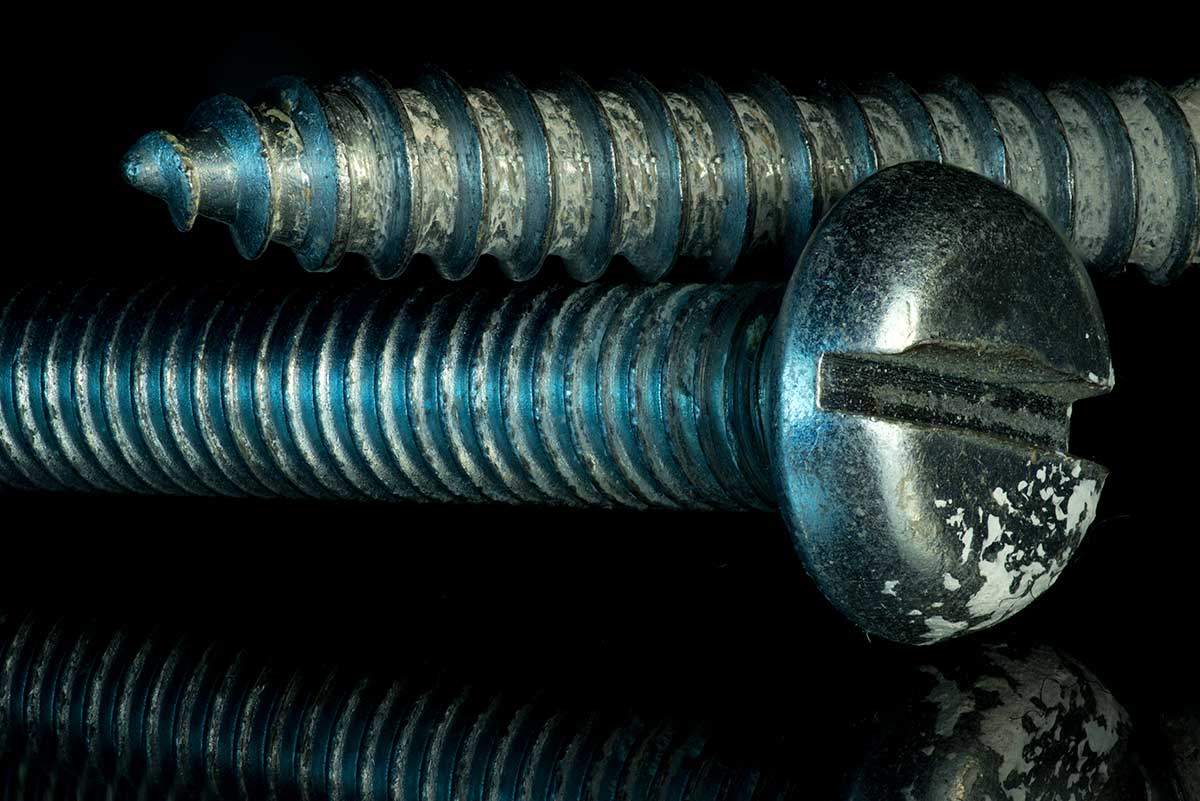
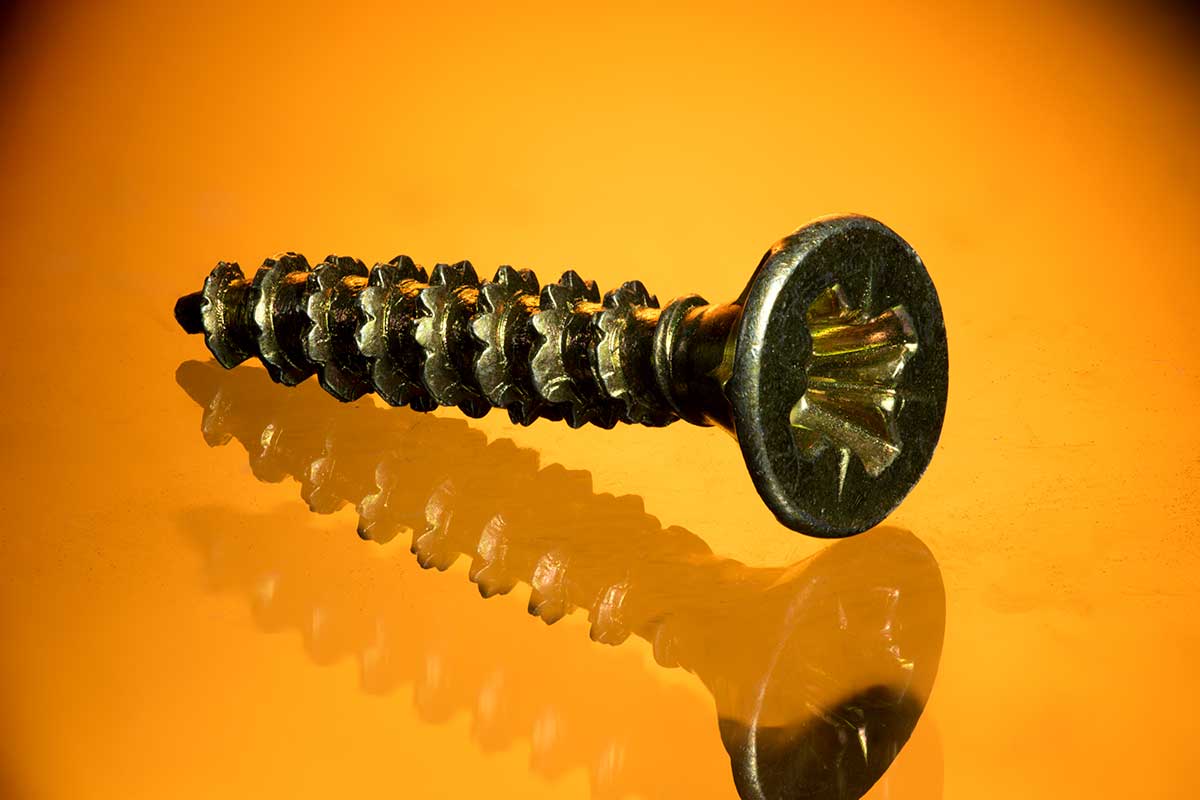
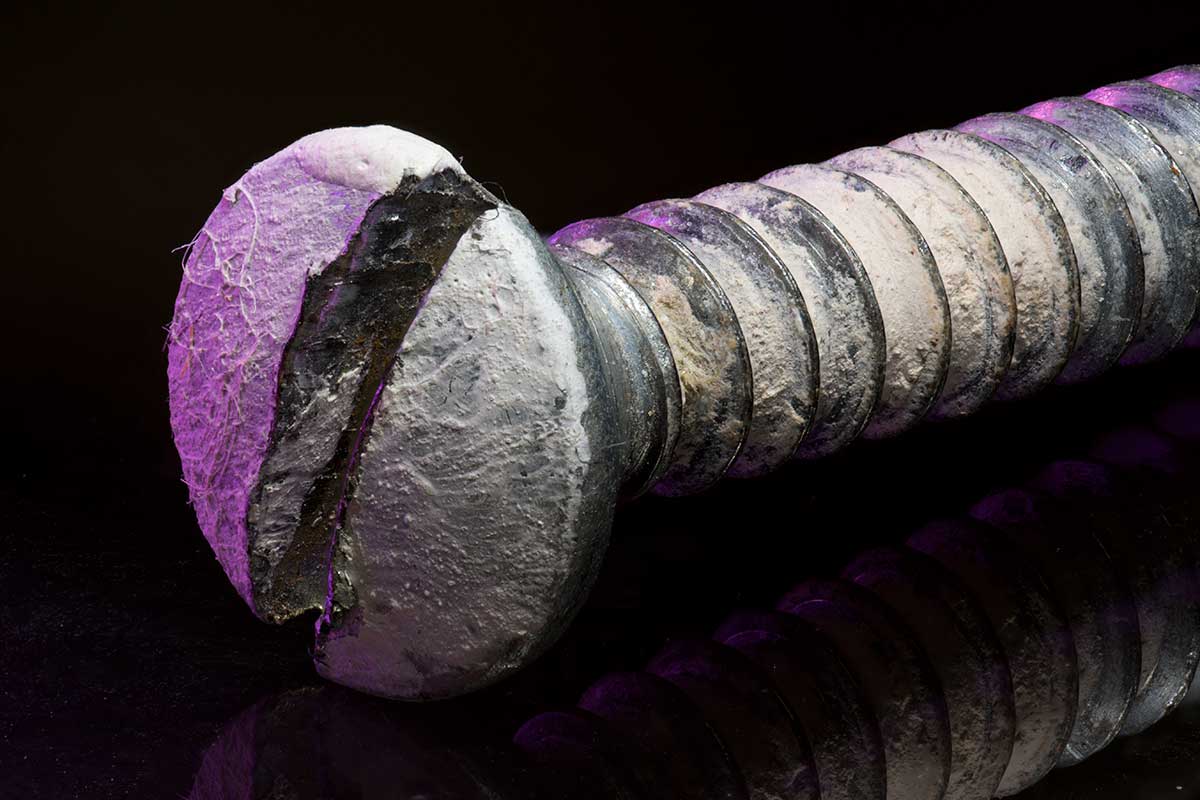
We’re using a very deep subject to demonstrate DoF in this article. Photographs of screws lend themselves to being sharp and in focus along the entire screw.
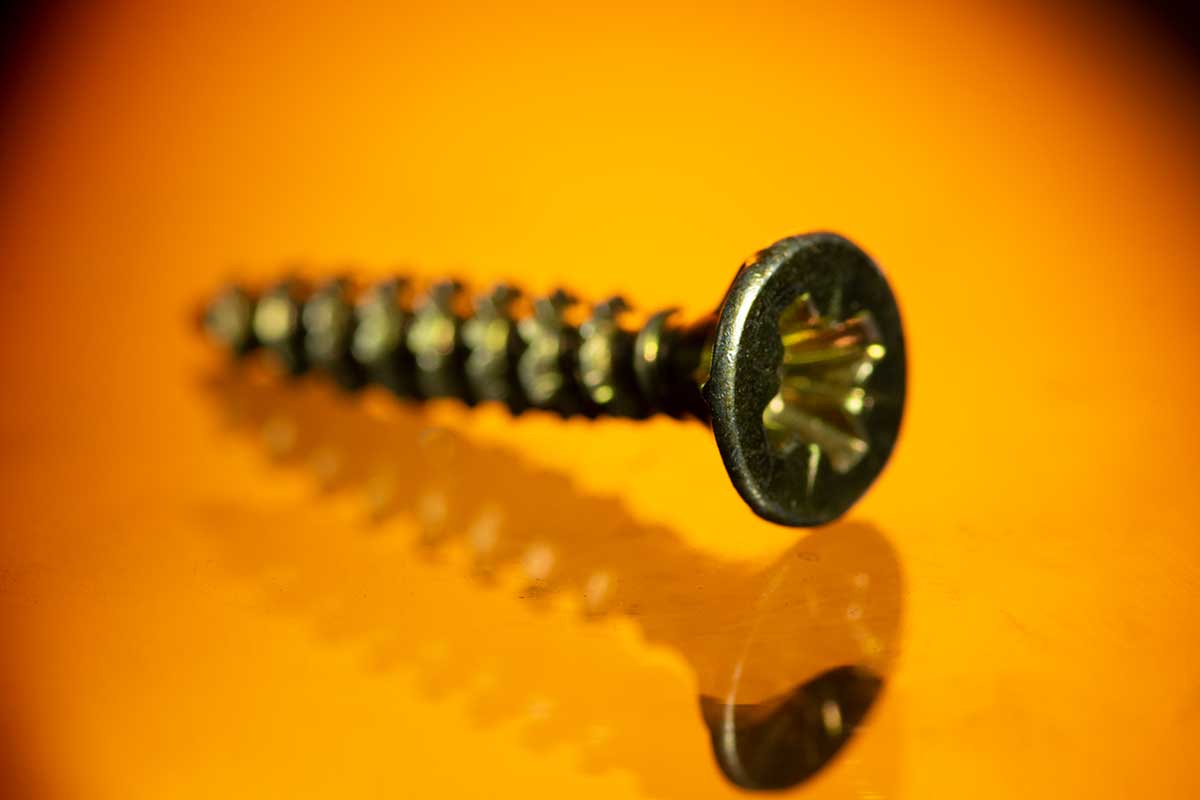
In the images below, you can see one of the images has a very shallow DoF. In the other, we have eliminated the focus dropoff almost entirely.
Here’s the solution
The problem of shallow depth of field in macro photography can be almost entirely eliminated in certain circumstances. When photographing a static object in a controlled environment (like our photographs of screws), we can take our time to photograph a subject.
With the right technique, patience and some magical software, we can undertake a Focus Stack.
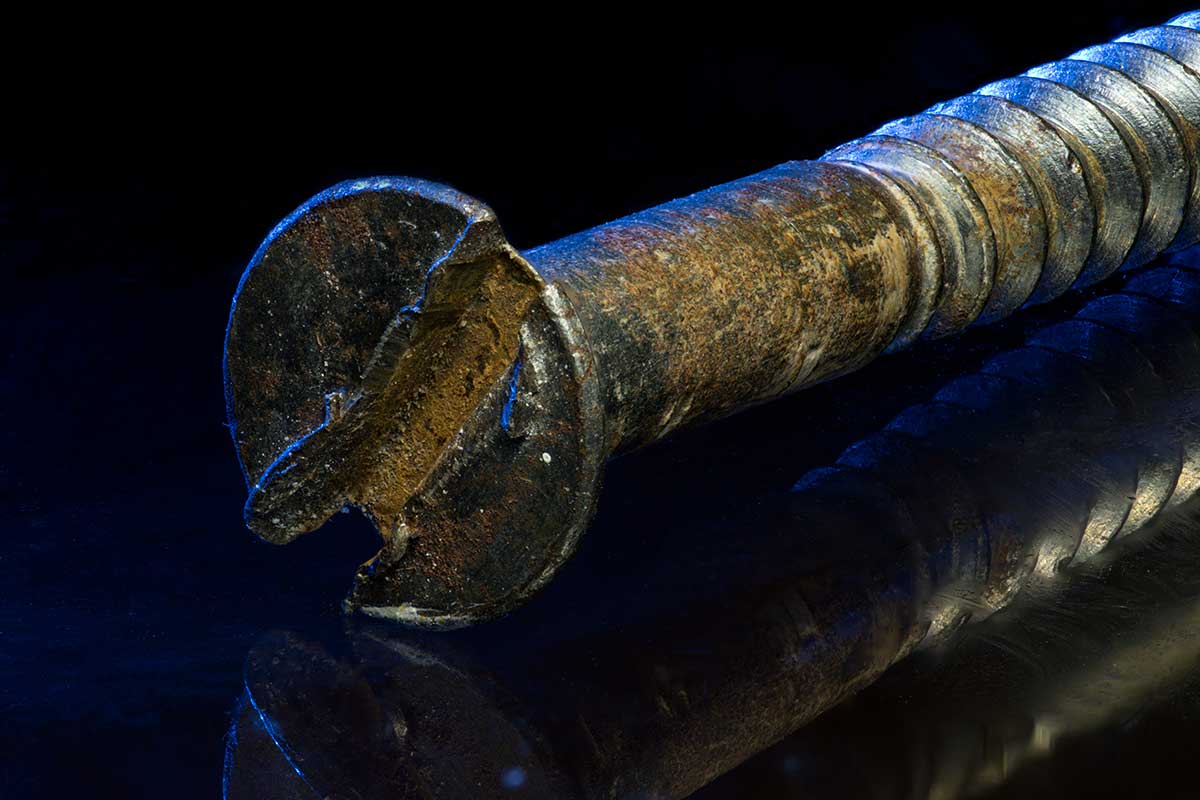
A focus stack involves compositing many images of the same scene together. The image below was made using over 150 images “stacked” together.
How to Focus Stack Macro Photos
We touched on a simple method to focus stack macro photos in a previous article, by just changing the focus on your lens. However, for stacks this large and a subject this deep, you need as much precision as possible.
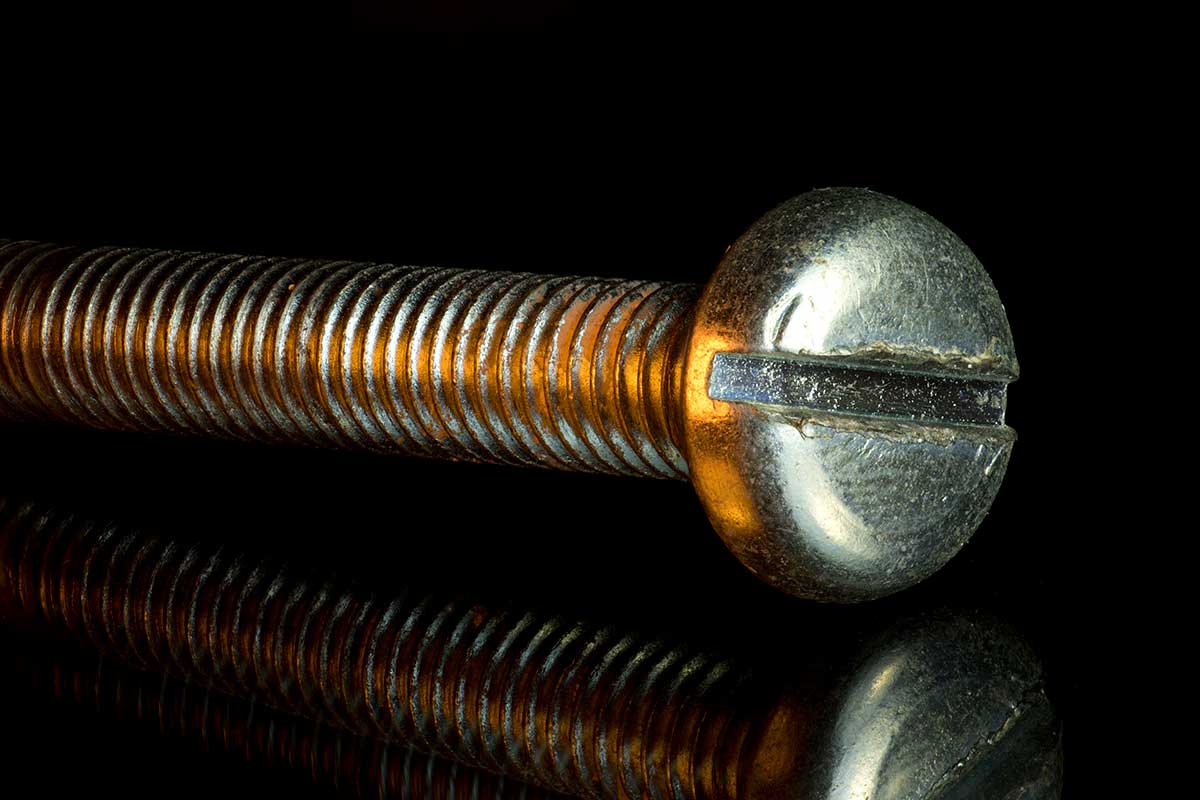
This means shooting a sequence of images using a macro focusing rail. Use the rail to move your camera in and out of your scene. This moves your plane of focus (usually parallel with the front of the lens) though the subject in slices. The goal is to get a photograph for every “slice” you need to be in focus. With enough slices, we can eliminate the depth of field in many macro photography scenarios.
Quick tips for a good stack;
Don’t change settings – You want all of the images in the stack to look the same, with the exception of the focal point.
Don’t go freehand – Any movement other than the front to back focusing will confuse the stacking software. Use a tripod shutter release cable and keep the camera steady!
Don’t use random increments – Move the camera the same amount between shots. Large movements and gaps between “slices” are hard for focusing software to calculate.
Don’t shoot out of sequence – Although not critical, software often uses algorithms that assume that each shot is taken in sequence moving through the subject. Jumping around your subject could cause some strange results!
How to process a focus stack
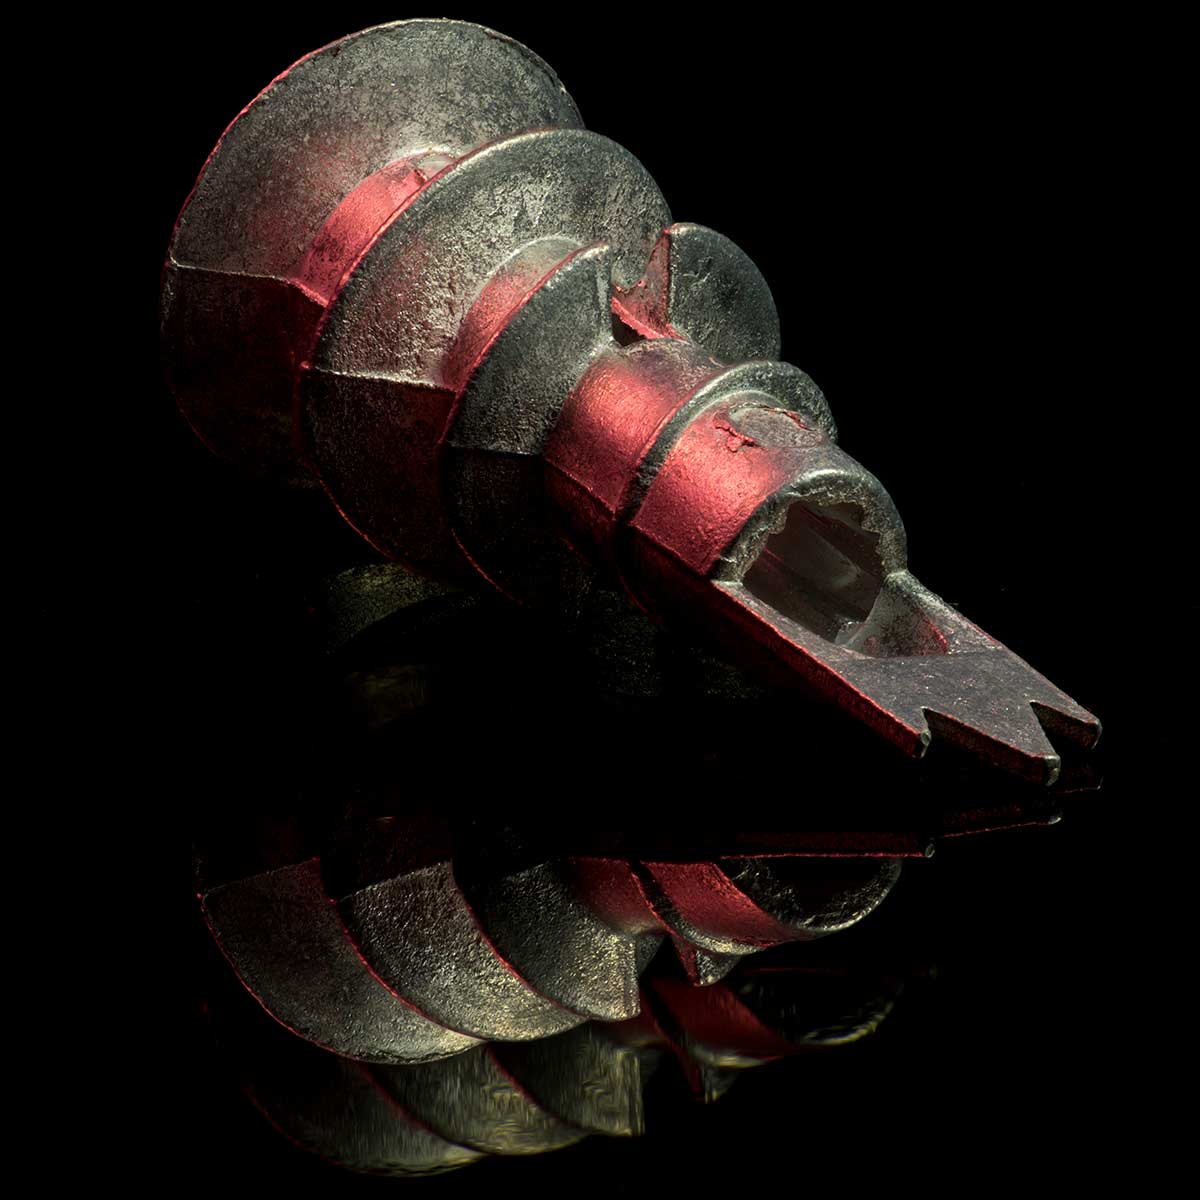
There are lots of options out there for processing a focus stack. Photoshop does a pretty good job, but it is very resource hungry.
For the images in this article, we used Helicon Focus. Helicon Focus is a standalone piece of software that can process large stacks of images. It has lots of options for different kinds of images, and rather than explain all of the options here, we recommend you learn more using the articles provided by helicon themselves. The software also has a 30-day trial, so you can just download it and give it a go on your own images!
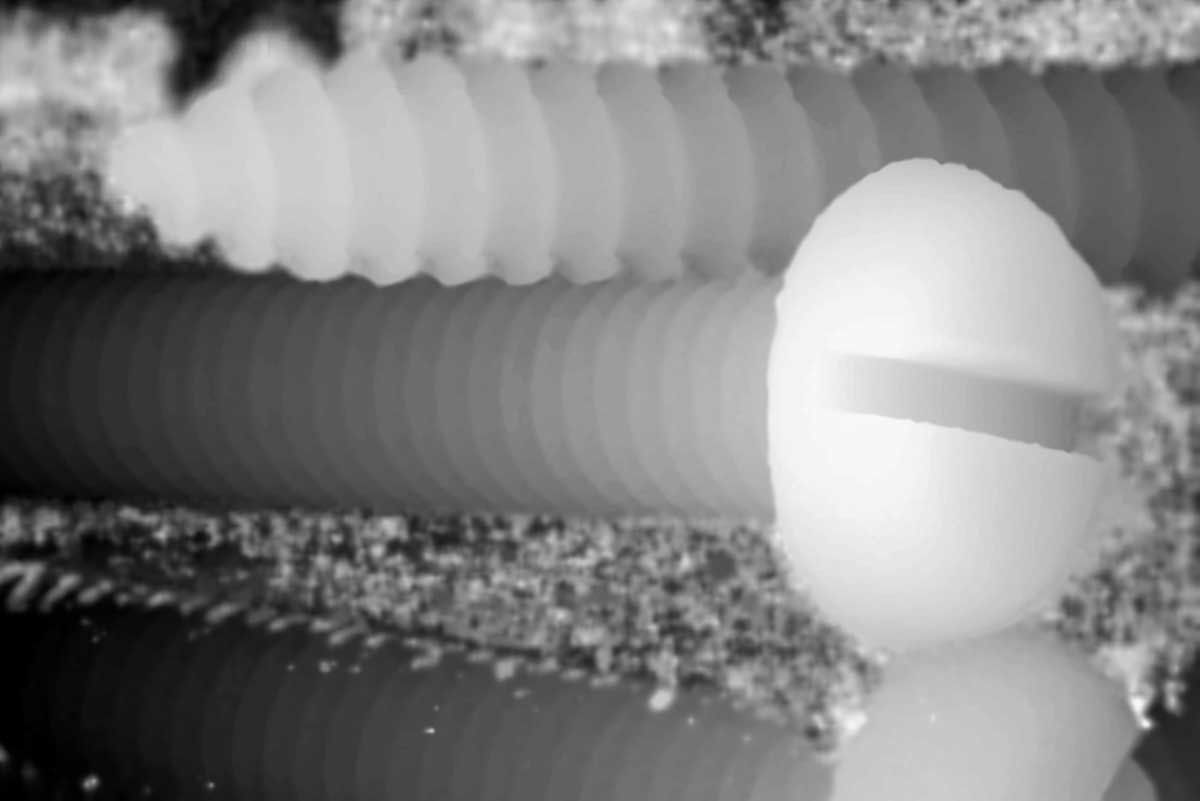
A nice little feature of this software is that it will also allow you to save a depth map file, that can be used to create 3D images on Facebook. Just rename the depth map to the same filename and add “_depth” at the end. Therefore, IMG_1234.jpg becomes IMG_1234_depth.jpg. Upload the original and the depth map together and facebook will automatically process it into a cool 3D image!

Remember, the depth of field in macro photography is not always something that needs to be eliminated entirely. Sometimes it’s better to embrace the blur and get something more artistic or abstract. There are lots of examples of using DoF to your advantage on our blog, like when we used paper to create abstract art!
Finally, make sure to subscribe to our YouTube channel for more macro photography tutorials, ideas and inspiration!


