Watch on YouTube – How to shoot black background product photography

One of the most common questions we get resulting from our blogs and tutorials is “How do you get a black background in your photographs?”. We don’t often show how it’s done, and we never use a black backdrop. The reason for that? It’s all in the settings and lighting. In this black background product photography tutorial, we are going to show you the technique.
We also covered white background product photography in a previous article.
Black Background Product Photography
Product Photography, portraiture, macro… you can apply this method to many genres of photography. We use this technique all the time in our macro photography tutorials. It’s also very common to see it used in portraiture for a moody and dramatic feel to your images.

The image above from our Cutlery Photography Tutorial made great use of this technique.
Step 1 – Underexpose everything
Firstly, we need to aim for a totally black background. However, this is quite difficult to achieve if you don’t have control over your settings. While choosing your settings, flip your camera to manual mode and bring up the histogram. The histogram view is usually found in the playback options of your camera.
The goal here is to have the background as dark as practially possible. Change your settings so the image is a dark as possible, like we have done below.


Use the histogram function on your camera to check if your exposure is dark enough. The histogram is usually under the playback settings of your camera, you can bring it up to check that all the pixels are to the far left of the graph. This means that the image is dark enough that the background will apear black, the more pixels you get to the left side, the darker your background.
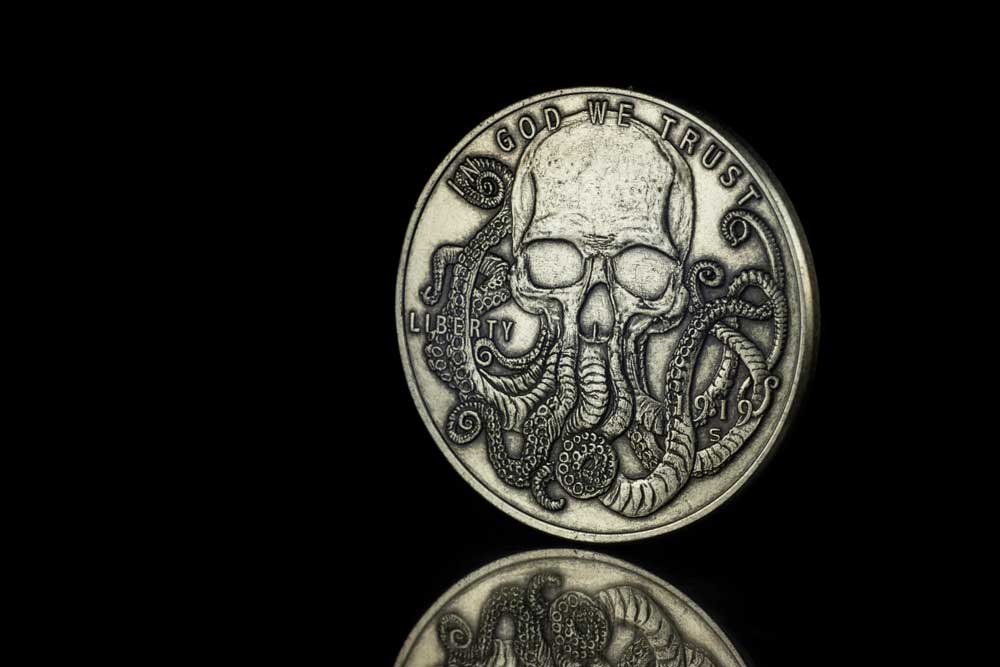
This shot from our coin photography tutorial involved underexposing the black shooting surface too.
Step 2 – Light your subject
After you have your settings and exposure decided, it’s time to light your subject. This could be a product, macro subject, or full size portrait. All of your normal lighting prefrences can still be achieved, with one exception. Don’t let light fall on the background.

By keeping a good distance between the subject and any objects behind them, there will be less light reaching your background. Having control over your artificial light is also key to success.
Using large lights for small subjects will make it hard to keep the light from spilling over the entire scene.
The goal is to get maximum light on the subject, and the minimum amount of light on the backdrop. Above all, keeping the backdrop as dark as possible by changing settings and manipulating light.

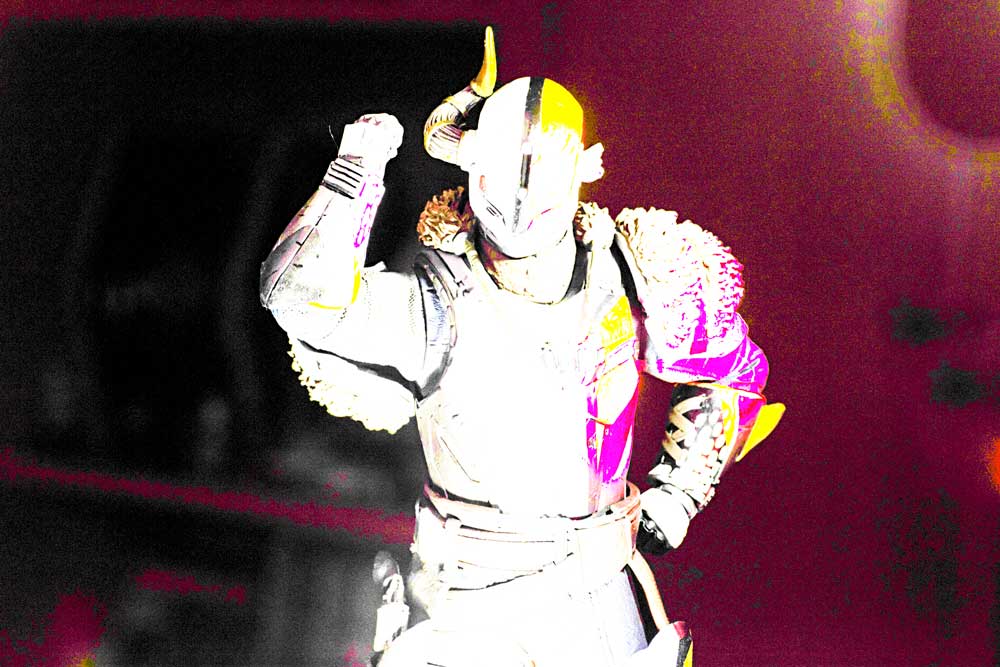
Black is not Black
Keep in mind that naturally, there is no such thing as “pure black”. Your camera will still pick up any tiny differences in light, no matter how hard you try. Because of that, there will always be some grain and varience in the blacks of your images.
In the image above, we have lightened the photo by 400%. You can still see some of the detail of the background even though it appears totally black under normal conditions.
From this point, you can easily achieve a pure black background in Photoshop. Use the burn tool set to shadows to paint out the grain. A pure black background can be important for matching web graphics with images. (We flattened all the black in the image next to step 2). However, some grain and variation in the blacks can make the image seem more natural to the eye, so you may want to leave it in.

Finally, in the image of our stand-in model above, we actually added some warm grain to the background to make it a little more appealing to the eye.
If you have found this article helpful, don’t forget to subscribe to our YouTube channel for more macro photography tutorials, ideas and inspiration!








Great presentation. Made detailed information so simple to understand. Learned so much in a short time
Excellent tips and great photos to follow along! Thank you!