


Watch on YouTube – Getting Started with UV Fluorescence Photography.
What is UV Photography
We wanted to take the time to look at the technique of UV fluorescence photography that can be achieved easily with the new UV Lighting arms for Adaptalux Studio.
UV photography refers to techniques that use Ultraviolet light to capture images. Essentially, light that has a shorter wavelength than blue on the electromagnetic spectrum is invisible to our naked eyes, but not necessarily invisible to our cameras. By implementing a few tricks, you can harness the power of the electromagnetic spectrum to create some amazing photographic effects, and see the unseen.
At first glance, UV photography can be quite confusing, with a variety of effects and styles. There are actually only 2 techniques commonly used, mixing them up is often the first mistake people make when getting into the genre, so lets get that out of the way.
UV INDUCED VISIBLE FLUORESCENCE

With UV Fluorescence photography, ultraviolet light is absorbed into the subject and visible light is re-emitted for your camera to capture as it would a normal image. Requires a dark environment and a UV-only light source. Cameras need no modification.
Reflected UV

As the name suggests, reflected UV light is captured after bouncing off the subject, the visible spectrum is deliberately blocked from entering the camera. Modifications may be needed to allow UV to pass through modern lenses and allow UV light to be captured.
UV INDUCED VISIBLE FLUORESCENCE PHOTOGRAPHY
Today we are going to be talking about induced fluorescence. It is the most accessible for those wishing to reach new possibilities with their photography as it does not require any modifications to your camera or lens. Although interesting in it’s own right, capturing images like those of renowned photographer Cara Philips (seen above) requires camera modifications and filters that add an extra layer of complication. As you can see from the comparison image below, the difference UV fluorescence can make to even a simple image of a leaf is quite striking. Check out our recent post for more examples of shooting flowers under UV light.


The Setup
To capture fluorescence, all you need is a UV only light source, a dark room and the right subject.

Step 1: UV Light
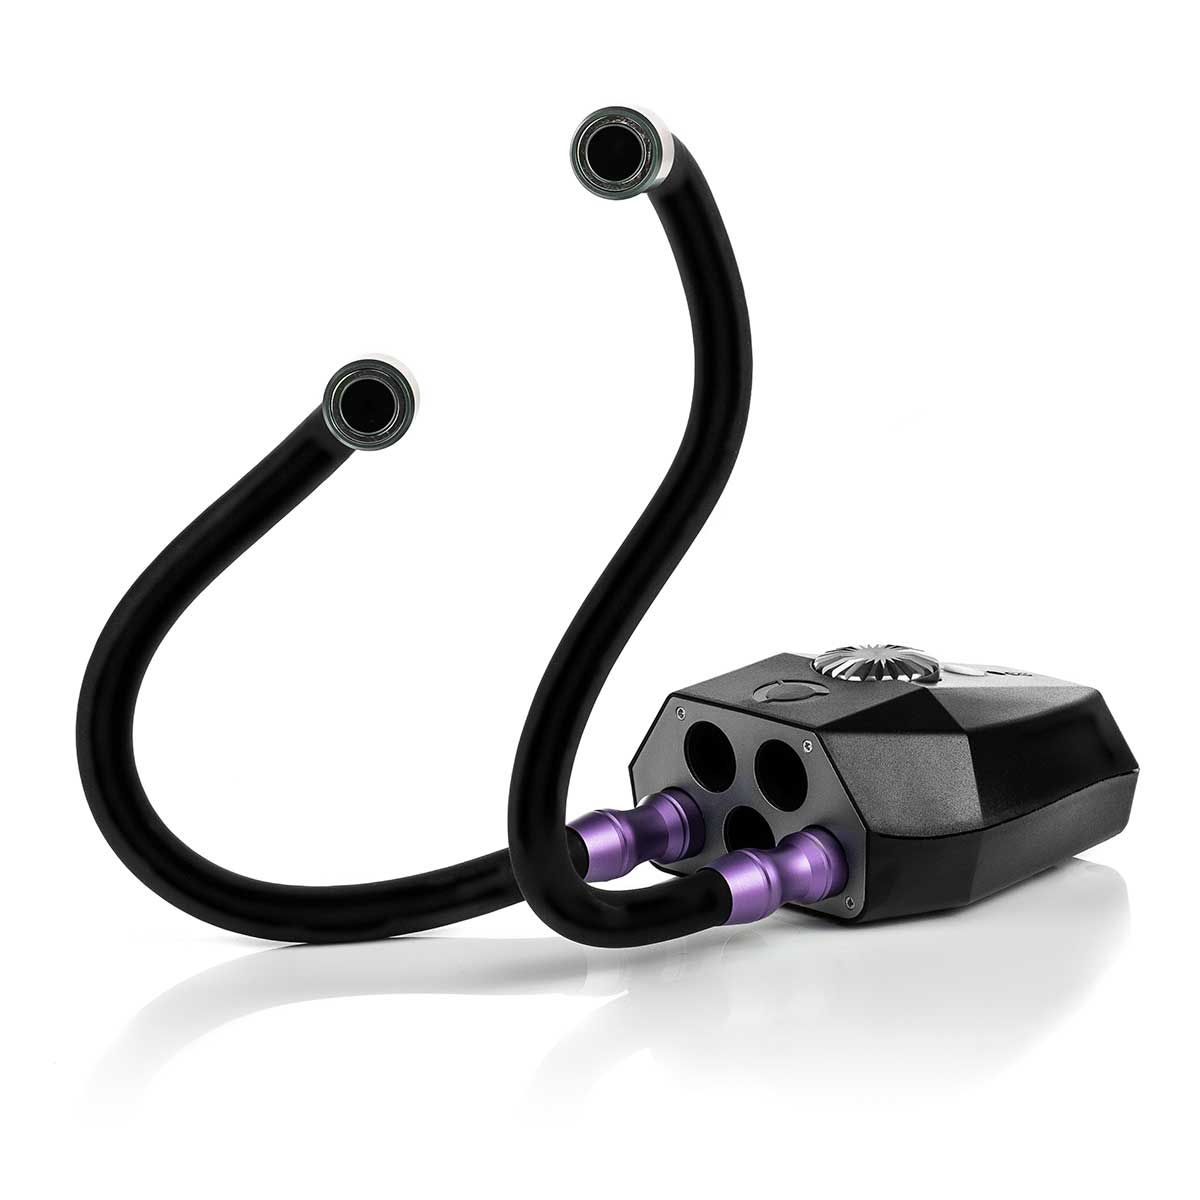
The most important aspect of UV Fluorescence photography is the source of the UV light and controlling the visible spectrum (more on that later). We have been using our new UV Lighting Arms (currently on Kickstarter) which are specially designed to cut out 99% of visible light and produce only UV. The UV lights you may have seen in everyday life (nightclubs and Halloween parties tend to make good use of UV bulbs) produce a huge amount of visible light – blue and violet, alongside the ultraviolet light that we need.
Using an un-filtered UV light source will still induce that telltale glow, especially in highly fluorescent materials, but when trying to photograph the more subtle effect of UV on less fluorescent materials like plants, the blue light will vastly overpower the light emitted from the subject (leaving you with just a very blue/violet image).
To solve this issue, we need a specific type of filter, one that cuts out all visible light and lets only UV pass through. These special bandpass filters will look totally black to the naked eye, as we can’t see the light that passes through it.
It’s possible to modify flash guns and types of UV torches to leave only UV light, there are entire DIY forums dedicated to it, but the LED’s and filters involved can become very expensive. When designing our UV arms, we wanted them to be usable right out of the box to make experimenting with UV easy so we built the filter right into the arm – they produce only true UV light, perfect for UV fluorescence photography.

Step 2: The Subject
Most subjects have a little fluorescence, researching and choosing your subject wisely can save you a lot of time, but there is nothing like grabbing random objects and putting them in front of the camera.
Some of the most interesting effects we have achieved using our new prototype arms have been while experimenting. The first thing we recommend when you get your new Lighting Arms is to go outside and grab a bunch of different leaves, the more alive the better. You are sure to find a lot of artificial subjects that glow under UV, but living plants and insects provide the most interesting results.

Other notable subjects include household items that include fluorescent dye. A lot of white objects around your home will include a small amount of this die to make them look “whiter than white”. Sheets, clothing, highlighter pens, even copy paper. You could try interesting combinations of these super bright fluorescents with normal light included, they should glow bright enough to be captured with ambient light around.

Step 3: Darkness
For the same reason as needing the light source to be as “pure UV” as possible, we also need to endeavour to cut out any ambient light from the environment. We’re talking total darkness! The light from a phone, a window or even the moon can cause the fluorescence to be overpowered in your UV fluorescence photograph. The more light you can cut out, the better your results will be!
Once you have the UV lights as the only source of light, make sure there is nothing around your environment that will fluoresce more than the subject. Specks of dust and hairs on the subject will glow brighter than you would expect, and white sheets or a rogue bottle of tonic water (another interesting subject to play around with) will produce enough fluorescence of their own to contaminate your main subject.

In the shot of a white lily above, you can see dust on the black background, glowing under the UV light. Although we didn’t aim for this in the shot above, deliberately adding specks of UV ink to backgrounds can create some interesting effects and bokeh to experiment with.


That’s all there is to it! Frame and focus your image with the lights on, with a tripod and shutter release. When you are ready, flick the lights off, stand back and shoot! The small amounts of fluorescent light we are dealing with means you will likely be shooting with long exposures or high ISOs. Most of the shots in this post we took on a tripod at f11, with speeds of between 20 and 30 seconds to keep the ISO as low as possible. Keep the subject and camera still, the room dark, and you will get surprising results from even the most mundane subjects.
Several times while developing the UV Lighting arms, we have placed a subject in front of the camera thinking “this won’t so anything, it doesnt look like it glows at all” only to be startled by the new details and colours that emerge in the final image. UV Fluorescence Photography is amazing, don’t take our word for it, try it yourself!


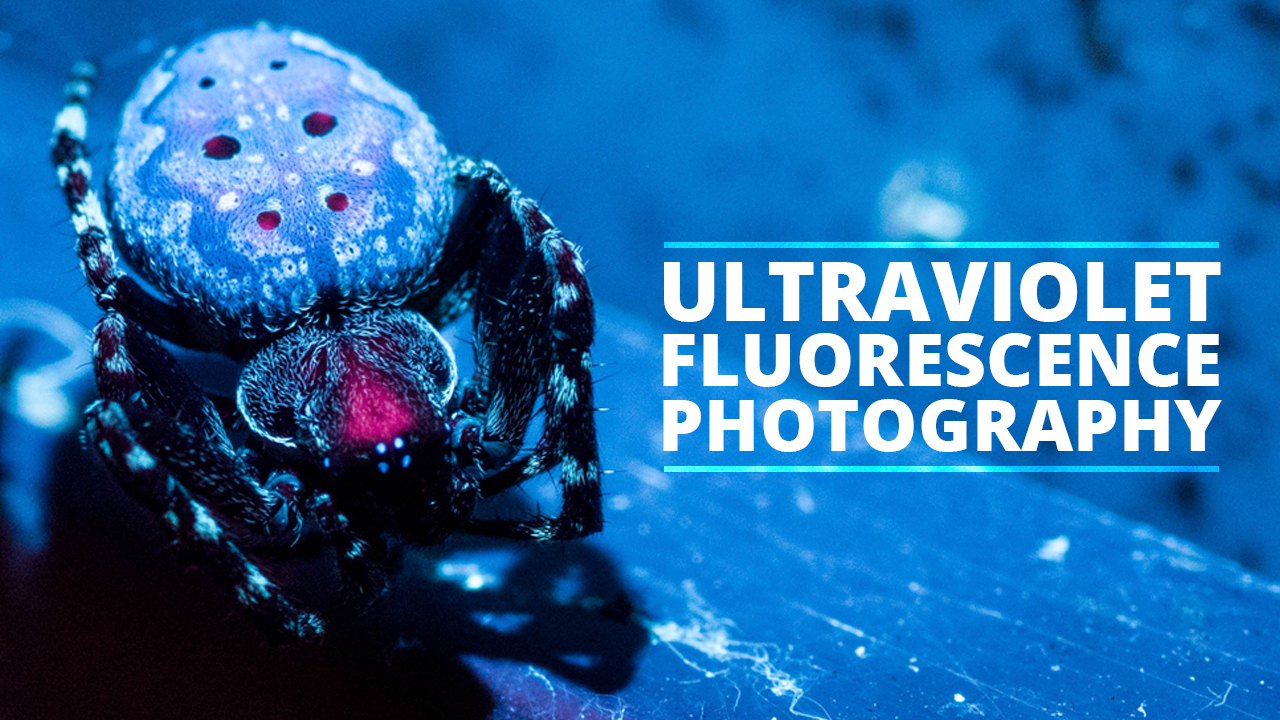
This spider was shot in an urban garden at night, there was a lot of light pollution, but certain spiders and insects fluoresce very brightly, and often with unexpected colours.

Get started UV Fluorescence Photography
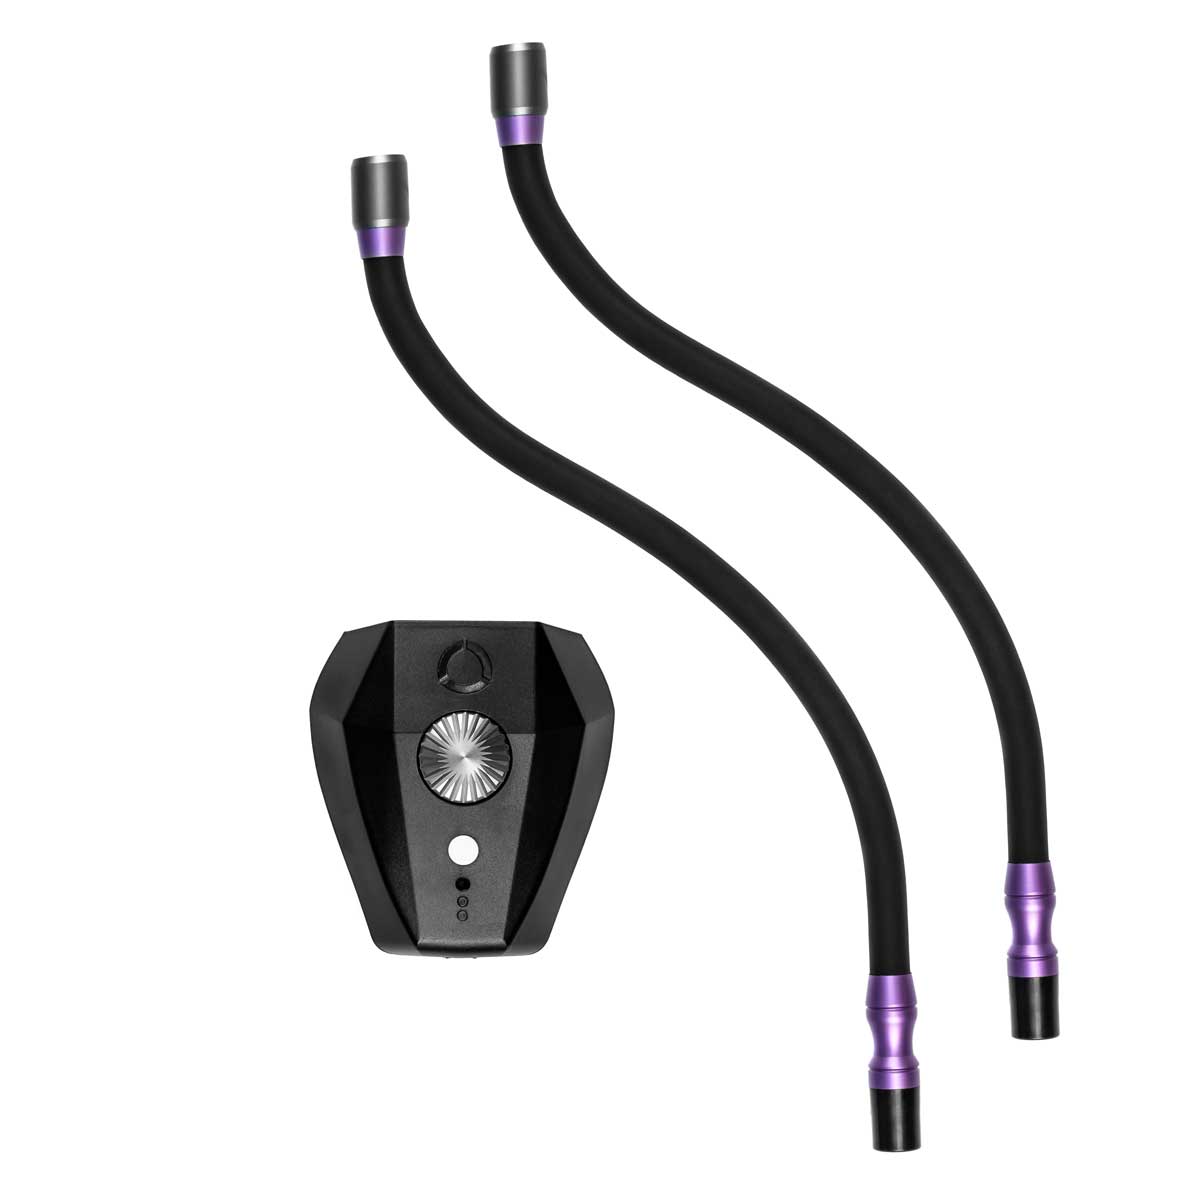
All of the Fluorescence images in this post were shot using our brand-new UV lighting arms. The kickstarter project was over 400% funded after only a week, which has allowed us to produce the arms.
So if you want an easy way to try out UV photography (along with other cool effects) check out the arms which are now available on our store!

- CPU Macro Photography – Create Abstract Cityscapes with Light and Detail - 12th July 2026
- Photographing Grains of Sand at High Magnification - 28th June 2026
- Colourful Abstract Macro with a CD – A Fun Shoot to Try at Home - 14th June 2026


The one thing that for me would be very useful is an on/off switch. I use the Adaptalux system in a static setup and would like to have the option to leave it all setup but switch the lights off. I know this can be done with my iPhone but it is only good while it’s connected via bluetooth.
Hi Stuart
If you press and hold the top button for 8-10 seconds the pod will go into “sleep” mode. It will still use a little power in this mode and drain the battery if left for several days, but if you have it plugged in to the usb cable all the time, it is as good as being totally off.
Dear Ben
Just got my lights and, despite the daylight, tried out the UV lights in a darkish room (darkened as best possible). I made a mistake not using a dark background (used a wood table).
But I am still please with the result from a Centratherum punctatum flower (Brazilian Button, native to Argentina but now widespread).
All the pollen and stamen fluorescence nicely – a signpost for the bees and birds to visit.
(How can I post an image?)
Great lights from Adaptalux.
Amar
Hi, great article.
Have you take these kind of pics over a water body.? For example over the surface of a lake or a river and see how the bottom it looks like?
This is for experimental purposes, I would like to try but I don’t have any equipment yet.
Hi Laura, It’s not something I’ve tried before, I suspect the water wouldn’t show up well, but it’s something to try!”
Hi Amar,
We would love to see your results, perhaps post them on social media and tag us using @adaptalux or #adaptalux so we can be notified and check out your work!
I bought the starter pack with two UV lights a year ago and have been having fun with it. I was wondering if buying a couple more would help increase the UVIVF coming off of my subjects so that I can shorten my exposure times
Hi Joshua, Generally yes, the more UV light you provide, the more a particular subject will glow.