We love to showcase the amazing work of our customers, their story, and their experiences with our products. In this article, Darren Littlehales gives us an insight into the methods and inspirations behind his Star Wars figure photography.
Star Wars Figure Photography
Creating a galaxy far far away with Darren Littlehales
About the Photographer
A near 50-year-old with a mad passion for all types of photography, Daren re-kindled his interest and then love of photography around 2007, when a friend showed him his first digital camera. Darren’s first digital camera was a Fuji Finepix, and after 2 more years his first DSLR, a Sony a350.
Around 2012 Darren got serious, looking at what he wanted to do with his photography and which camera brand to go with. He chose Canon, mainly because of the range of glass and how available it was when compared to other brands of camera.
Developing My Interests
I don’t just do macro photography! During the warmer times of the year (before covid) nearly every other weekend you would find me at some sort of event. A 1940’s weekend, horse trials, rally cars, light painting, or off to Wales for a bit of landscape photography.
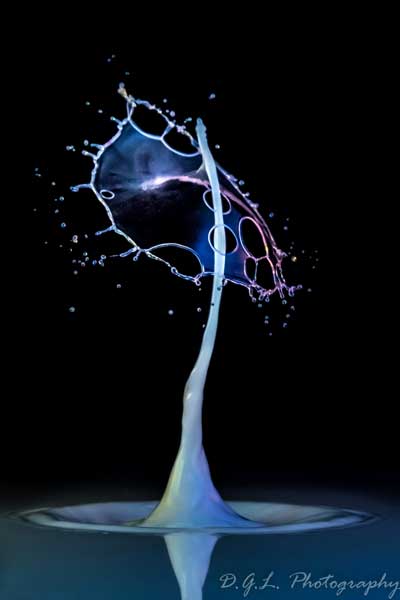
But during the colder, wetter times of the year, I do what I call my desktop photography. Smoke trails, water drops, anything I could turn into an image of interest. It wasn’t until I got my Adaptalux Studio system (which I mainly brought to do UV photography) that my interests changed.
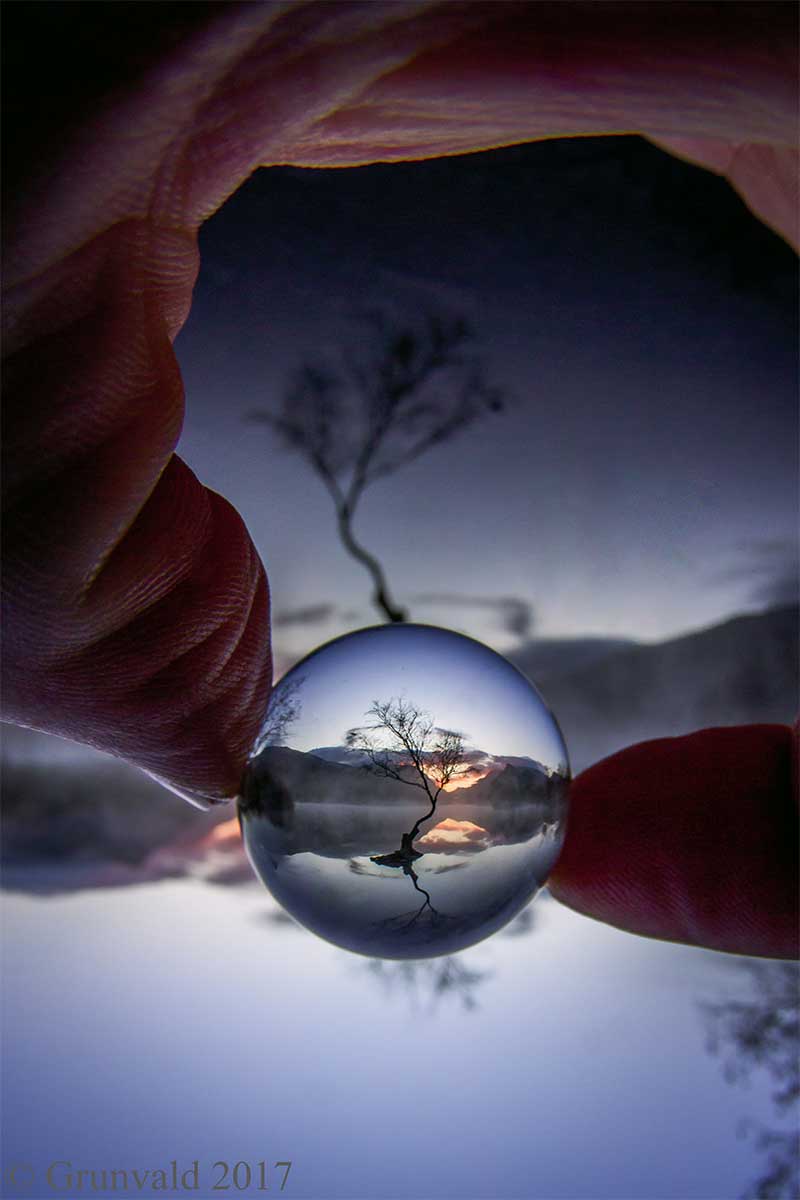
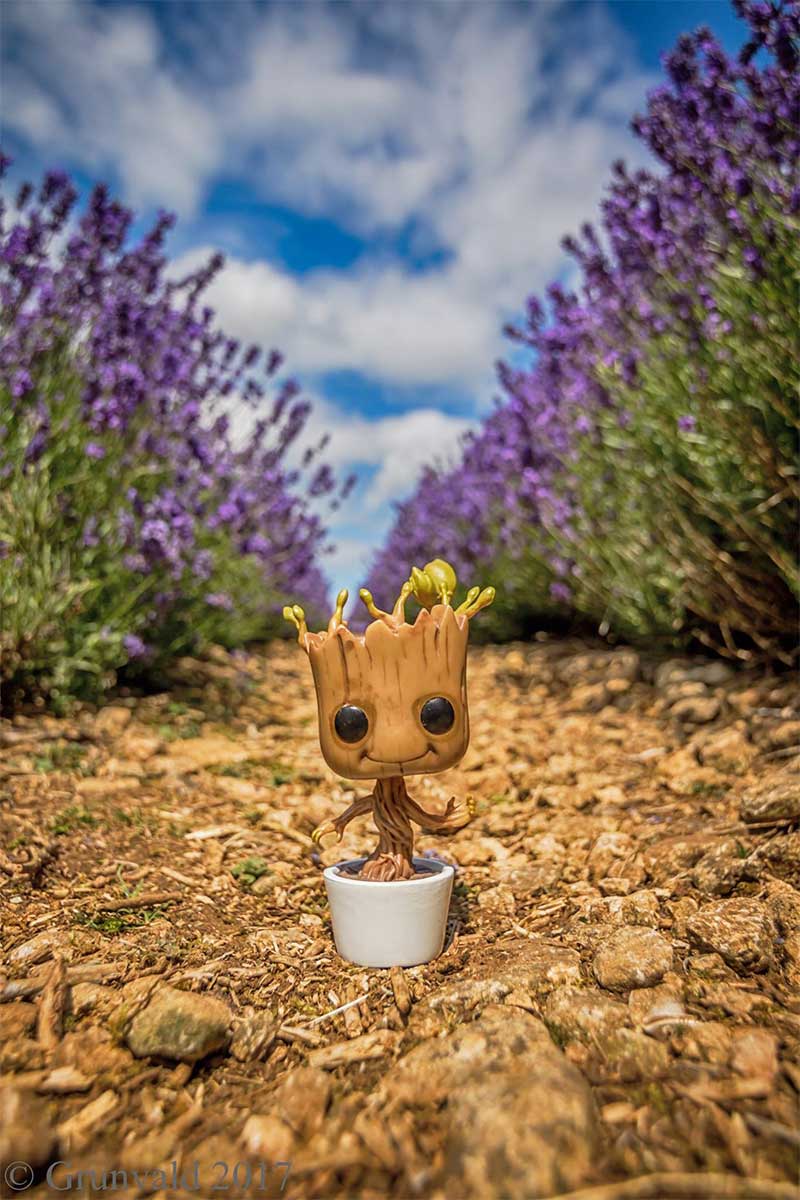
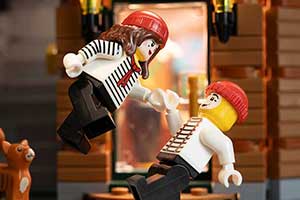
I’ve had an interest in toy photography for several years. From taking a picture of a Funko pop figure when out and about, to carrying around small Minions and Pokemon figures in my camera bag so I can capture them almost anywhere I take them to. But, the larger figures – I had seen them with explosions or purpose-built scenes – had always seemed beyond me, too expensive!
However, during the covid lockdowns, I set myself targets to learn new photography skills. This I did with my water drop photography, and then made the decision at the start of 2022 to push my knowledge further and do Star Wars toys.
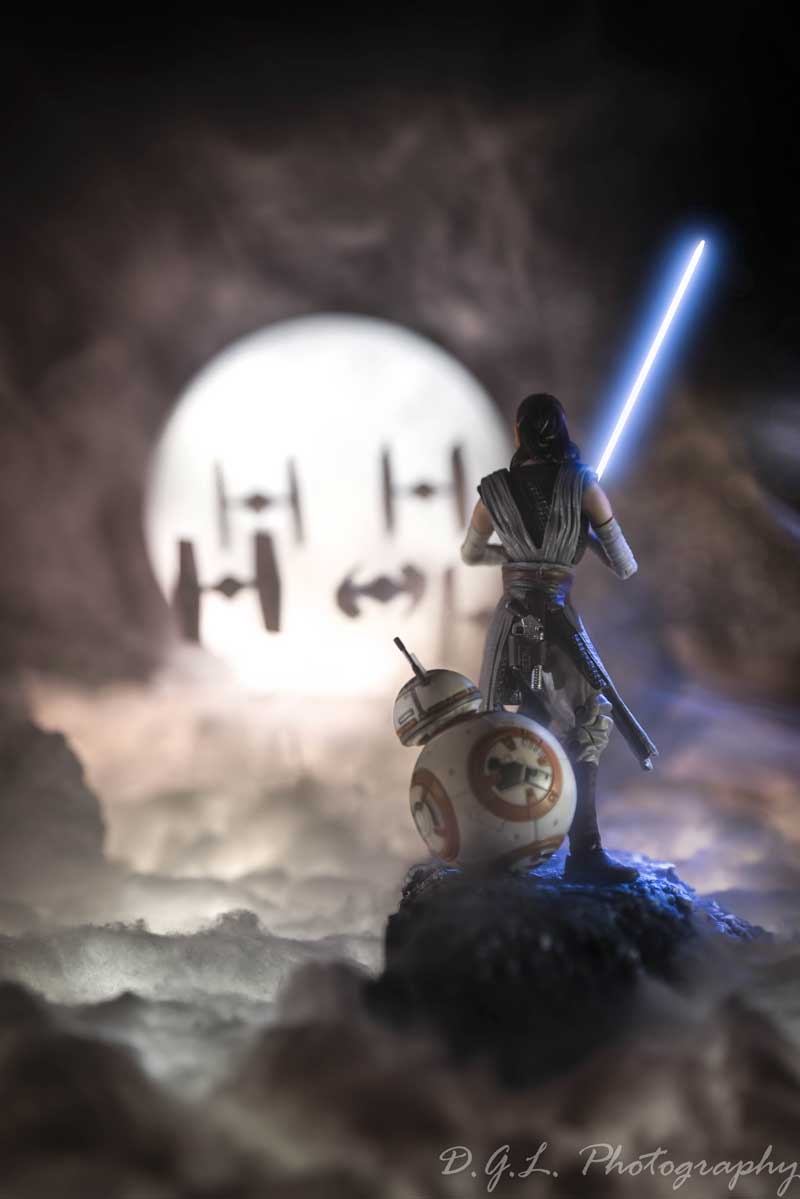
Star Wars Photography Skills
I watched people like @Sirdork on YouTube and Instagram, @workmoreorless and @sgtbananas to see different practical skills I could use and elaborate on, and of course, see if I could turn some of the more expensive techniques into a more cost-effective way of doing toy photography.
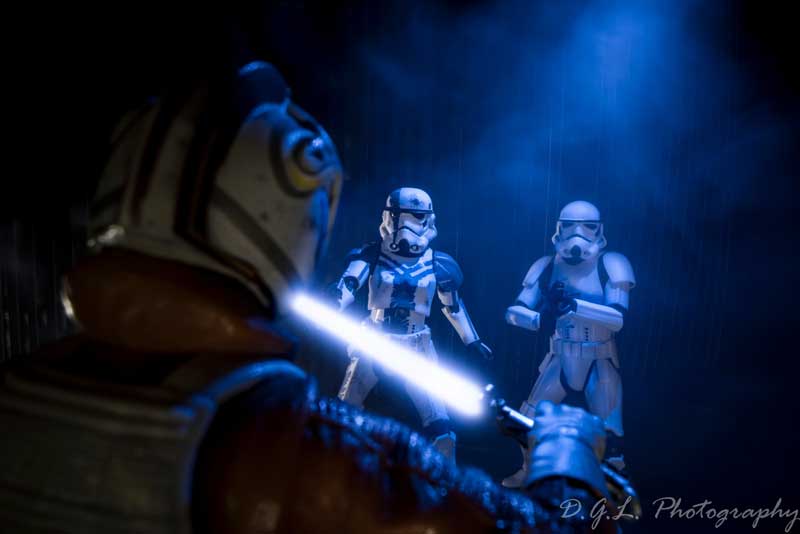
I find getting down to the same level as the figure or toy to be a particularly useful technique for this kind of Star Wars figure photography, but I also found adding smoke to a scene really adds to the overall feel of a picture.
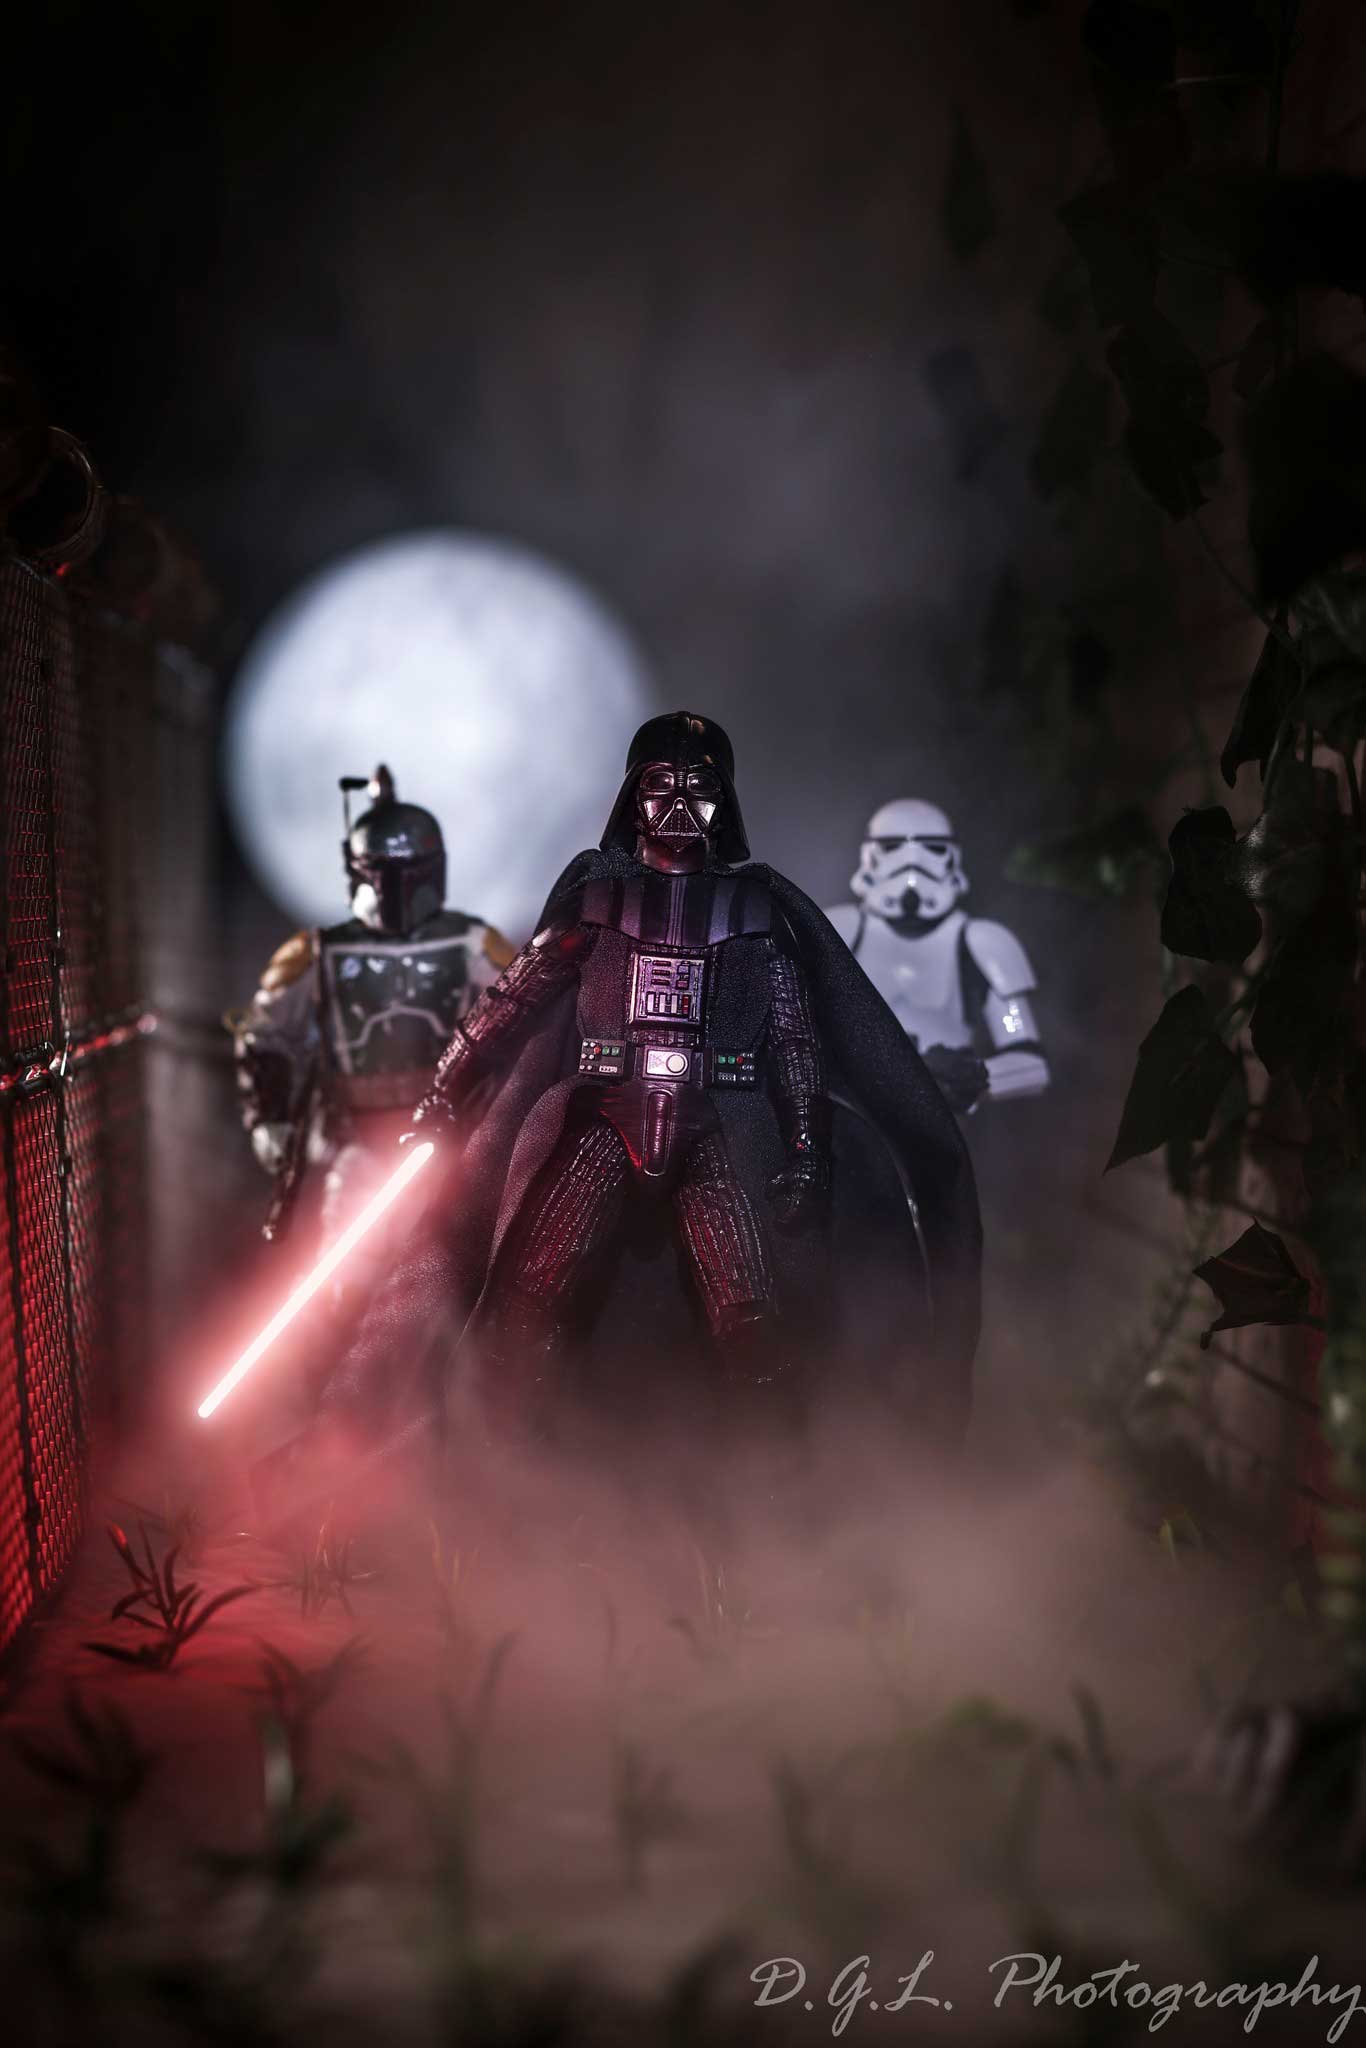
You can buy what they call cans of atmosphere, which adds a kind of light dust to the air of the image, but this could get expensive very quickly.
So I invested in a micro fogger. At first, I just filled the air with lots of fog, but learned that a slower speed of around 2 to 3 seconds, blurs the smoke fairly nicely depending on the effect I’m trying to create
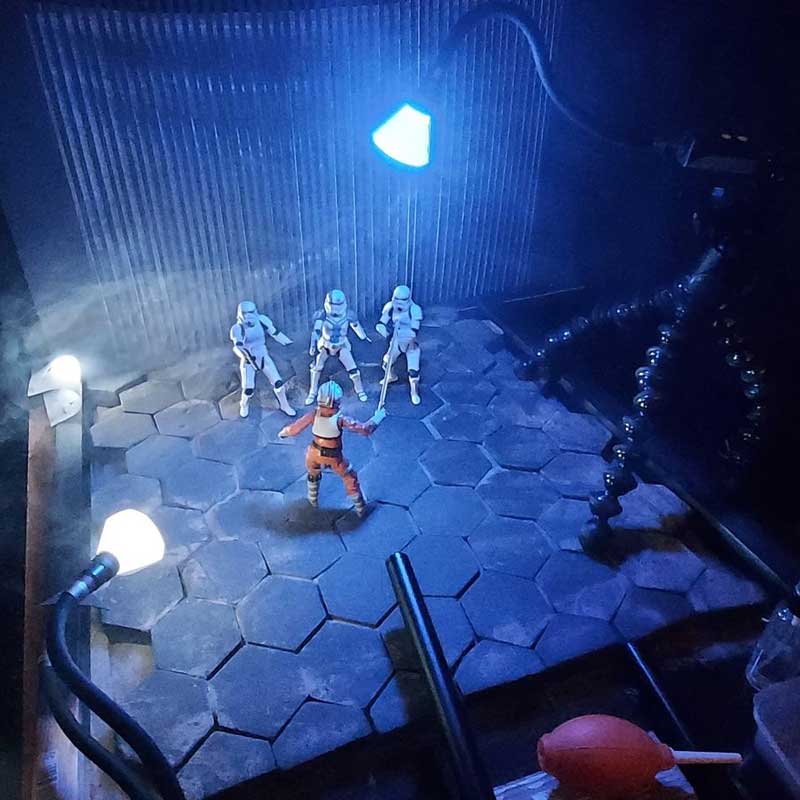
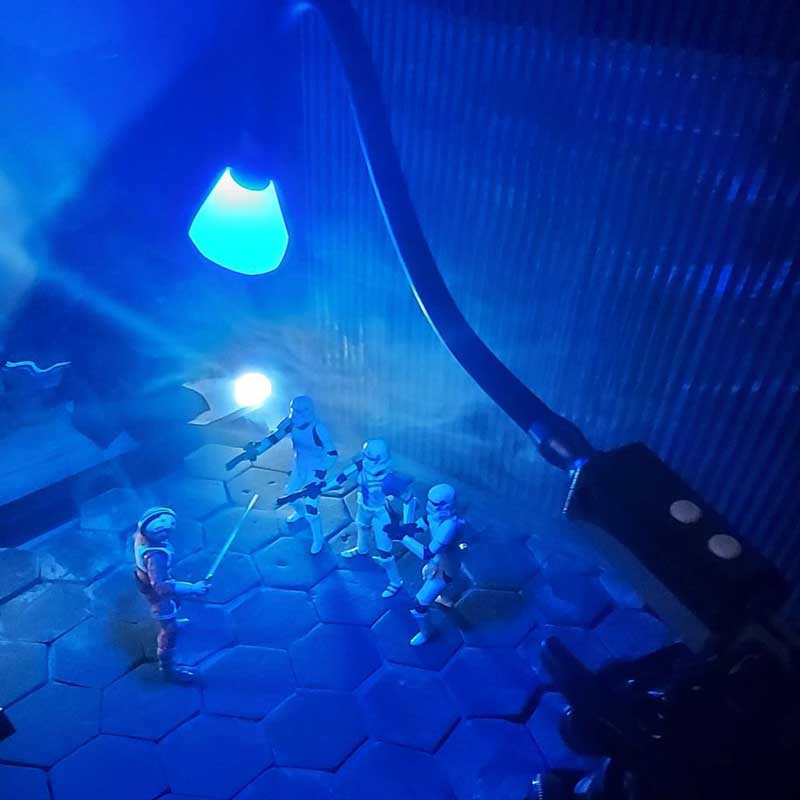
Lighting scenes with Adaptalux
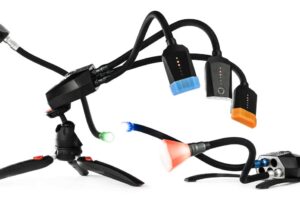
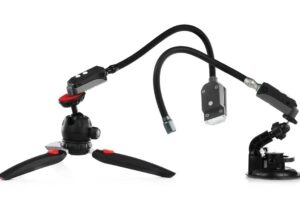
I own the Adaptalux Control Pod and Pod Minis, these have been a great help in lighting the hero figures in my scenes, especially within the purpose-built sets I have at home. I modify the beam slightly so it is just a bit smaller than normal, to give a very precise spot of lighting I want, but the ability to move and adjust the arms just by grabbing them is brilliant.
To see on the back of the camera where I need to adjust the lighting and just pull the arm into place, without spending loads of time moving flash or other lighting around is just such a time saver, I want to be taking pics and playing with the scene, not spending loads of time wasted on moving the lighting.
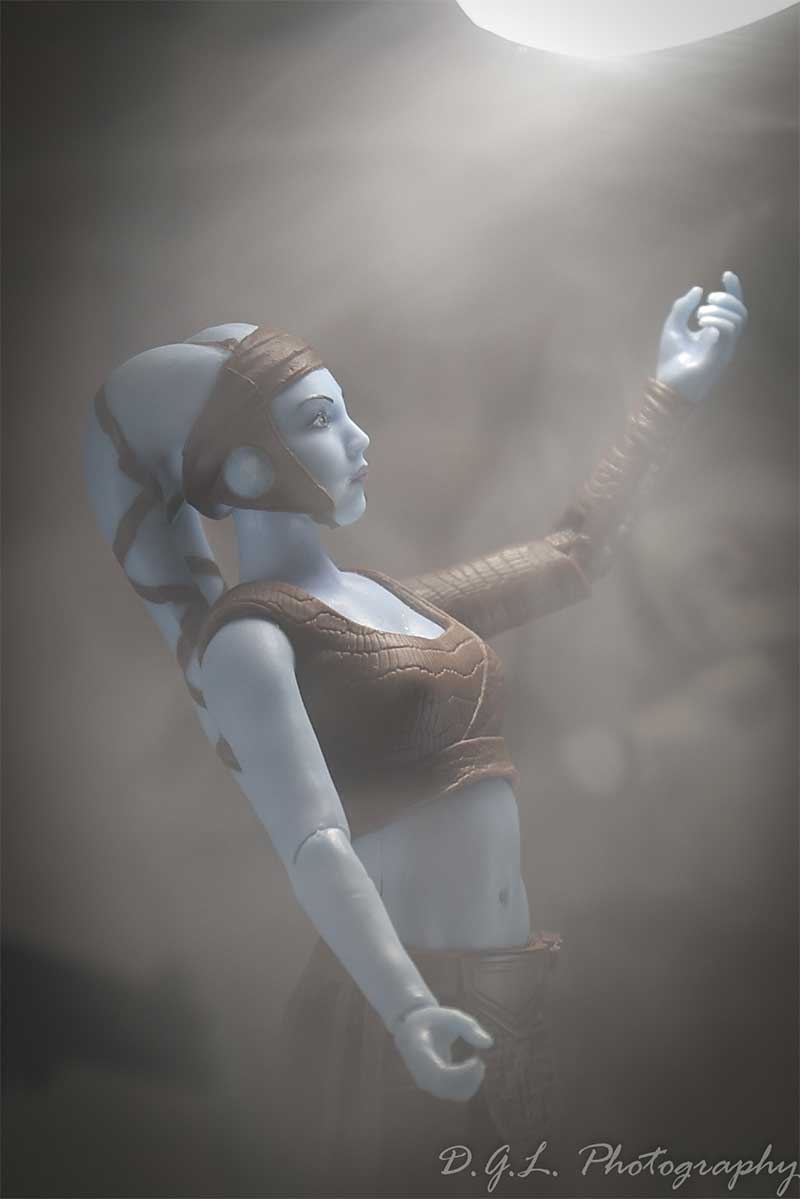
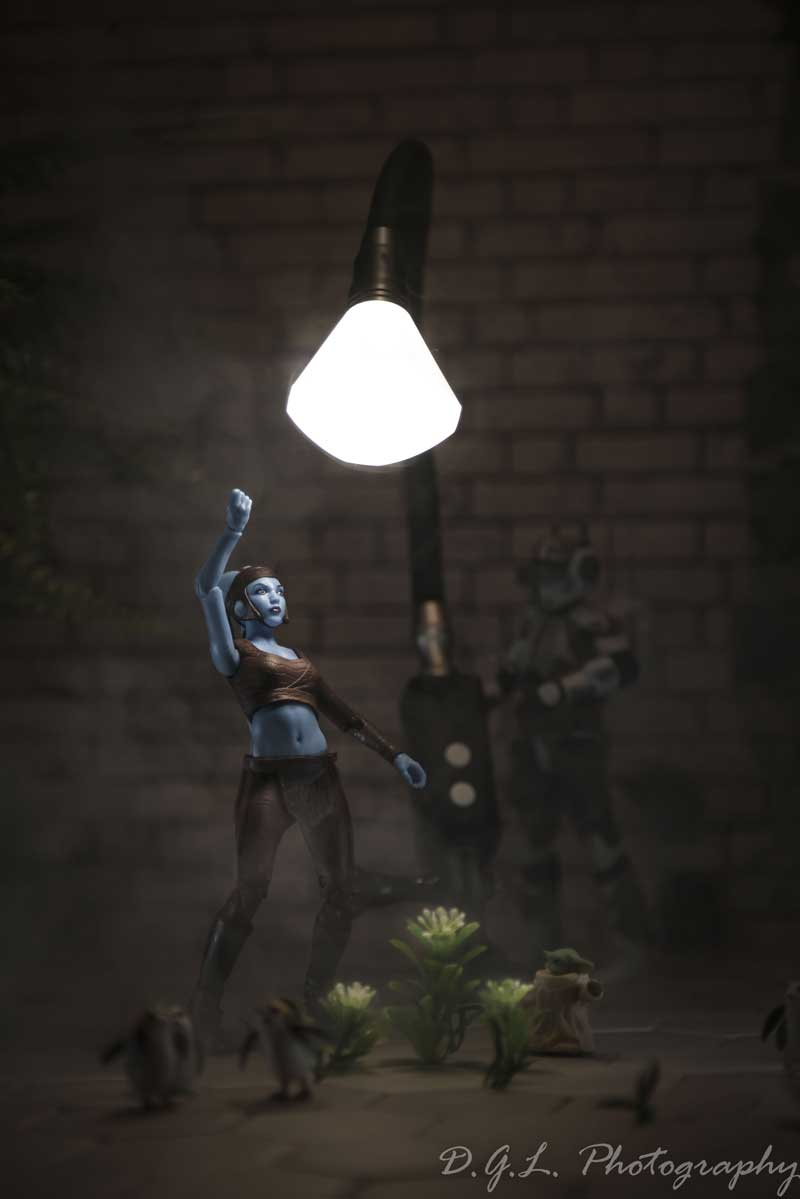
With the introduction of the Pod Mini, I can now use a single arm, moving it quickly around the table and putting an additional “highlight” source onto the figures has been amazing, and such a time saver that it has certainly helped my creativity in my pictures.
I use other lighting to fill in the background of my scenes, larger light sources like cubes or a small panel of LED lights, but they lack the fine control to put the light precisely where I want it to be.
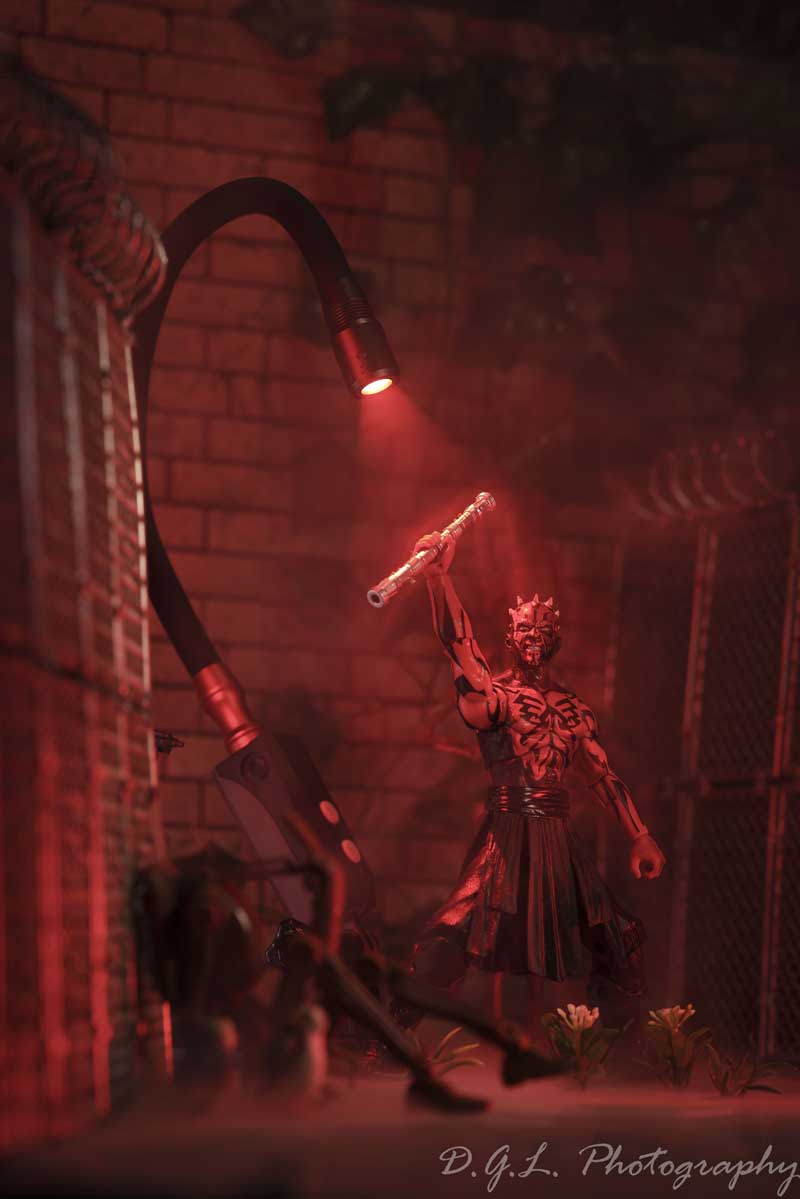
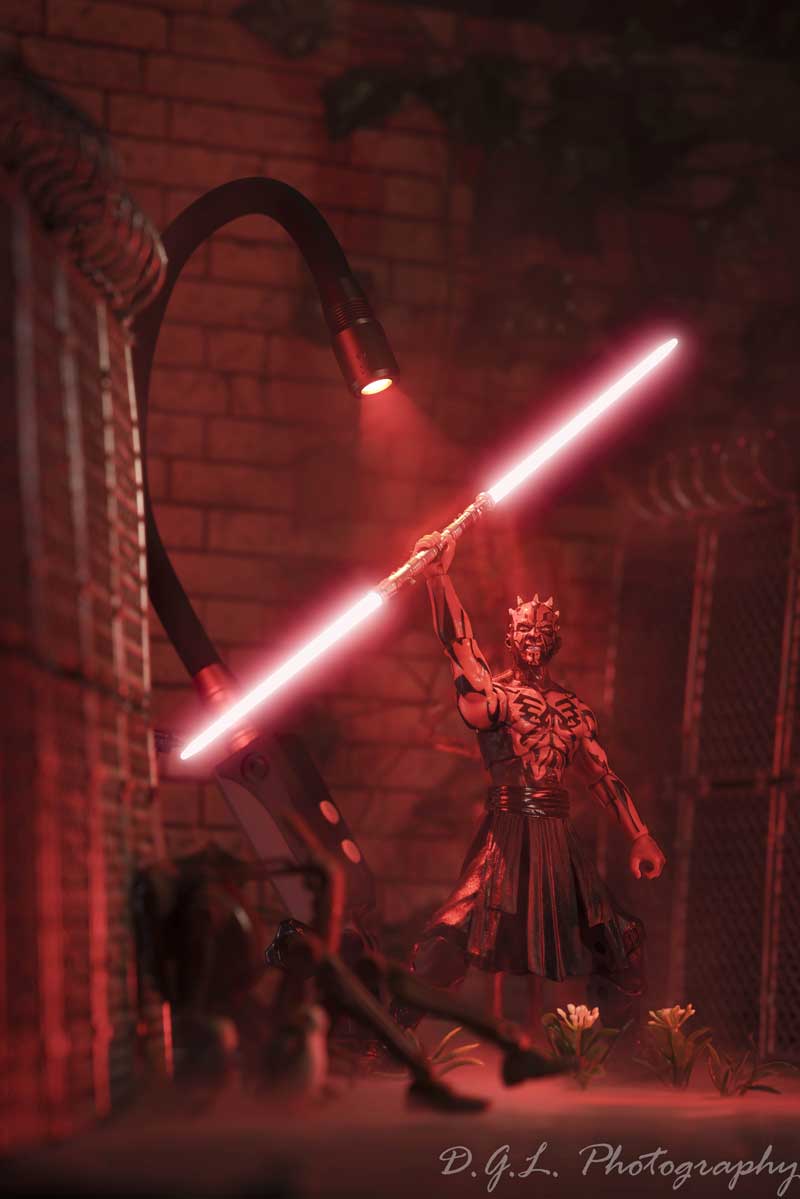
How to build a scene for Star Wars Photography
The first thing to think about is scale. The Star Wars figures are 1:12 of real life, so I keep an eye out for anything and everything that could be the right scale. I’m currently working on an industrial-feeling set, made from recycled cardboard tubes stuck together and painted silver.
My brick wall is made from damaged mosaic wall tiles from an English DIY retailer, I brought 5 packs of these tiles, stuck them to a piece of wood, and gave them 3 coats of a very watered-down paint (mainly water with a bit of paint in it). This gave the wall a gritty old feel, instead of fresh and new, and voilà, an old feeling to the scale wall.
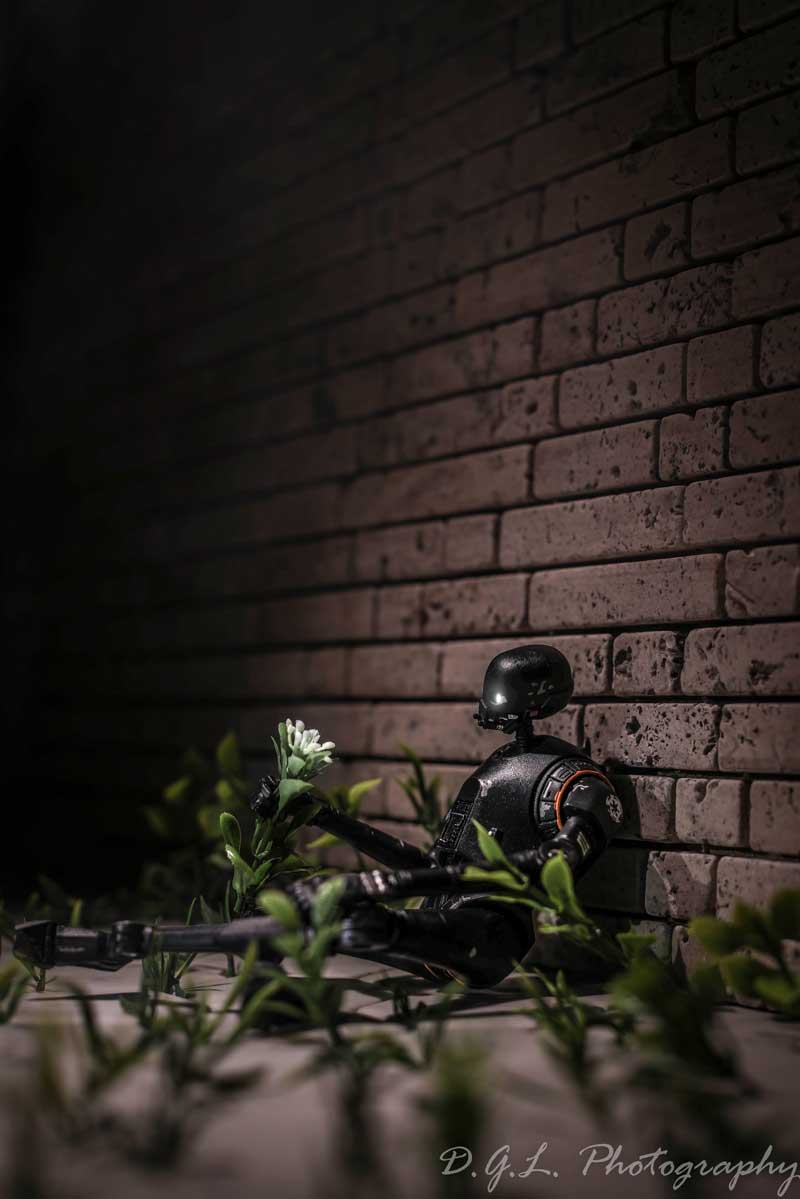
Secondly, I would look at things and think about how they could look in the background. Not everything had to be perfect or precisely to scale. If used in the backgrounds, different objects can create a feeling of depth and scale (using x-wing game miniatures, although a lot smaller in scale can add additional depth and feeling to the photos)
The vegetation in my scenes are all plastic plants, cut up and made smaller. The weeds in my flooring are from artificial fern fronds, cut up and pushed into the cracks, the ivy on the wall is just hung over and held to the side of the wall with tape.
I also keep an eye on everyones favorite online auction site. I got lucky and came across a 1:12 scale barbed wired plastic set, which after painting, works perfectly with the wall and adds a more “realistic” element to some of my shots.
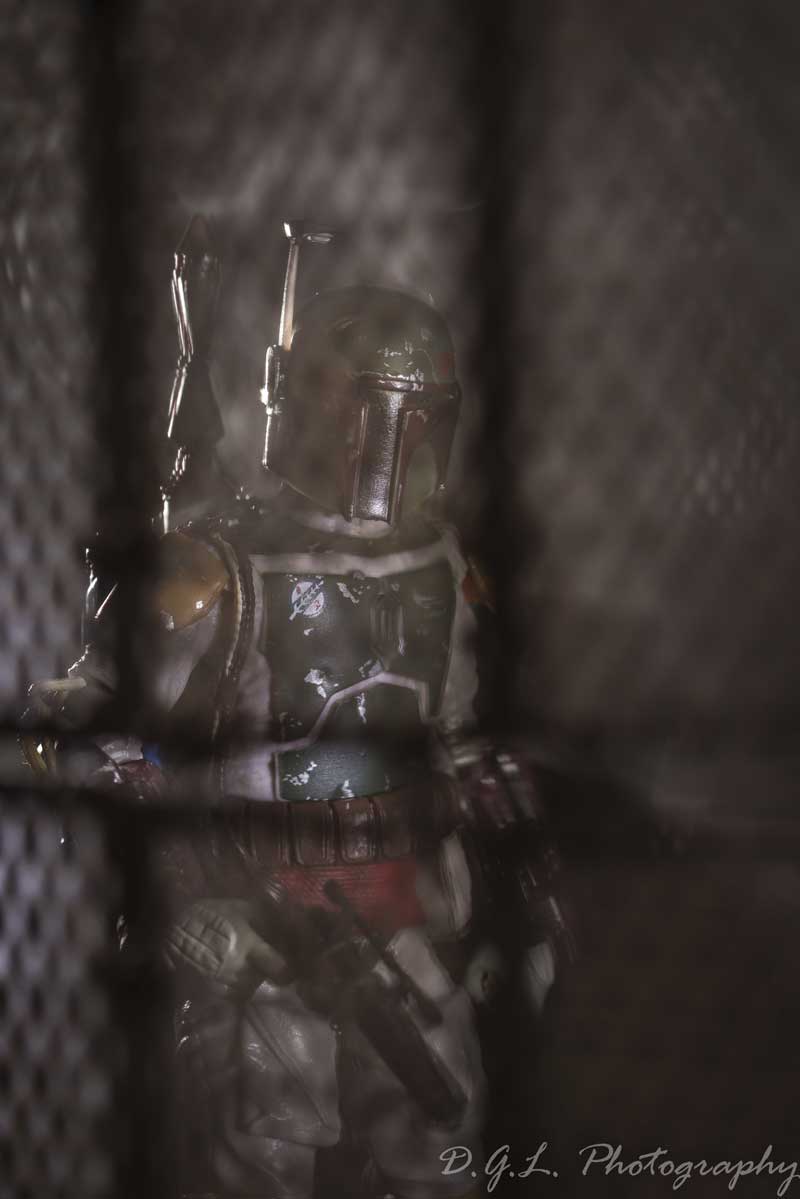
Ashoka Tano Toy Photography
Currently, I have 2 favorite shots (Both are on my phone as a lock screen and home page backdrop). The first is of Ashoka, running along the wall, with the barbed wire in front of her, we are looking between the panels in the barbed wire.
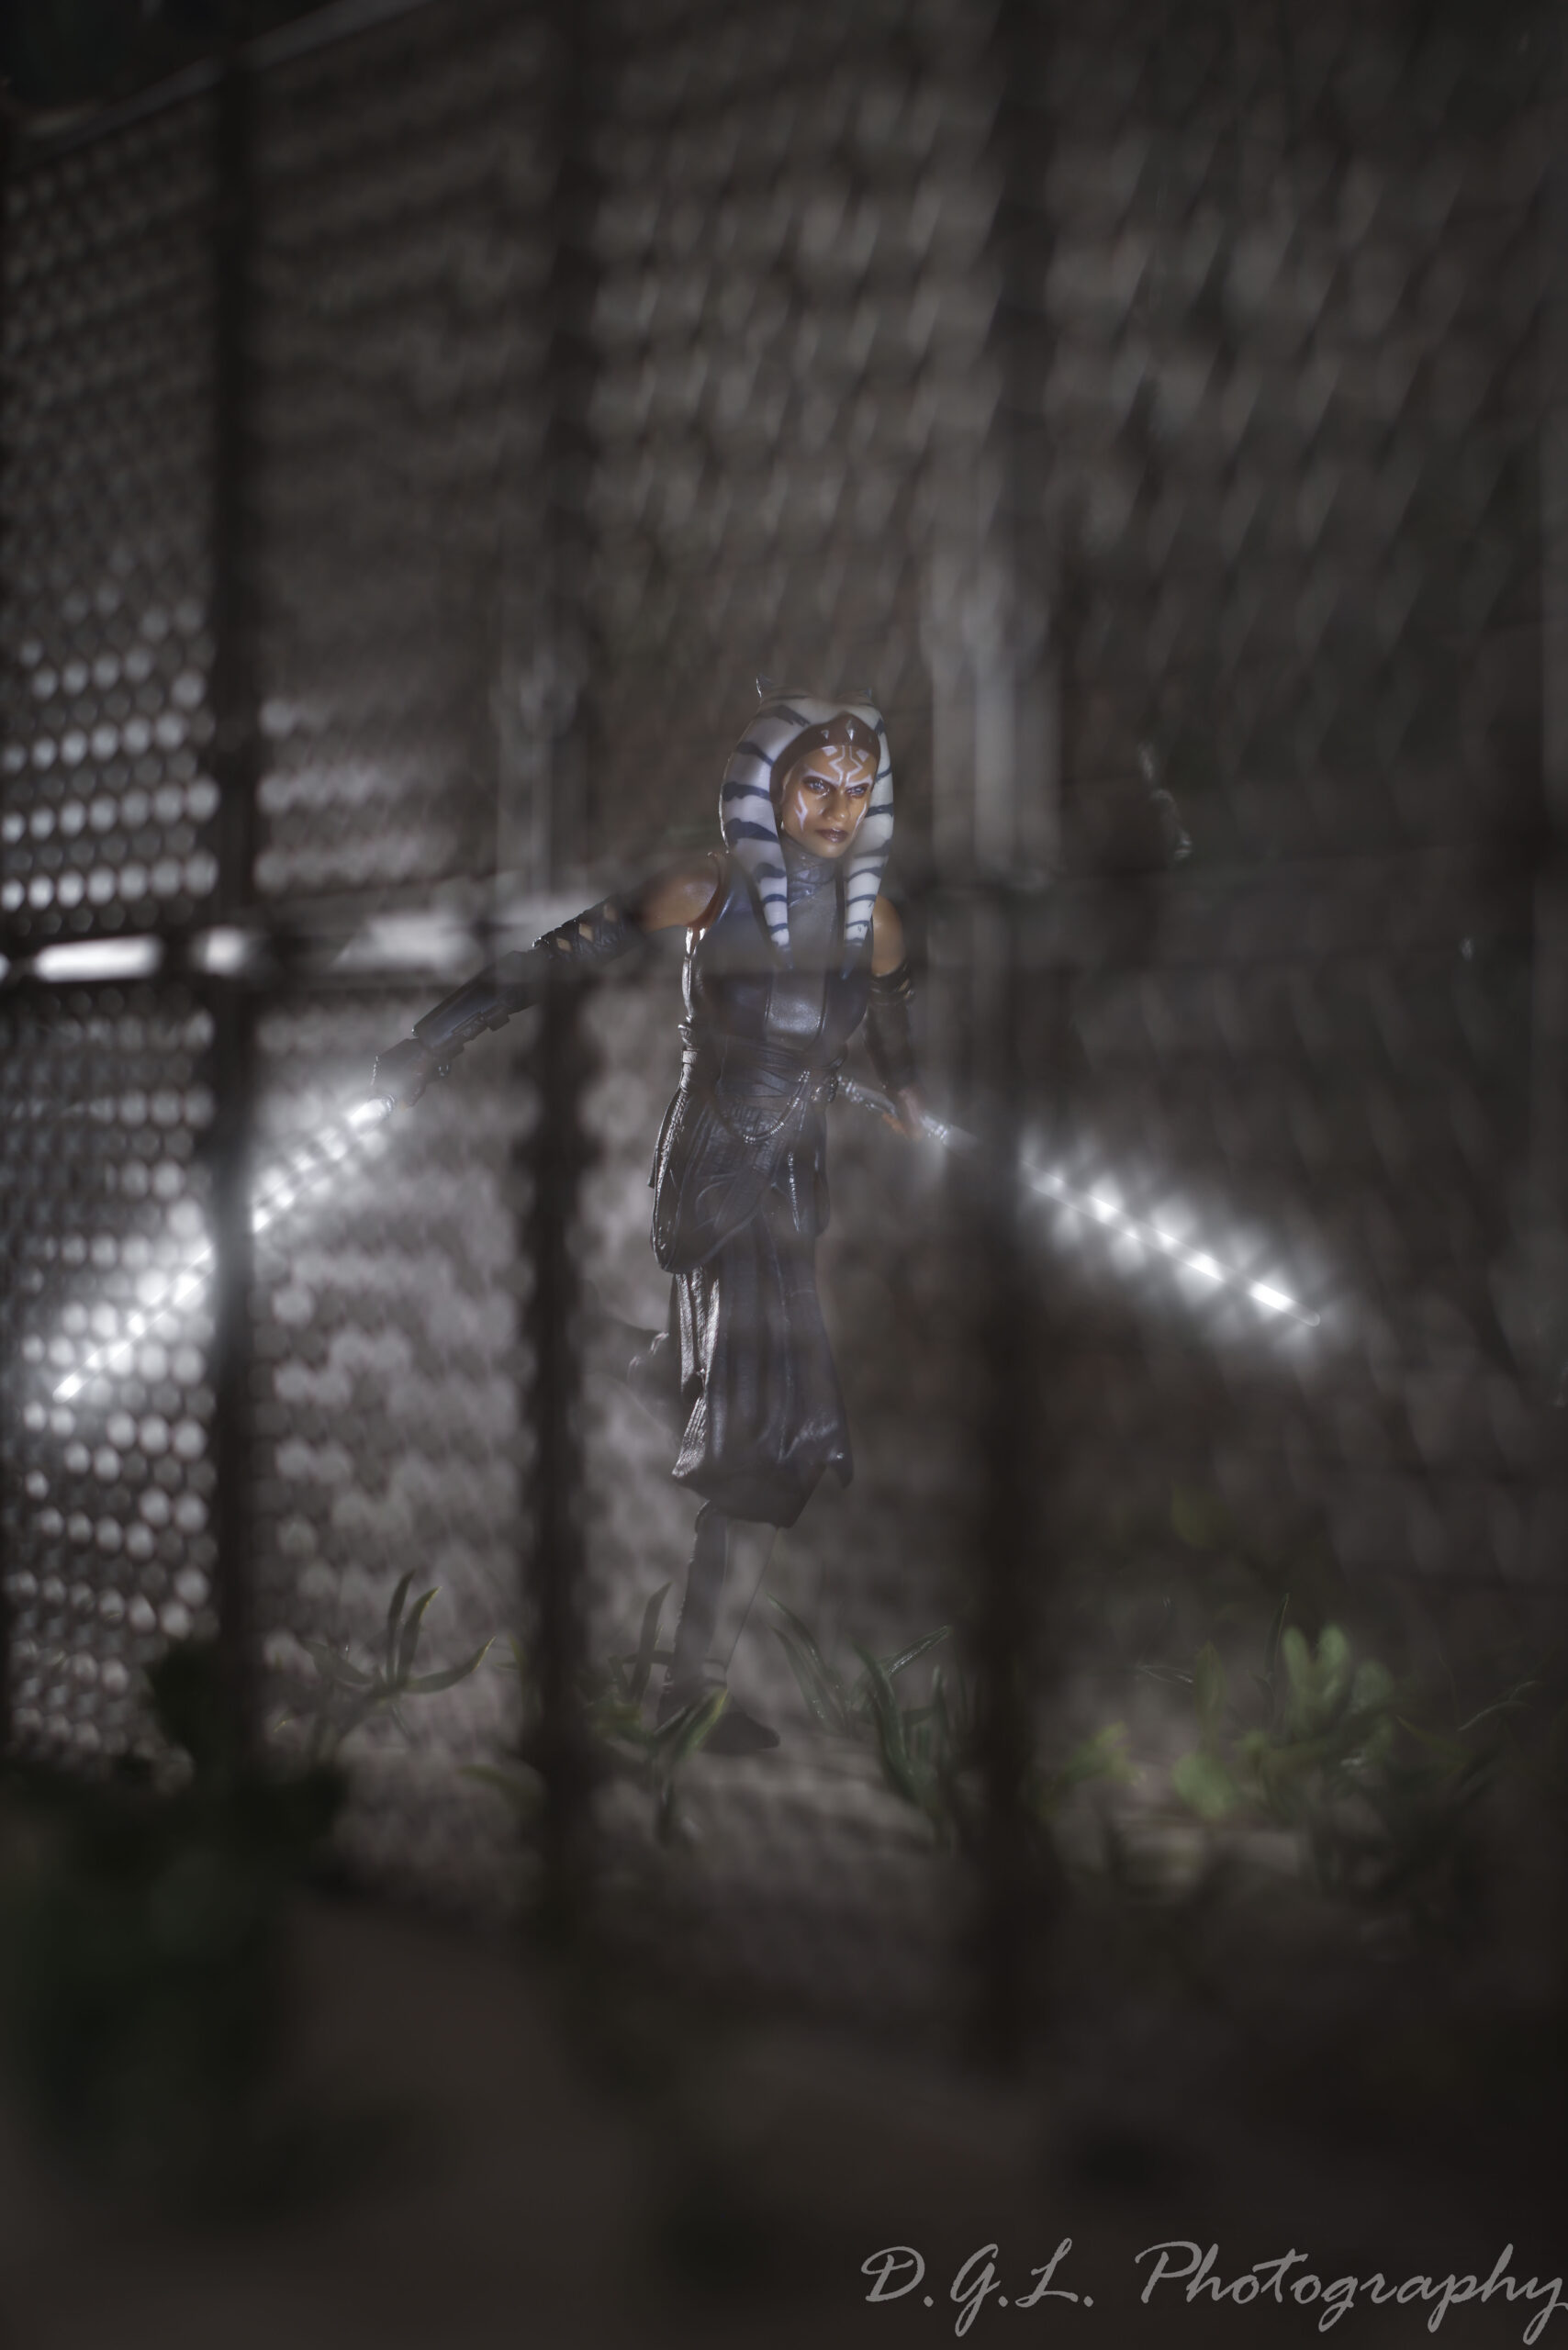
This was the culmination of several days of playing around with this setup with different characters and different ideas for a story image. I’d had luck with Mando and some characters walking along behind the wire the previous evening and having had the Ashoka figure for a few weeks (and with her own TV series coming soon), I wanted to do more with her.
The scene is lit from multiple angles. From above, to light the background wall and foreground, from behind her, to light the smoke and give her a bit of highlight, and from the front. One large light gives the impression of the lightsabres glowing on the ground, and a well-aimed white Lighting Arm, with a narrowed beam on her top torso for the impact of lighting the hero figure,
The lightsabre glow from the blades was added in Photoshop elements. This was a first for me. Not for the sabre effect, but because the sabres were behind something else, I had to figure out a way to have the fence still in front of the blades. I found that removing the blade from the fence line itself kind of worked along with dodge and burn techniques.
Here’s a behind-the-scenes video to give you an idea of the scale and layout of the street scene and lighting.
The Millenium Falcon
The 2nd shot is of the millennium falcon breaking through the clouds in front of the moon.
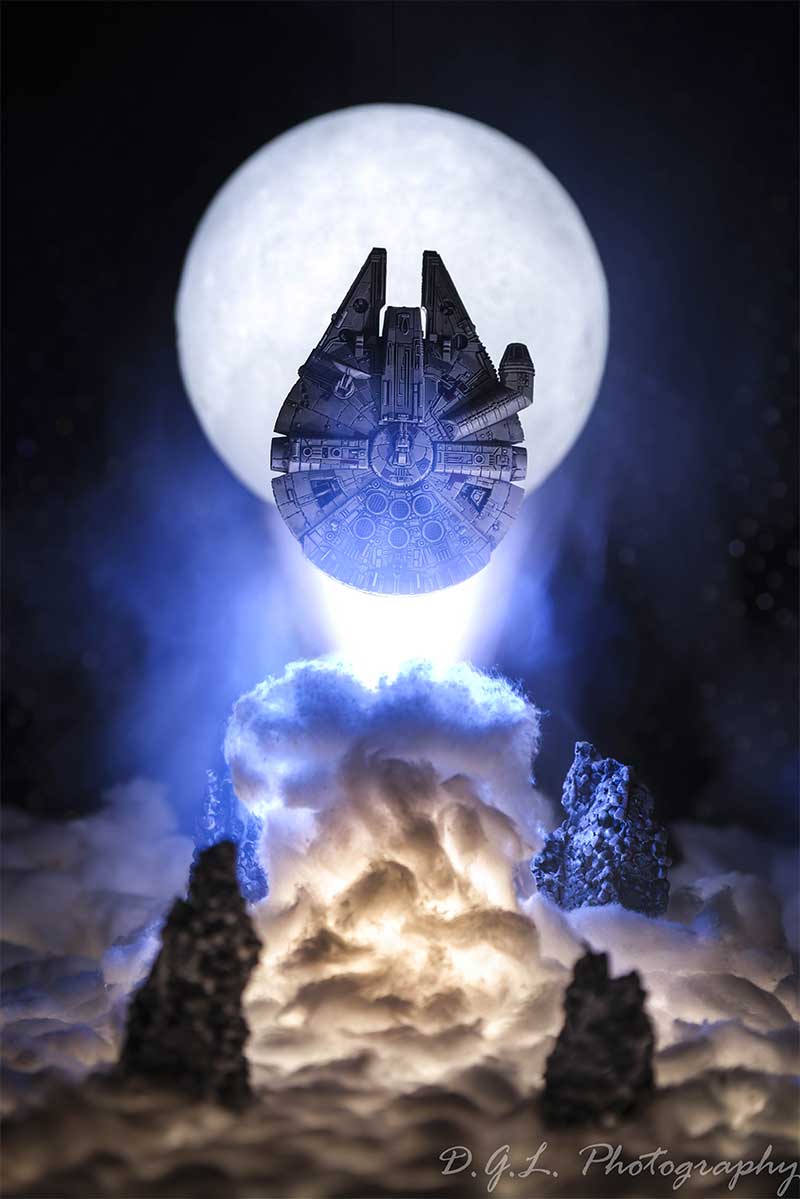
The entire cloud surface is just cotton wool on a clear perspex surface (recycled broken plastic). The moon is an LED lamp, the rocks are made from polystyrene chunks stuck together, broken off the edges, and painted in shades of gray. The Millenium Falcon is from the X-wing game miniatures range.
I built a small H shape wire frame and glued cotton wool to it, this formed the basics of the cloud burst trail. I added this to the tabletop and layered additional cotton wool to the surface. For the effect to be captured in-camera, this was lit from behind by a single light, placed right next to the base of the H stand, the rest of the cloud surface was lit with multiple cubes lit from beneath, moved around for even light effect in camera.
The Millenium Falcon was placed onto a wire frame support to hold it in place, unfortunately, it kept wobbling and moving, so a black line support was hung from above and attached to the end of the wire support, and this held it perfectly in position
An Adaptalux Control Pod with 2 white arms was placed to the right and aimed up onto the falcon, so the light only hit from beneath, a Pod Mini with another white arm was placed on the left and again aimed up from beneath onto the falcon.
Finally, a blue arm was placed at the back of the scene, and aimed at the top half of the H frame. A small LED torch was placed next to this blue arm, aimed directly up and only onto the back of the falcon. When I added smoke to the scene from behind the falcon, the glow of an engine appeared by accident, caused by the LED torch shining onto the falcon
The only post-processing I did on this pic was removing the support wires, and balancing of the sides of the engine trail to look even.
Getting started with Star Wars Figure Photography
My recommendation for starting out with toy photography is that you don’t need expensive toys to get good results that you will be happy with. My first pics (before star wars) were just toys placed into the world. I had minions from Mega Bloks with little cameras and made it look like they were on holiday.
Some of my first experiments in purpose-built sets were simple, with A3 or A4 size pieces of card, with slits cut into them, and then lit from behind. Place a figure in front of the card and then shine a light on the card from behind, this gives an added element of drama to the pic and didn’t cost anything to do.
A kit lens, or basic lens is great for this kind of pics, just get it fairly close to the subject, sometimes near the closest focus range and it can really give that feeling of scale to the image, and remember to be down low with the toy to give it that real life feel!
There is also the element of trying to create a story feel to an image, or a dramatic hero feel pose.
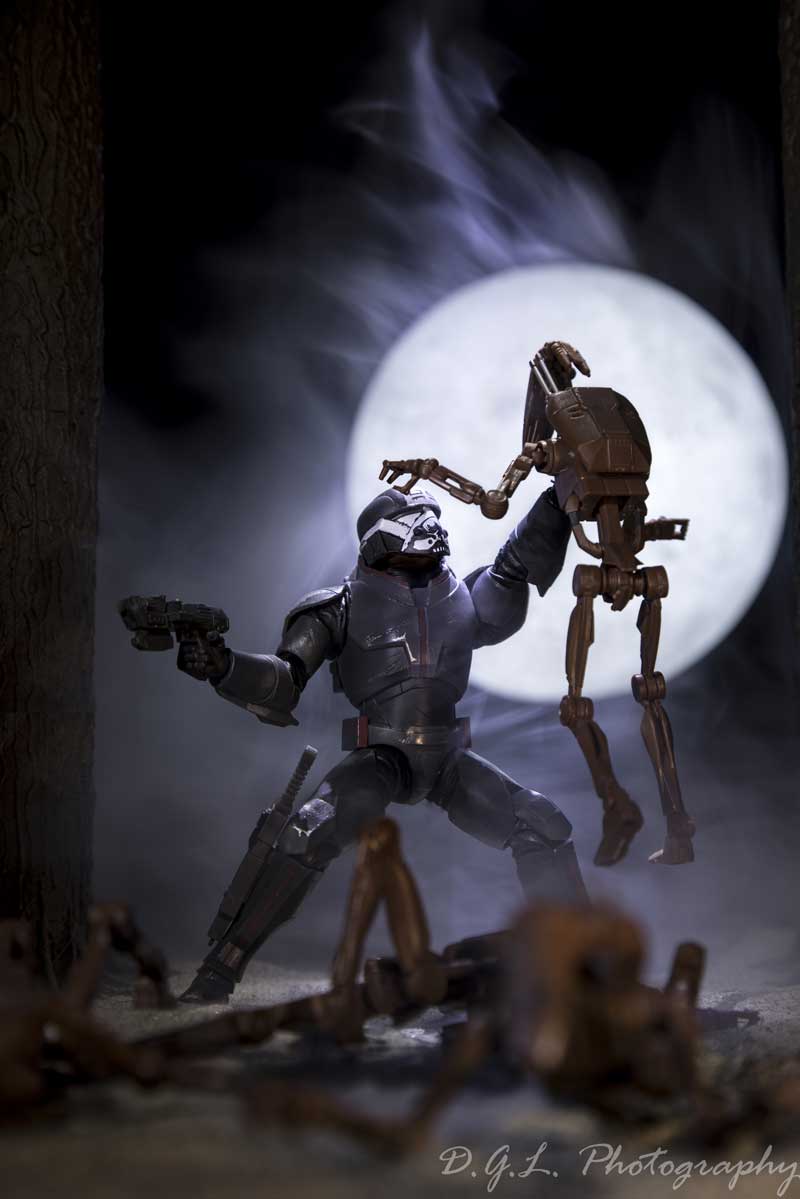
You can see more of Darren Littlehale’s Star Wars Miniature Photography via his Instagram @darren_littlehales or on Facebook.
If you are an Adaptalux Studio user and would like to share your own story and images, please get in touch!


