Watch on YouTube – Ecommerce product photography lighting techniques
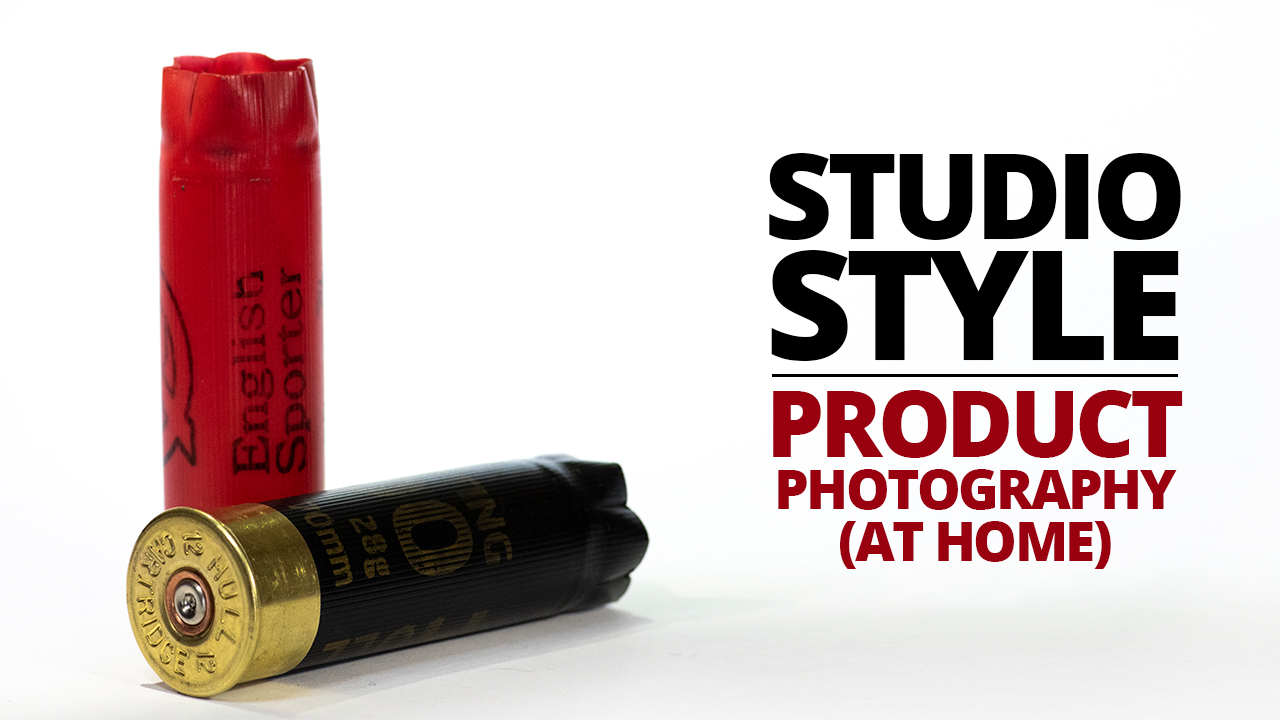
Getting started with white background product photography can be a frustrating and time-consuming process. However, with the right preparation and know-how, you can shoot studio style product shots at home in no time!
This is our step by step guide on getting Ecommerce product photography lighting techniques.
Ecommerce product photography lighting guide
STEP 1 – The White Backdrop
Setting up a backdrop very much depends upon the products you are shooting. You don’t need a huge white backdrop to shoot small products. You should only need roughly the same width as the product either side to get everything in frame.
For small crafts, jewellery, accessories etc, a sheet of paper might even suffice. For bigger products, you just need a bigger backdrop.
The important part of setting up a backdrop is that it has a smooth curve. That curve keeps any light in the background from catching in corners or creating unwanted shadows.
For our DIY demo, we used an A3 sheet of paper hanging from some books.
STEP 2 – Placing your Subject
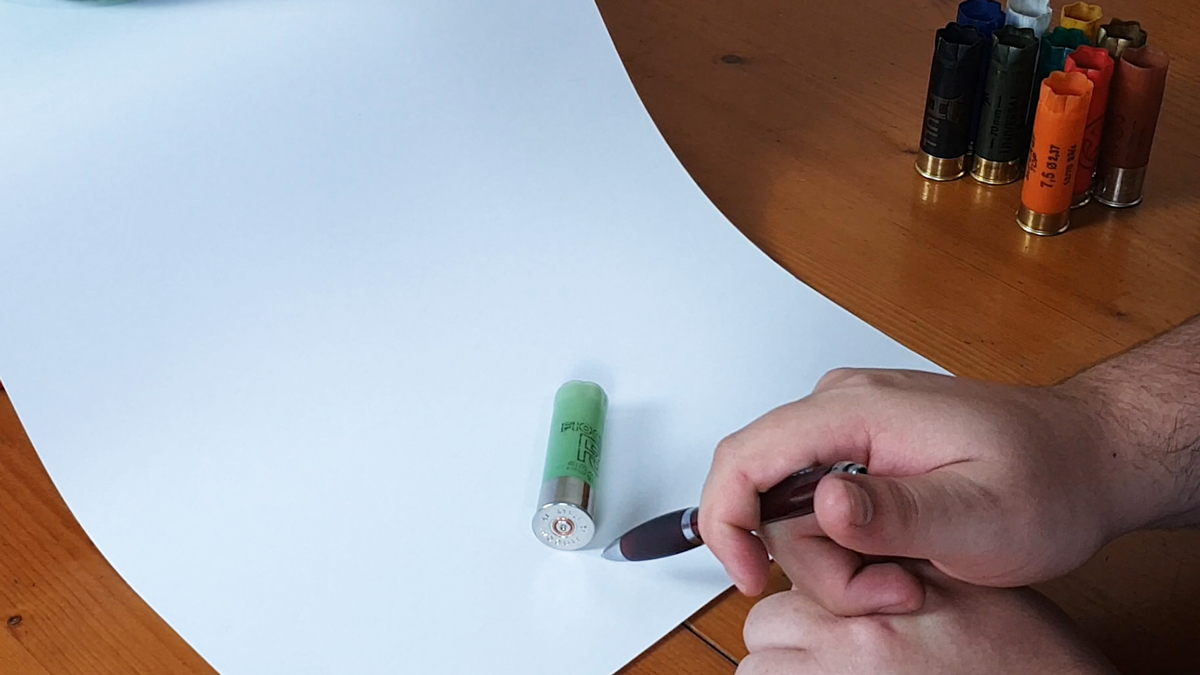
Set up the placement of your subject in the centre of the flat part of your backdrop. Too close to the front and you won’t have much room ‘under’ the product in the frame. Too far back and it will create shadows on the background and interfere with the background lighting.
Once you are happy with the placement of your product, you can make a small and easily coverable ‘mark’. This will be a guide on where to place the next product, so you don’t have to re-frame every time you move to the next variation.
STEP 3 – Framing your Shot
One of the most important aspects of Ecommerce product photography is considering the shopfront. Where is your image going to be displayed? Its best to think about this in advance if possible as it could throw you off later.
Many eCommerse websites or selling platforms like Ebay, Etsy and Amazon have a 1:1 ratio images, or close to it. Consider this when framing your shots. If you don’t, you may find yourself without the room to crop your images later or have the website crop them for you.
If in doubt, have extra white space around the edges of your product. Most cameras have more than enough resolution to crop very close and still be usable for websites. You can always crop, but adding in the extra background, and shadows can be a pain in photoshop!
STEP 4 – Lighting
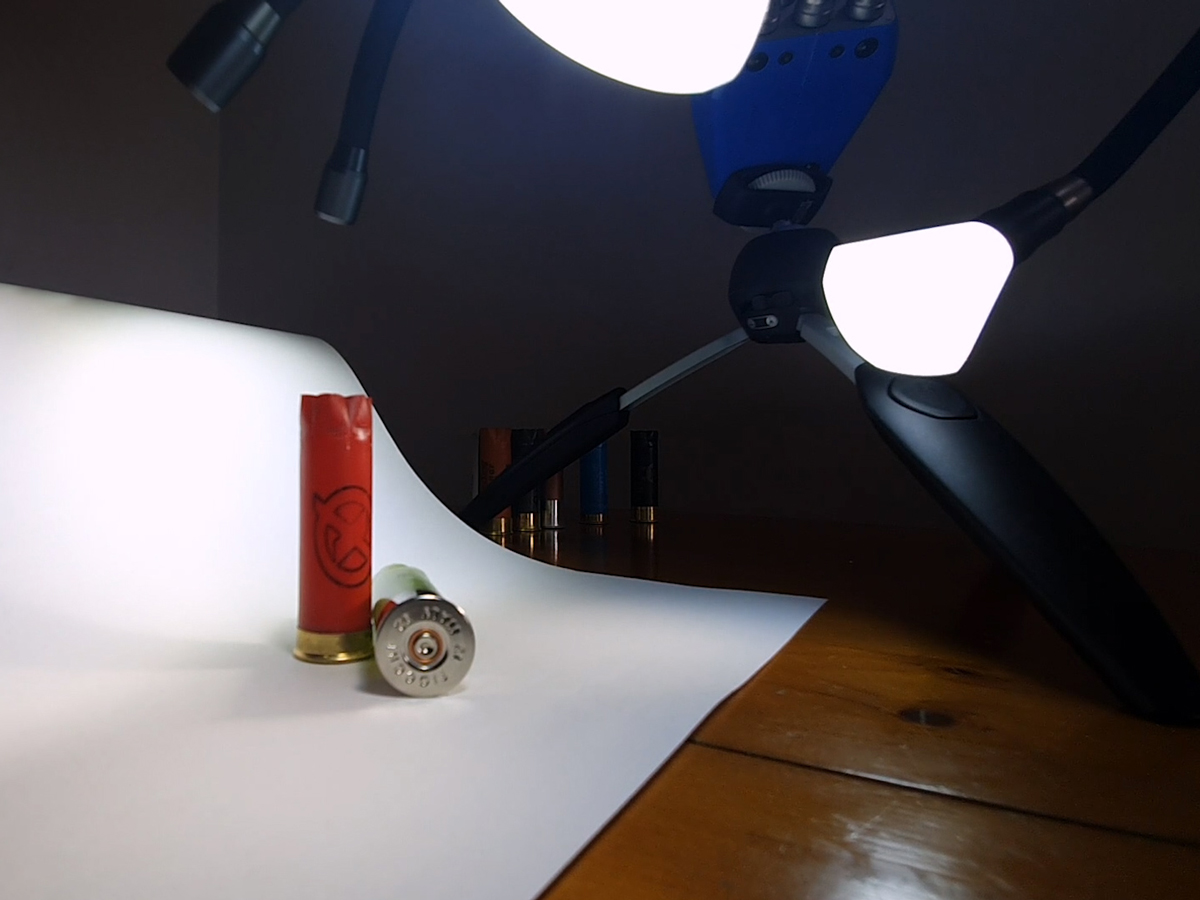
All Ecommerce product photography lighting is based on the same principals. Lighting the background separately from the foreground. This could mean reflecting light with a single light setup but more often it means multiple light sources. The Adaptalux Studio is just the right size for small products and jewellery. Using several Lighting Arms can make getting white background shots simple.
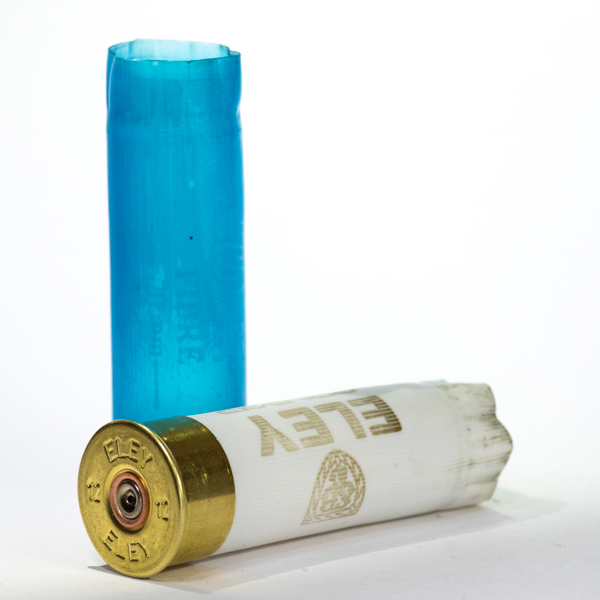
Now for the main objective for getting a white background image. Make the backdrop lighter than the subject. Add more, brighter lights, pointing only at the backdrop. If you can get it bright enough, you won’t have to remove the background at all.
STEP 5 – Exposure
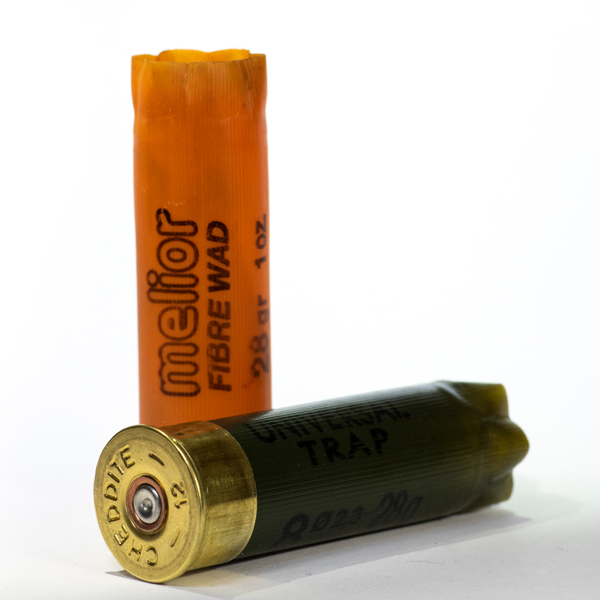
Finally, expose for the product and not the overall image. Use manual mode to set the right exposure for your foreground. If you let the camera decide, it will average the image out, leaving your product too dark and the background grey.
Try to use a small aperture of f10+ to get as much of the product in focus as possible. Shoot on a tripod for slightly longer shutter speeds, whilst keeping your ISO down.
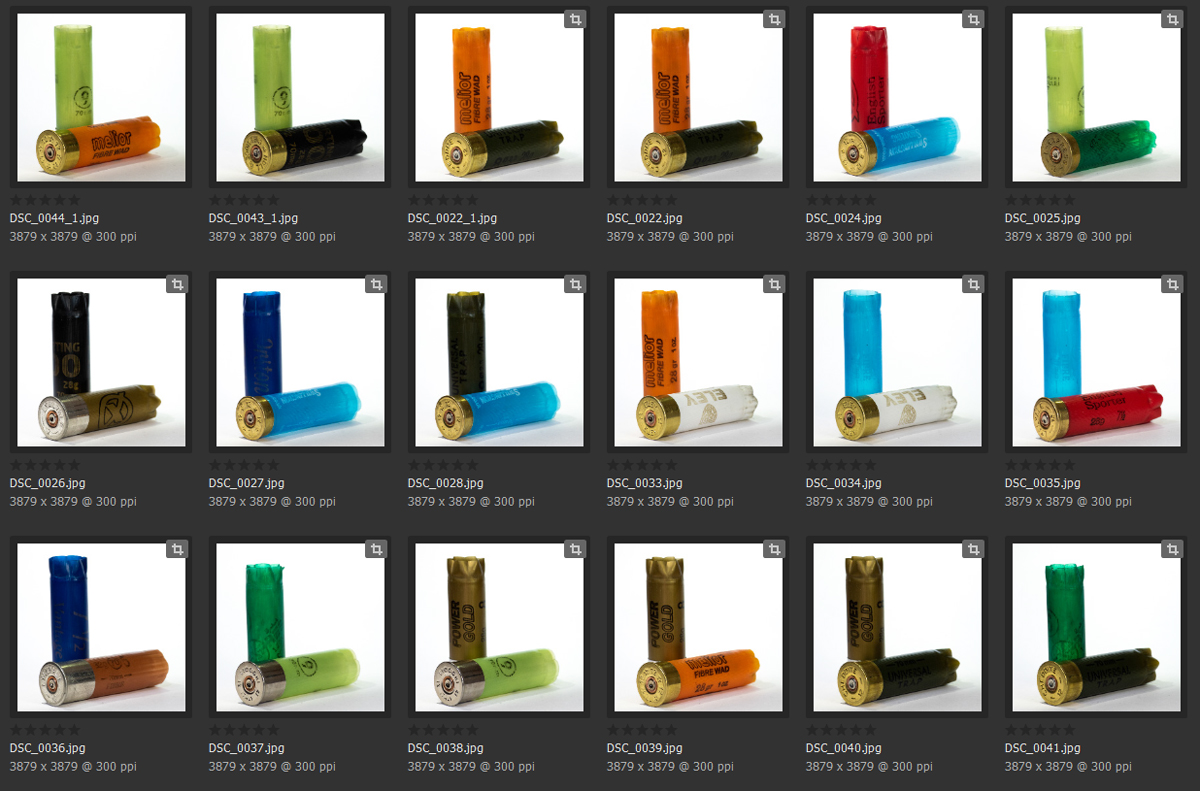
Once you have set up one shot, stick with those settings and framing. If you move your camera around too much and change your background exposure then you will have a lot of editing to do to get your shots looking similar afterwards.
The images from our shoot were only processed and cropped in Camera Raw, no need for background removal, alignment or any other time-consuming photoshopping. After processing a few batches of images, you will soon see the importance of getting your Ecommerce product photography lighting right the first time!
Don’t forget to subscribe to our YouTube channel for regular macro photography tutorials, ideas and inspiration!











Thanks for sharing this useful article.
In photography, light is a never ending learning process. You can easily differentiate a professional with an amateur to see their utilization of light in a picture. To mastering in lighting techniques, you must need to learn exposure very well. Learn how different types of light affect the results of a photo which will help you to figure out great lighting conditions.