Watch on YouTube – How to Photograph Coins
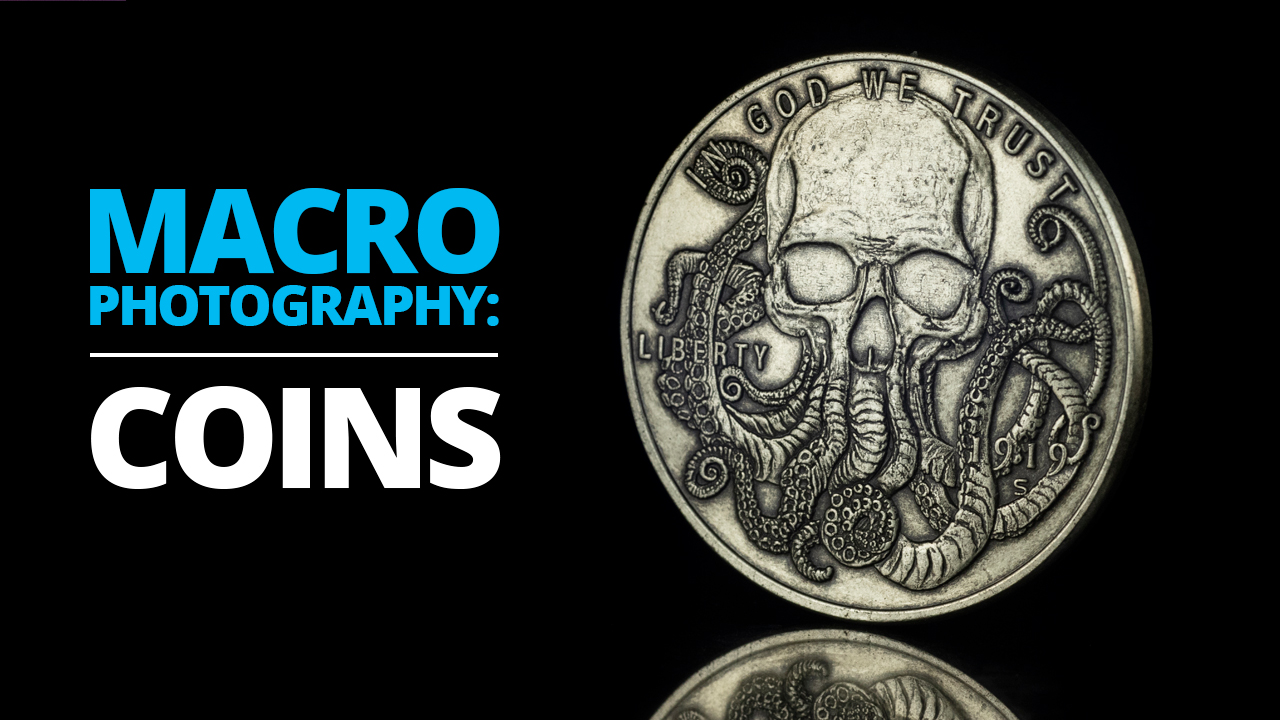
Coins are a popular macro photography subject due to their abundance. Everyone has them, and therefore there are a multitude of methods on how to photograph coins. Today we are taking a look at a couple of options to get you started. When talking about how to photograph coins, we need to take a look at several aspects of the photograph. First, lets take a closer look at the coins we will be shooting.
The Subject
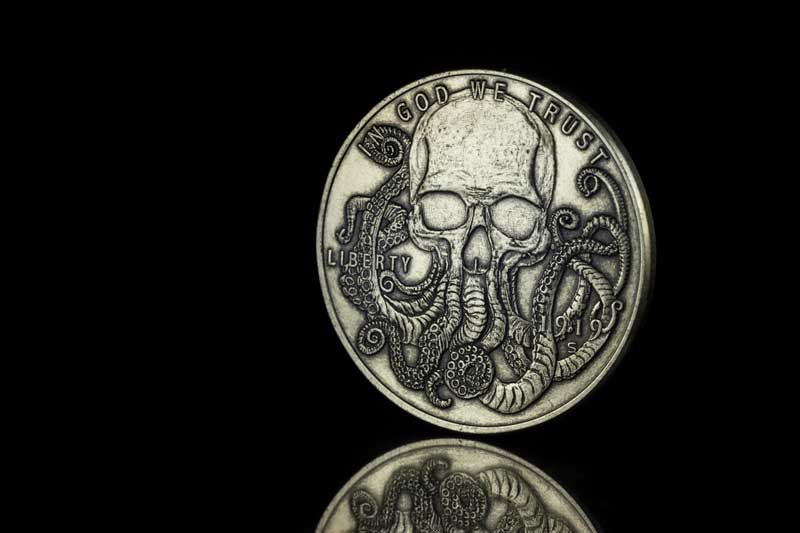
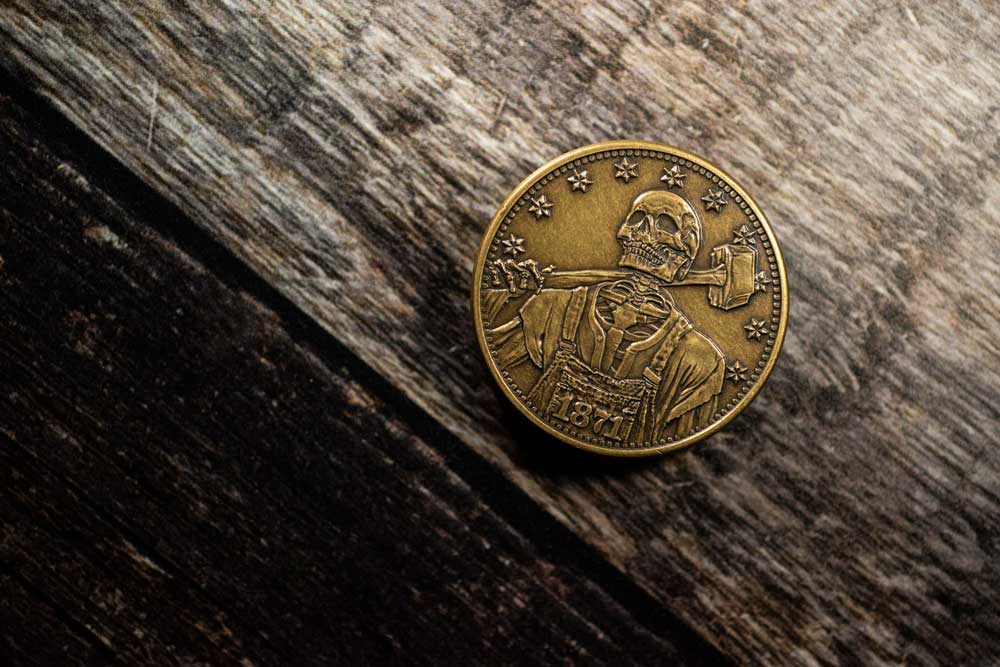
Any coins you have at home can make an interesting subject, but for this shoot we have something special. We went to fellow Kickstarter company Dead on paper and picked up a couple of their intricately designed Hobo Coins. These coins are made to look hand carved with some amazing designs, they will make for some amazing photos.
Equipment List
Camera – We will be shooting on our go-to Nikon D5600.
Lenses – The lens you need will depend on the size of the coin. Ours are quite large, therefore the 90mm Tamron macro lens will suit the task.
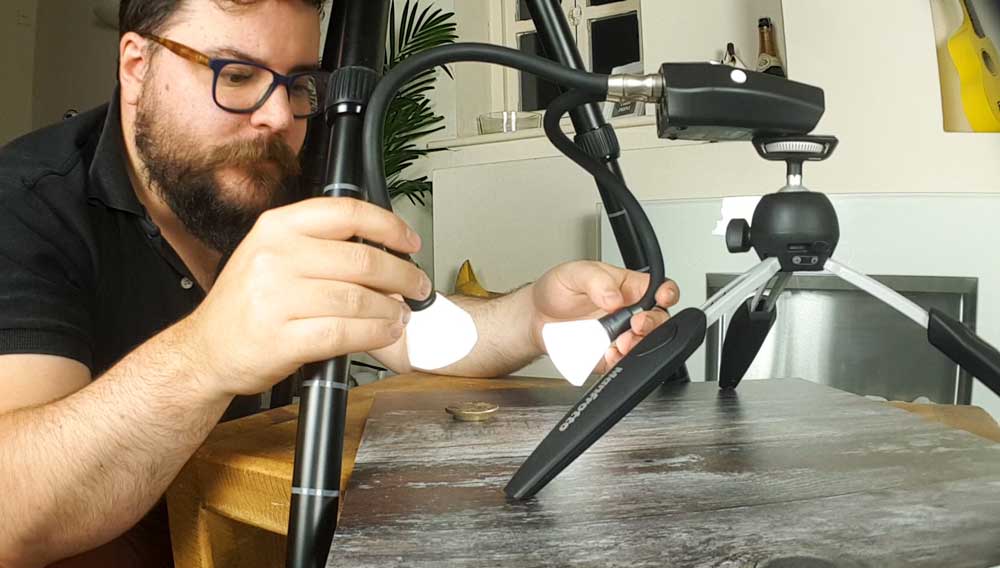
Tripod – We will have both the camera and lighting set up on tripods. A Novoflex with a ball head for the camera, and Manfrotto Pixi Evo-2 to hold the lighting studio. If you are shooting low enough, you an also use the Adaptalux Stabiliser.
Lighting – Of course, the Adaptalux Studio will be providing the lighting. We will be using mostly white lights, but also may throw a touch of colour in there to liven things up.
Surface – It’s hard to shoot coins without getting some of the object they are sitting on. As a result, we are using an iPad screen to get some reflections. For a top down shot, we will use one of our favourite Photo Boards to get a nice texture.
Set up
Prepare your subject – If you are shooting across or from the top, the key here is to get the subject parallel with the plane of focus. This means that you can get all of the coin in focus at once. If the coin is on it’s edge, you can add some tilt later to give the edges a softer look if you want to try a more creative shot.
Compose your shot – We used the screen of an iPad to reflect the coin. This works quite well, but you can use anything that has a flat shine to it, Perspex or acrylic sheets work particularly well. If you want to eliminate those reflections, try white/coloured paper, or a wooden or textured surface.
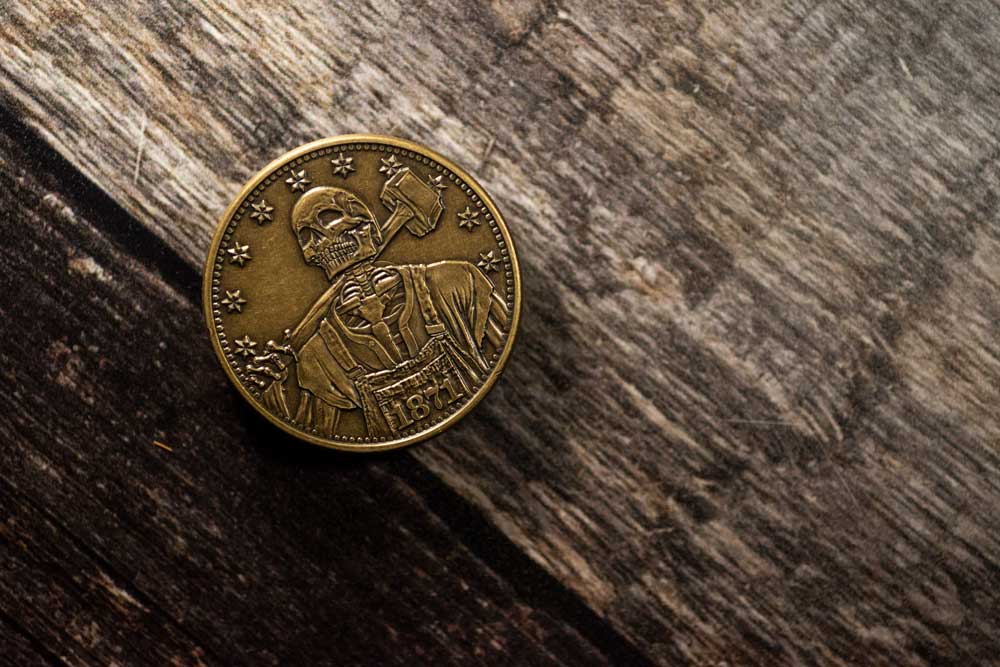
Looking down at a coin means the surface you shoot on is more important as it becomes a bigger part of the shot. Consider the colour and nature of the coin. Does it look out of place or blend in a bit too much?
Framing the shot is a matter of preference, usually the rule of thirds is a good starting point, setting the coin off centre. Having the coin dead centre is also an option. If you have a lens that gets close enough, fill the frame and get extra close!
Set up your Lighting – We found that using 2 white Lighting Arms with Diffusers from either side of the coin cast a very nice shadow across the details. The Lighting Arms of the Studio without the Diffusers were a little harsh, but could work well with the right coin,
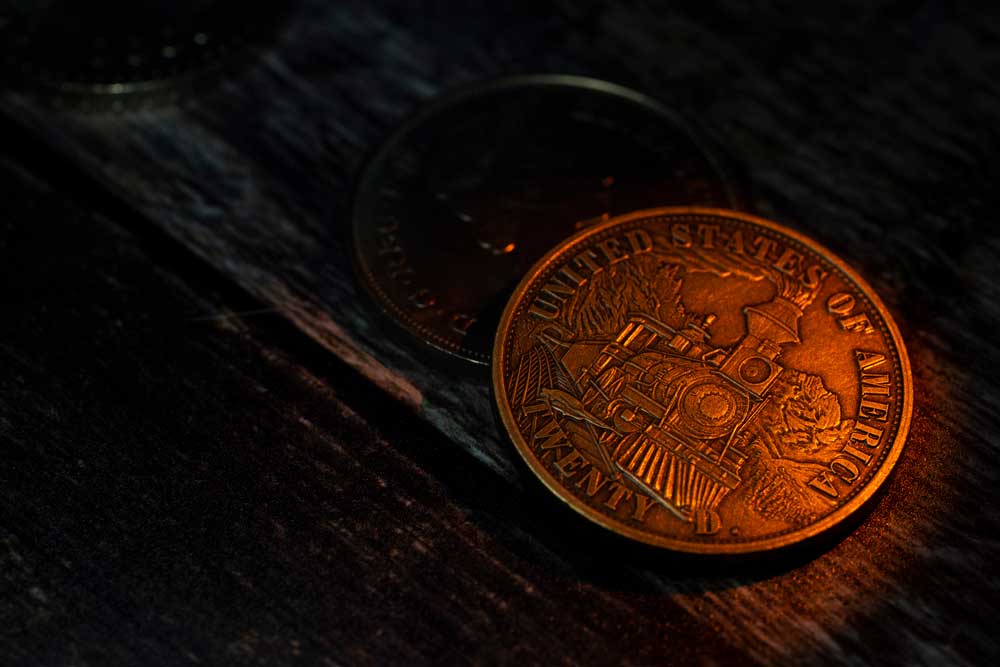
You may want to try adding a dash of extra colour to your shot. A single coloured Lighting Arm on a low intensity should add a little highlight along the rim of the coin, or a wash over the background to add some extra spark to the shot!
Shooting
Take a shot! – You don’t have to be talking about how to photograph coins specifically for this tip to apply. Shoot and adjust. It’s hard to see the finer details on something as small as a coin, so take a shot and use the zoom function of your camera’s playback screen to check the details. Is everything in focus, are there any rogue specks of dust? Its much easier to get it right now, than trying to remove a hair from a detailed coin in Photoshop!
Focus – While reviewing your shots, make sure the whole coin is in focus, this is essential when learning how to photograph coins. Even a couple of degrees of misalignment between the camera and the coin can cause one edge to fall out of focus, you can see this on the top left corner of the shot below.
It might be an effect you are happy with, but if not, adjust your subject or camera so the face of the coin is parallel with the face of the lens.

Settings – Keep everything steady, subject and camera alike. Without movement, you can afford to go with a slower shutter speed than normal, freeing up your aperture to get the best depth of field. Keeping grain down is going to be important too. For a detailed subject like this, you might want to crop and zoom in later, and a high ISO might prevent that from been possible.
Change the lighting – One of the joys of continuous lighting like the Adaptalux Studio is that you can see exactly what you are getting. You can set up your lighting and see how your subject looks without touching the camera. Take advantage of this by making adjustments until you are happy with how the light is falling.
Once you have a shot you are happy with, further adjustments to the lighting can create a totally new look. Add colour, change diffusers, or move the lights to a new position.
Remember, you can also adjust the beam angle of the Lighting Arms. Try lighting just a small portion of the coin, or having the light fall on the coin and not the background.
Now that you know how to photograph coins, how about trying pine cones? You can also check out our recent post full of subject ideas, if you are wondering what to shoot next!
- Cool paper photography tricks that you should try at home - 14th April 2024
- Egg Macro Photography – Easter Egg Lightpainting - 30th March 2024
- Using Tonic Water to create amazing UV flower photography! - 16th March 2024





I really enjoyed watching this, and many other videos that your content has led me through. I only just encountered your videos and have got to say I love the Adaptalux Studio. As a growing numismatist I’m always looking for new ways to appreciate coins and photographing them in more efficient ways; needless to say this video was enlightening (>:D) and I will slowly begin to assemble the tools used therein so that I may begin a macro journey of my own! Ive always wanted to explore macro more seriously but your videos and the Adaptalux have inspired me! Thanks Ben!
Thanks for checking out the blog and tutorial videos Peter, glad you are enjoying them! Let us know if there is anything specific you would like to see in the future to help with your journey!