How to create fire and explosions effects for toy photography – Watch on YouTube
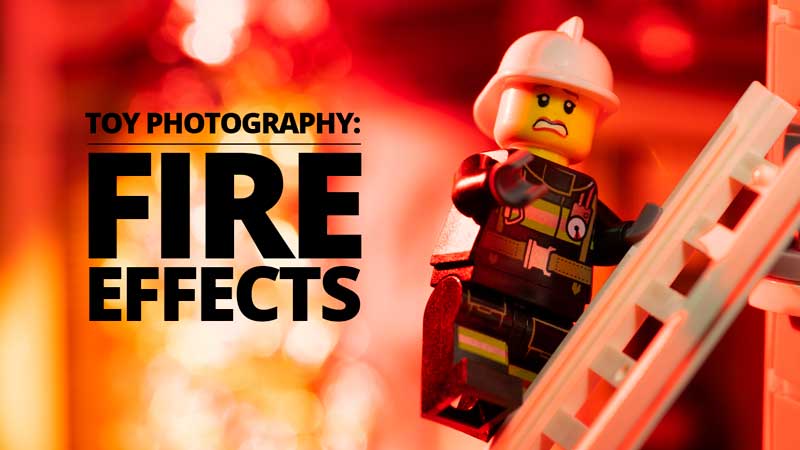
Toy photography is a genre that can greatly benefit from both photoshop skills and practical effects. In this LEGO photography tutorial, we will be using only practical effects to create realistic-looking explosions and fire in the background of our images.
LEGO Photography
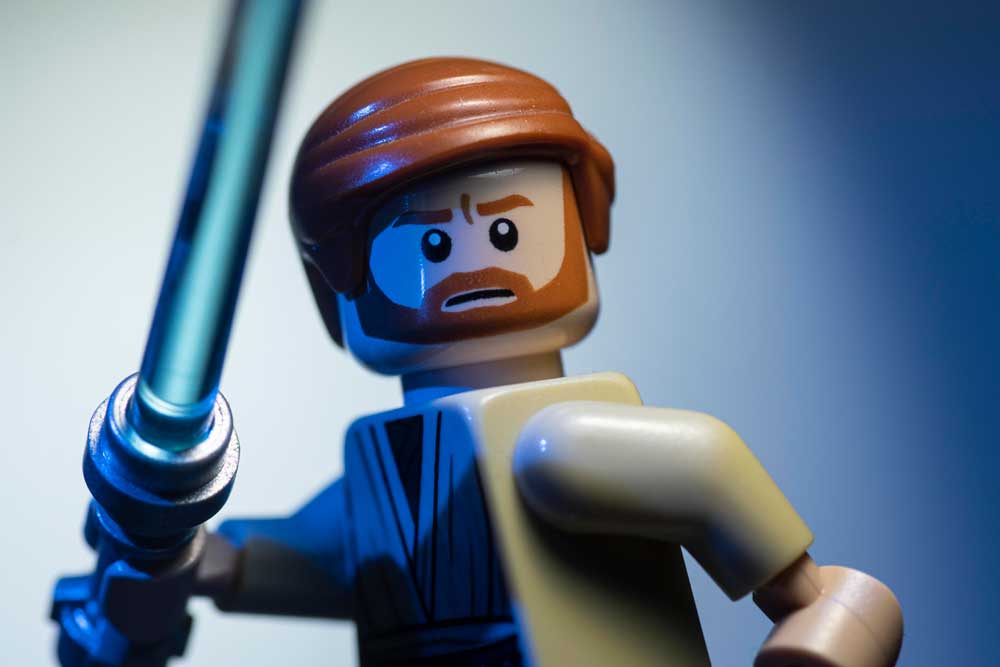
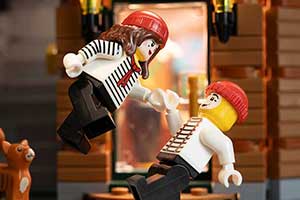
Today we will be photographing LEGO. We have done plenty of LEGO photography before, including a film noir effect, and LEGO Star Wars effects.
We have also used the techniques in this article to photograph Warhammer 40k miniatures.
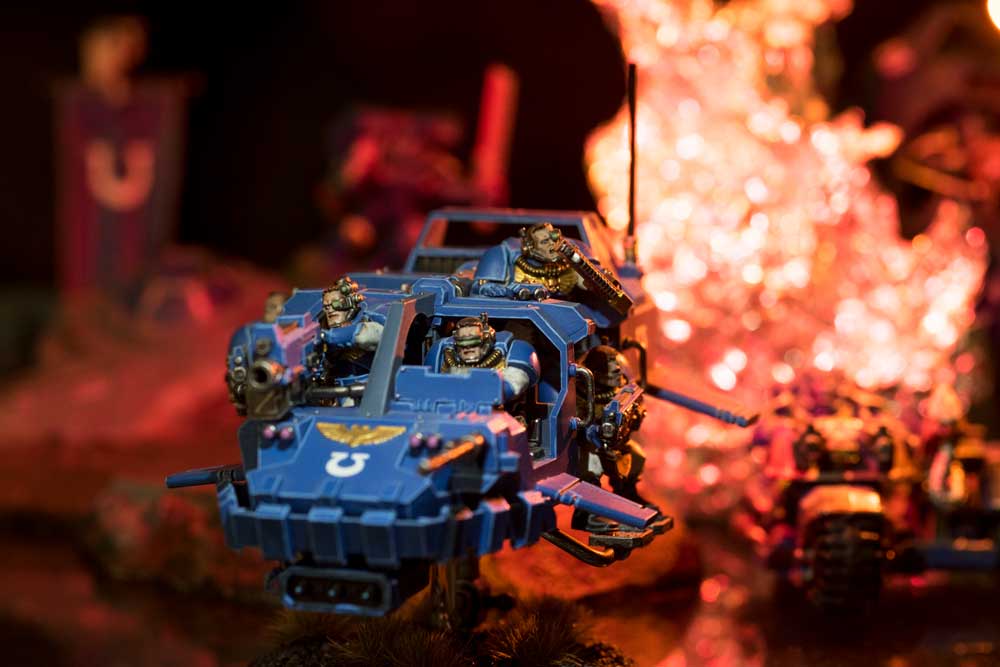
Toy Photography Explotions
So, why explosions? Well, nothing brings toy photography pop like a bit of action! There is a certain thrill and challenge to making something inherently still come to life using nothing but some clever lighting effects.
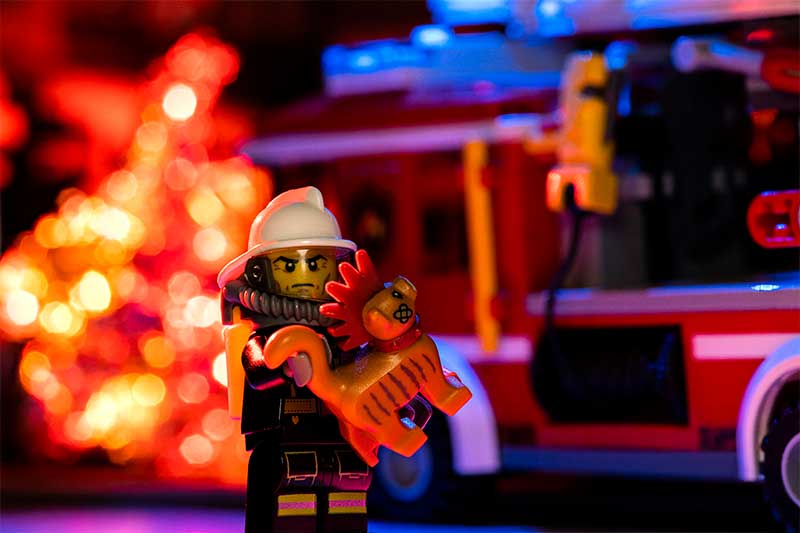
The images here were post-processed from raw, focus stacked, and touched up to remove dust. Other than that basic editing, all of the effects you see came right out of the camera. The fire and explosions were created using tin foil and coloured light!
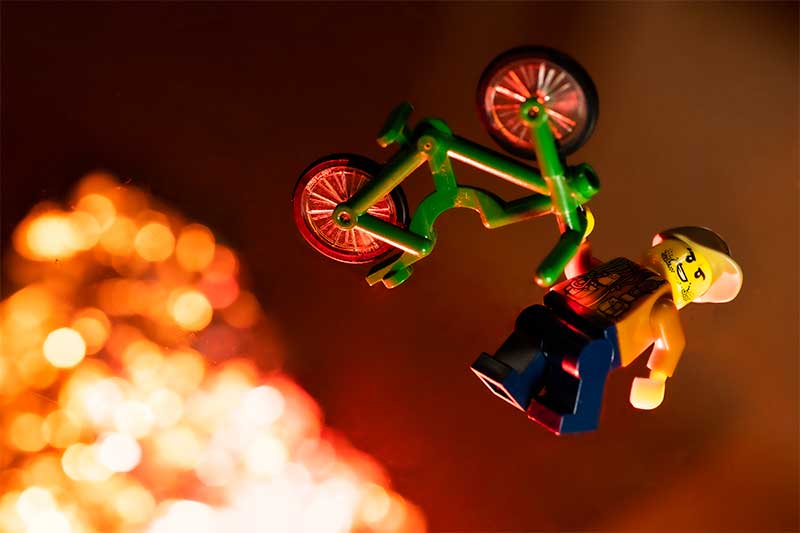
Fire and Explotions
Most toy photography that involves an explosion of some kind is created with the help of pyrotechnics. It’s common to take your toys outside and use firecrackers or other fireworks to create a real (but small) explosion behind your characters.
This can create a cool effect but is often not very practical or convenient, and risks damaging your toys. The effects often don’t scale well either. Real flames look too large for lego mini-figures, or even action figures.
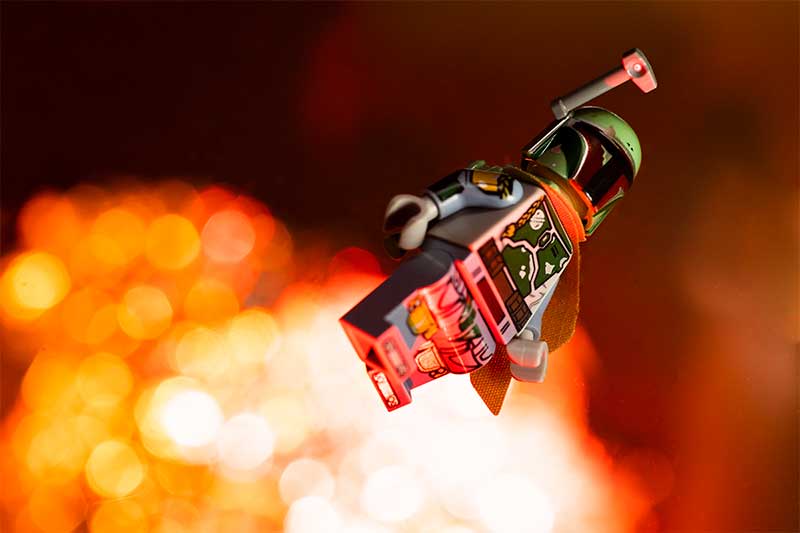
Building a firefighter scene
Set up the camera and scene
The first thing to do is to set your camera up on a tripod. This is important to keep the camera steady and not have to re-compose every time you want to make a change to the scene.
Handheld toy photography is absolutely possible if you don’t have an exact angle in mind. However, we find it much easier to build a scene in front of the camera with a fixed camera angle and distance.
Light the scene
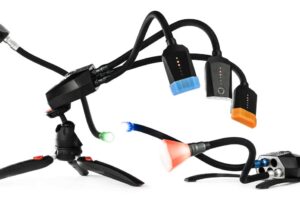
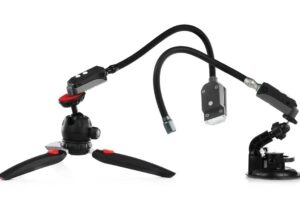
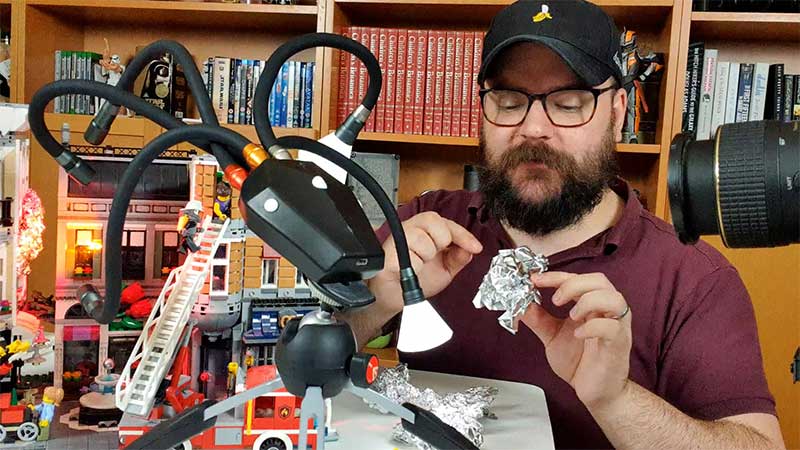
Once you have a rough scene set up, it’s time to light the characters and foreground. Pay attention to getting some diffused white light onto faces and important details. We used the Adaptalux Studio to bring light from several directions.
After the foreground, you can think about the background separately. The fire effect will come from coloured light shining onto tinfoil, so make sure to have some red and amber Lighting Arms at the ready.
Light the fire!
Place some crumpled tinfoil into the background of your scene and flood it with direct (undiffused) red, orange, and/or yellow light. This light should be much brighter than any lights in the foreground so as to overexpose the tinfoil.
The foil will be out of focus and create bokeh wherever the light catches an edge. The mass of overexposed bokeh will look just like that created from a bonfire or real-life explosion
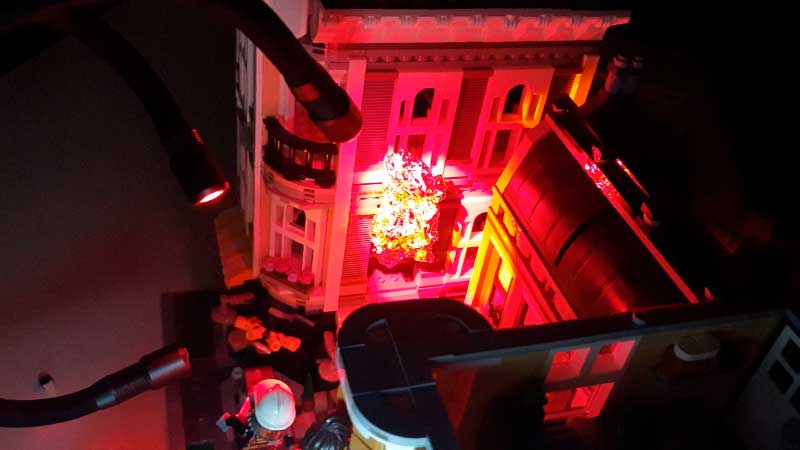
Control your exposure, depth of field, and the “tightness” of your tinfoil crumple to control the size and clarity of the fireball or explotion.
Focus Stack
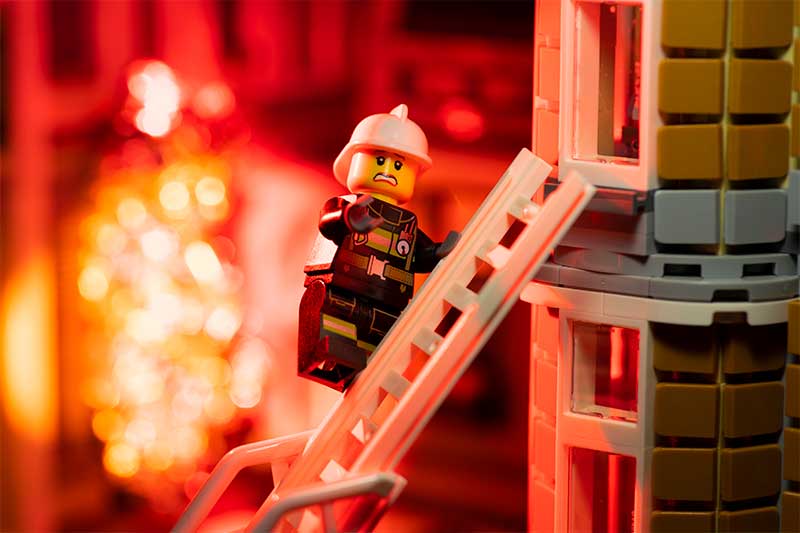
Optionally, you can eliminate a common problem with toy photography, depth of field. Focus stack your foreground subject to make sure it is perfectly sharp. Make sure to leave the background with the tinfoil out of the stack so it stays out of focus!
The image below is focus stacked, while the one above is not.
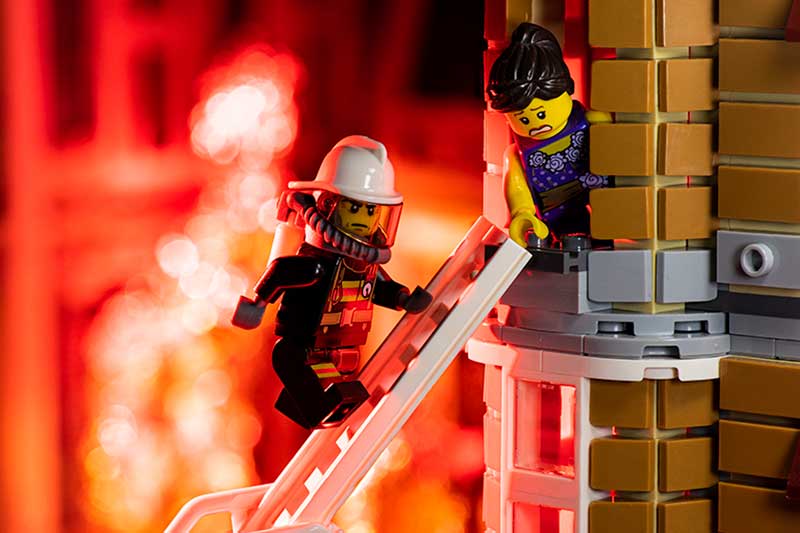
We always have great fun with LEGO and toy photography in general. Creating practical effects like fire and explosions is a challenge, but very rewarding when you manage to make a toy come to life! Let us know if you give it a go!
Lastly, make sure to subscribe to our YouTube channel for more macro photography tutorials, ideas, and inspiration!


