When it comes to miniatures, models, wargaming and painting, a lot of care and attention goes into every detail of the micro worlds we create. if you don’t know how to photograph miniatures you won’t do your hard work justice. A few simple tricks can go a long way to creating believable, cinematic images to complement the hard work that has been spent on the rest of your hobby. With the right tools and know-how, photography lighting and composition can make a world of difference.
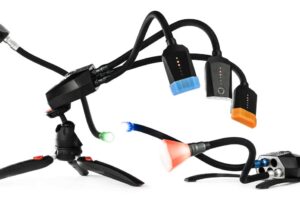
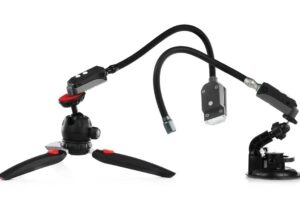
With this in mind, we teamed up with The Monster Merchants – a one stop shop for wargamers, to see if we could do justice to their awesome models using the Adaptalux Studio. They sent us over a Warhammer 40,000 Ultramarines Land Speeder Storm to photograph…
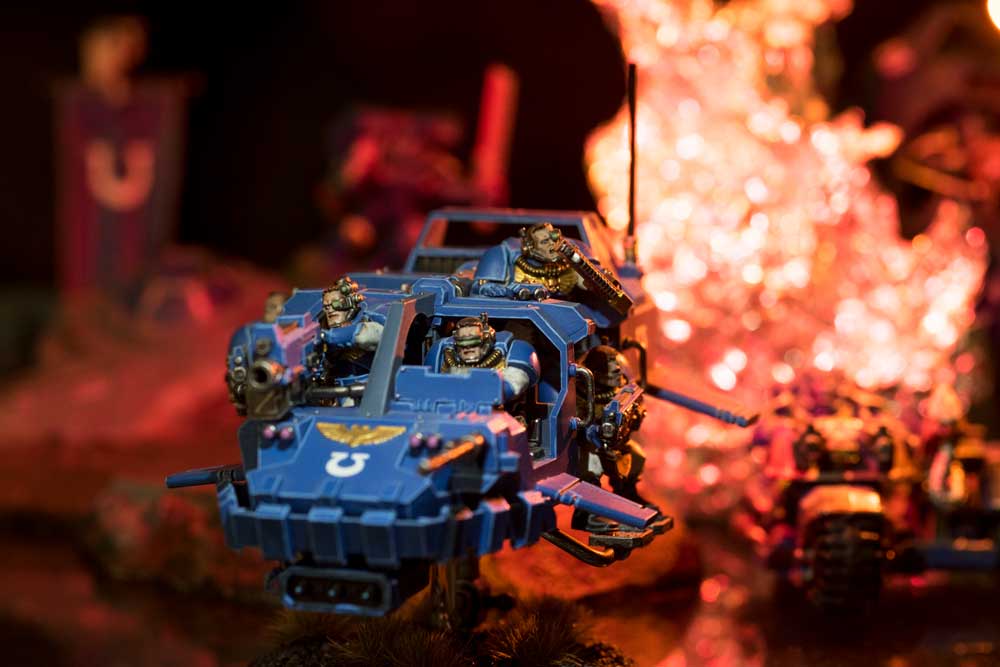
If you’re not familiar with Warhammer 40 000, it’s a tabletop game involving miniature painted models. When it comes to displaying and showing off these models, things can get tricky. As with macro photography, lighting and close control over your camera settings can make the difference between a visually striking image and a flat, uninspiring one.
You may be thinking, sure but how much photoshop went into the image above? …None.
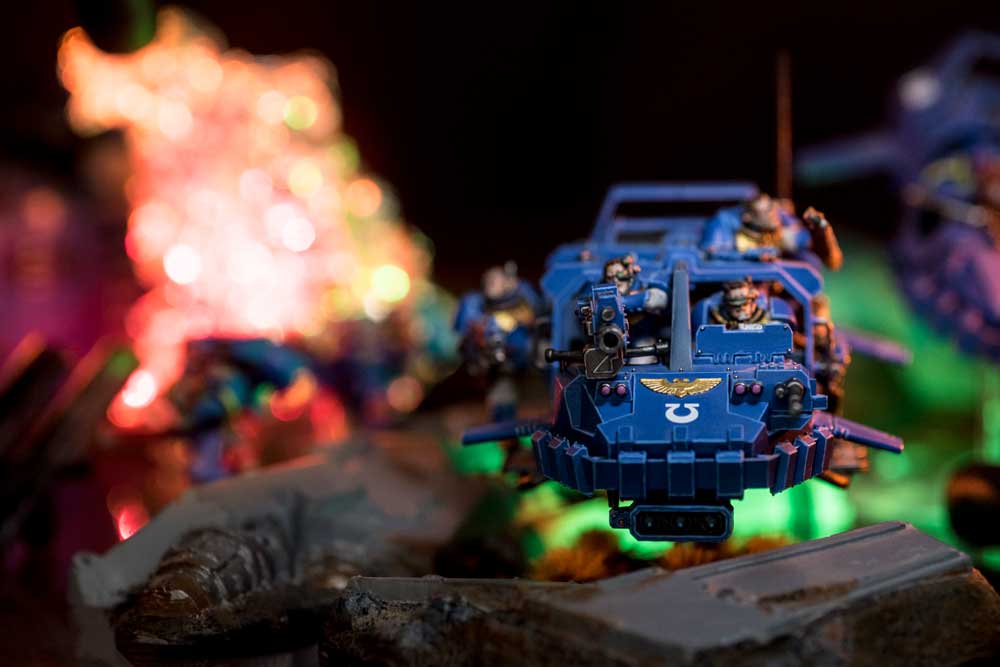
In fact in all the images in this post, there have only been minor tweaks to levels and a bit of cloning to remove the odd stand. All of the effects and colours are creative use of composition, camera settings and lighting.
The first thing you need to think about when constructing an image is composition, how do you want your scene to look? How are you placing figures and scenery in the frame? Are you focusing on just one model or several?
In the two images above, we wanted to capture the chaos of a battle scene, with the Land Speeder model as the focus of the image (because it’s very nicely painted!). The main subject is placed off centre roughly 1/3 distance from the edge of the frame, leaving enough space to get a snapshot of the wider scene.
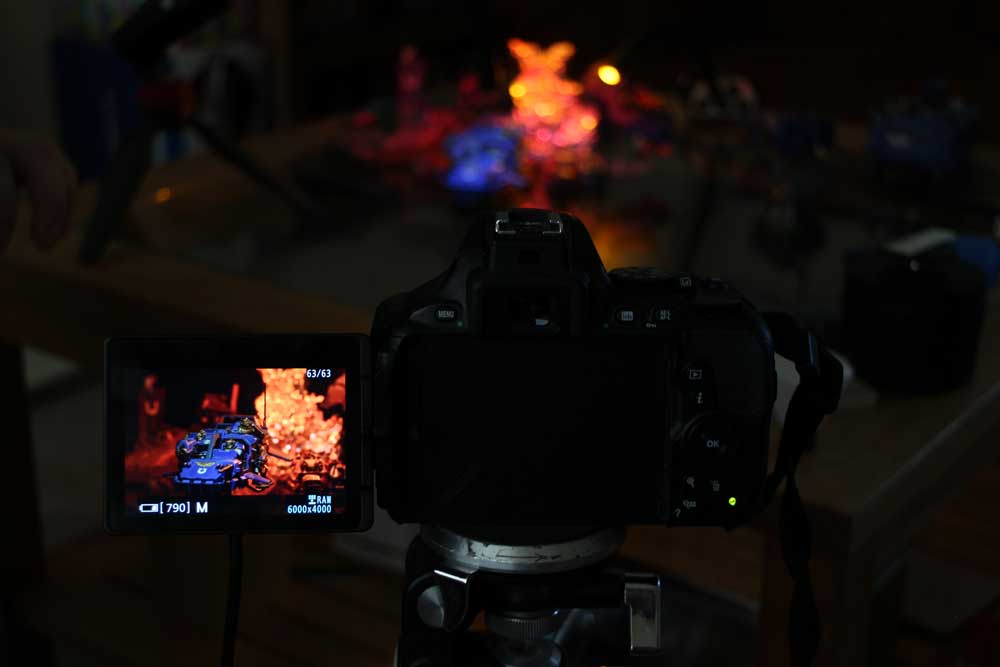
Often, a great technique is to set up your camera at the angle you want, then move the subject using the live view on your camera, until you are happy with the look of the shot.
The same goes for the lighting. When learning how to photograph miniatures, thinking about creative lighting is a must. Imagining every shadow, colour tone and highlight that should be present will add to the believability and overall feel of the shot. Setting up the lighting via live view can be achieved easily too, due to the continuous light provided by the Adaptalux Studio LEDs. Achieving results like this with flash or natural light would certainly be a challenge.
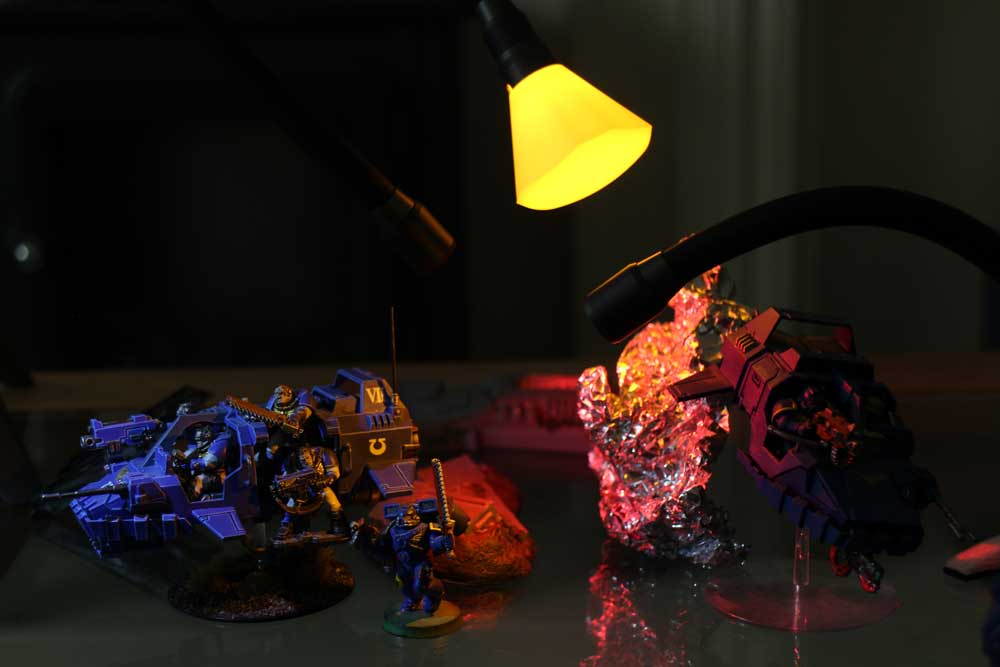
As you can see from the setup image above, the explosion was created by shining red and yellow light against some crumpled aluminium foil. We made sure to over-expose the foil to give the illusion of it being a source of light. This leads us to our next consideration, depth of field and camera settings.
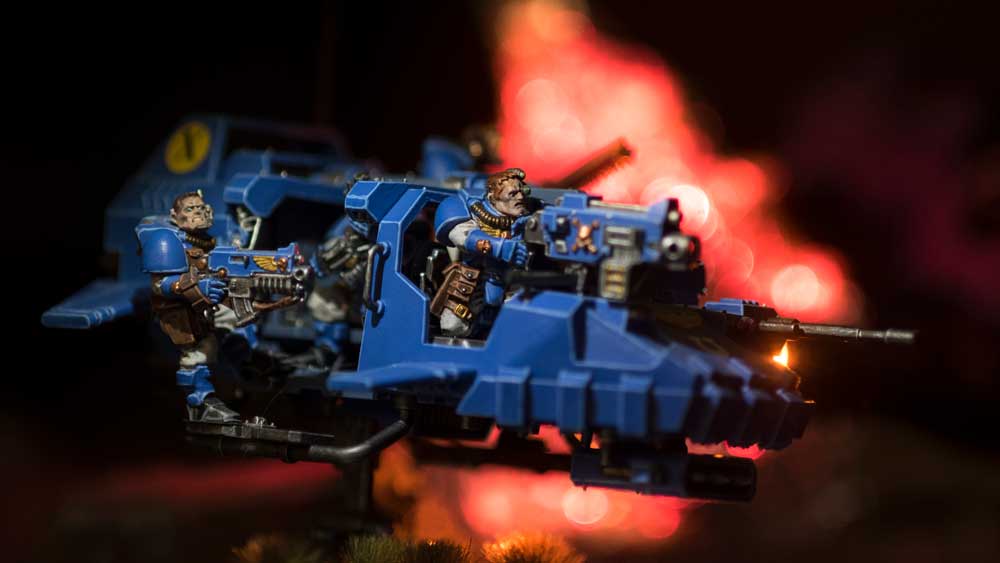
To achieve the effect of the foil looking like fire, we needed some pretty exaggerated bokeh in the background. This means a very shallow depth of field is need – Macro lenses are ideal for this. We used a 90mm Tamron manual lens about a metre away from the subject, an aperture of around f11 and shutter speeds of around 1/40.
Set a balance between your depth of field and the amount of light you need to let into your lens using your aperture. A larger f-number means a wider depth of field, but less light. To have the maximum flexibility here, you are going to need some powerful lights and a tripod.

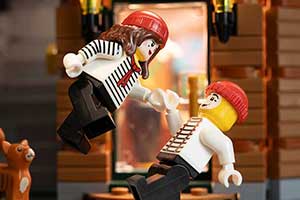
If you love photographing miniatures, models or anything small then make sure to let us know! We love seeing people’s photography projects, even without Adaptalux lighting! If you want to know more about how to photograph miniatures and models, check out our shoot with LEGO and lasers for more ideas!
If you have a cool shot to show off, let us know over on facebook, instagram or flickr by tagging us or if you’re already using an Adaptalux Studio, use #adaptalux. alternatively, email us at pictures@adaptalux.com.


