Smoke Photography Tutorial on a black (or white) background – Watch on YouTube
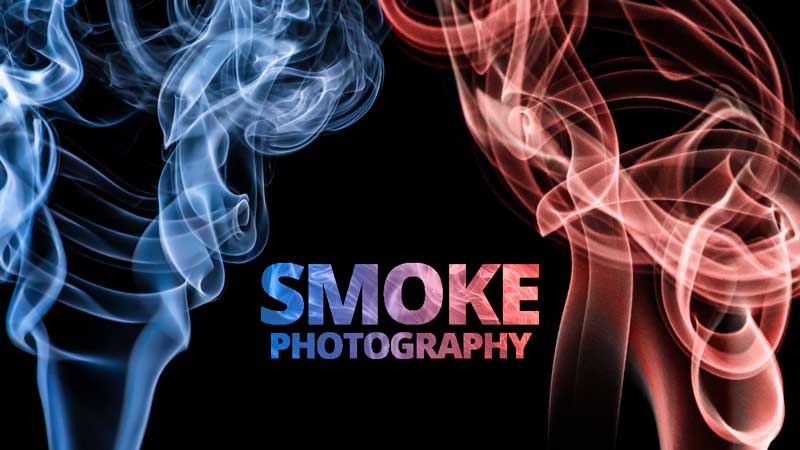
Learning how to photograph smoke on a black background is a simple and quite relaxing process. In this smoke photography tutorial, we will walk you through everything you need to get started.
Smoke Photography Tutorial
Smoke photography is a very relaxing shoot. You can easily set up the shoot in one evening and get hundreds of ethereal abstract shots. There is some minimal post-processing needed for the most creative results, but it’s easy and quick.
Firstly, let’s take a look at the equipment you’re going to need to take shots like these.
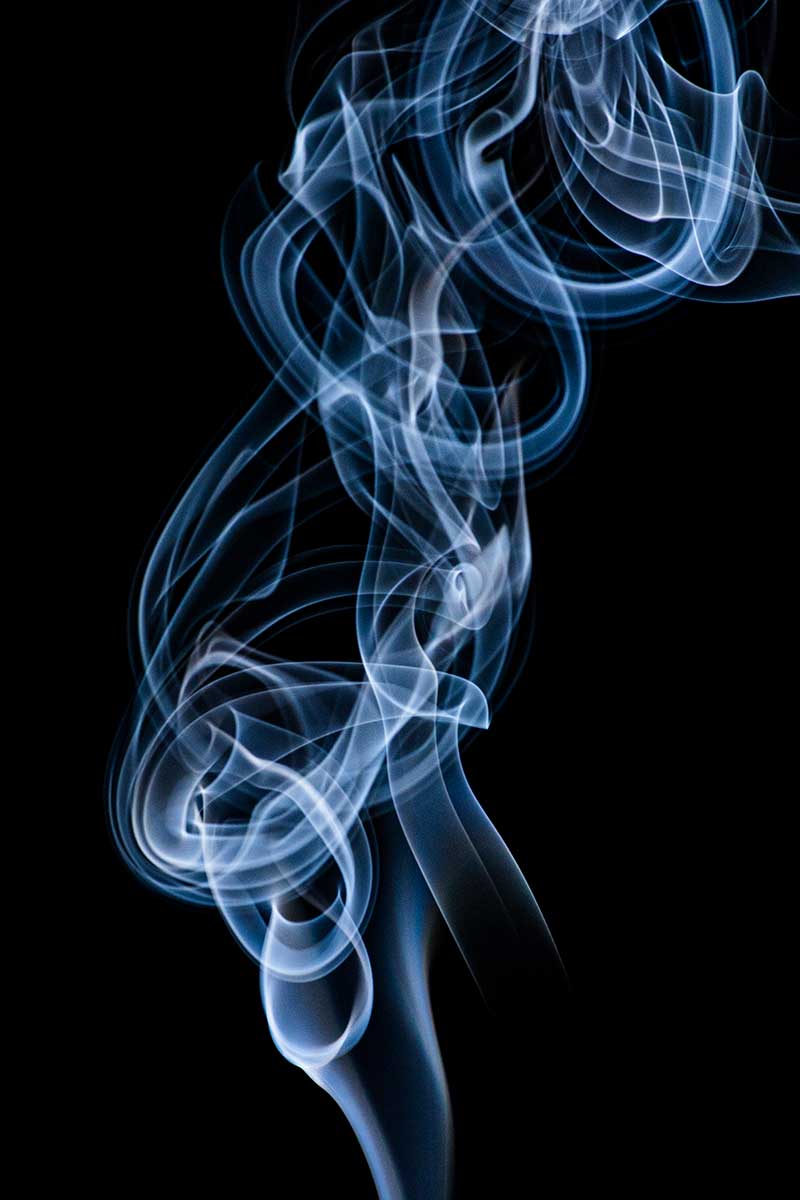
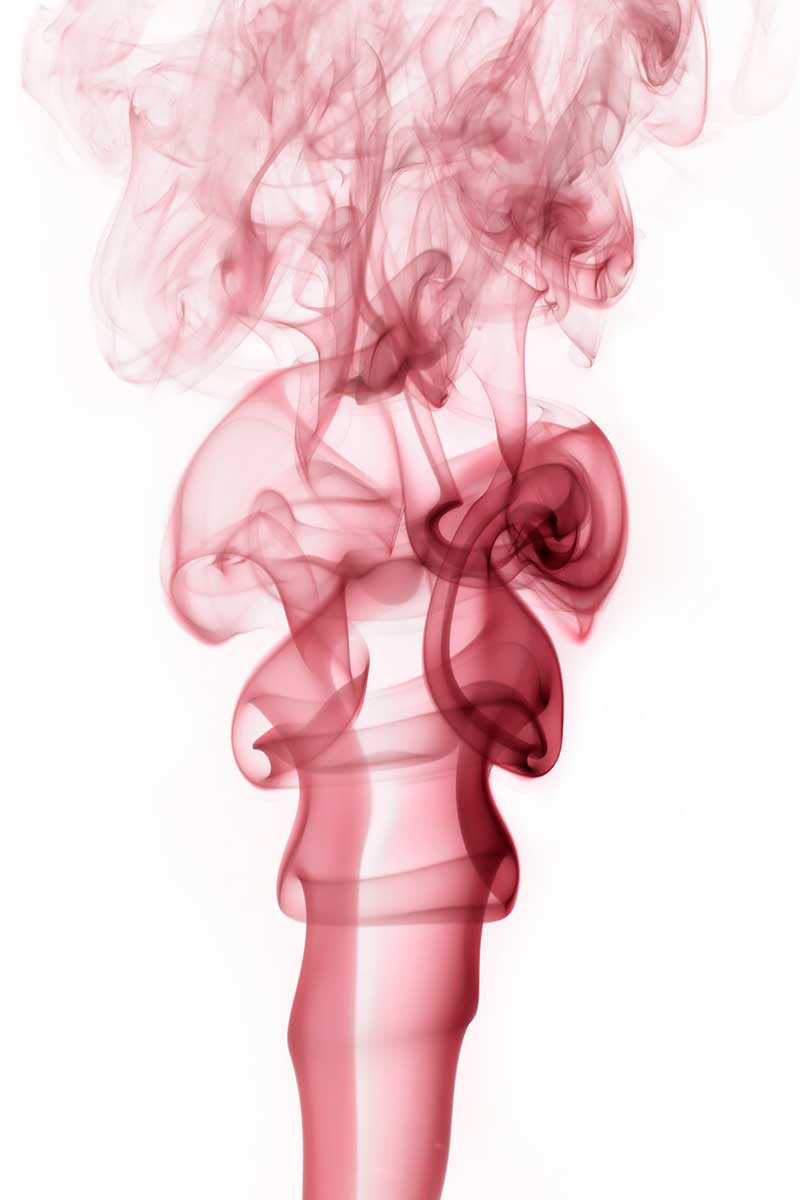
Equipment for smoke photography
There are a few key items you’re going to need to capture smoke with your camera.
- Camera – While you don’t need anything too fancy, a DSLR or mirrorless camera with changeable lenses will give you the most flexibility. It needs to be able to communicate with an off-camera flash, so look for a hot-shoe!
- Lens – We used a Tokina 100mm f2.8 Macro lens for these shots. You can shoot with any lens that gets close enough to your smoke to fill the frame. If you are too far away and you will need a lot of cropping.
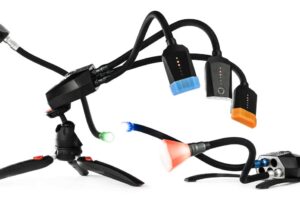
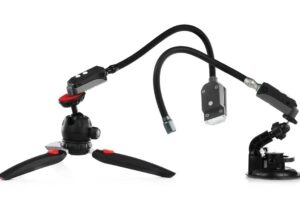
- Lighting – The best results are found with an off-camera flash like the Adaptalux Flash Arms. You can use continuous light for video, but you may see some motion blur in your stills without a fast burst of light to freeze the smoke.
- Tripod – Unless you want to be trying to manually focus over and over, it’s best to shoot on a tripod. A ball head attachment is also helpful for aligning your camera in portrait orientation.
- Incense – You will need something to create smoke. Incense sticks and cones are great for this. Matches, candles and small humidifiers can also work.
- Black backdrop – A black backdrop helps create contrast with the smoke. Use a black sheet or some card to cut out light from the background.
- Shutter release cable – For the ultimate chill-out shoot, sit back with a shutter cable and keep your hands off the camera. Optional, but it makes things easier!
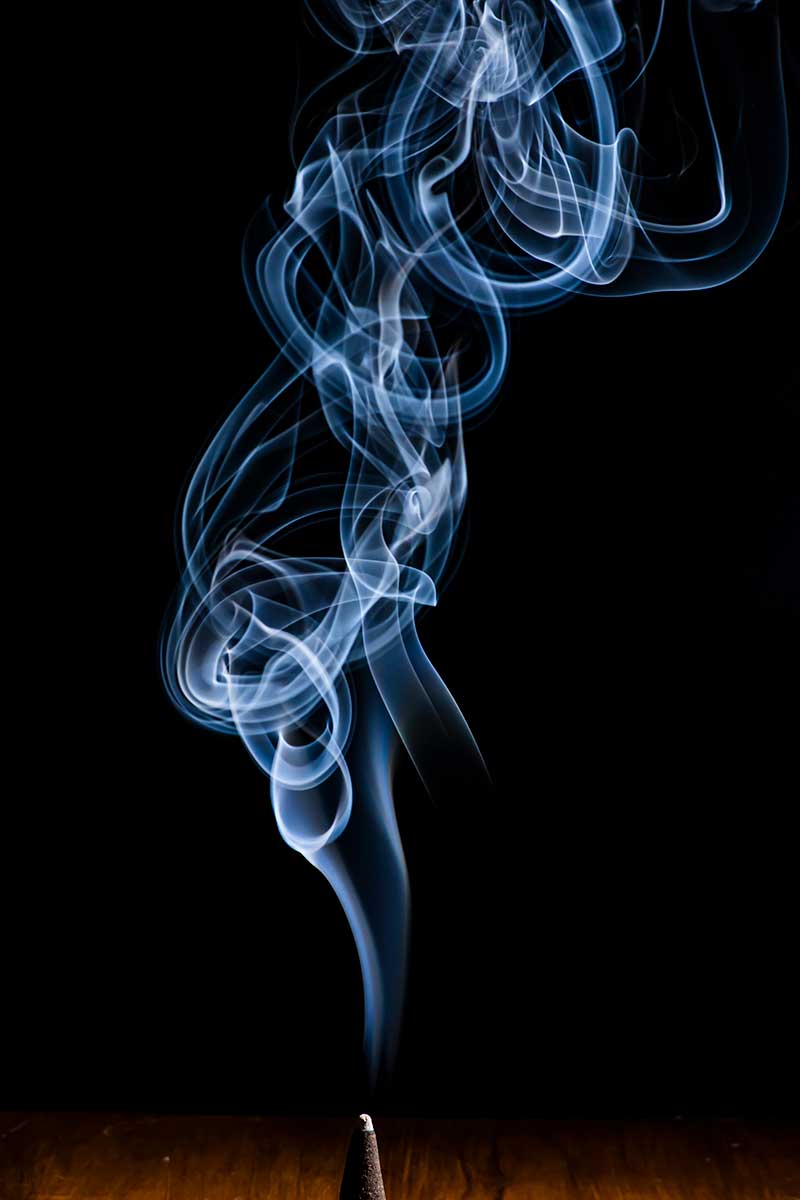
How to make smoke
We found that incense cones are the most practical method of creating smoke. The smoke created is consistent, burns for a long time, and is thick enough to see.
Incense sticks create the same kind of smoke. However, as it burns, the source of smoke moves along the stick. This causes problems for framing the camera and knowing where to focus. A cone stays in the same place as it burns, making it easier to compose your shots!
Camera Setup
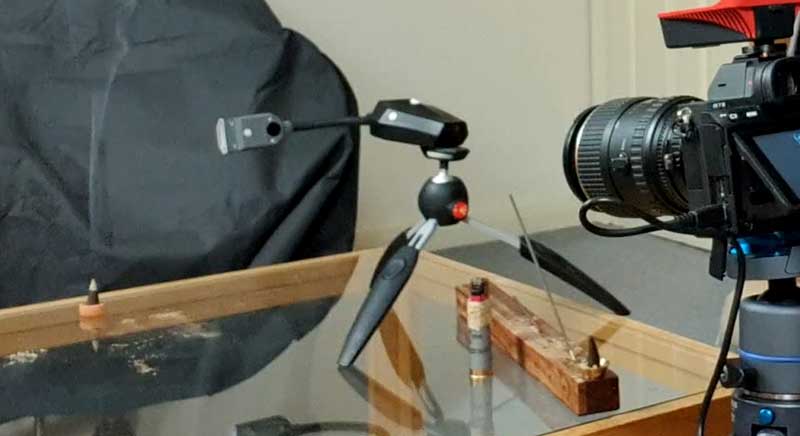
The setup for this smoke photography tutorial is quite simple. Set your tripod and camera in a portrait orientation with some distance to the smoke (you can adjust later). Your flash needs to be next to the smoke, shooting across the scene. Place your black backdrop are far back as possible to avoid light spilling onto it. If you don’t have a backdrop, you can also achieve a black background with settings. Check out our black background tutorial to learn more about that!
Camera settings
Before you change your settings, you need to focus. Use manual focus to find your smoke and focus as close to the centre of the smoke column as possible. If you try to use autofocus, your camera probably won’t be able to find the smoke again when you press the shutter.
The settings we used were as follows;
Shutter Speed – 1/160 No need to go faster than the sync speed of the flash. The Flash Arms max sync speed is 1/200.
Apeture – f11 Try to close your aperture as much as possible to get a deep depth of field.
ISO – 400 Start high and lower your ISO as needed until your smoke is exposed well for the flash.
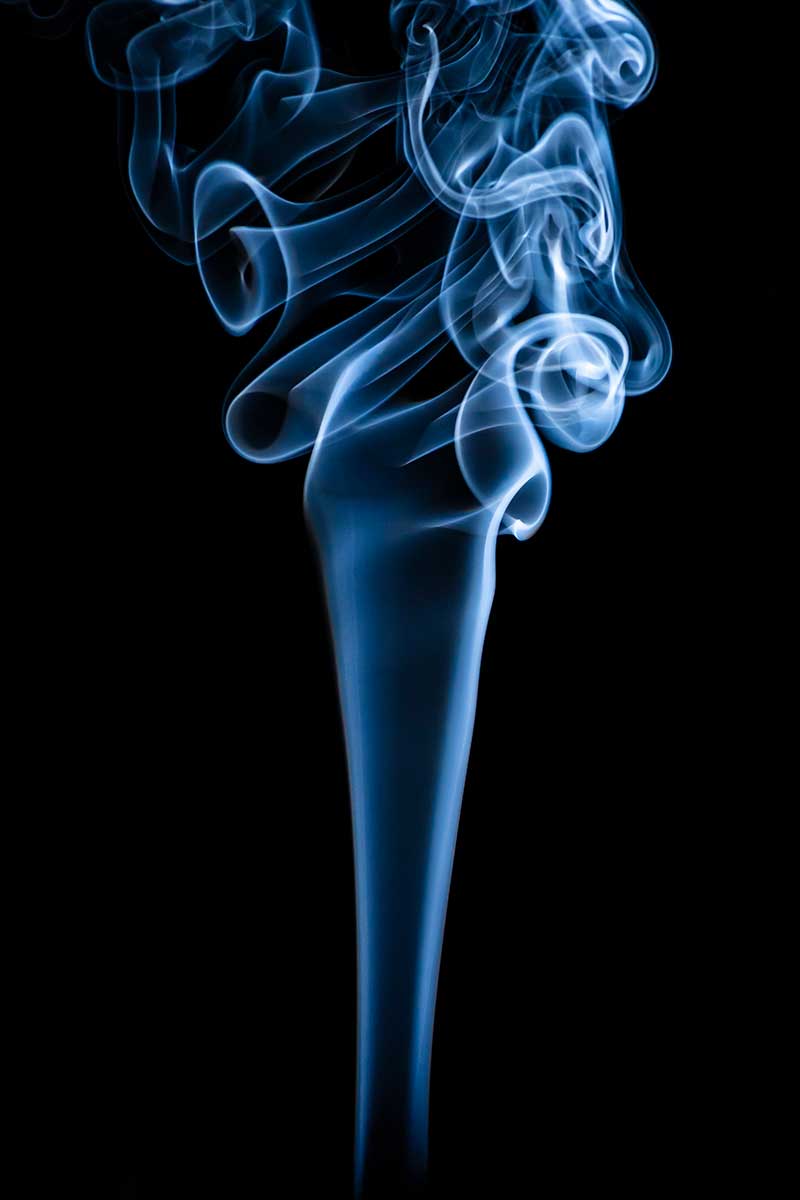
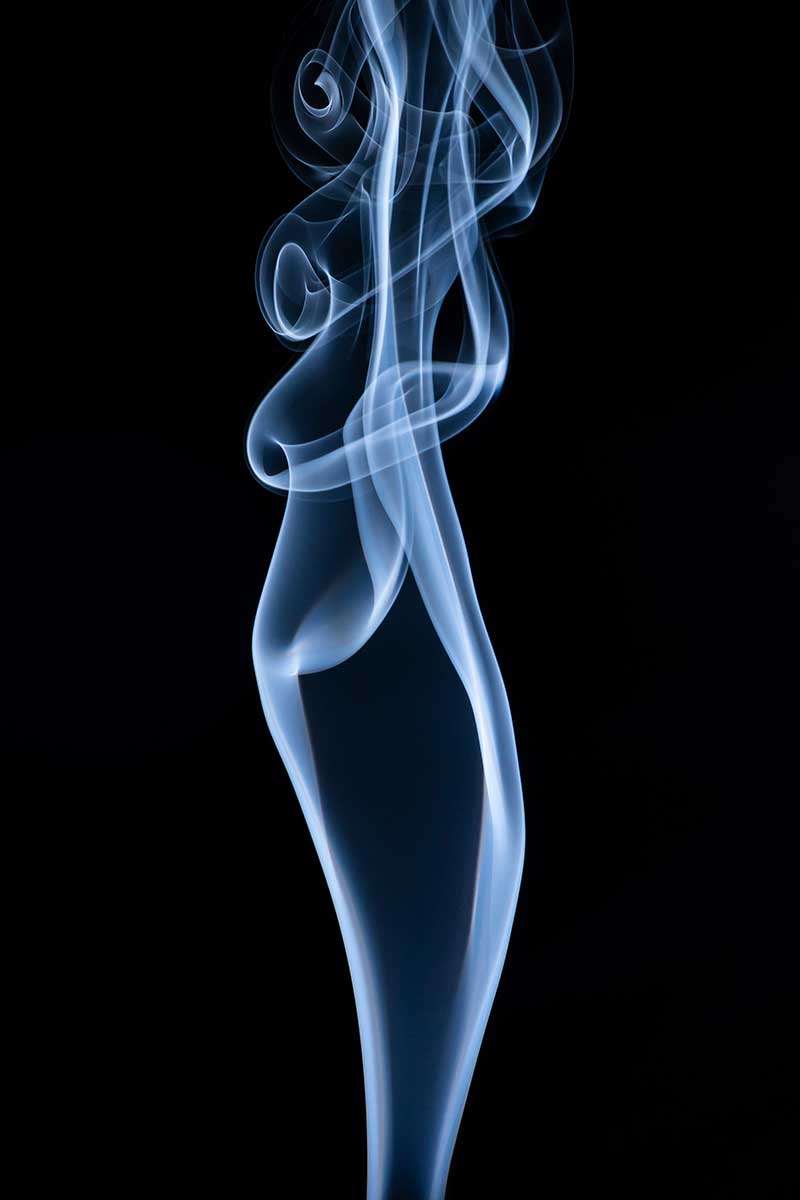
The settings you use will be similar, but you will need to change your ISO or aperture to adjust for the power of your flash, its distance from the smoke, and the density of the smoke.
We set the power of our flash arm to level 2, which is the slowest flash but provides the most amount of light.
Adding Colour
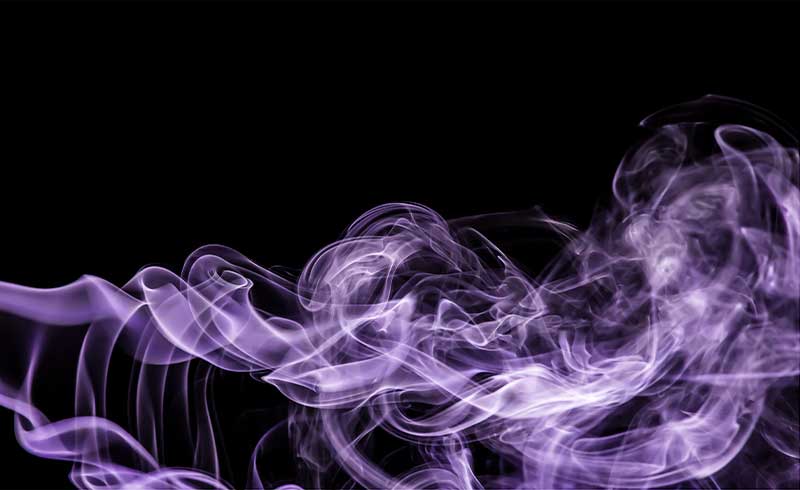
When shooting, add a little colour to your smoke by changing your colour temperature. We set ours to be a little cooler than our flash, resulting in a blue tint to our smoke.
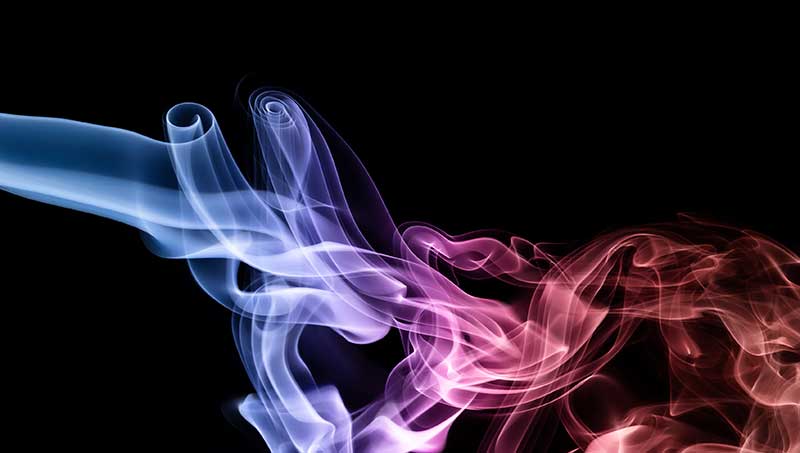
It’s easy to change if you shoot in RAW too, and even correct to being pure white again if needed. Once you have a little colour in the smoke, you can use the hue sliders to shift the smoke to another shade.
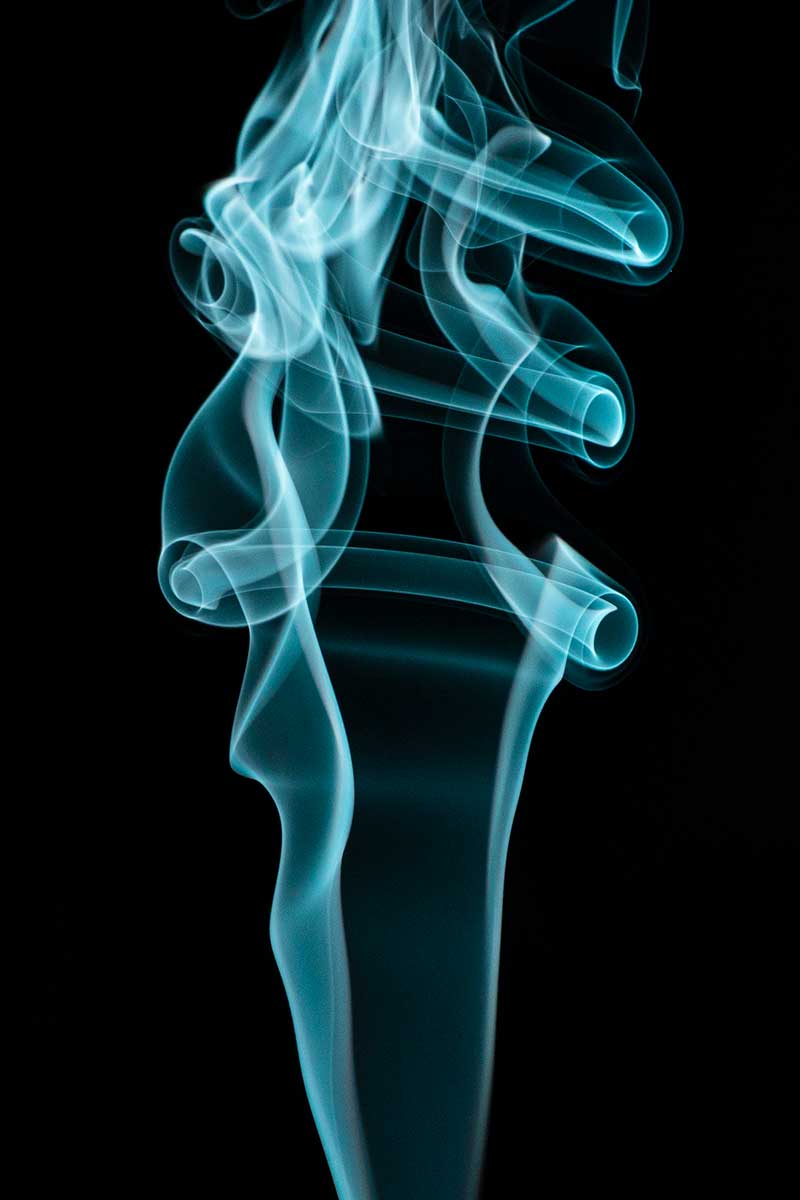
You can use this technique to change the colour of the smoke in the image too. A gradient effect within the smoke can be really striking!
White Backgrounds
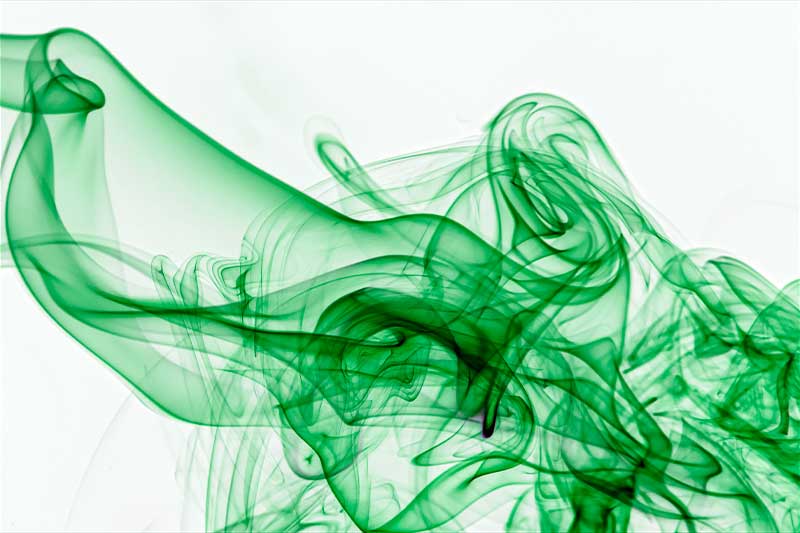
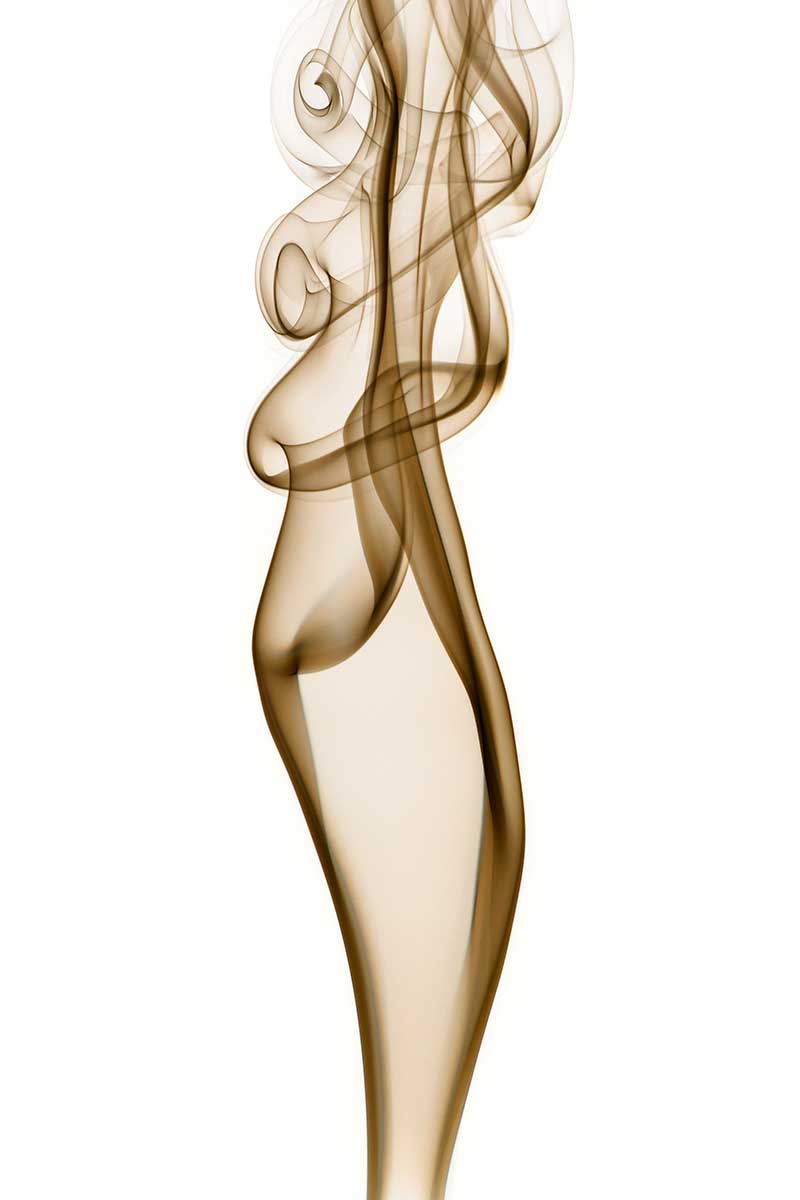
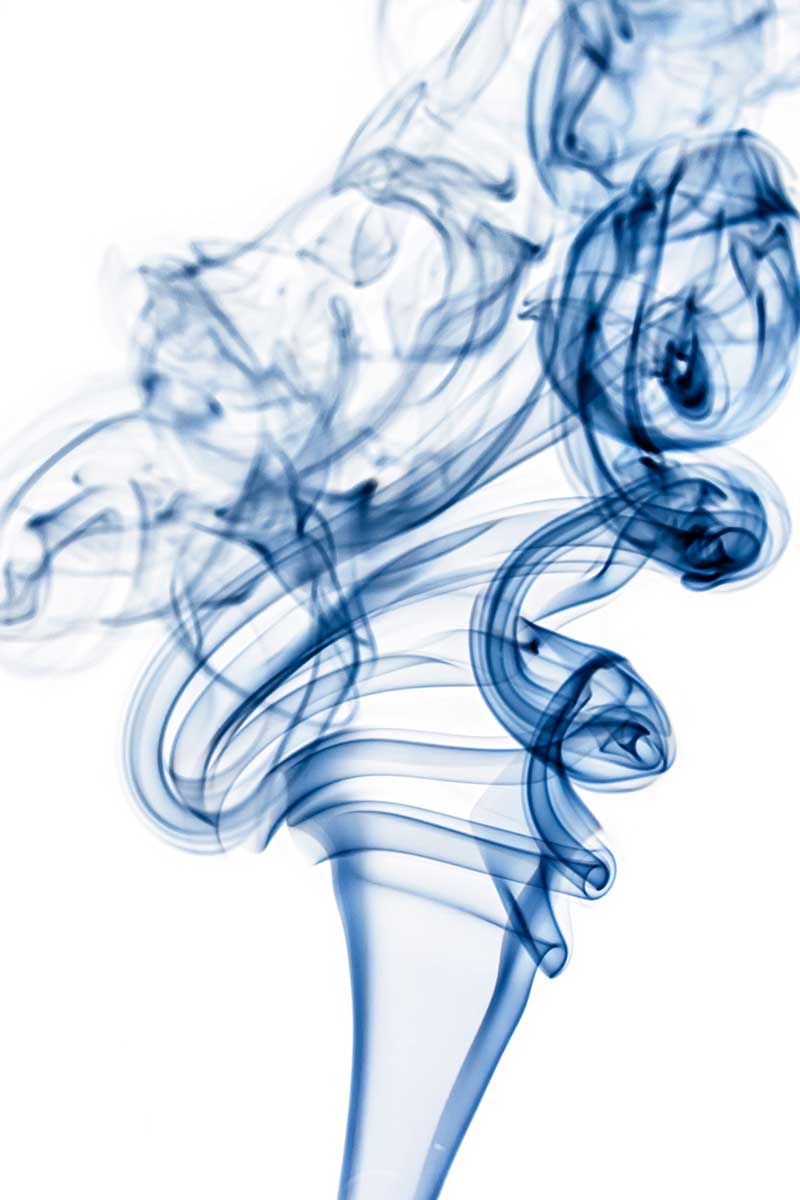
Possibly the simplest adjustment to make to your smoke photography is to invert the image. Using the invert tool in photoshop will turn your pure black background to white!
While this does affect your smoke too, you can still use the hue slider to choose a colour.
We hope you have a relaxing time taking some smoke shots. If you use incense, your home is sure to be fragrant afterwards! Make sure to let us know below if you managed to get some creative shots!
Lastly, make sure to subscribe to our YouTube channel for more macro photography tutorials, ideas and inspiration!
- Winter Macro Photography: Focusing on Tree Bark and Moss Textures - 8th February 2026
- 2024 Winner Announcement – Adaptalux Macro Photography Awards - 30th January 2026
- Dark Cinematic Toy Photography Tutorial – Alien (1979) Action Figure - 25th January 2026


