Coloured Background Photography Tutorial – Watch on YouTube
We have previously looked at how to achieve white backgrounds and black backgrounds for macro and product photography. In this coloured background photography tutorial, we are going look at some alternatives!
Coloured background photography tutorial
Filling your background with colour is often less desirable than a solid black or white. Those absolutes are handy for incorporating images into the stark backgrounds of web pages. For eCommerce photography and product photography, a solid white or black background is often a requirement.
Sometimes though, we want our images to stand out among the crowd. A creative coloured background can often complement the colours of a certain product or subject. If you have a specific destination in mind for your images, they can be used to integrate images into a colour scheme.
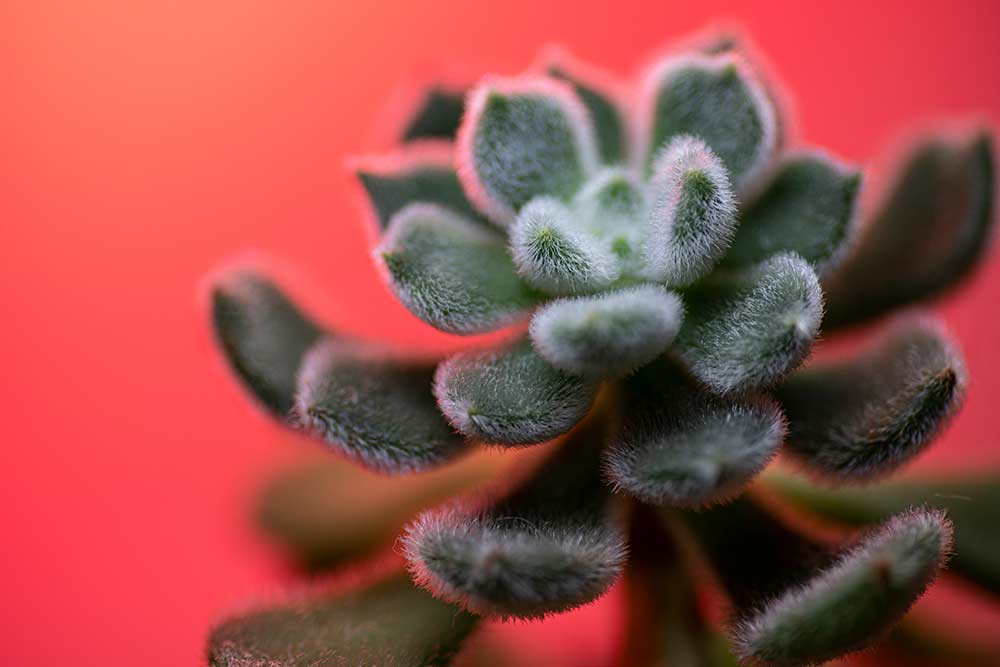
We specialise in closeup and macro photography here at Adaptalux. However, coloured background photography is not just for macro and small products. Many of the techniques used here can easily be scaled up to work well for portraiture and larger product shoots. While our lighting suits small subjects, larger equivalents are available that work just as well for scaled-up scenarios.
First, let’s look at the most common method for achieving a coloured background.

Using Coloured backdrops
Perhaps the most obvious solution to coloured background photography is to use a coloured backdrop. This can be a very fast and effective way to try out lots of different styles of background very quickly. We used our background gradient cards for the shot below. They are simple A5 cards that have a colourful gradient to place behind your subject.
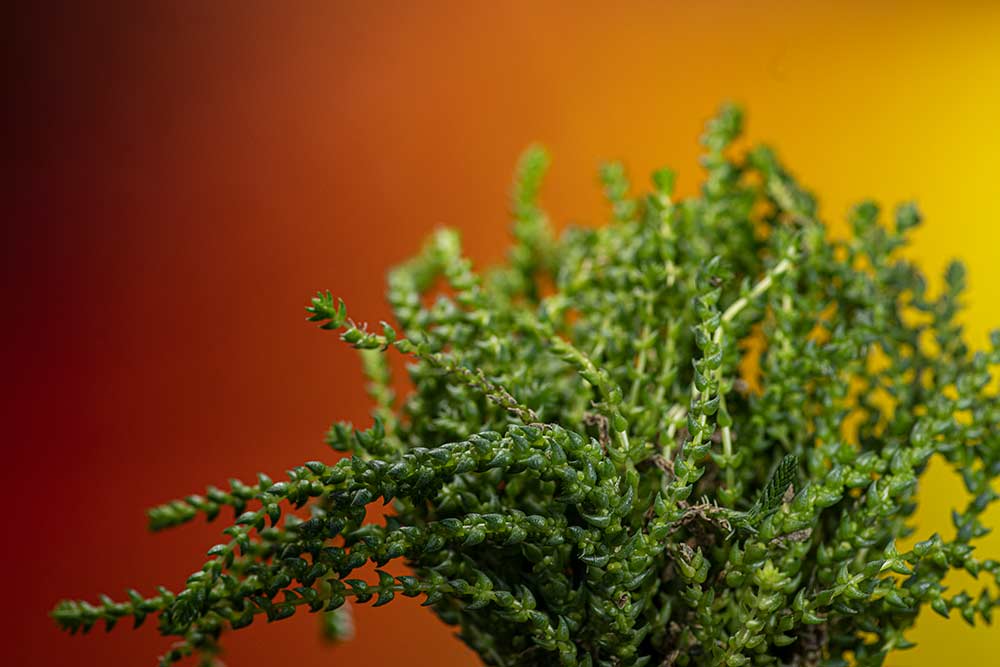
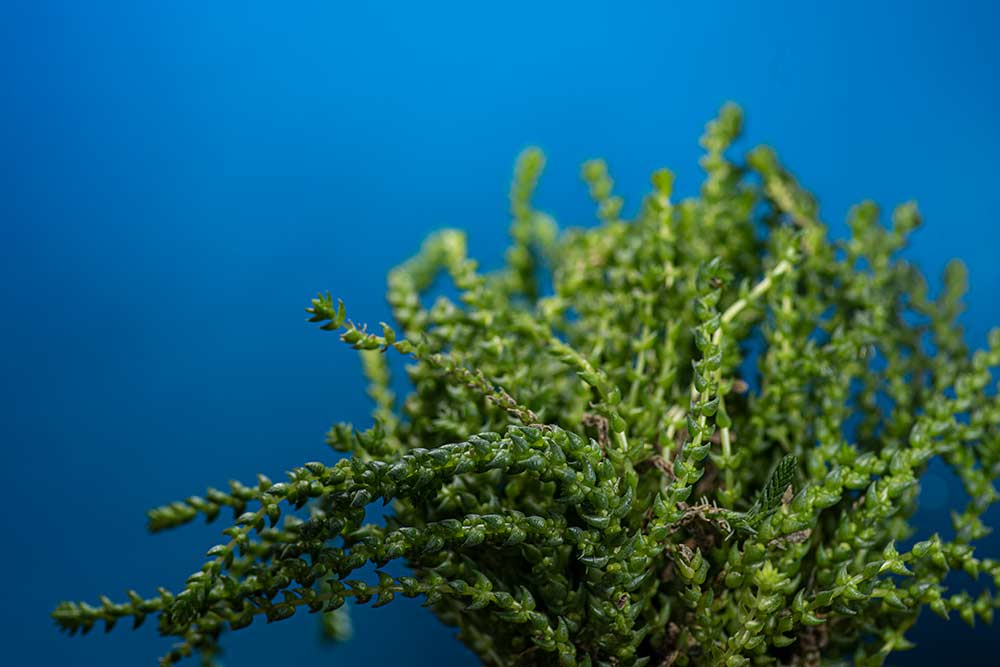
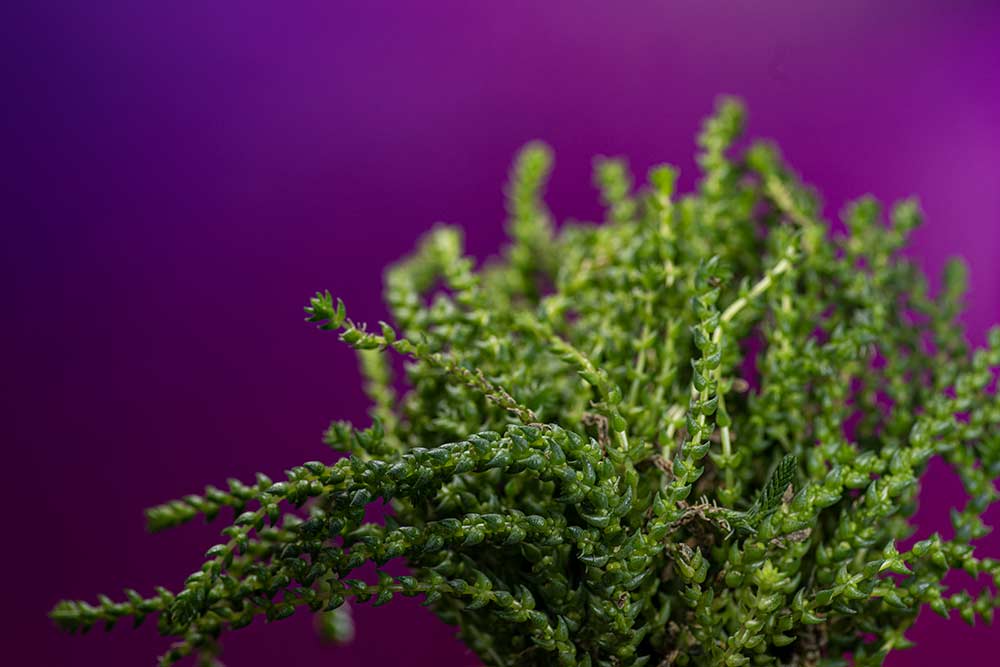
As with our other methods, these background cards need to be lit independently from the subject. This is the case whenever thinking about your foreground and background independently as we almost always need a way to balance the brightness of the subject against the background.
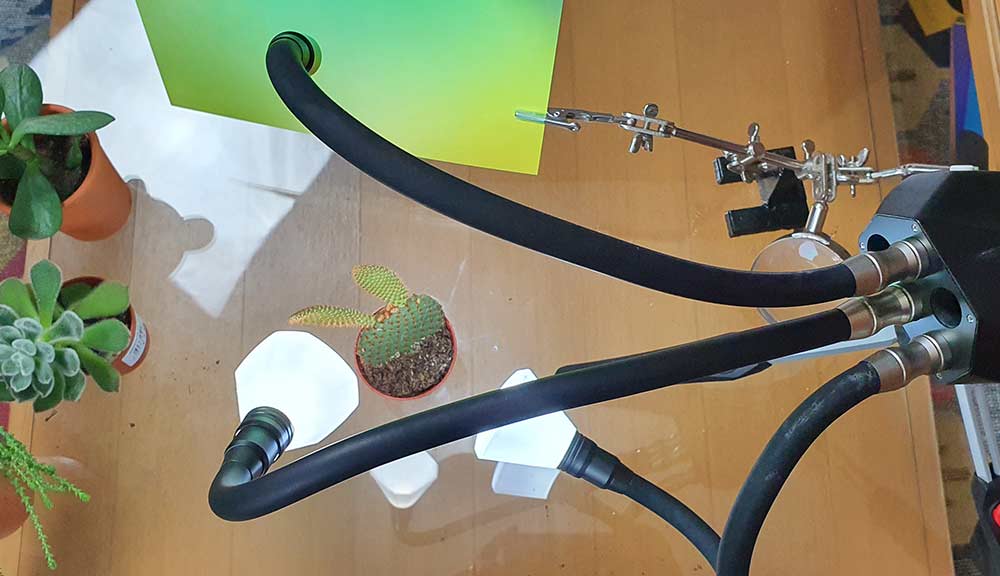
Without light, the cards will appear dull and dark in comparison to your well-lit subject. Too much light and the background will be over-exposed compared to the subject. With the Adaptalux Studio, we are able to control the brightness of each lighting arm independently. If you don’t have that option, changing the distance between your lighting and the background will also affect its effective brightness.

Using Coloured Lighting
A coloured background photography tutorial would not be complete without talking about coloured light. If you don’t have access to a range of coloured backdrops, this is a great alternative. It might also be quicker to change lights than backdrops if you’re working in a studio with large, heavy paper rolls.
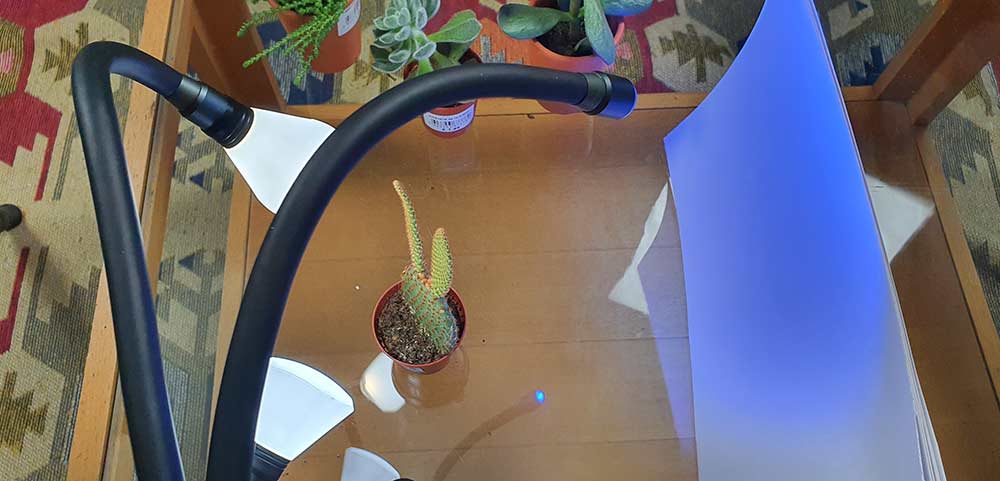
The image below was taken with a white backdrop, but coloured light from a lighting arm. You will need to pay special attention to the balance of light with this method. The white backdrop will reflect more light than a dark or coloured one, so it’s easy to overexpose.

Another concern is the spill of the coloured light. If you want your product photography or macro subject to look accurate to the real-life item, you don’t want coloured light spilling onto the front of the object. Make sure your Lighting Arms or gel-covered flashes are pointed only that the backdrop and not at your subject. The best way to ensure this is to place your lighting behind the subject facing backwards.
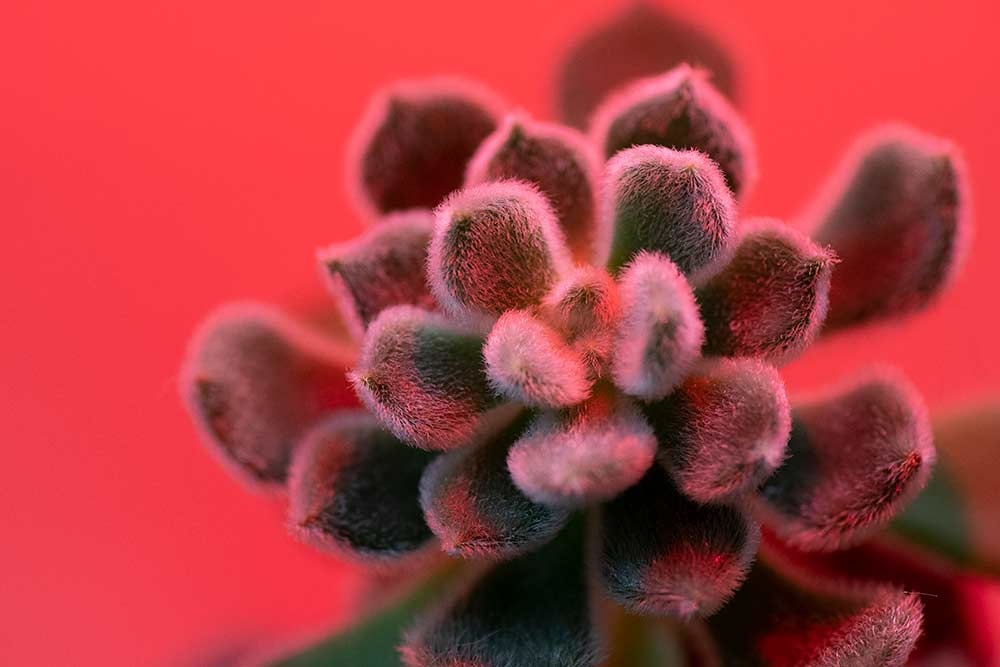
Watch for light reflecting from your backdrop onto the subject. This is less of an issue than coloured light hitting the front of the subject, but will be more apparent when using a white backdrop. A little bit of reflection or backlighting can highlight the edges of your subject with colour, which might be a nice effect!
Self-illuminating backdrops
For our final method, we’re going to try something less common. When shooting small items like ours, you might be able to use a screen as a background! It’s not without its challenges, but it can be a great option if you don’t have a conventional backdrop or coloured lights.
Try bringing a full-screen gradient or colour up on your laptop or tablet screen and placing it behind your subject. This can be an even faster way to change colours and add variety. The background will light its self but you will still need white lights on your subject. This time, be careful about these spilling onto your screen. The lights for your subject might cause unsightly reflections on the glass of the screen.
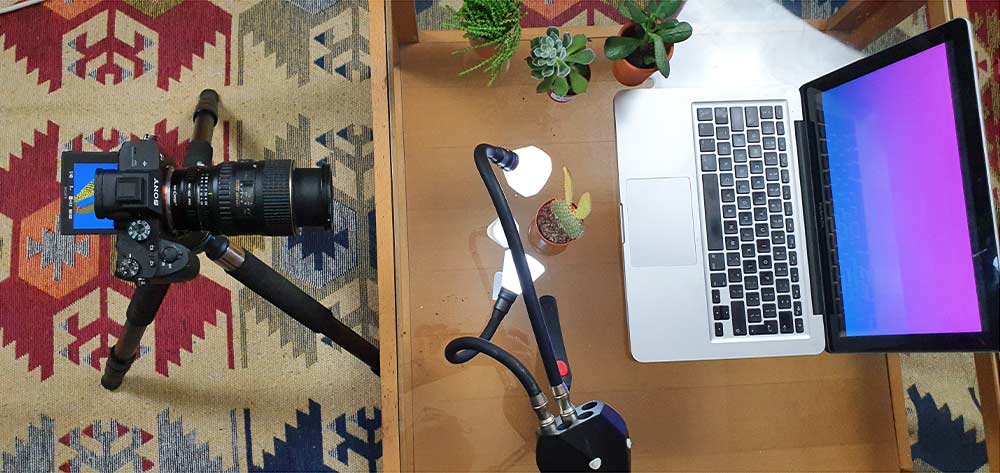
The other issue with screens is that for small items, you might be close enough to see the pixels. This can be solved by using a wide aperture so the background is out of focus. You can also try diffusing your screen with a thin piece of white paper or other semi-translucent material.
When it comes to larger subjects like people, using a screen as a background is likely to become impractical. Although we didn’t try it in our shoot, using a cheap projector onto a large white wall can be an effective way to add dynamic colours patterns and even other images into the background of a shoot. In this scenario, you want to be shooting with as little light in the room as possible, so as not to overpower the projected image with spilled light from your subject.
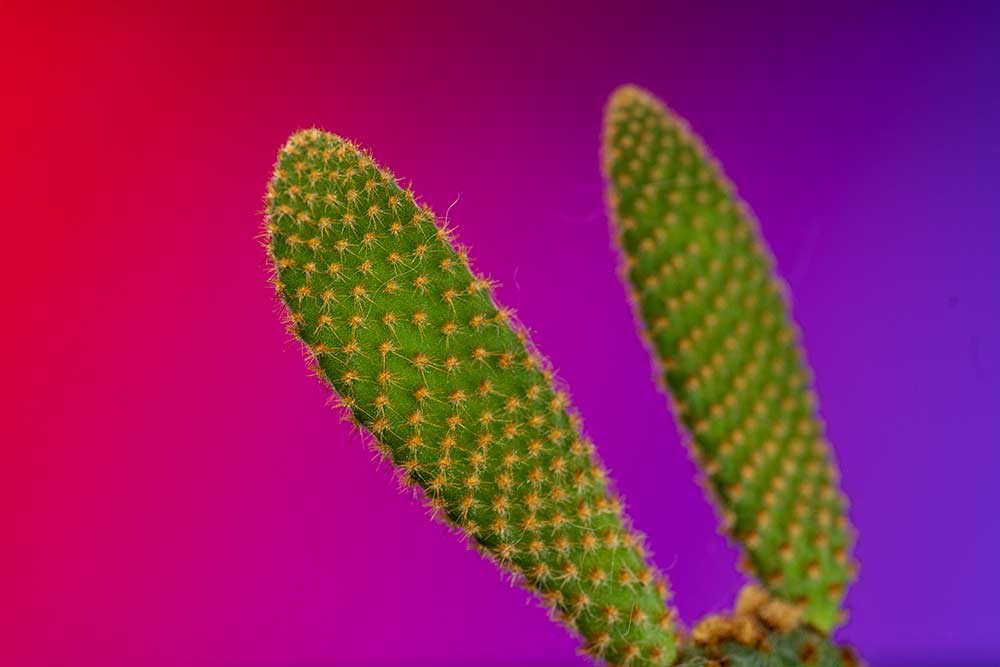
We hope you found this coloured background photography tutorial helpful. Some of the tips here may work better than others for your particular subject and style, so make sure to test and experiment before diving in.
You should always devote some time to finding the right method with product photography. There’s nothing worse than re-shooting lots of products because you changed your mind halfway through the shoot!
Finally, make sure to subscribe to our YouTube channel for more macro photography tutorials, ideas and inspiration!











Thanks for delivering different things through this post that we can apply to our photography. Colored photography matters because photos are the opportunity to showcase products and tell the brand’s story. Color can take an otherwise ordinary product and make it pop off the page.