Watch on YouTube – Macro Pine Cone Photography
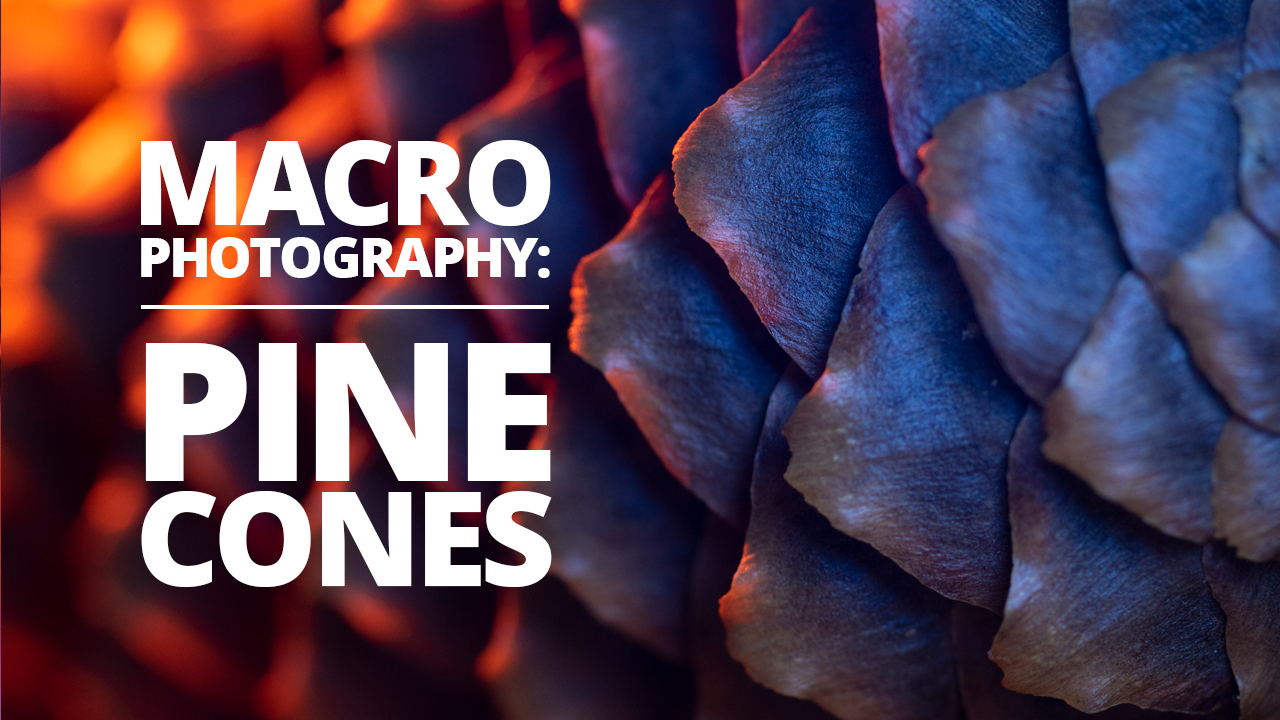
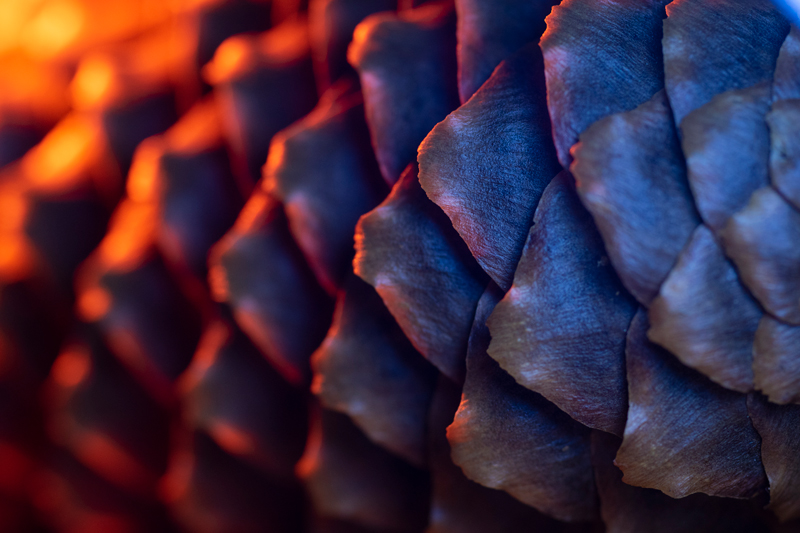
For those of you familiar with Adaptalux Studio, you will recognise this subject as one that takes pride of place on the studio homepage as an example of what our kit can do. Pine cones are easy to find in most places, and can make for some really interesting photographs, especially when lit creatively!
Just like our dish soap photography tutorial, this one is great for those rainy days at home. You can set up on your coffee table and get amazing results in comfort.
STEP 1 – Equipment List
Camera – We will be shooting on our go-to Nikon D5600.
Lenses – We’re using a Tamron 90mm manual lens but any close up or macro lens will do the job for a subject like this. It just depends on how close you want to get!
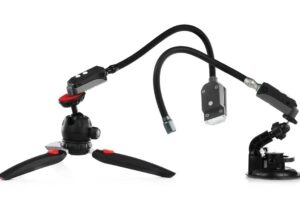
Tripod – We will have both the camera and lighting set up on tripods. A novoflex with a ball head for the camera, and Manfrotto Pixi Evo-2 to raise the lighting above the subject.
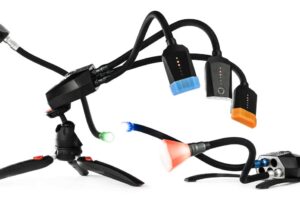
Lighting – The Adaptalux Studio will be providing all of the flexibility and creative effects that we will need for this shoot. Coloured arms and Colour Filters will create some amazing vibrant images!
Subject – Grab a pine cone or two from the garden and get shooting! If they are out of season, you can often find them in home stores as decorations, though they may have more glitter than usual!
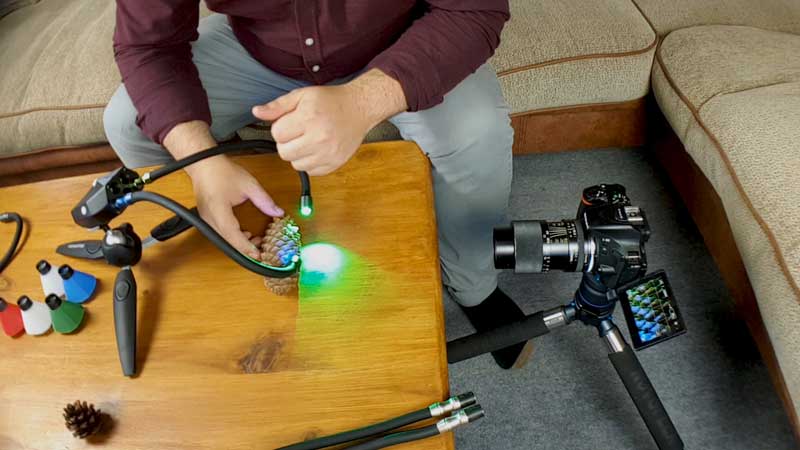
STEP 2 – Set up
Prepare your subject – Pine cones are often dirty if you have found them outside. You can give them a clean to remove dust, dirt and particles. You will also find that they open and close depending on the moisture levels of the cone. Leave them to dry out to get them to open up. Put them in a bowl of water for a while and they will close.
We find that pine cone photography is much more interesting when the cone is open, but experiment with both!
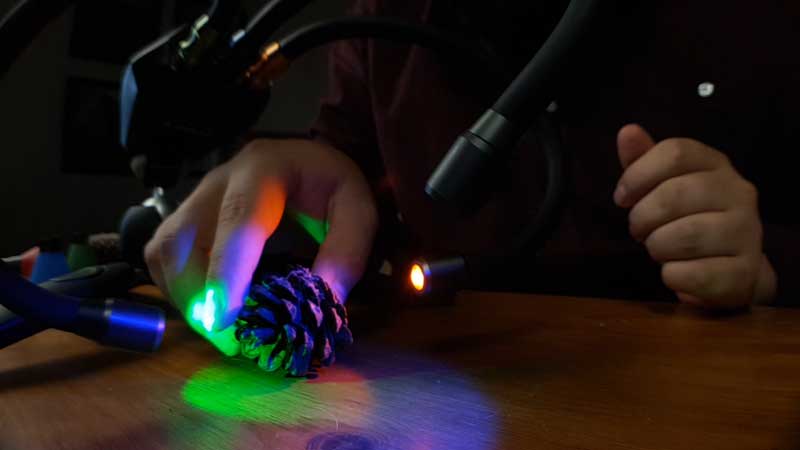
Compose your shot – Most of the shots you see here are taken from the side. Try to get your camera level with your subject, it doesn’t have to be perfect. You can shoot from above or an angle too, if that works for you, just make sure your background is clear if the cone doesn’t take up the whole of the frame.
Once your camera is positioned, try moving the cone to get the perfect composition. It’s easier to move the subject at this stage than re-position the camera.
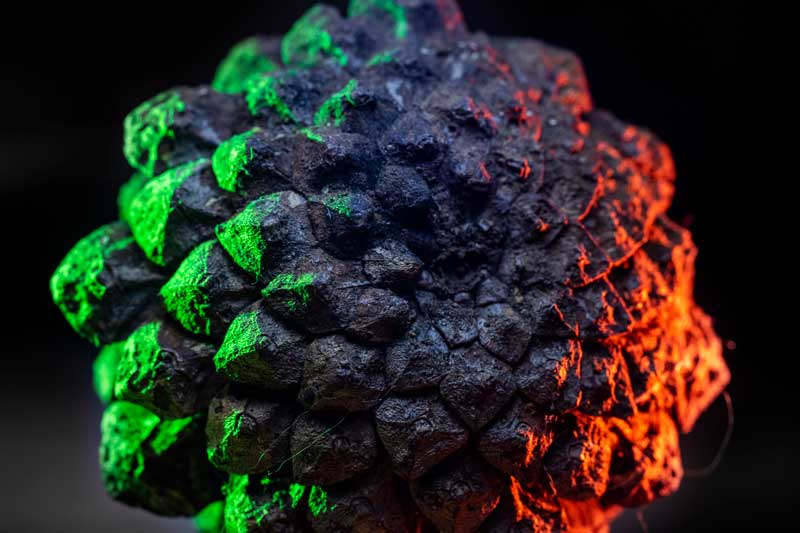
Set up your Lighting – We use the mini tripod to set the Adaptalux Studio so the arms can come down from above, or around the sides. For the longer pine cone, bringing two different coloured lights in from opposite sides can make some interesting effects across the texture of the pine cone. If you want to use only white lights for your pine cone photography, this technique works just as well.
Experiment with the position of your lights until you find something you are happy with, then experiment some more! Even with only a couple of different colours and Colour Filters, there are 1000s of different combinations you can use to get amazing creative and colourful lighting on a subject like this.
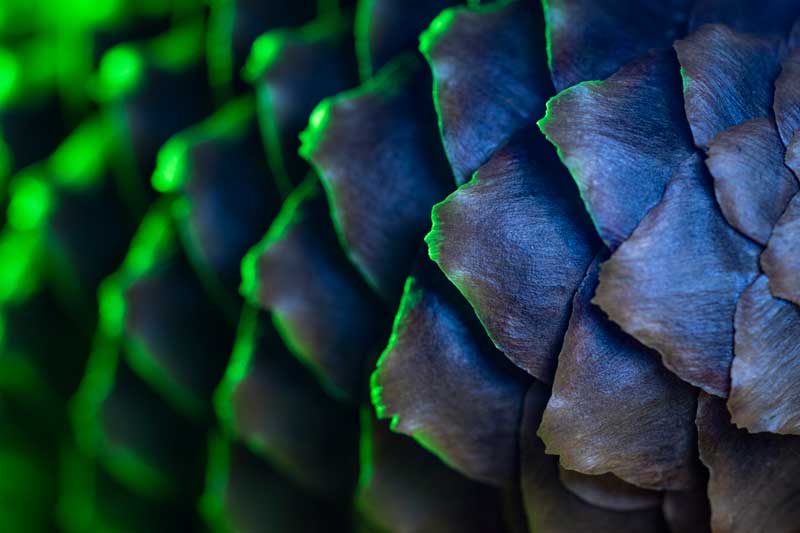
STEP 3 – Shooting
Take a shot! – Move the pine cone around until you have a pleasing shot. Think about symmetry and balance between the light hitting one side of the cone and the other. Take a shot at every opportunity and keep changing the position. Review your shots every now and again to see what works and what doesn’t!
Focus – Pine Cones have a lot of depth even when shooting from the side. Try to focus on the tips of the spines and let the focus fall off as you look deeper into the cone. Alternatively, try shooting across at an angle. A narrow depth of field can create some nice bokeh in the background of the cone, especially when combined with coloured light!
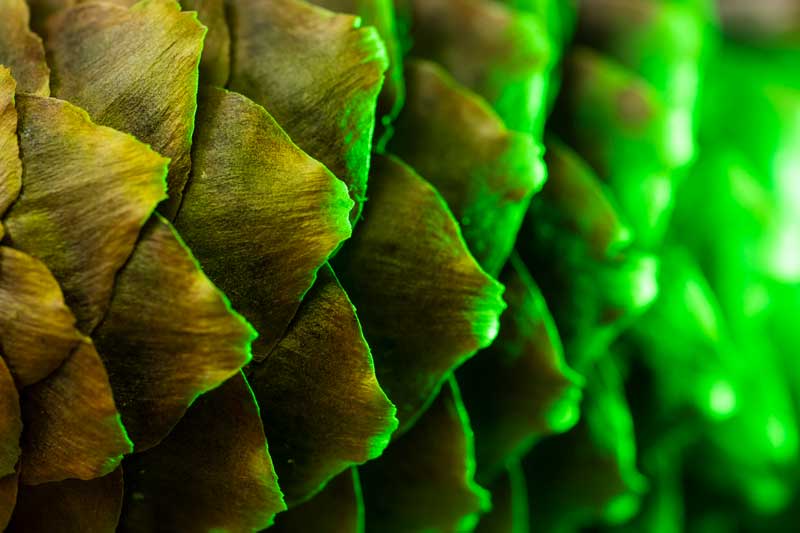
Settings – Unlike with the last subject we were shooting, everything here is stationary. This means you can go far and wide with your settings, even shooting hand held if you’d like too. The main priority will be adapting your depth of field, so aperture is important. Set your aperture first and then adjust your shutter speed and ISO to match.
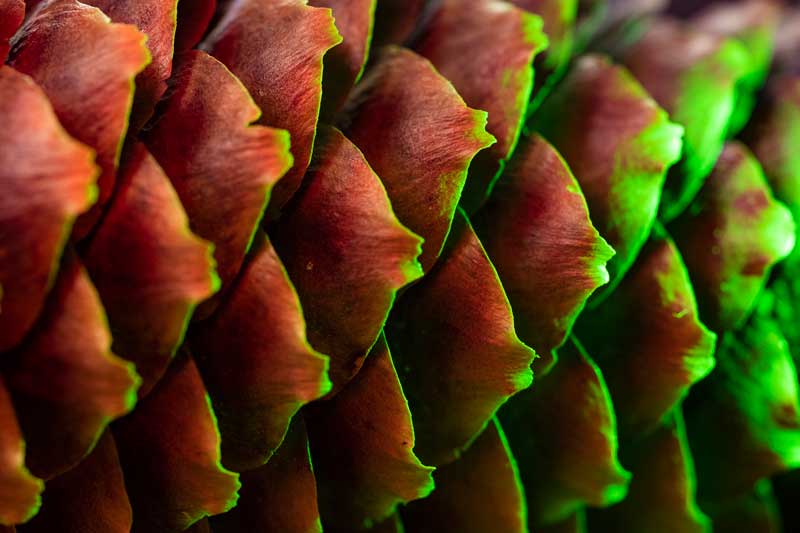
Change the lighting – With the Adaptalux Studio set up off camera it allows you to leave the camera and subject in place and just change the lighting! If you have lots of Lighting Arm colours and Filters to hand, try them all! Change your Lighting Arms and Filters to get all kinds of combinations of lighting for your pine cone photography.
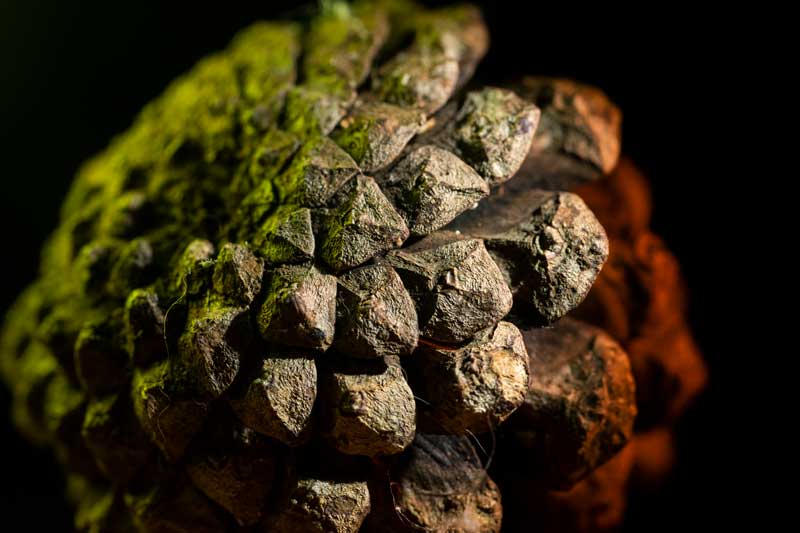
We particularly enjoy green and amber for a subject like this, very earthy! The smaller of the two pine cones ended up looking like the scales of a dragon once we hit it with some appropriate colours!
If you enjoyed this pine cone photography tutorial check out or recent post full of ideas and make sure to subscribe to our Youtube channel for more video tutorials!


