Watch on YouTube – Macro Photography Tutorial – Dish Soap Bubbles
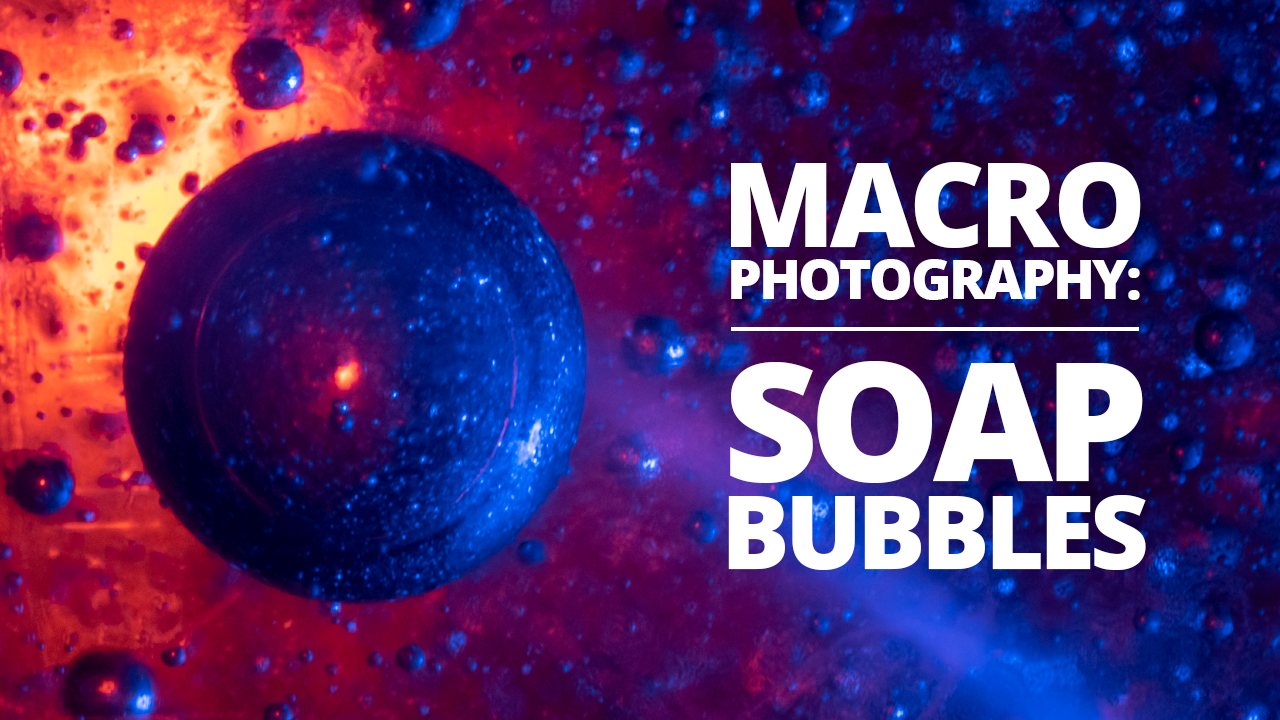
One of our favourite macro photography subjects, and one of the easiest to shoot at home! In this macro photography tutorial we are going step by step to get some amazing macro shots from dish soap.
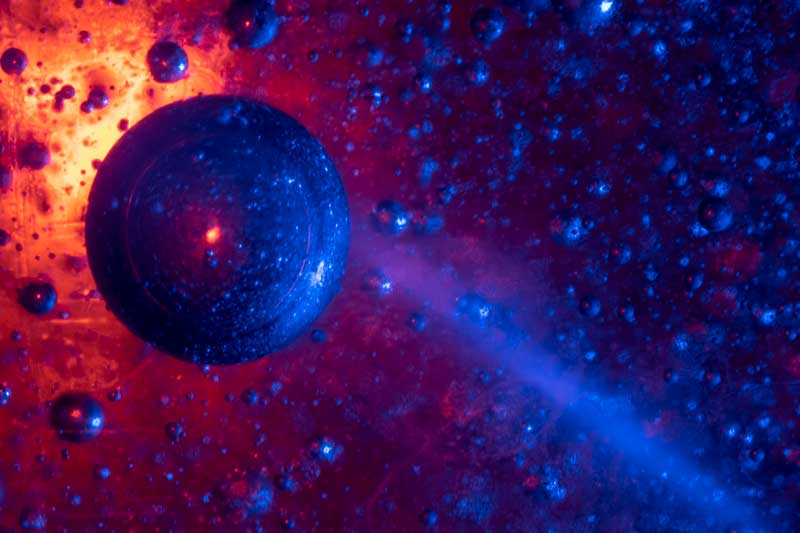
Getting up close and personal with a bottle of washing up liquid can create some amazing space-like stills and video. Set up only takes a few minutes and you need minimal equipment, so let’s get started!
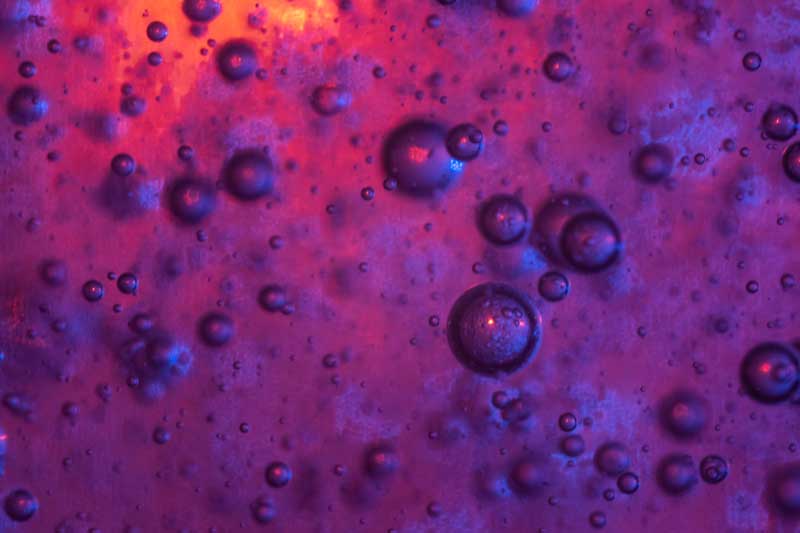
Bubble Macro Photography Tutorial
STEP 1 – Equipment List
Camera – We will be shooting on or Nikon D5600, you don’t need anything special, just a camera capable of macro. We will also be using a shutter release cable, but it’s not strictly necessary.
Lenses – You will need a macro Lens. We will mostly be using a Tamron 90mm manual macro lens and a reversed 24mm Prime lens with an extension tube – more on reversing lenses here.
Tripod – Although possible without a tripod, setting up your camera on a stable surface helps a lot. We will be using the Manfrotto Pixi Evo-2 for the camera stabilisation.
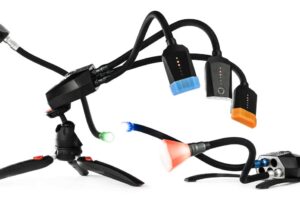
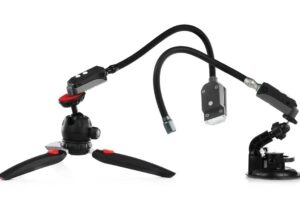
Lighting – Shining some colourful lights through the dish soap is how we will create the fantastic shadows and effects. A range of Adaptalux Studio Lighting Arms and Filters will come in handy for experimenting with different looks.
Subject – Your choice of Dish Soap. Different colours of soap will make different effects, pay attention to the consistency and colour of the liquid. The more fluid it is, the faster those bubbles are going to move.
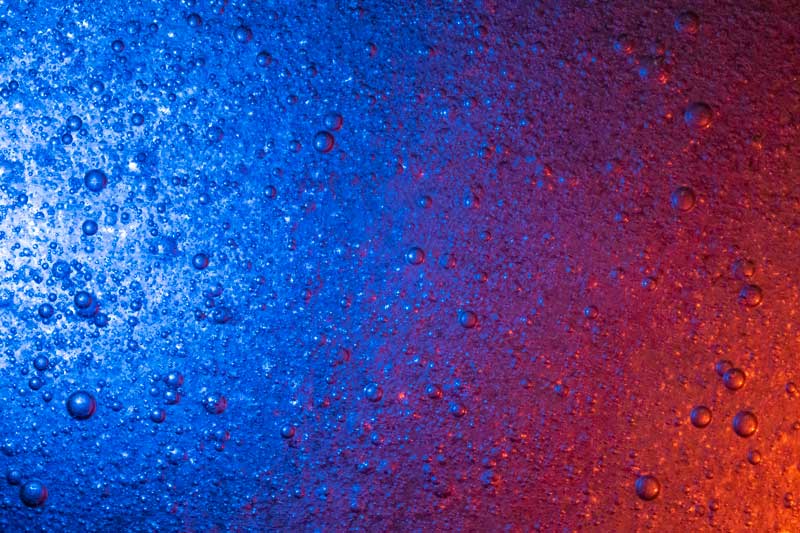
STEP 2 – Set up
Prepare your subject – Remove the labels from the bottle as cleanly and thoroughly as possible so we have a view right through the bottle to the other side. You may also need to remove some liquid from the bottle to allow the liquid inside to shake up properly later. A good opportunity to wash some dishes!
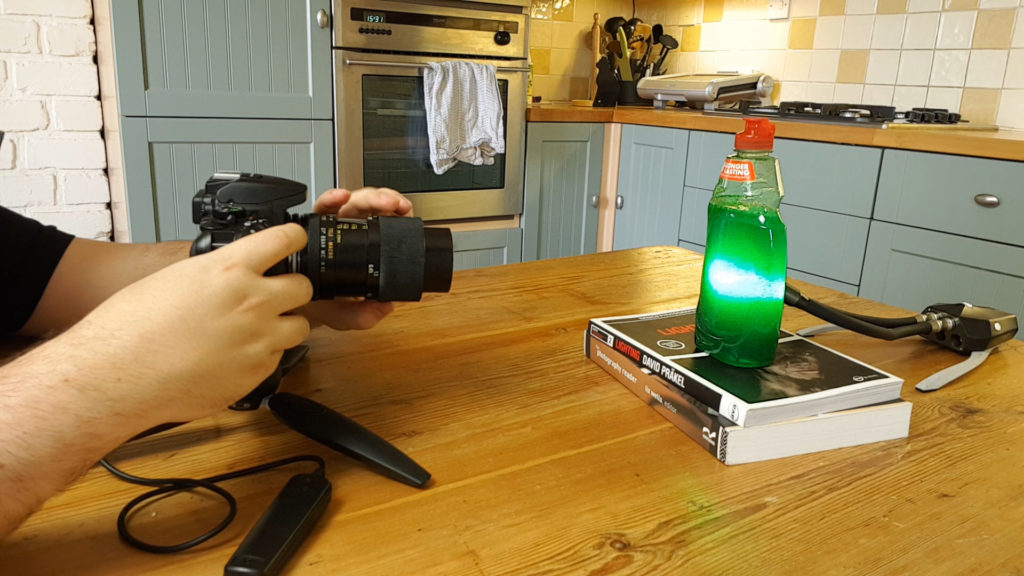
Compose your shot – With your camera on the tripod, try to get your lens perpendicular to the surface of the bottle. Raise or lower the bottle and your camera so the camera is level and not looking up or down at the subject.
The bubbles will mostly be travelling straight upwards in the liquid, so having your focus plane of the same axis will help with focusing on the bubbles. If you are using video, it might also be interesting to try deliberately offsetting this to have the bubbles move in and out of focus. Shoot along the edge of the bottle to create amazing macro landscapes, like the surface of a planet!
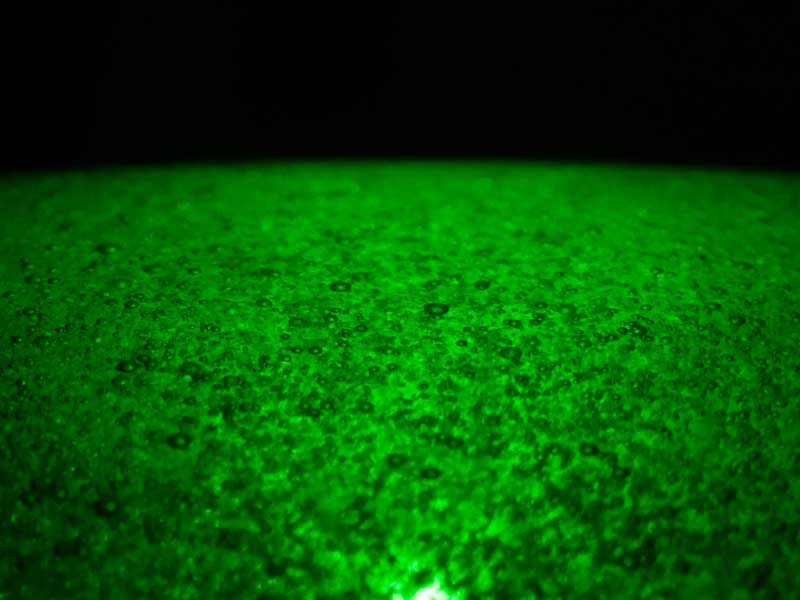
Set up your Lighting – Position lights behind the subject. Every inch of difference will make your shots look totally unique, so experiment! We like to start with a single light source, and expand from there.
STEP 2 – Shooting
Shake it up! – Time to shake the bottle. Not too much, but just enough for some large bubbles to appear. If you shake too much, the bubbles will be very small and it will take a long time to settle and clear, so start with a little shake and add to it as you go.
Focus – Auto-focus is going to have a hard time deciding what to focus on, and may pick the front of the bottle instead of the bubbles inside. We set our focus manually, but don’t worry about getting it perfect. By the time you have focused on one bubble, it will have moved out of shot and another in a slightly different place will have appeared.
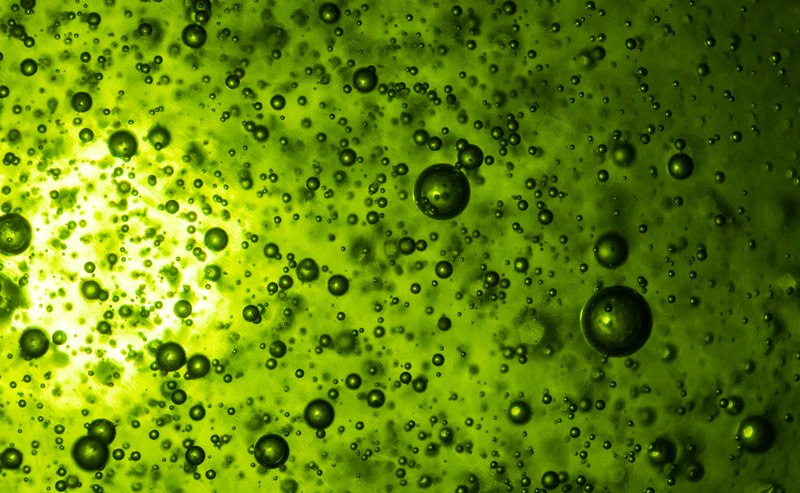
Settings – With the bubbles in motion, its important to aim for a fairly high shutter speed, this is less important for video work but some of the faster moving bubbles may have a bit of blur if you shoot too slow.
You should also try to get the smallest aperture possible. The depth of field within the bottle is important for getting as many bubbles in focus as possible. Depending on the look you go for though, the bokeh in the background can be spectacular, so make sure to try a range of settings. Crank the ISO up a bit if needed, depending on your cameras capabilities, you shouldn’t get too much grain from <1000 ISO.
If you have one of the new Control Pods, make sure to use the new Boost Mode. The more light you have the better settings you can achieve.
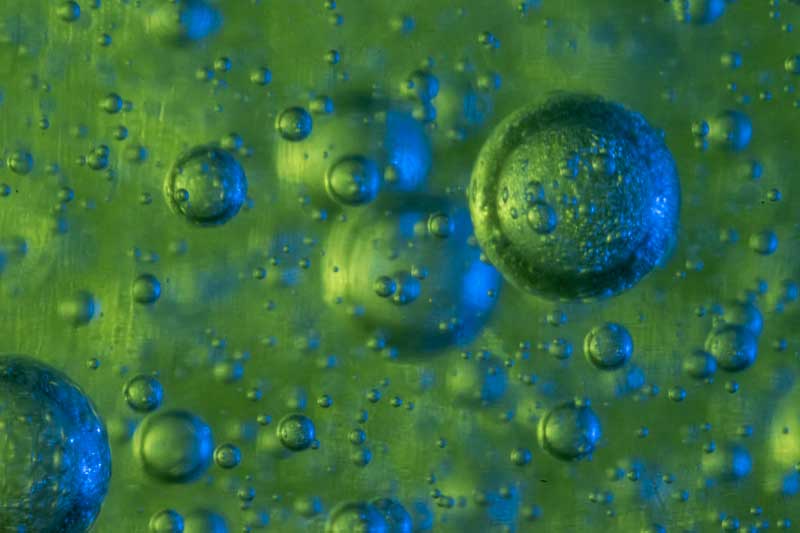
Change the lighting – Once your shot is set up, don’t touch it. Change the lighting instead. Use live view to see how the changes you make effect the shadows falling on the bubbles within the liquid. With a coloured liquid, try different coloured lights to get different effects and coloured highlights within the shot.
Change the lens – When the bubbles get smaller, get closer with a new macro lens. getting close to the bubbles often means a very narrow depth of field (often not even as wide as a single bubble) but getting super close to bubbles can make for an amazing shot.
Unfortunately, there is no opportunity for focus stacking with a subject like this as it is always in motion, but try to focus on a single bubble. The bubbles themselves often act as a lens for the many bubbles behind it, so you can try focusing on that effect too!
For more macro subject ideas and inspiration check out or recent post full of ideas!


