


Photographing a Kiwi under UV Light – Watch on YouTube
Many different plants, insects and objects fluoresce (glow) under ultraviolet light. An entire genre of photography is dedicated to capturing the unseen glow from subjects. In this article, we will be walking through some ultraviolet-induced visible fluorescence (UVIVF) photography, by taking a look at a kiwi under UV light.
Why Kiwi?
It’s always surprising how much random objects can glow and change when subjected to UV light. The humble kiwi fruit is no exception. In fact, we picked this subject because it glows quite a lot, making it a great subject to try out if you are new to UV photography.
If you are just getting to grips with UV photography, our introduction article is a great place to start.
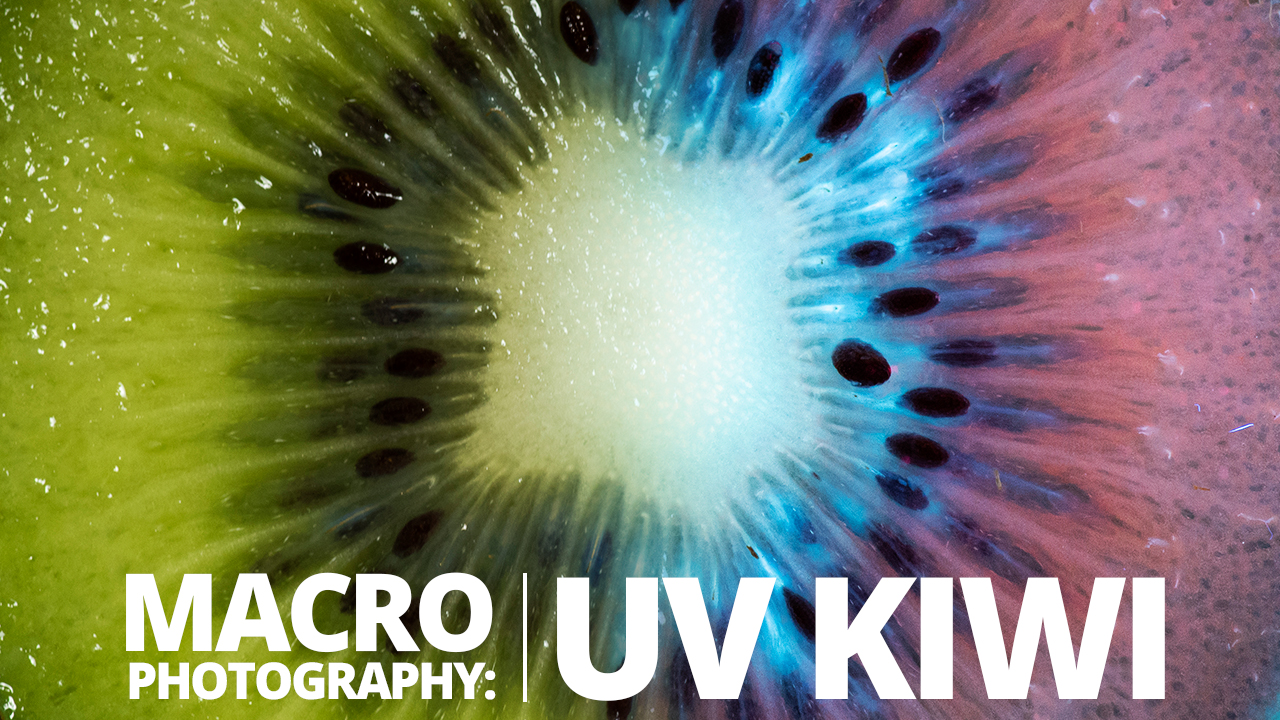
Use the slider on the image below to see the difference between UV Flourescance photography, and the same photo with normal light.


Kiwi under UV Light
One of the biggest challenges of UVIVF photography is getting pure UV light. Many UV light sources give off a lot of visible light too, which can easily overpower the fluorescence of the subject, contaminating your image.
In the photo below, you can see a little bit of fluorescence. However, the visible ambient light is easily able to overpower the fluorescence of our kiwi.


Turning the lights out, blocking ambient light and leaving only pure UV light is the key. The second image was taken in almost total darkness (to the naked eye) using a long exposure.

For the image above, we used 2 UV lighting arms. and a long exposure of 2.5 seconds at f13 and ISO800. You can see that certain fibres on the outside of the kiwi glow even more than the fruit itself!
Be aware of your surroundings, other fluorescent material in the room can inadvertently create visible light. Excessive dust, white clothing or sheets, and even white backdrops or paper will all throw a lot of visible light back onto your subject.


Changing Colours
The colours found in the kiwi seemingly change from greens to blues and reds. The colour we see is determined by how much energy the Ultraviolet waves lose when it is absorbed and re-emitted. The chemical makeup of each subject is different and can even change over time. You can never really tell what is going to happen under UV!
Some subjects change colour very dramatically, others will be mostly blue but can reveal additional detail and structure. Certain types of lichen turn from green to bright orange!


Depth of field
Something we regularly mention as a concern for macro photography is the depth of field. This still applies to our kiwi under UV light. You may want to focus stack several long exposures to get a sharp image. Alternatively, consider using a more narrow aperture to get more of your subject in focus. However, be aware that we are already using a tripod, so shutter speed is not a factor… make it as long as you need to get the best ISO and aperture!
It is difficult to focus in the dark too, make sure to set your focus while the lights are still on! Turn off autofocus before you take your photo in the dark, or the camera will try to adjust it again.

If you would like to try out UVIVF photography and see your own kiwi under UV light, check out our UV lighting arms in the shop. They are a pure UV light source, so all you need is a dark room!
Finally, make sure to subscribe to our YouTube channel for more macro photography tutorials, ideas and inspiration!

- Seashell Still Life Photography: A Macro Photography Guide - 26th July 2026
- CPU Macro Photography – Create Abstract Cityscapes with Light and Detail - 12th July 2026
- Photographing Grains of Sand at High Magnification - 28th June 2026


