Easy tips to improve your macro photography at home! – Watch on YouTube
Macro photography is tricky and can become a complex mix of techniques very quickly if you don’t know what to expect. In this article, we’re going to cover some quick tips that you can use to drastically improve your macro photography at home!
Macro photography at home
What do we mean by “At Home”? Well, not all macro photographers work in the same way. Many prefer to shoot outdoors and everyone has prefrences on the kind of subjects they like to photograph.
These tips are for the kind of photography that is easily achieved at home, on the coffee table, with some time to spare. Some can be applied outside, but you will see why it’s not always practical in every situation as we go along!
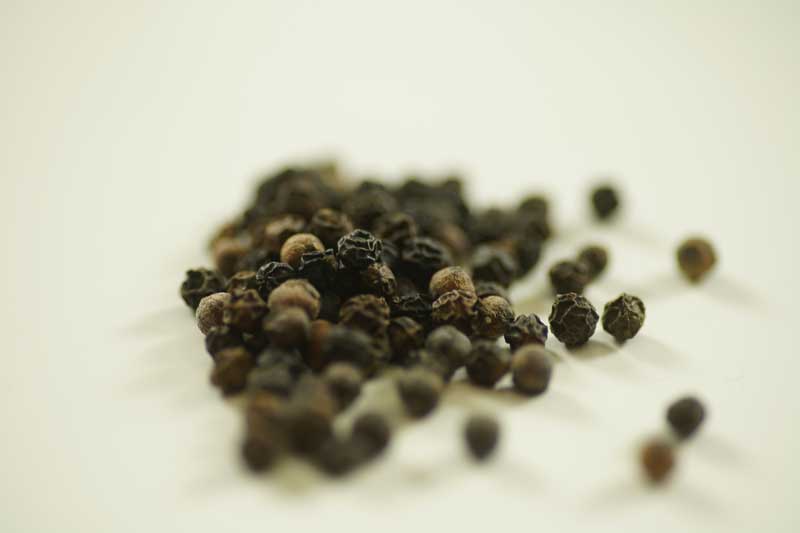
Reducing Camera Shake
If you’re used to landscapes and even portrature, camera shake won’t usually be a top concern while shooting. Lots of photography is easily achived handheld without too many issues. However when we introduce huge amounts of magnification, things change!
Every movement of the camera, lens or subject is also magnified! With bigger movements comes more camera shake and blur in your images. If you have the time and space to spare, we recommend using a tripod wherever possible. This will drastically reduce the movement of the camera and also afford you time to compose your shot.
Another handly bit of kit is a remote shutter release, either via cable or wireless. Touching the camera, even just to press the shutter button, can translate to big wobbles in-frame!
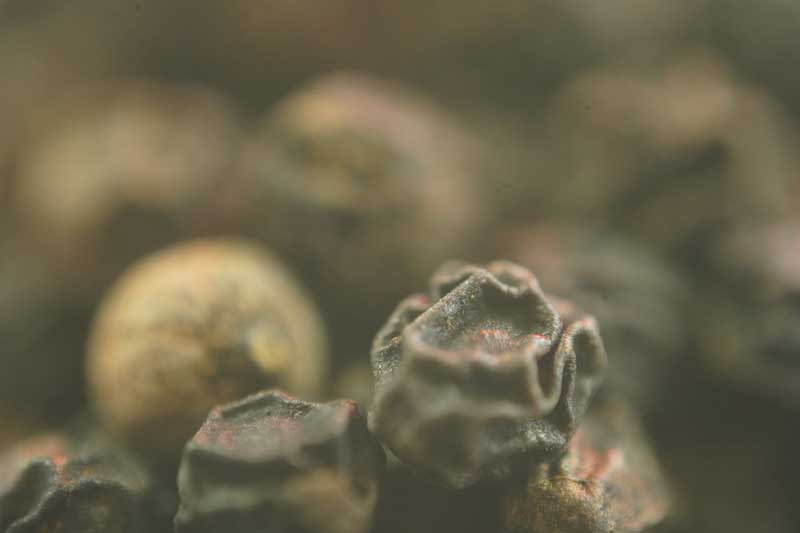
Lighting & Settings
This is a two birds with one stone tip. Add lighting to your images!
More light means better settings, this has a huge effect on your final photo. From reducing grain to getting more of your image in focus, more light is almost always beneficial.
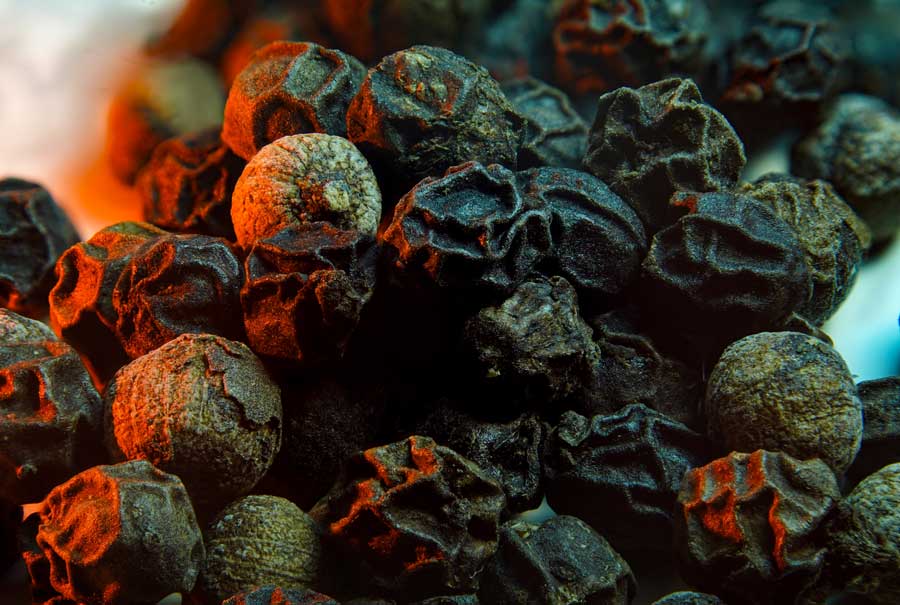
However, not all light is the same. Natural light can be powerful, but samey and hard to control. We cover all the different kinds of light available to macro photographers in our free macro guide but no matter what you choose, you should always try to have more of it.
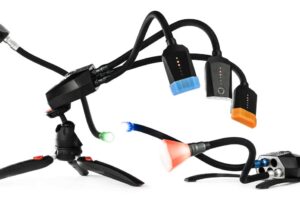
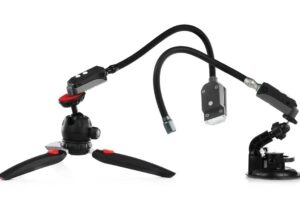
Along with the amount of light, the quality and flexibility of light is important. If you want to get creative with your lighting, an LED light source is really handy. It lets you see exactly what you are doing as you make changes. Having live results means it’s super fast to experiment and learn what works and what doesnt!
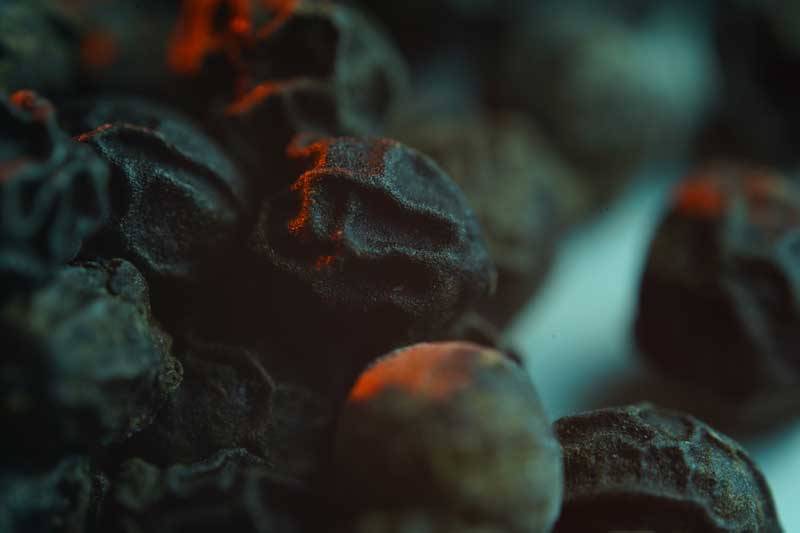
Depth of Field & Focus Stacking
Focus is another of those non-issues that normal photography has solved. Most beginners will be used to relying on autofocus and not thinking much beyond it. When it comes to macro though, it’s more of a fine art. Choosing where to focus should be done manually where possible, and double, even triple-checked.
You can check your focus in several ways, including zooming in on the back of the camera or using the focus peaking settings available on more modern cameras (it gives you a highlighted area to show where is most sharp in your image!)
Even with pinpoint focus, there are times when it is just not enough. A shallow depth of field is part and parcel of macro photography. A narrow aperture can help to get more of your image in focus, but it’s not always enough. This is where focus stacking comes in.

Focus stacking is an advanced technique that allows us to get our entire image in focus, front to back! It’s not as easy to achieve as some of the other quick tips we have covered, but it’s well worth learning to improve your macro photography at home. Check out our article on how to get those super-sharp stacked photos here.
Don’t forget to subscribe to our YouTube channel for more macro photography tutorials, ideas and inspiration!


