Coloured Pencil Macro Photography – Watch on YouTube
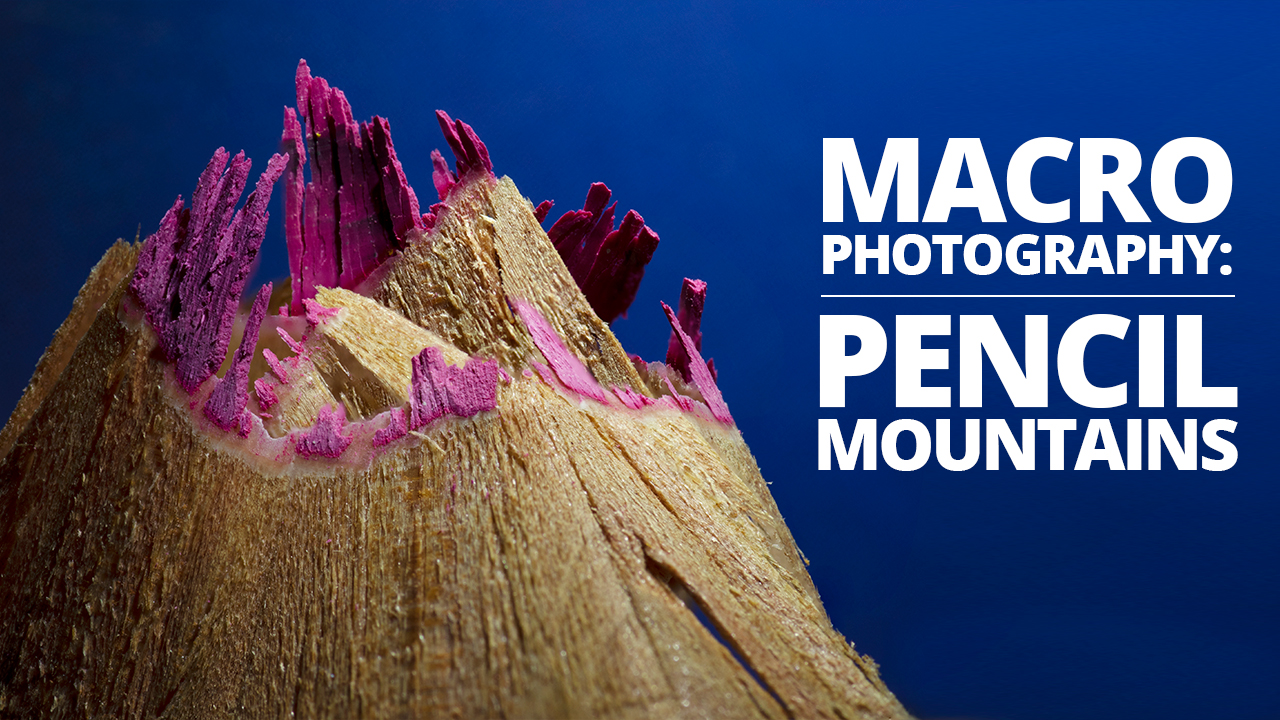
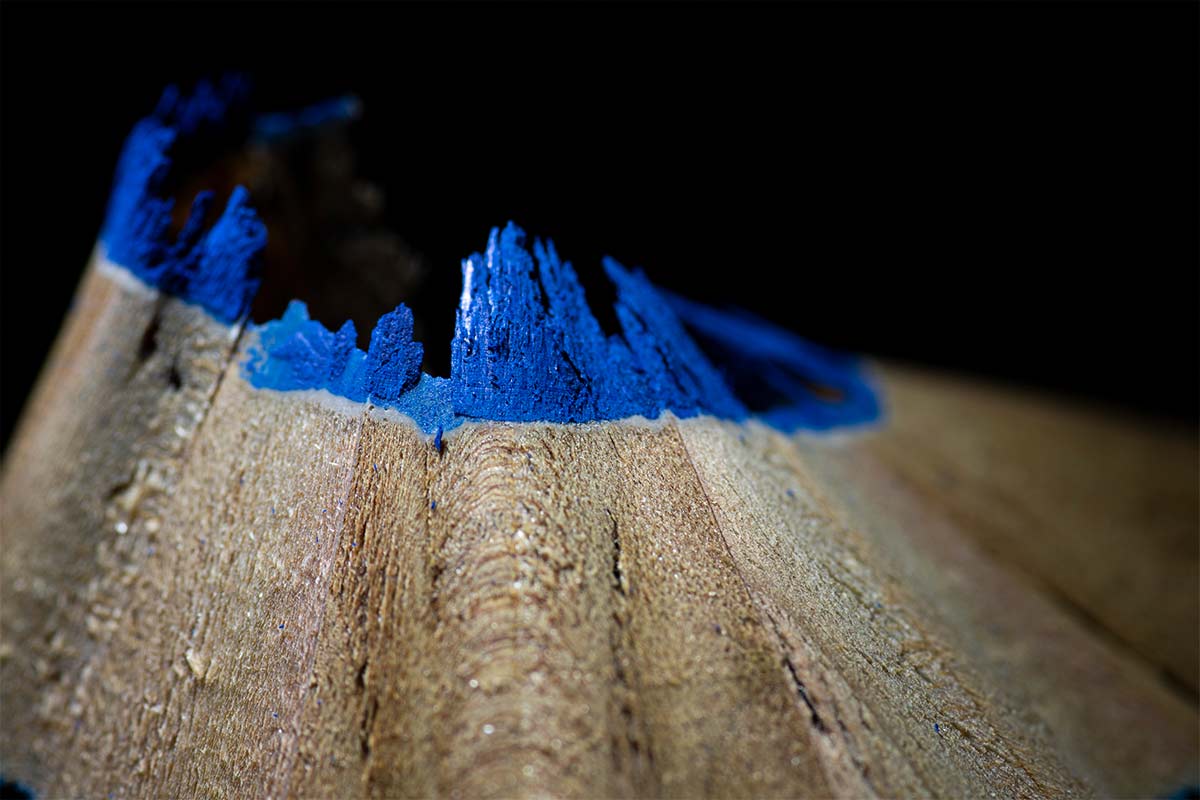
In this article, we are going to use some coloured pencil shavings to create some macro mountainscapes! Any kid that has ever sat in class sharpening crayons knows that the perfect spiral is a thing of beauty. Today we are going to use some photographic techniques to make them look like mountains!
Coloured Pencil Macro Photography
Getting The Spiral
There are loads of things you can do with a coloured pencil or crayon. Google it and there is plenty of inspiration for how to photograph a pencil from the side. We wanted to do something slightly different with our pencils though. We’re going to use the shavings!
Getting a perfect spiral is an art form in and of its self. Try to use a new sharpener and take care while cutting. Apply even pressure to keep the wood from the pencil intact. With any luck, you will get a couple of good pencil shavings to play with!
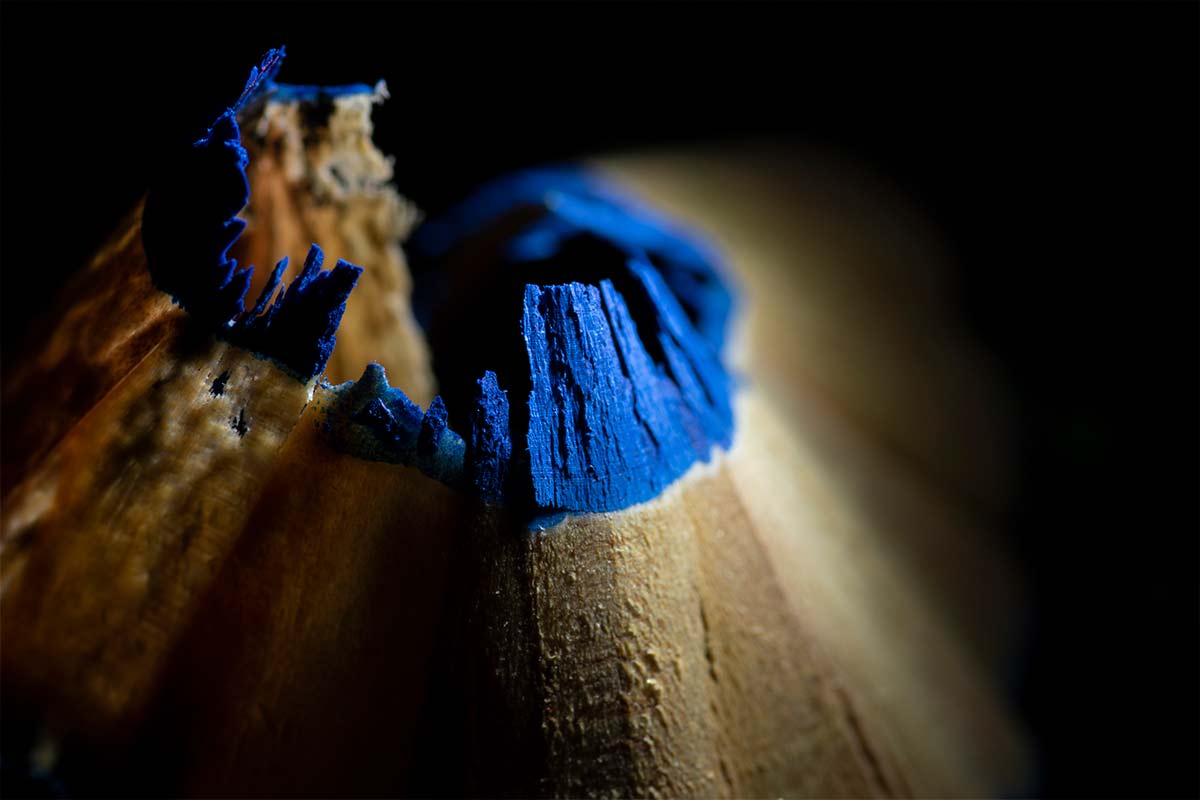
Lighting your mountain
Placing your pencil shaving down on a surface and getting ready to shoot is easy. We’re not trying to get the surface in the shot so you can make do with anything. Get your camera nice and low down, preferably on a tripod. The low angle will make your shavings look that little bit more like a mountain.
Behind our mountain goes a background gradient card. We used a blue one to simulate some sky. Very simple and no fuss to add some colour to your shot!
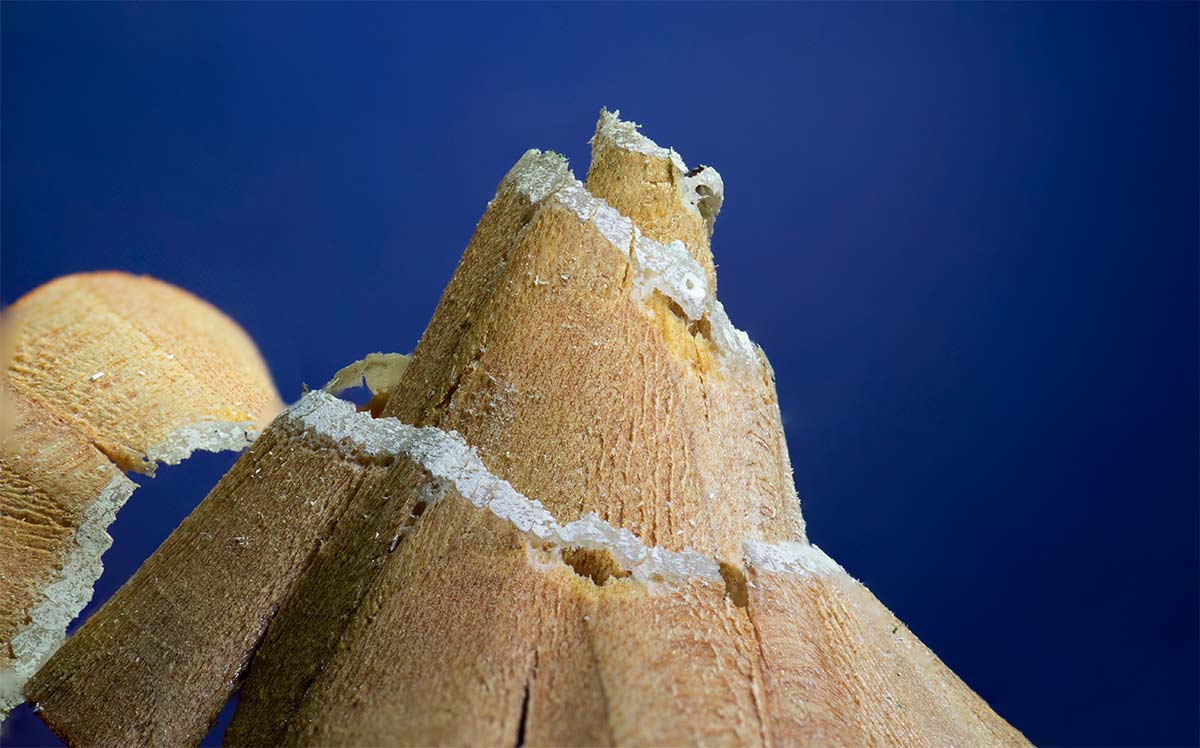
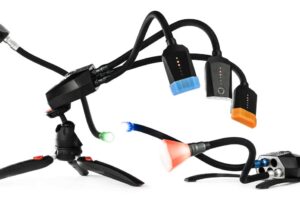
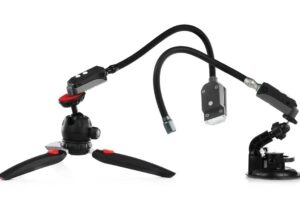
For lighting, we are keeping it simple too. We used only 2 white Lighting Arms. We pointed one at the pencil shaving, from the side. The other is dedicated to lighting the background card.
This simple setup makes it very easy to balance the light between foreground and background using the manual controls of the Adaptalux Studio.
Focus Stacking
The depth of a subject like shavings, or even coloured pencils themselves, means that we will have trouble focusing on the entire subject. To counter this, we are going to use a very simple method of focus stacking.
To get your image stack, you need to move the point of focus through the image. Back to front or front to back. Do this in intervals and take photos as you go, so you end up with a photo of each “slice” of your subject in focus.
You can move the camera in and out of your scene on a slider, or simply focus your lens. The preferred method is moving the camera, to avoid distortion, but a simple stack of fewer than 20 images will work just fine by adjusting the focus of your lens.
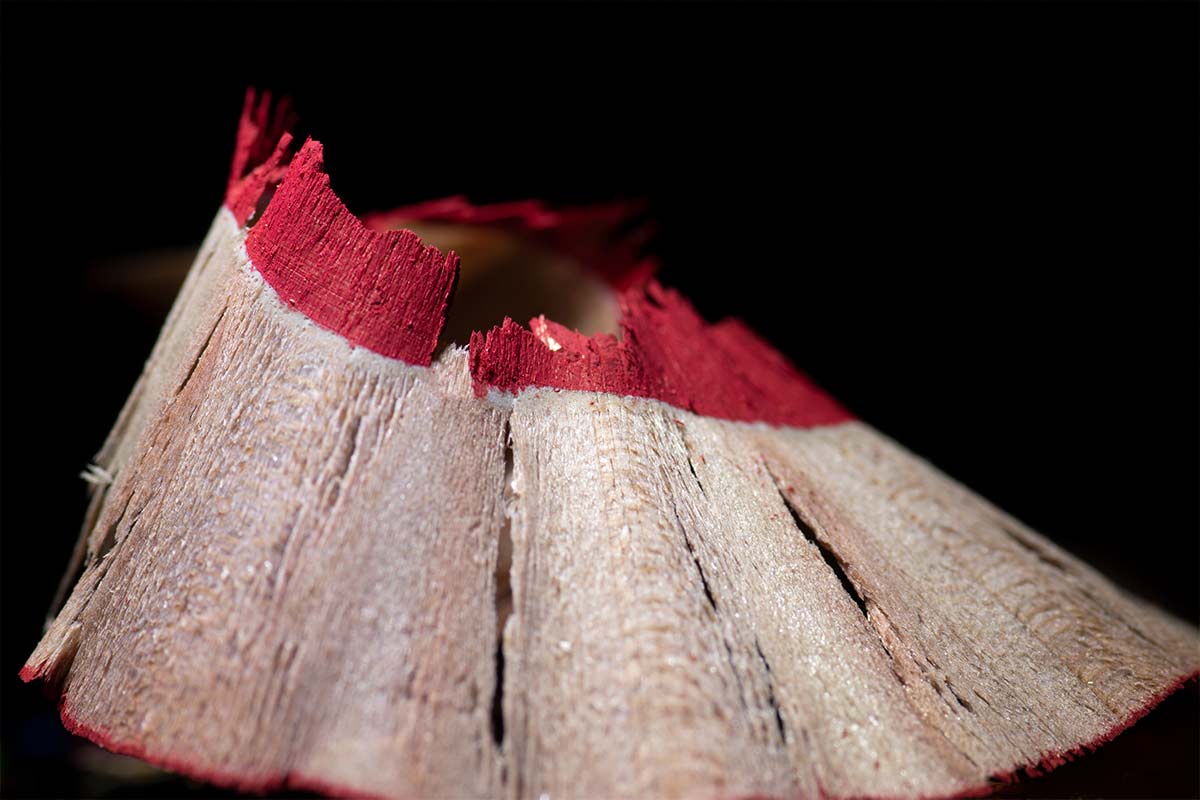
Focus Stacking in Photoshop
Focus stacking is simple in photoshop. Once you have a set of images, you need to load them into photoshop for processing.
Step 1
File > Scripts > Load images into stack…
Select your sequence of images in the new dialogue and hit ok.
Step 2
Once this has processed, you need to align the images. With all layers selected;
Edit > Auto-align layers
Step 3
Edit > Auto-blend layers.
Select tick the boxes for smooth tones and colours, and content-aware fill (if desired).
Step 4
Once processed, you will have a stacked image! You can crop out artefacts and fix with the clone tool, or manually adjust each layer mask to fix any strange blurring!
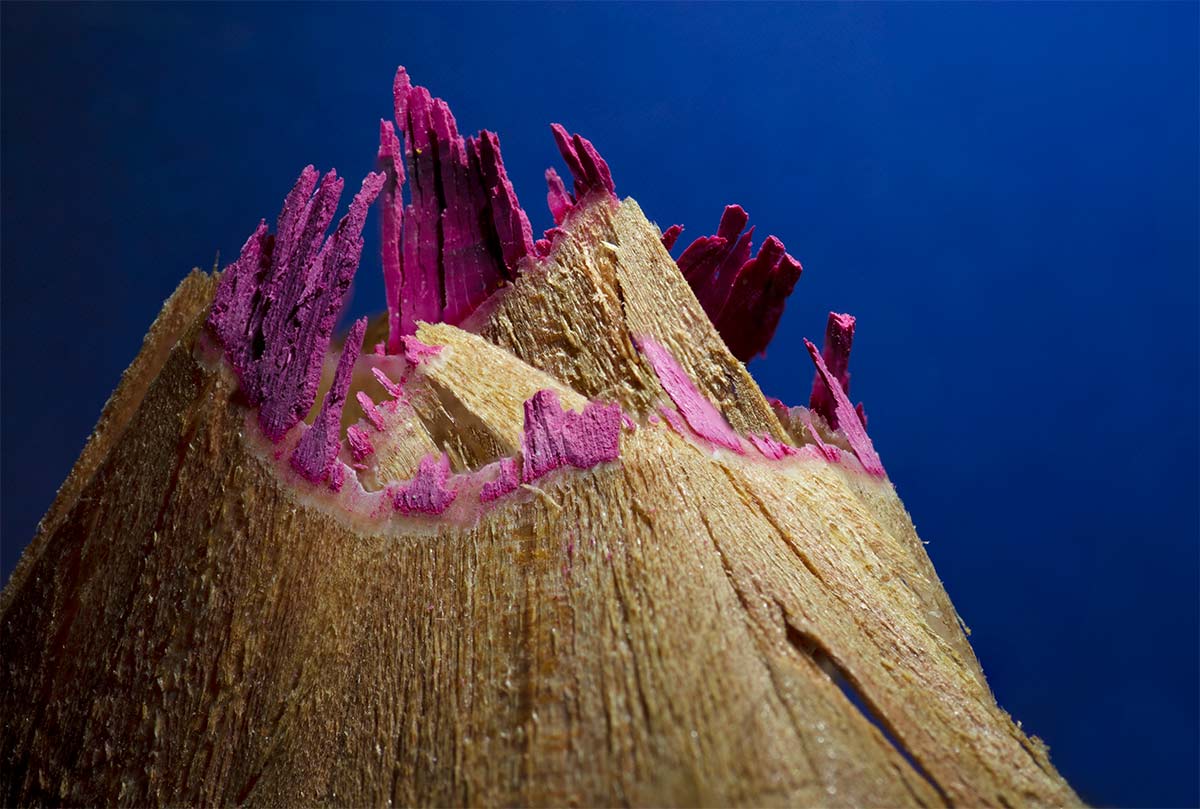
Hopefully, you have found some inspiration for your own coloured pencil macro photography, either using shavings or focus stacking.
Finally, make sure to subscribe to our YouTube channel for more macro photography tutorials, ideas and inspiration!


