Watch on YouTube – Clematis Flower Photography Tutorial
As we move into the summer here in the UK, we are going to be shooting more flowers! Let’s begin with a pretty common one with this Clematis flower photography tutorial. Lets take a quick look at how we got these shots!
Clematis Flower Photography Tutorial
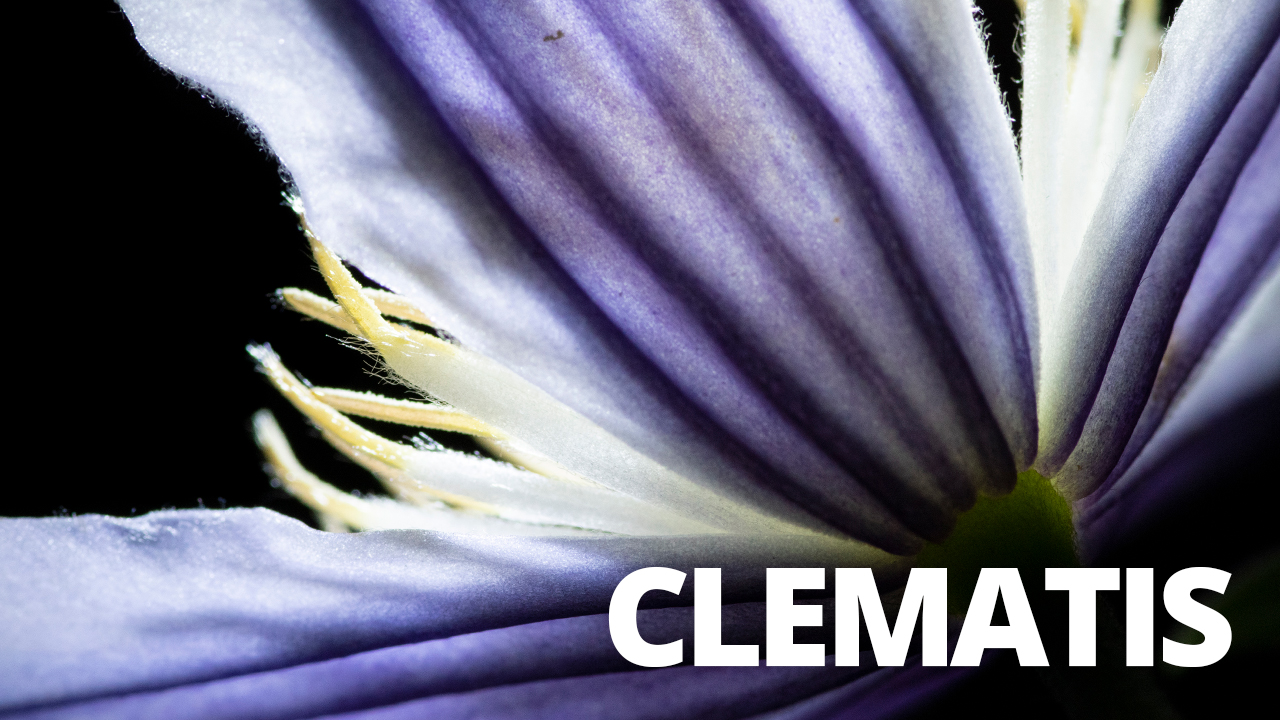
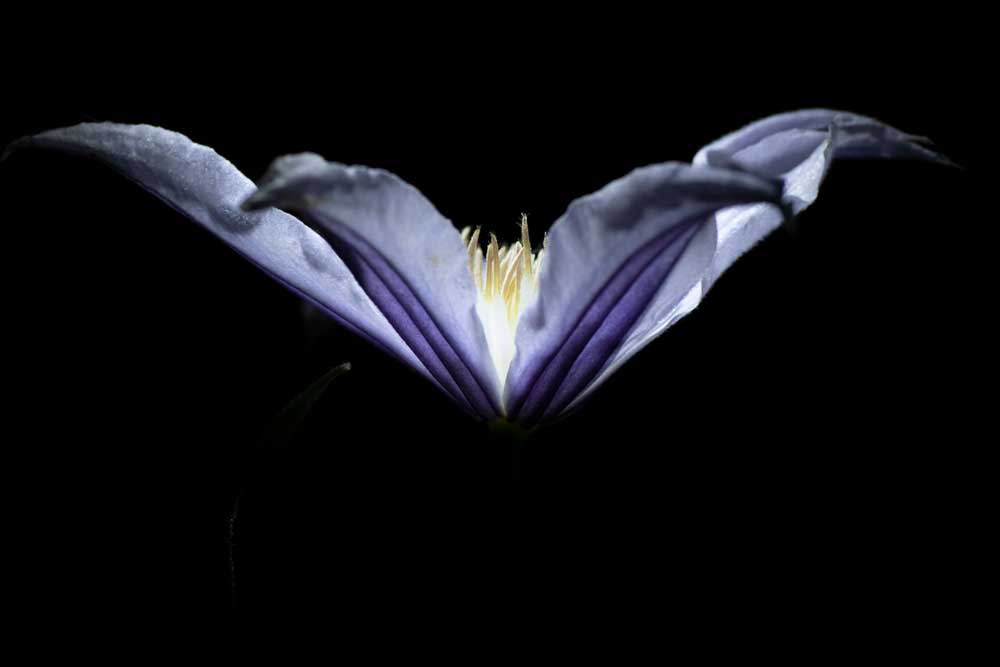
The Clematis we are shooting today is quite pale on the top side of the petals. On the underside, there is a beautiful deep purple colour that would be great to capture.
When first setting up your shot, it’s prudent to think about the composition that you would like to achieve. To capture the underside of this flower, we are going to need to position the camera underneath the subject.
Composition
Don’t be fooled! The image above might look like it has been shot with the flower pointing upwards, but that’s not the case! Placing the flower stem inside a bottle with a thin neck gave us the ability to move around the subject freely. This meant that the flower was actually pointing sideways.
The shot above was actually taken upside down, looking down onto the top of the flower! Many of the shots in this Clematis flower photography tutorial were taken at surprising angles.
Remember, you don’t have to spend a long time getting the flower in the right position for your own eye. Flipping the image afterwards in your editing software is easy!!

Consider how much of the flower you would like in your frame. Too close and you will cut off the edges of the petals, too far away and you miss out on details. Find a balance that suits you for each image, try to break some “rules” just to see what happens!
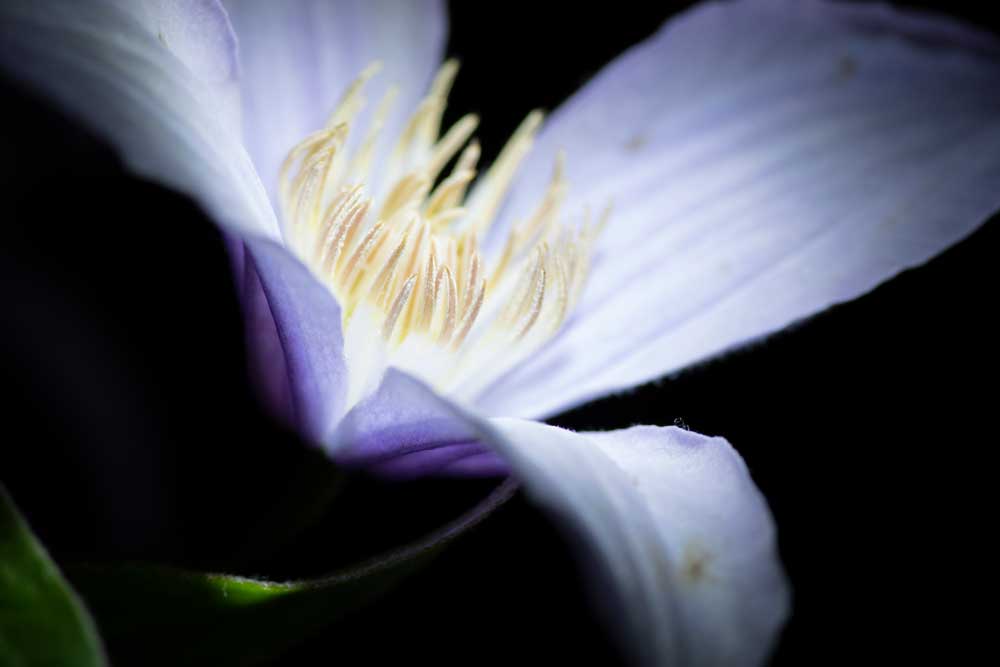
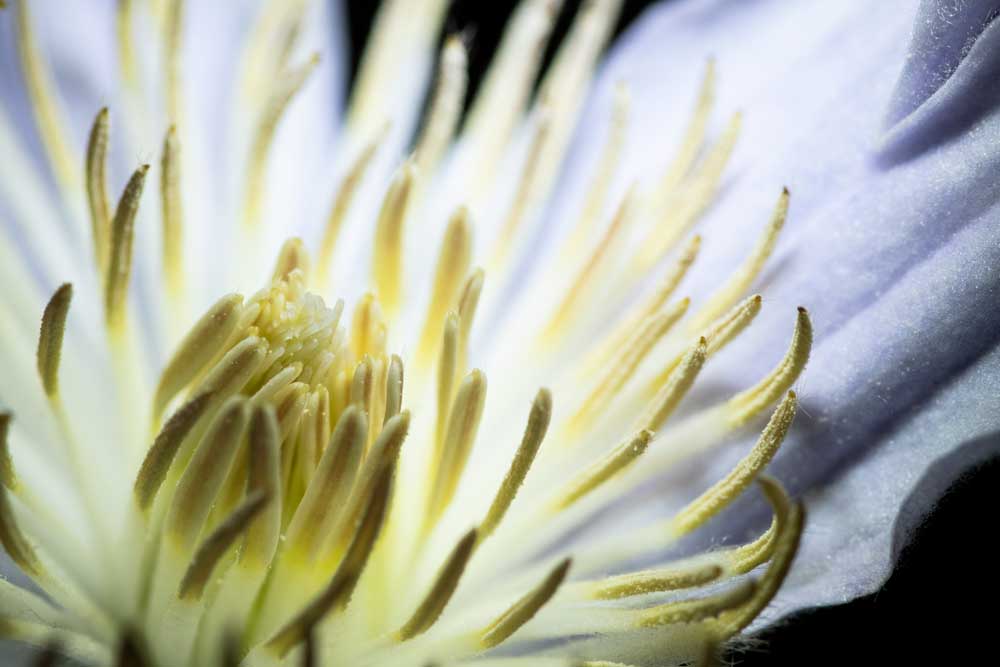
For instance, we were very happy with the shot below despite not getting any of that nice purple in there!
Lighting & Background
Usually one would consider these to be separate concerns, but in this shoot, we used a good trick. The room looked quite bright in the video, however, it was actually pretty dim. The back of the shot is massively underexposed because the main light source is pointing directly at our flower. Providing you can control your light to only fall on your subject, this is a reliable method of getting a black background.

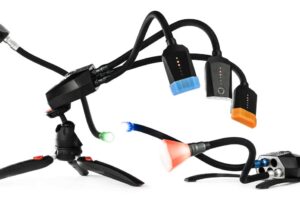
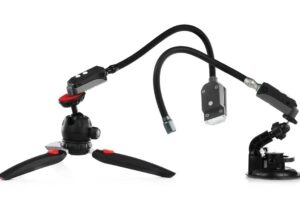
For our lighting, we used only a single white Lighting Arm-S for all of these shots. Pointing this more powerful arm directly at the front of the flower, meant that the light easily passed through to the back of the petals.
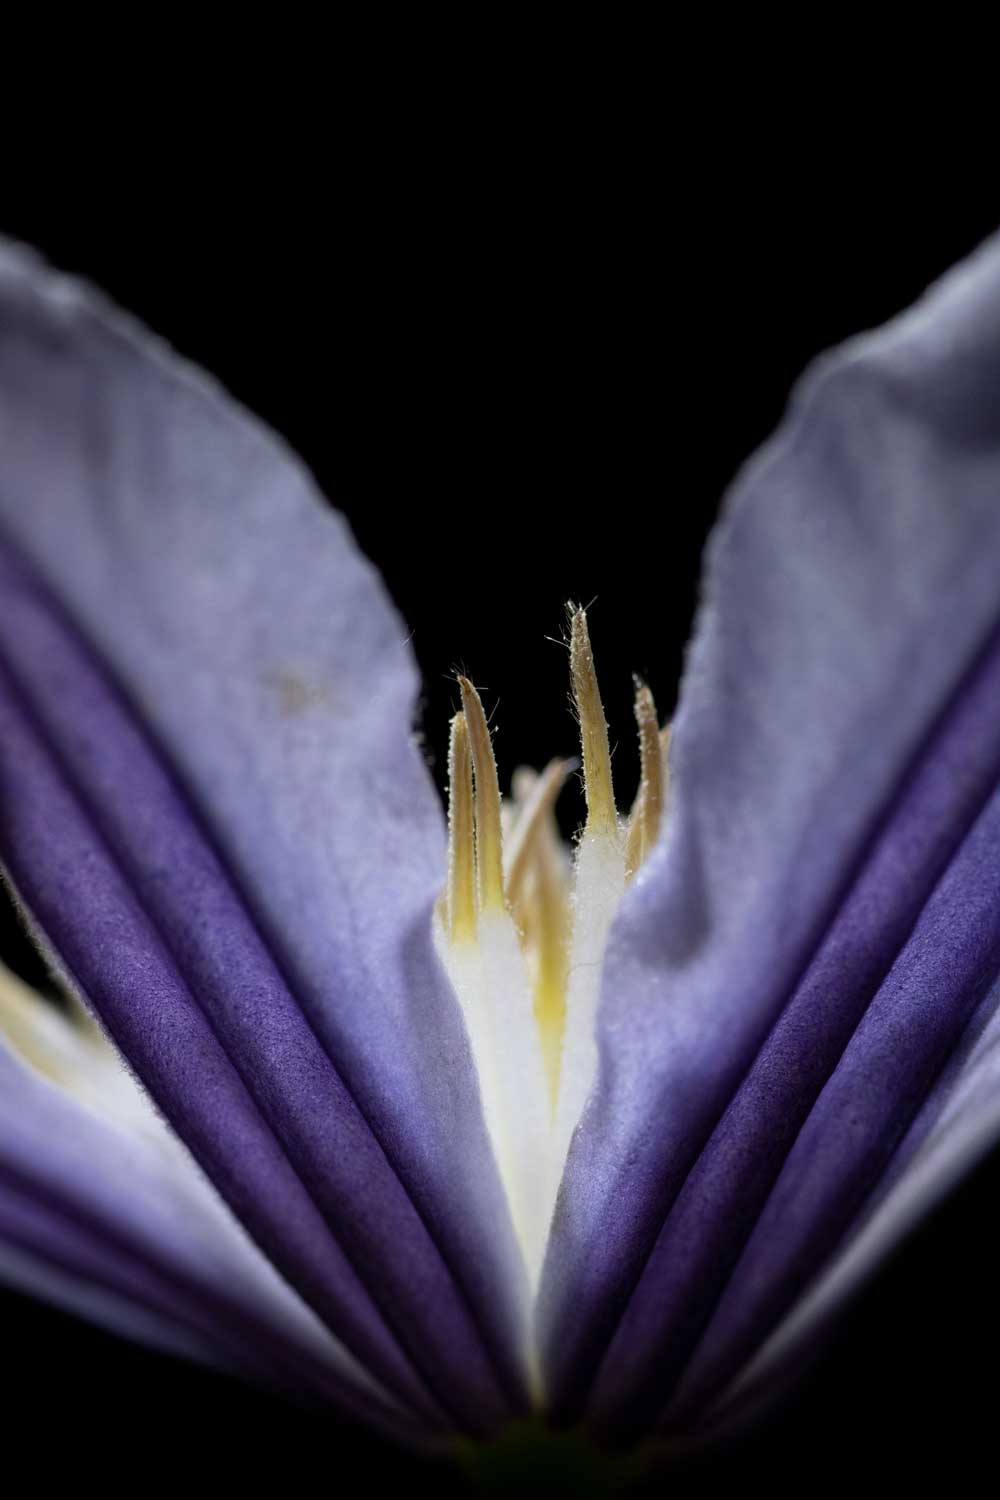
This illuminated the centre of the flower nicely and made for a great effect on the back of the petals. Shooting through the gap between 2 petals makes for a really nice shot of the colour, while still preserving some detail on the stamen.
Focus
The final consideration is the focus. When getting this close to flowers you will have a shallow depth of field. Focus stacking is an option if you have the time, be we prefer the all natural method.
No matter the depth of field, try to consider the placement of your focal point. Use the soft focus to your advantage to draw the eye. Our eyes are naturally drawn to the part of the image that is in focus. Use this in combination with your composition to get the viewer to see the most interesting parts of the flower!
The shots we got were very pleasing to the eye and showed off the flower well. A single point of light can be very effective when you can control where it lands. The beam angle adjustment and the natural flexibility of the Lighting Arms made it easy to get the light exactly where we needed it to complement this flower. If you are using your Adaptalux Studio to get great shots of flowers this summer, let us know!
Don’t forget to subscribe to our YouTube channel for regular macro photography tutorials, ideas and inspiration!


