How to do Macro Photography – Watch on YouTube

Macro Photography can be a complicated and daunting genre of photography to tackle, especially for beginners. In this beginner’s guide to macro photography, we’re going to cover everything you need to think about before giving it a try!
Beginner’s guide to Macro Photography
Imagine stepping into a universe where the smallest details are magnified to reveal a hidden realm of beauty and artistic opportunity. Macro photography is not just about taking close-up shots, it’s an art form that allows us to explore and express ourselves through the unseen world around us.
Macro photography is also a challenge. It takes some specialist equipment to magnify an image up to the scale needed to impress. The key aspect of macro photography is the magnification of the subject.To be true macro, a subject must appear on the sensor or film of your camera “life size” meaning a ratio of 1:1. We have a dedicated article that explains this ratio in more detail, in the meantime, let’s explore the equipment you will need.

Macro Photography Equipment
Equipment is the first stop on the journey of learning macro. Stunning macro photos can be achieved in a variety of ways, but there are a few common considerations. We won’t be too prescriptive here, but you should think about each point on the list and weigh up the pros and cons.
Camera Choice
We’re not talking about make and model, but the actual TYPE of camera. Many of you will be thinking the same question to begin with… Can I use my phone camera for macro?
“I have a Camera Phone”
Phones are always getting better cameras. Most recently the new generation of iPhones have integrated a dedicated macro lens, so the easy answer is yes, you can do macro on your phone. The long answer is that you will need the right phone, or at least an additional Lens.
Clip-on macro lenses are available for older phones that convert your phones camera into a high magnification macro lens. They are super cheap and convenient. Take one out for a walk and keep it in your pocket ready to try some close-up shots when the mood strikes!
The disadvantage to using your phone camera is that phones already push the limits of image quality. They have small sensors and tiny lenses that can produce a lot of distortion and lose a lot of detail compared to a more expensive camera and lens setup.

“I have a camera, but no macro lens”
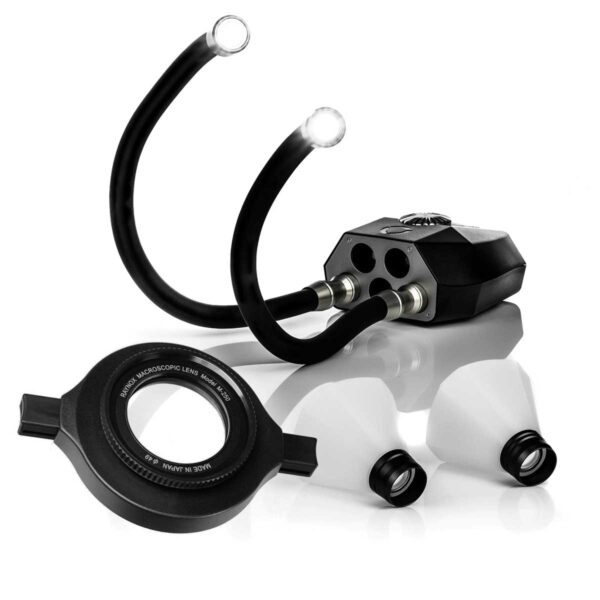
Perhaps you’re used to shooting portraits or the odd landscape and don’t want to jump right in with an expensive dedicated macro lens for your DSLR or Mirrorless camera. Well, there is an intermediary solution. The Raynox DCR 250 is a clip on macro lens that converts non-macro lenses to a higher magnification! This means that you can use your kit lens, a portraiture lens or whatever lens you have handy and still be able to try out macro.
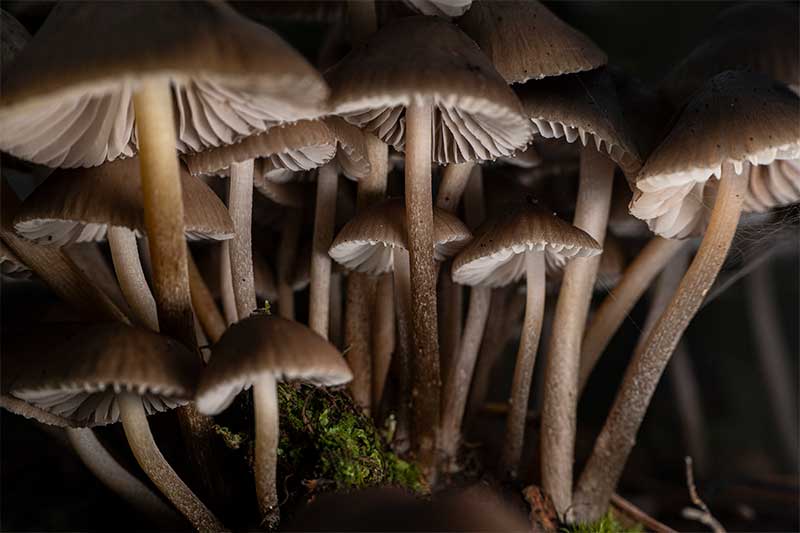
It’s also small enough to fit in your pocket so you can take out a lightweight camera and lens, but still have the ability to get close-ups when you need to! We used this lens for capturing mushrooms on a walk and it was really effective attached to our Sony Kit lens.


“I’m looking to invest in a macro lens”
Macro Lenses come in all shapes and sizes. Most Lens and camera manufacturers will have a selection of macro lenses to choose from and all of them will have different capabilities and price points.
There are two main factors to consider when choosing your first macro lens. The things you should look out for are magnification factor (ratio) and working distance. Magnification is how close the lens looks in the camera, and the working distance is how close the front of the lens physically gets to the subject.
The magnification factor might look like a ratio, i.e 1:1 or 2:1. It might also be shown as 1x or 2x. We would recommend avoiding very high magnifications like 5x until you are familiar with macro, they will just steepen the learning curve!
Look for a lens that has a minimum working distance of around 20-30cm. This will give you enough room to place lights between your lens and subject and not scare off any wildlife you want to get close to!


Stabilisation
This beginner’s guide to macro photography would not be complete if we didn’t talk about the importance of keeping your camera and subject stable. As you increase in magnification, every movement will also be magnified. Every shake of your hands, gust of wind or flutter of the subject will seem like a much larger movement in your image.
Movements like these can lead to a lot of blurry subjects or camera shake in your images so it’s best to try and keep your camera and subject as steady as possible.
Tripods
A good sturdy tripod is essential for indoor macro and still recommended outdoors. It will take away a little of your freedom to move the camera around, but it’s worth it. When you have time to set up indoors or near a subject you want to shoot in the field, the extra time spent setting up a tripod is better than the headaches in editing.
The alternative to a tripod is using flash. Flash will freeze the motion of the subject and camera resulting in a sharp, shake-free photo. We talk more about the different kinds of lighitng and their benifits later on.
Subject Holder
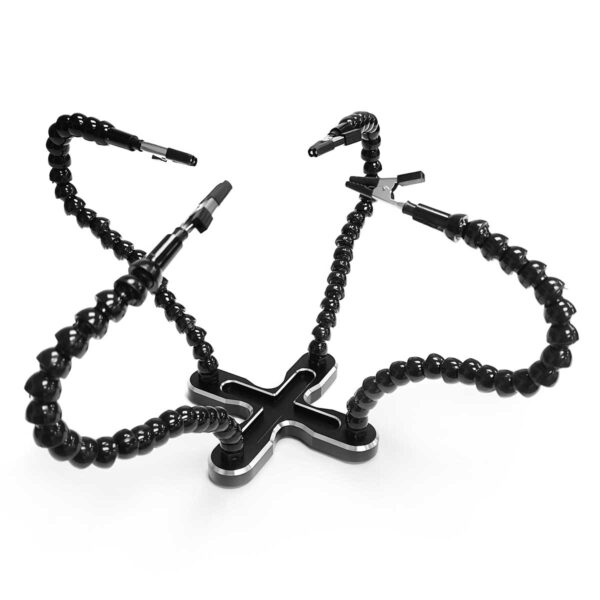
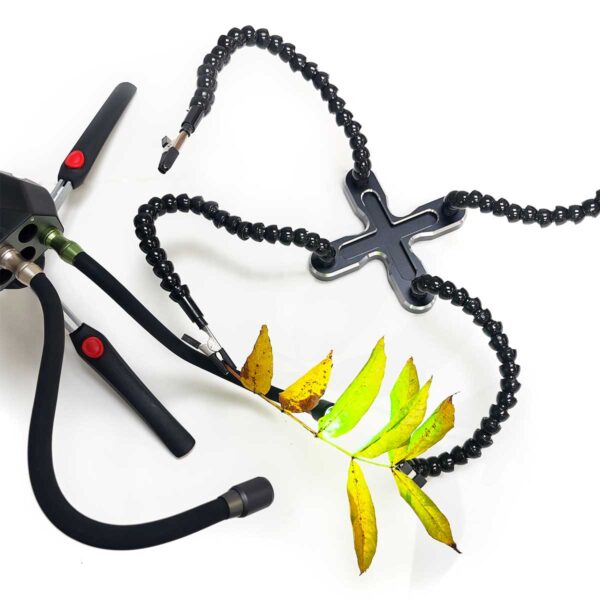
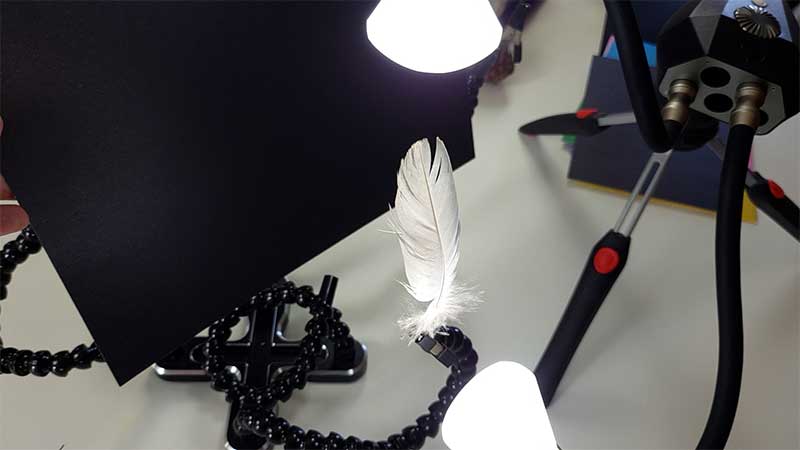
If you’re shooting indoors in a studio or tabletop environment, it might be worth finding an easy way to hold your subjects steady. This can be really handy for subjects like flowers and delicate leaves.
We have a great macro subject holder that can support your subject, and also hold backgrounds in place. The added flexibility of placement for your subject allows you to move your camera less!
Lighting
As this is a beginners guide to macro, we’re not going to cover all the in-depth reasons why you would want to use artificial light in your macro photography. However, there are a couple of reasons that it benefits beginners in particular.
Better Settings.
A big hurdle with macro is getting enough light. This is of course counteracted by adding more light! Without access to a macro light source, you will be stuck with what you have around you, and it will never be enough!
Learn faster.
Photography is all about light and macro has the neat benifit of being so small that any little change has a big impact! This goes for lighting too. If you use LED lighting to add light to your images, you will quickly learn about how light works and how it affects your images. You will see the results right on the back of the camera with no trial and error!
More Creative options.
As mentioned, beginners tend to avoid using lighting in their images, but it’s not difficult! Choosing to add light to your shots will set you above the rest and make your images look more eye-catching and creative.

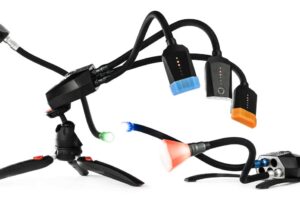
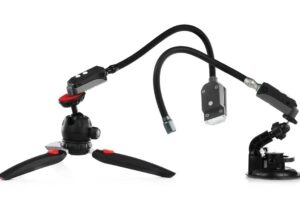
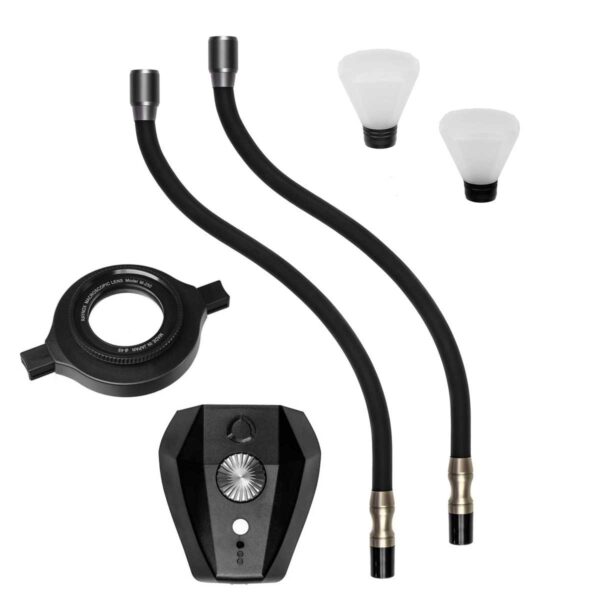
In fact, lighting is so important that we put together a kit for beginners that includes the Raynox DCR 250 lens, and a set of our macro lights, specifically designed to improved your macro photography!
This kit is ideal for getting started with macro photography and is easily expandable as your skills develop. The lighting is modular, so you can add to it as you learn and your skills grow. The lens will be useful even if you invested in a dedicated macro lens later down the line!
Macro Photography Tips
Use Manual Focus
While some macro lenses come with auto focus, and many cameras are very good at it these days… it’s still not great for macro. Often cameras will be confused by the elements in your image and simply try to focus on the closest thing. Other times they will focus on some small detail that looks like a face or person.
Simply put, if you want full control over your images, you should get used to using manual focus. It will allow you to choose exactly which parts of your images have the most detail and where the eye is drawn to.
It also goes hand in hand with using a tripod and stabilisation. You will have all the time in the world to set up your shot and focus… unless your subject has wings!
Use your Aperture
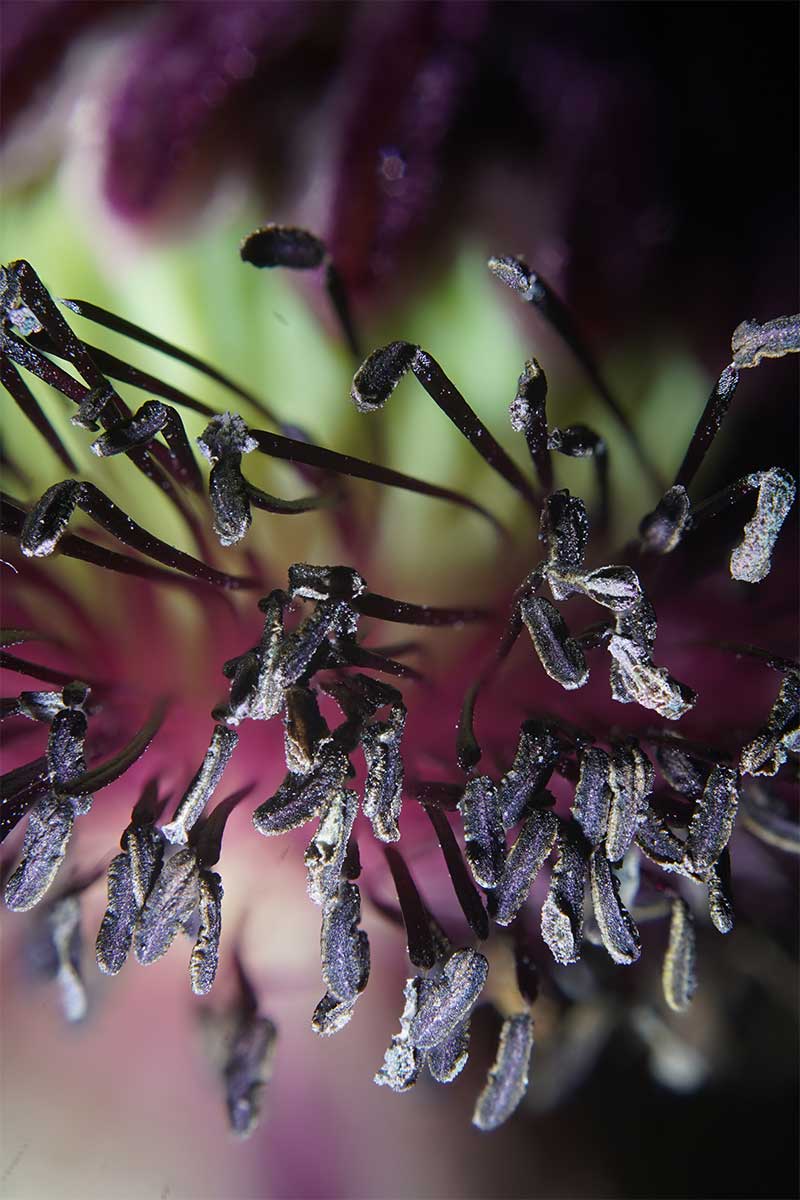
Aperture is the primary exposure setting for macro photography. While ISO and Shutter speed are still important, aperture controls one key element – Depth of field (Dof)
Dof is one of the hardest hurdles to overcome in macro. High magnifications mean that your images can end up with very little of the shot in focus at once. However, we can adjust how much of the shot is in focus using the aperture setting.
A wide aperture (small f number) will let in more light, but result in a very soft foreground and background, with only a small slice of your image in focus.
A narrow aperture will get more of your image in focus, but will cut out more of the already scarce light at this scale.
You will need to choose your priorities and make sacrifices elsewhere, like longer shutter speeds, higher ISO, or adding more light into your scene to compensate. You will also have the option of focus stacking, but that’s a little advanced for a Beginner’s guide to macro photography

Use our resources!
Now that you have the basic considerations for getting started with macro photography, you will need to pick a subject.
We have you covered on this one. We have been writing articles and making tutorials every 2 weeks for years! We have covered all kinds of subjects and techniques that are just waiting for you to explore.
Don’t forget to subscribe to our YouTube channel for regular macro photography tutorials, ideas and inspiration!


