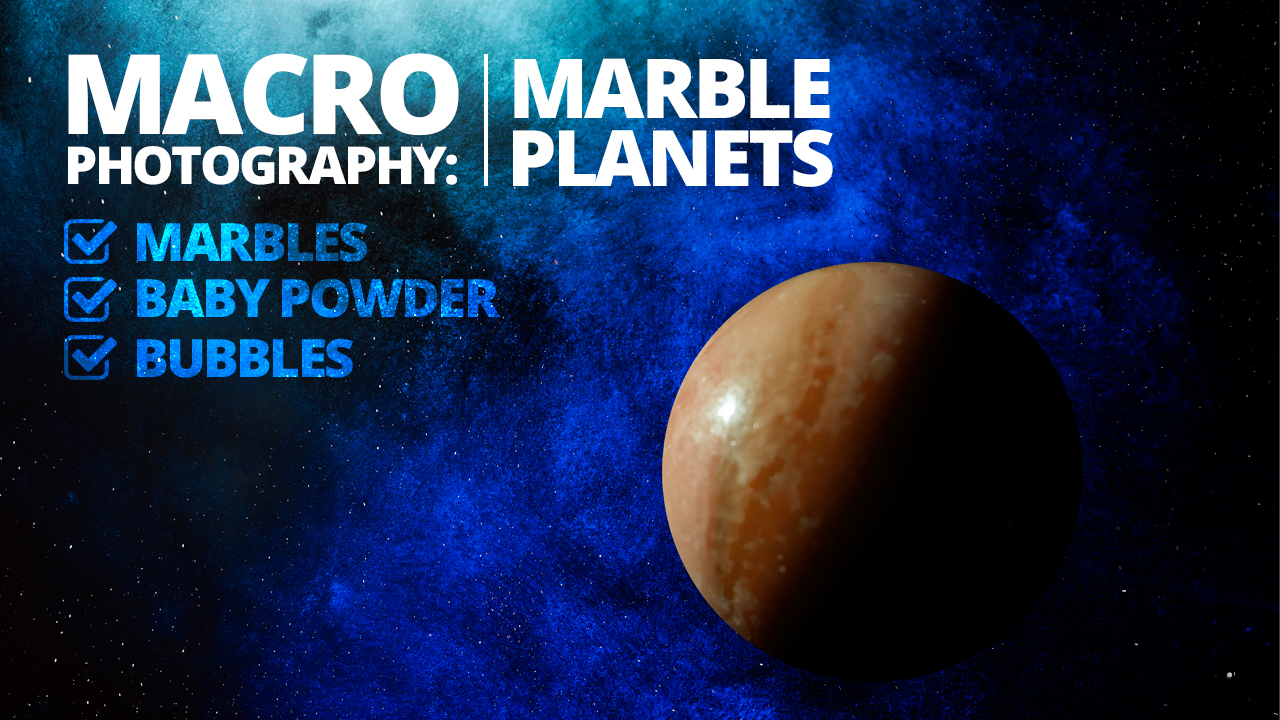
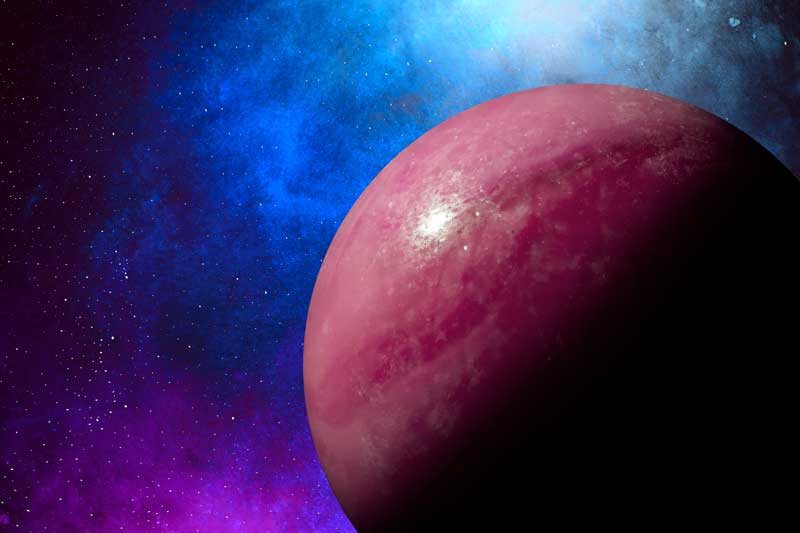
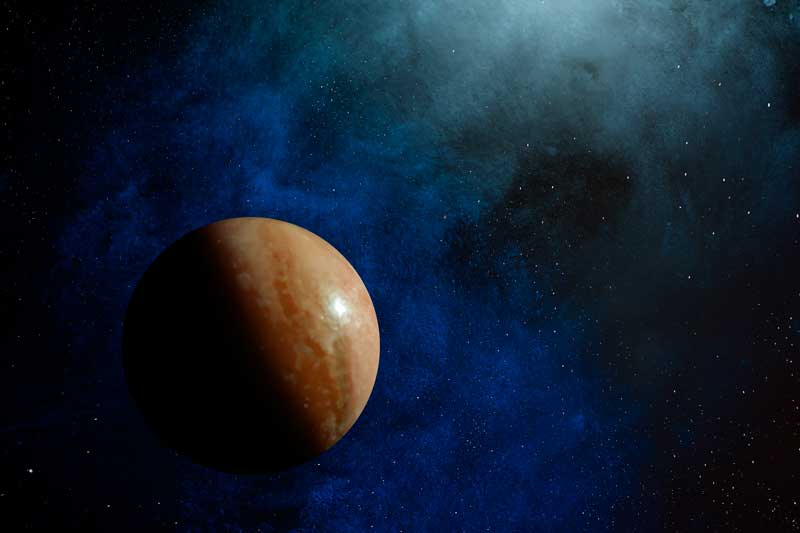
In this tutorial we’re going to be creating some amazing space photographs with planets, stars and nebulae. You don’t need a spaceship, or even a telescope. As macro photographers, we are going to be using marbles to create the planets!
If you didn’t see the first shoot we did with this project, read that first to understand the basics of lighting your marbles. We used coloured Lighting Arms to create huge stars and smaller marbles for planets. We really enjoyed the shoot, and got some great feedback and lots more ideas, so we’re expanding the marble planets project!
How to create amazing space photos using marbles!
Creating the planets – Focus Stacking
In the last shoot, we didn’t use focus stacking to shoot our marble planets. When you get as close are we are, even at small apertures like f18 or f22, even a single marble is difficult to get entirely in focus. This is where focus stacking comes in.
To stack your photos, the principal is simply to shoot several photos and combine them. Each photo should be focused on a slightly different area of the marble.
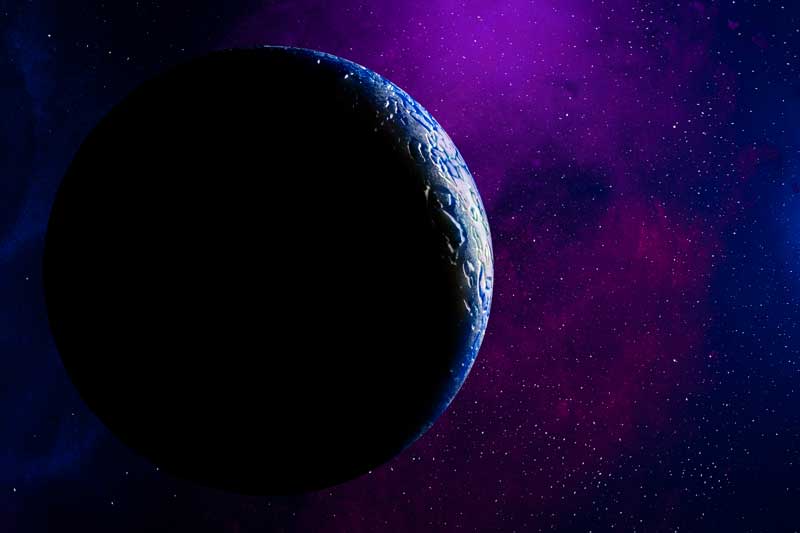
Once you have your images, you can stack them together in photoshop and allow the program to layer them, removing the out of focus areas!
We will be doing a full focus stacking tutorial in the future, so make sure to subscribe!
Creating Background Stars
Last time, we looked at creating huge stars to sit in the foreground of our images. Exposing for a star that close would mean that any stars in the distance would be far underexposed, and therefore invisible.
For this shoot, I want to create something a little different. The dark black of space, when exposed properly, is full of stars and nebulae. So we need some random stars for the background!
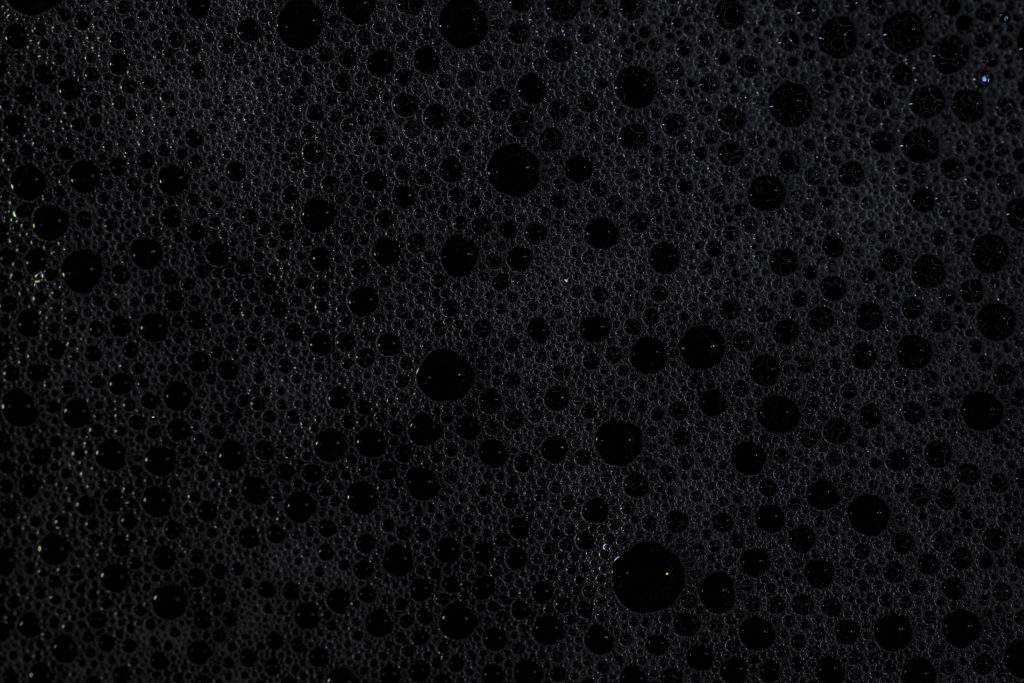
To do this, we are going to use bubbles. Some shallow soap suds, with a bright light shining on them, will create random specular highlights. If you under-expose the image of the bubbles to leave only the pinpoint highlights, you get stars!
Shooting in RAW makes this process much easier, as you can fine tune the contrast later to remove any remaining bubble outlines.
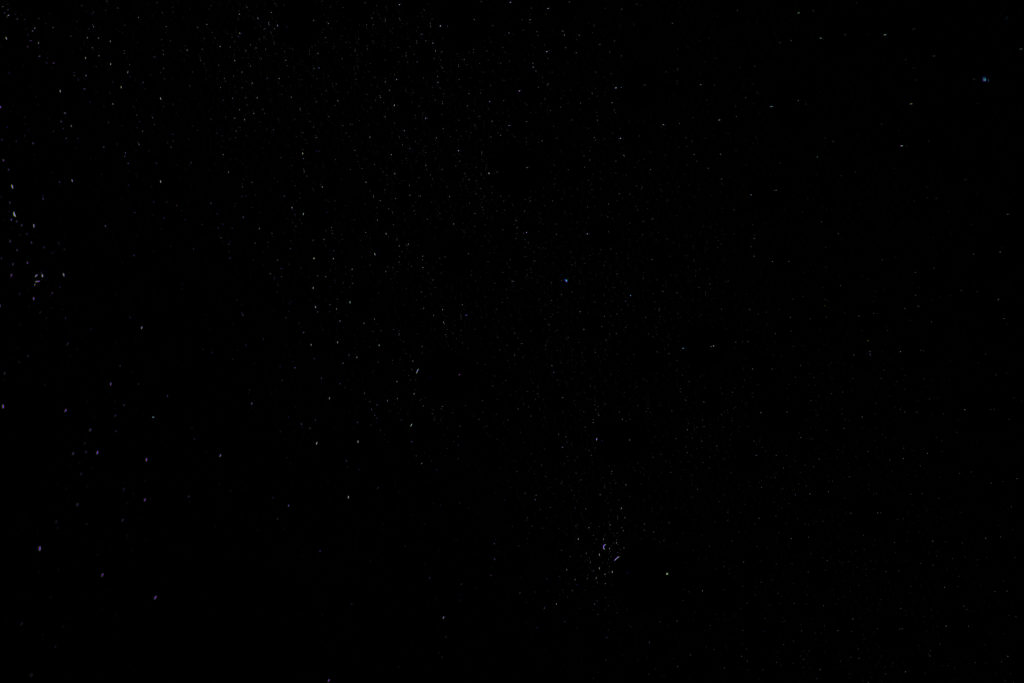
They are dark, but they are there!
Creating a Nebula
A nebular is a huge cloud of dust that refracts the light of many stars to glow in all kinds of colours. They come in many shapes and sizes, so you can really have fun creating your own.
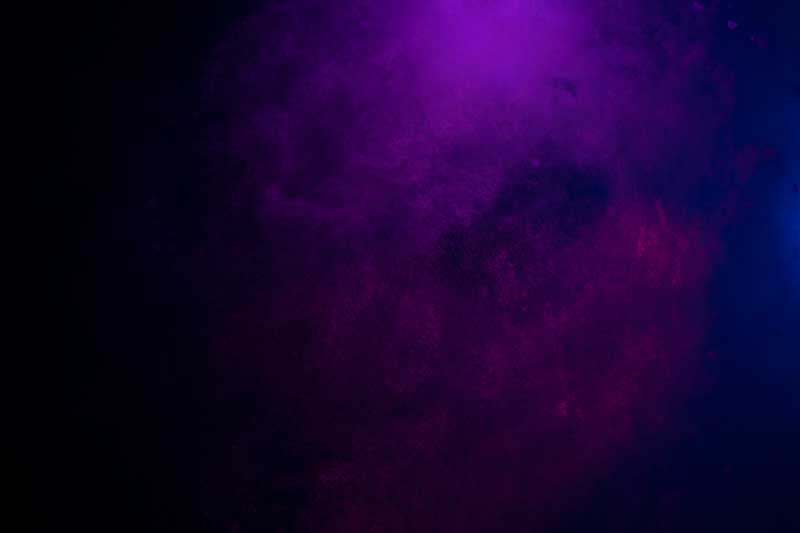
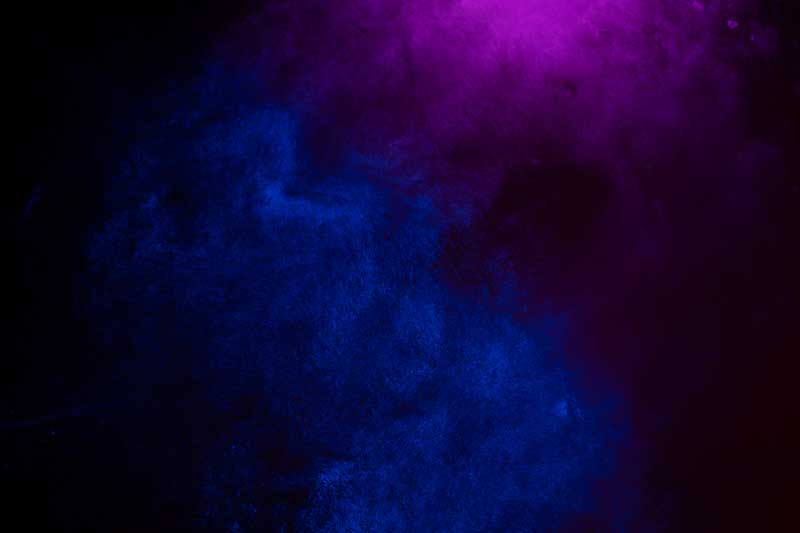

To make our own, we are going to be using some baby powder, or Talcom powder. Scatter the powder on a dark surface (or glass with nothing behind it). Then you can smooth, dab and manipulate the powder to look like clouds.
The final piece of the puzzle is some light. Using combinations of Colour Filters and coloured lighting arms, we lit the powder from different directions. Our new purple and cyan Colour Filters worked wonders to create some nice shades.
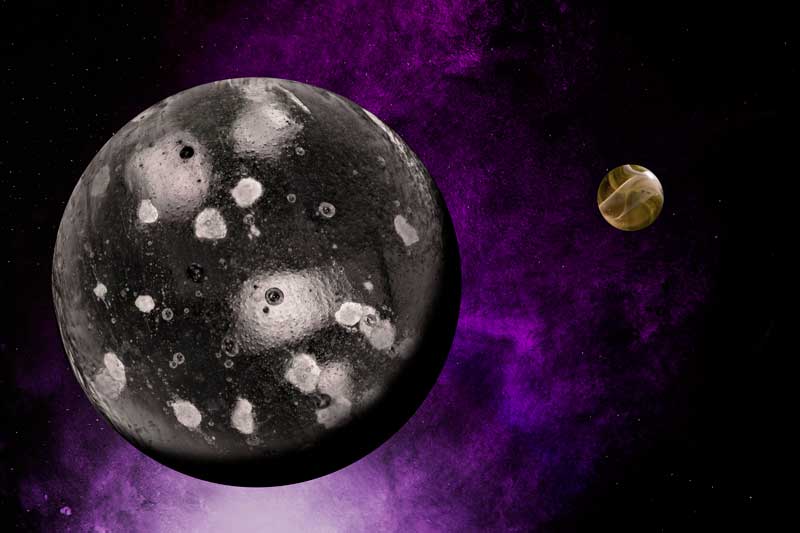
Composite!
The last step, just like last time, is to composite these elements together. For truly amazing space photos, use inspiration from media and video games to generate ideas. Use blend modes and masking to simply and quickly layer marbles over your stars and nebulae. The sky is no longer the limit!
This is not the end of our marble planet project, so don’t forget to subscribe to our YouTube channel for more!
- Cool paper photography tricks that you should try at home - 14th April 2024
- Egg Macro Photography – Easter Egg Lightpainting - 30th March 2024
- Using Tonic Water to create amazing UV flower photography! - 16th March 2024


