Simple flower photography tutorial with Tulips – Watch on YouTube
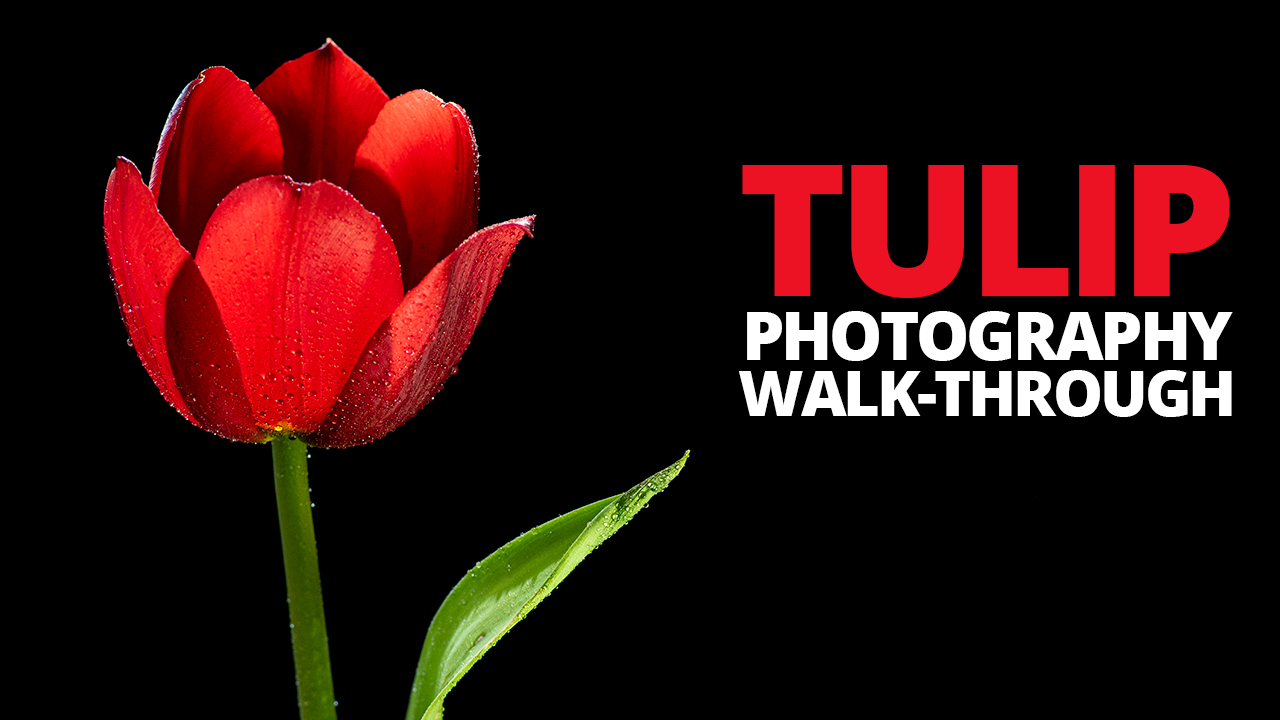
Tulips have a very recognisable silhouette. Rather than go exploring the insides of the flower as we did in our recent hellebore shoot, we wanted to capture the iconic shape of the tulip. We have put together a simple flower photography tutorial to walk you through getting a colourful and striking shot!
Simple flower photography tutorial
What you will need:
Camera – This kind of photography can be achieved with almost any camera. We shot on our Nikon D5600 with a 100mm Tokina Lens, but you could use anything that gets the flower to fill the frame. Even a phone camera would do the trick as long as you can change your settings manually.
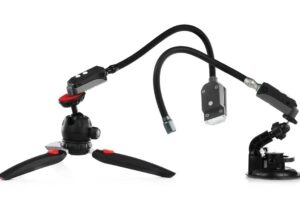
Tripod – Feel free to shoot freehand if you would like to, but we used a tripod. Situating your camera gives you the time to get everything perfect in front of the camera. You can focus, illuminate and tweak your scene while looking through the camera live view. It will also help reduce camera shake. A ball head attachment makes aligning your camera to the flower a little easier.
Flower & Bottle – Our Tulip was placed in a bottle with some water. The thin neck of the bottle helps to keep the stem of the flower upright and allows for more control over how the flower sits.
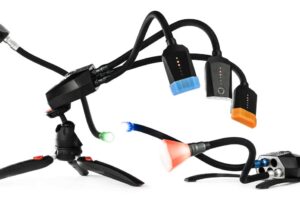
Lighting – To make the most of the colours in your flower, you will need some additional lighting. We used 2 white Lighting Arms from the Adaptalux Studio to light our shot.
Backdrop – If you want a black background like the shots you see here, a dark backdrop certainly helps. If you don’t have anything to act as a backdrop, you can try the techniques we used in our black background tutorial.
Spray bottle – Use a spray bottle with some water to add some droplets to your flower. This is, of course, optional, but it can sometimes add a little more texture and visual interest to the subject.
Setting up your shot
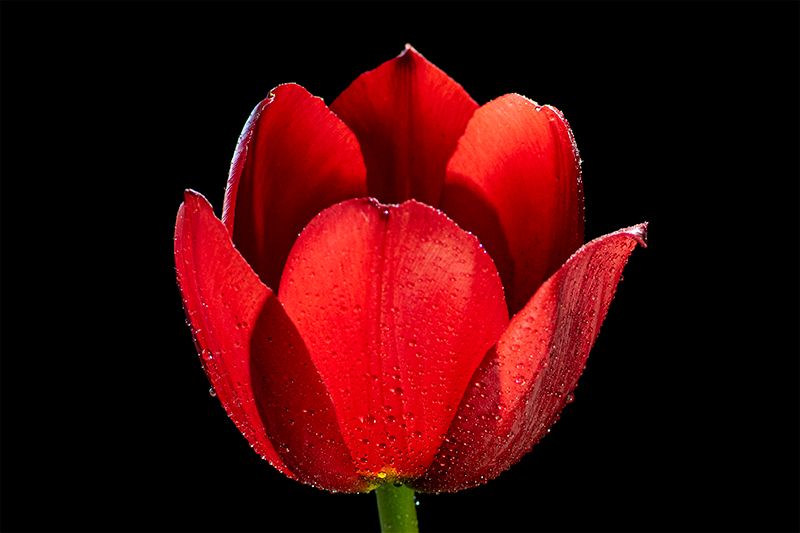
The idea behind the composition of a simple flower photo like this is quite straight forward. As with most flower photographs taken from the side, positioning the flower is your first challenge. You can use clamps, bottles and luck to get your flower sitting nicely upright. It might be easier to angle your camera to match the flower rather than the other way around!
Position your camera so that the flower has a little breathing room around the edges of the frame. If you’re using a black backdrop, it’s easy to add more space in photoshop, so you can make the most of the frame. Shoot in portrait to maximise the resolution available to you. Just don’t cut the flower off and you will have lots of cropping options later!
Settings & Focus
Your settings will, of course, be determined by your lighting which we will talk about in a moment. It’s good to get a baseline first and make sure the background is going to be dark enough. The image above was taken at ISO 500 | f8 | 1/120th.
At this point, it’s good to check your focus. If you’re using a manual lens, take advantage of the zoom feature on the live view of your camera to check and fine-tune your focus. Shooting at a narrow aperture will allow more of your flower to be in focus at once. F8 is a well-balanced aperture that keeps your ISO low whilst not making your depth of field too shallow.
Lighting
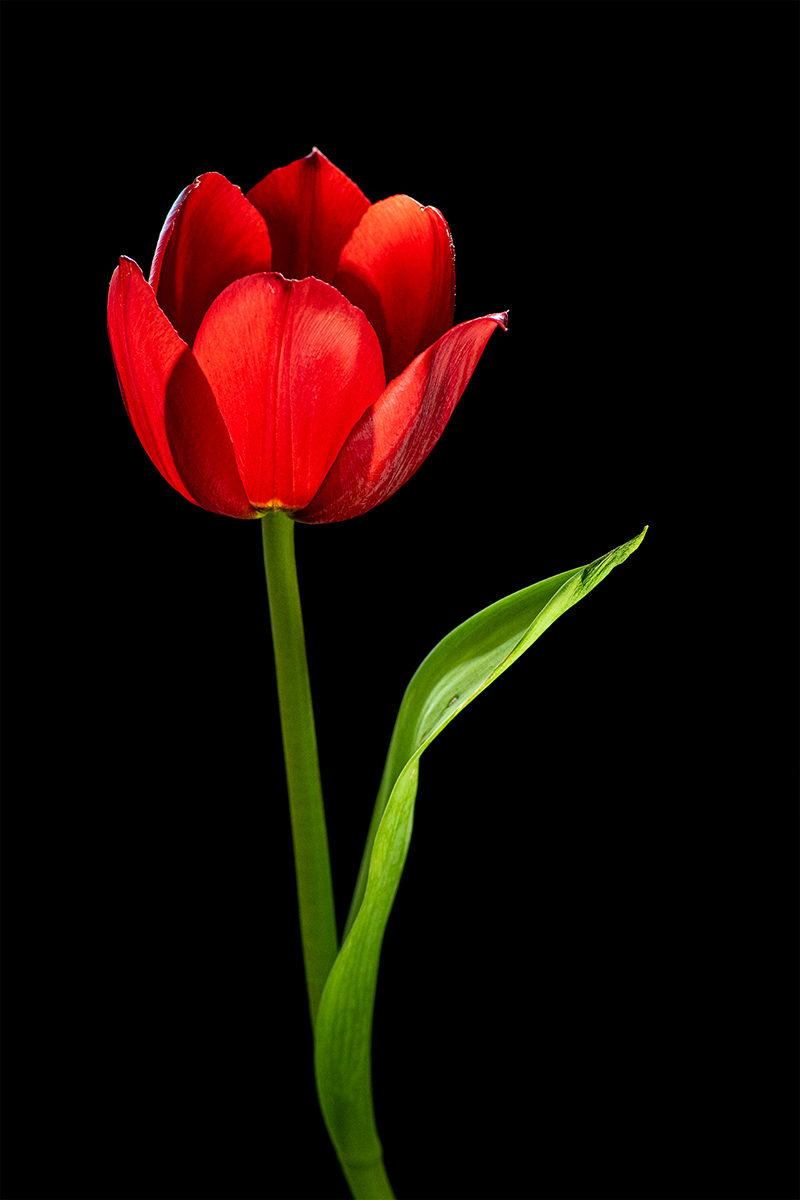
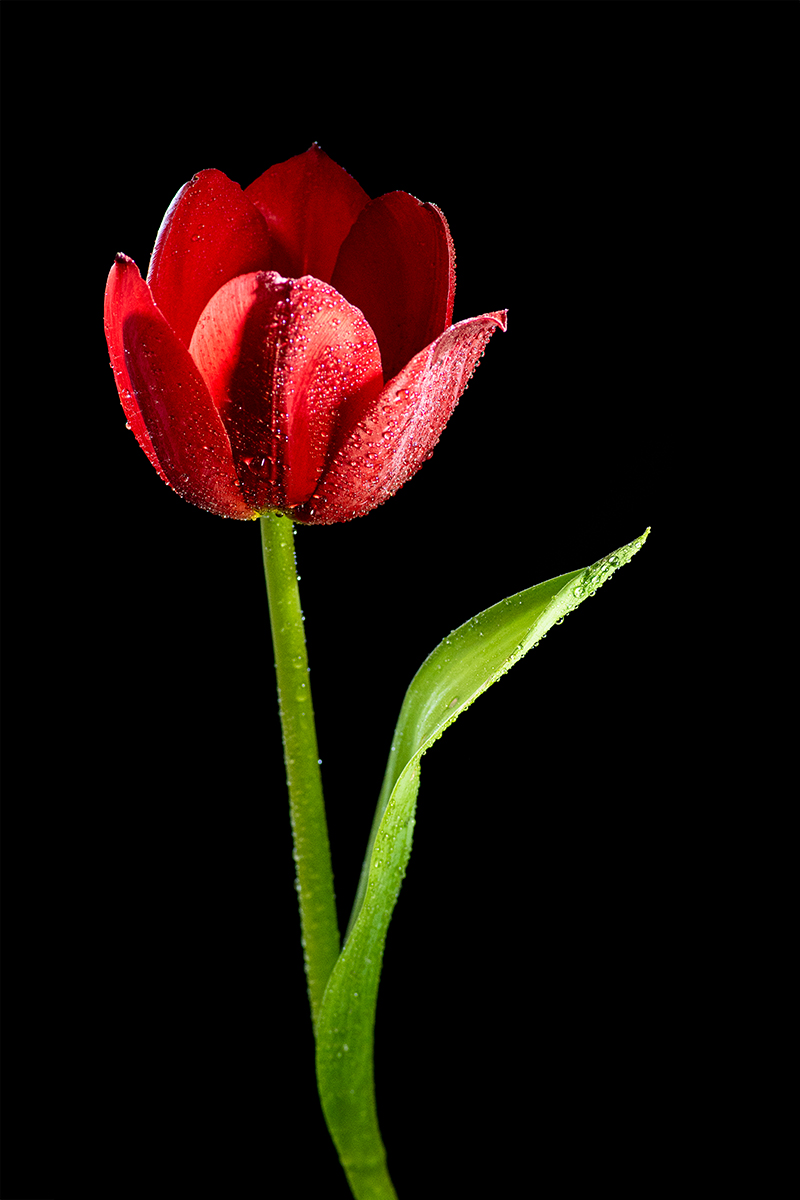
Perhaps the most important aspect of even the most simple flower photograph is light. In the two versions of our photo above, you can see the tulip lit in 2 different ways, with and without water droplets. Which style do you prefer?
The first photo, we wanted to maximise the red colour from the petals for a very clean and smooth look. To do this, we lit the petals from behind with a single undiffused white Lighting Arm. Lighting like this can make for some very striking colours as the light passes through the petals. However, the backlight can cause the loss of some of the texture details of the petals and water drops. Be aware of how the shadows of the petals are interacting with one another. it’s easy to end up with some ugly, out of place shadows with this method.
The second shot was instead lit from the side with a diffused white Lighting Arm. The petals of the tulip have a waxy texture to them, which causes reflections. These reflections can work to your advantage to create some drama and depth in the image, and highlight the texture of the petals and the water drops. Controlling reflections and highlights can be a challenge with this style, but it certainly makes those water drops stand out!
Experiment with your lighting to find the style you prefer. There are many ways to light an image like this, so explore the possibilities. Shooting with continuous light like our LED Lighting Arms allows you to build your lighting whilst seeing the results live on the viewfinder, very handy for learning what works and what doesn’t!
Use the slider on the image below to see the difference that light placement makes in your images!


Of course, this simple flower photography tutorial only explores one method for approaching your flower photos. There are many other angles, techniques and tricks to use to get the most from your flora. Explore some of our other flower tutorials to see more methods of shooting beautiful flowers!
Finally, don’t forget to subscribe to our YouTube channel for more macro photography tutorials, ideas and inspiration!
- Winter Macro Photography: Focusing on Tree Bark and Moss Textures - 8th February 2026
- 2024 Winner Announcement – Adaptalux Macro Photography Awards - 30th January 2026
- Dark Cinematic Toy Photography Tutorial – Alien (1979) Action Figure - 25th January 2026








nice subject well worth trying Colours lovely.