


Shell macro photography tutorial – Watch on YouTube
Shells and sea life grow and erode in interesting ways under the forces of the ocean. This makes them a fantastic macro subject! In this shell macro photography tutorial, we are going to be getting up close to the textures of some seashells, and adding some of our own creativity!
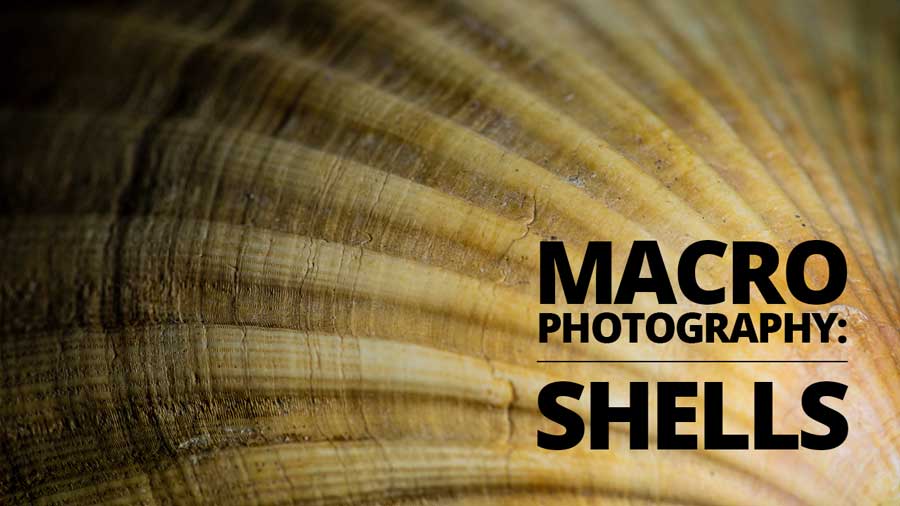
Shell Macro Photography Tutorial
Is it possible to go to the beach and not collect the interesting shells that wash up? The answer is no, impossible. Everyone has a collection of shells right?
Ok, maybe not everyone is a crazed beachcomber, but if you have a macro lens… you might want to consider becoming one. Revealing the detail and textures of shells is very interesting and with a little creativity, they can create some eyecatching photography!

The ocean is a strange place, and that leads to some strange things living in it. The various sea critters that grow shells provide us with a huge variety of types, colours and shapes of shells.
We have a few tiny shells and a few larger scallop shells. You may have different sizes of shells that require different lenses. We used a Tokina 100mm f2.8 Macro lens to capture the larger shells. For the small ones, we got very high magnification using a reversed lens and extension tubes,

Lighting is critical to getting interesting photographs of shells. Without control over your light, it will be very hard to make the most of the texture and relief found on the shells.
Of course, we have that problem covered with the flexible arms of the Adaptalux Studio. Consider the direction of the light as well as the intensity and balance with other sources.

Diffusion is also a factor when considering your lighting. Direct light can be harsh and create deep, dark shadows. Sometimes you may want lighting that looks more natural and soft. Add a semi-translucent material to your light source to diffuse your light.
The Adaptalux Studio has easy-to-use diffusion in the form of our attachable filters. You can add them to white lights and coloured lights in a snap!

Speaking of coloured lights, our shells look even more eye-catching with a spot of colour. Flooding some coloured light across our shells making the most of the contours takes the shells from realistic to abstract.
Water absorbs light at different rates depending on the colour. White light from the sun loses its red first, then orange, yellow etc. At only 15m under the surface, the only colours left are green and blue. This is why many underwater photos look entirely blue.

Of course, we’re not photographing under the sea, but if you wanted to choose some “nautical” colours, green and blue would be good options!
When it comes to adding coloured light to our images with the Adaptalux Studio, there are a few ways to go about it!

In the image above, you can see the same shot 3 times, with different lighting. Coloured LEDs are bright and vivid, and can be left undiffused for a very abstract effect. Diffusion filters soften the shadows, even with coloured lighting.
You can also add a wash of colour using colour filters on a white light source. A more subtle diffused effect that can complement all kinds of styles and subjects.

We hope that this shell macro photography tutorial has inspired you to take a walk down to the beach. Keep an eye out for those unique shells and save them for a shoot of your own. But remember to make sure there’s nothing calling your shell home before you move it from the beach!
Lastly, make sure to subscribe to our YouTube channel for more macro photography tutorials, ideas and inspiration!

- Seashell Still Life Photography: A Macro Photography Guide - 26th July 2026
- CPU Macro Photography – Create Abstract Cityscapes with Light and Detail - 12th July 2026
- Photographing Grains of Sand at High Magnification - 28th June 2026


Dear Sir ,
It was an eye-opener and an incredible blog about macro photography with seashells. Definitely, next time while traveling, I will also try this style of macro photography