Why you need a PURE light source for UV fluorescence photography – Watch on YouTube
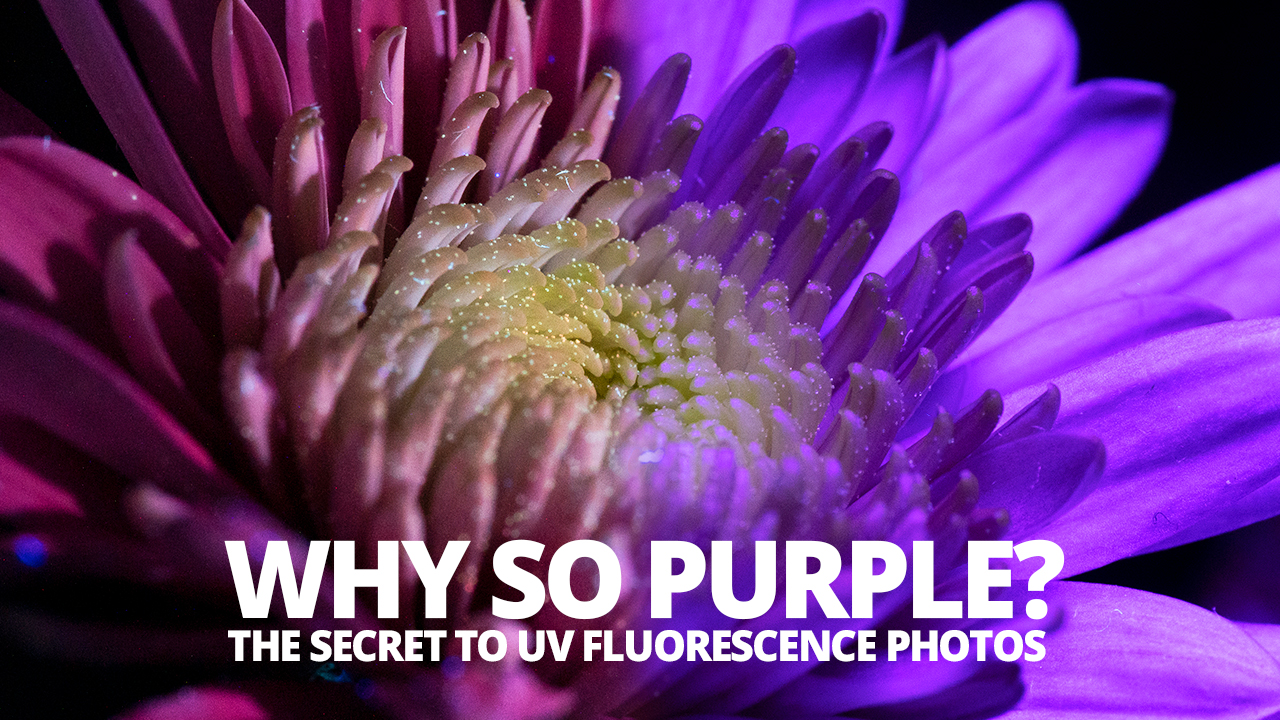
If you have found your way to this article, it’s likely you have seen some UV fluorescence images before. What you may not realise is that not all fluorescent objects are created equal. The question is if one can purchase a simple $10 UV flashlight and make something glow, what is so special about a pure light source for UV fluorescence photography? Let’s find out.
Do you need a pure light source for UV fluorescence photography?
The quick answer is technically no. However, it’s not quite that simple and if you would like to capture true UVIVF images, then the answer is yes.
As mentioned, fluorescent objects are not created equal. What we mean by this, is simply that some subjects will glow more than others. Some chemicals can create a bright glow, in brilliant colours. Others may only be faint, but just as interesting… if you can see them.
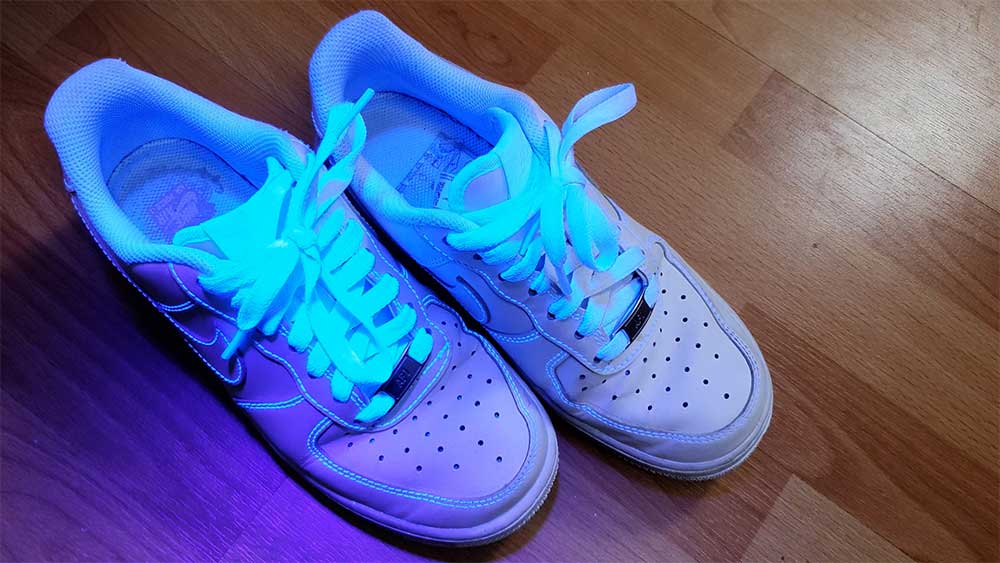
If you plan to photograph highly fluorescent subjects, like white fabrics, UV inks or paint, money, or scorpions (trust us, they glow) then you don’t need a special light source.
What about less fluorescent subjects?
Highly fluorescent objects like the shoes above are only a very small subset of subjects that can be used for ultraviolet induced visible fluorescence photography (UVIVF).
For less fluorescent subjects, like most flowers and insects, you will need a pure light source for UV fluorescence photography to really shine (pun intended).
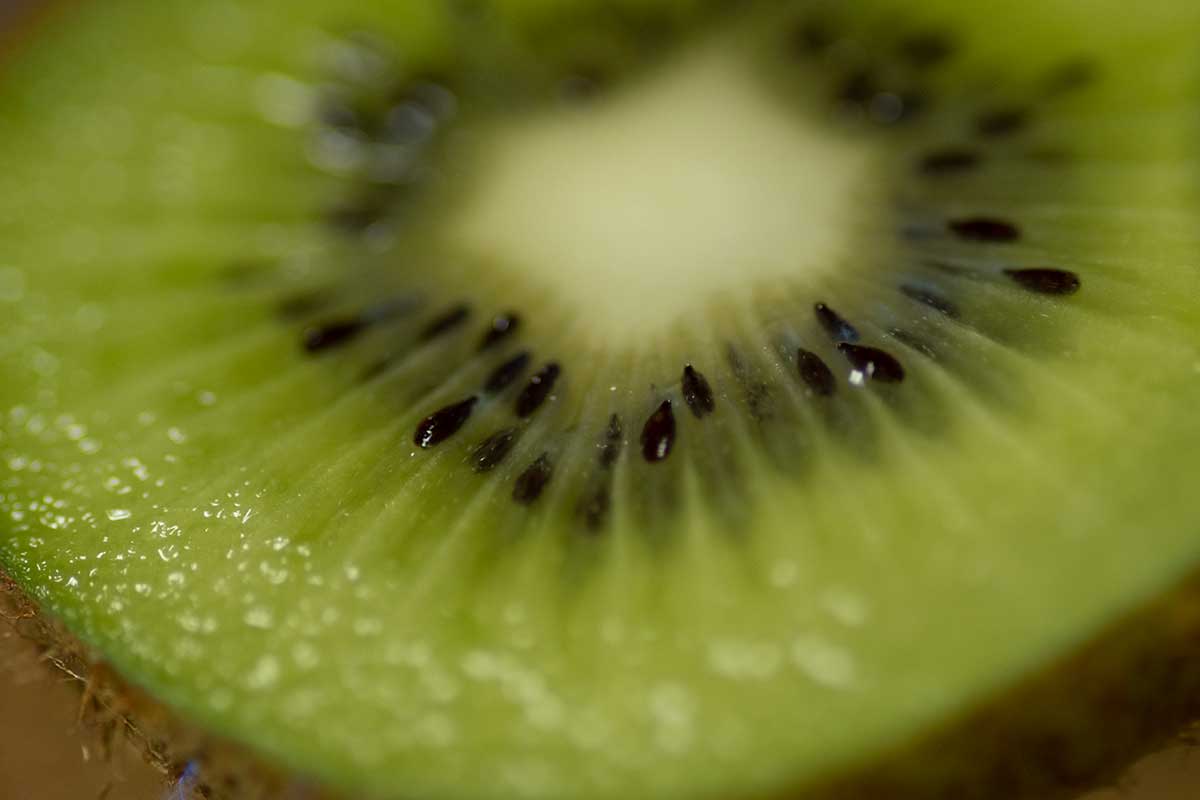
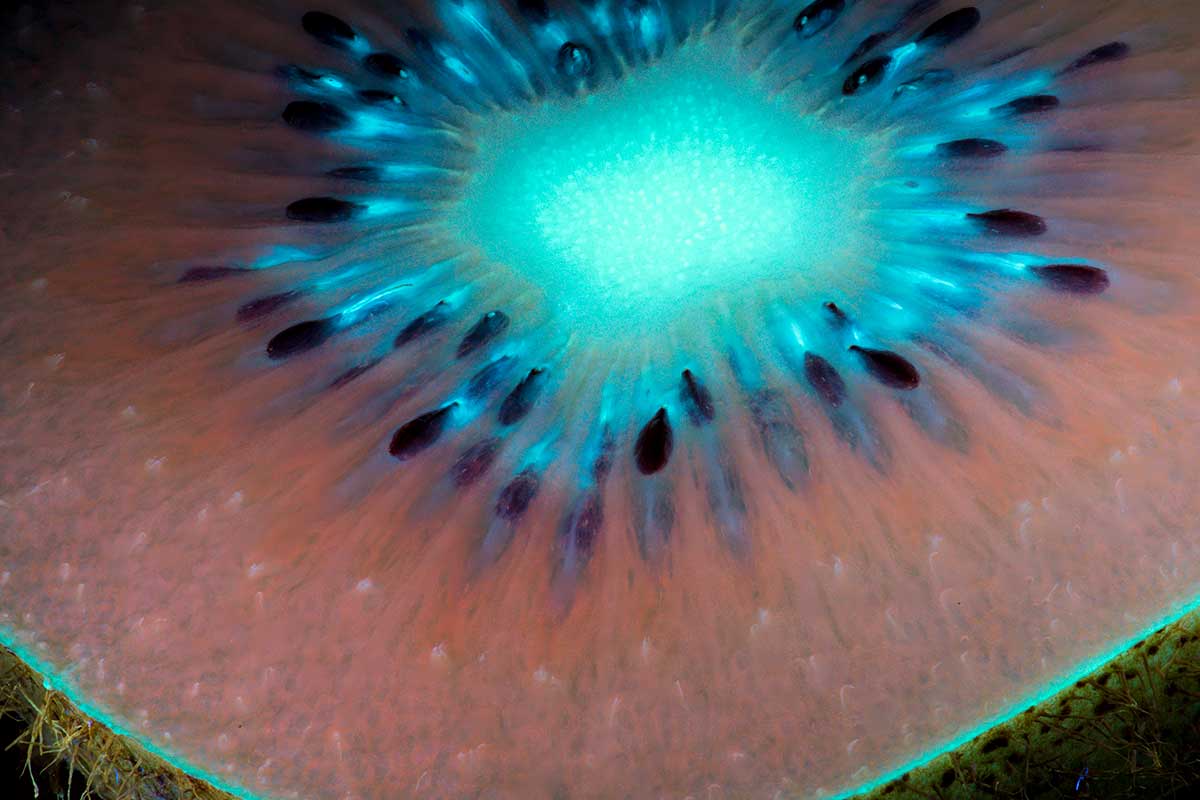
Move the slider on the image above to see the difference. The results can be amazing.
Even the Kiwi we used for a previous tutorial did not glow enough to get good results with the likes of your average UV flashlight or blacklight bulb.
The fluorescence created by the kiwi is easily overpowered by visible light from our surroundings and from the light source.
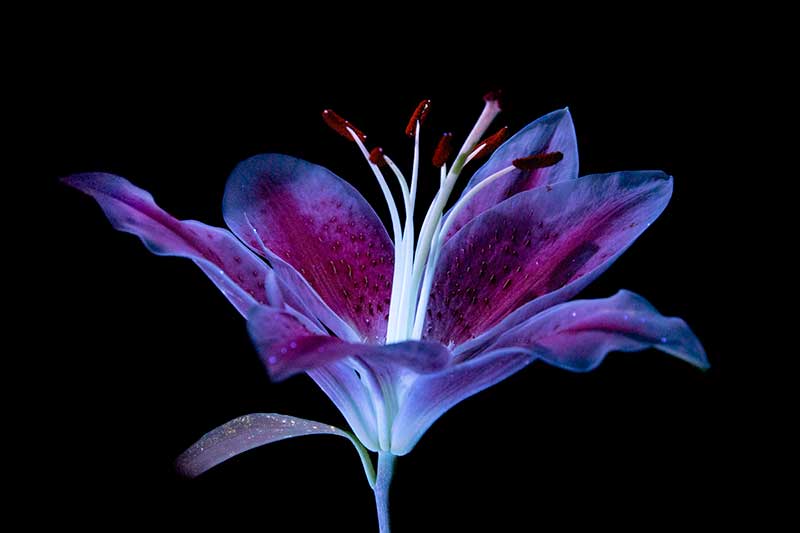
Flowers are even less fluorescent than our Kiwi. We mention in our UV flower tutorial that we need to turn off all the lights in the room in order to take our photo.
This is to remove visible light contamination from the image. Ambient visible light will easily overpower the glow created by a subject like a flower. The same goes for visible light created by our light source.
To see the fluorescent glow from a subject like a flower, you need pure UV light. Let’s take a look at what happens when your ultraviolet light source is not pure.
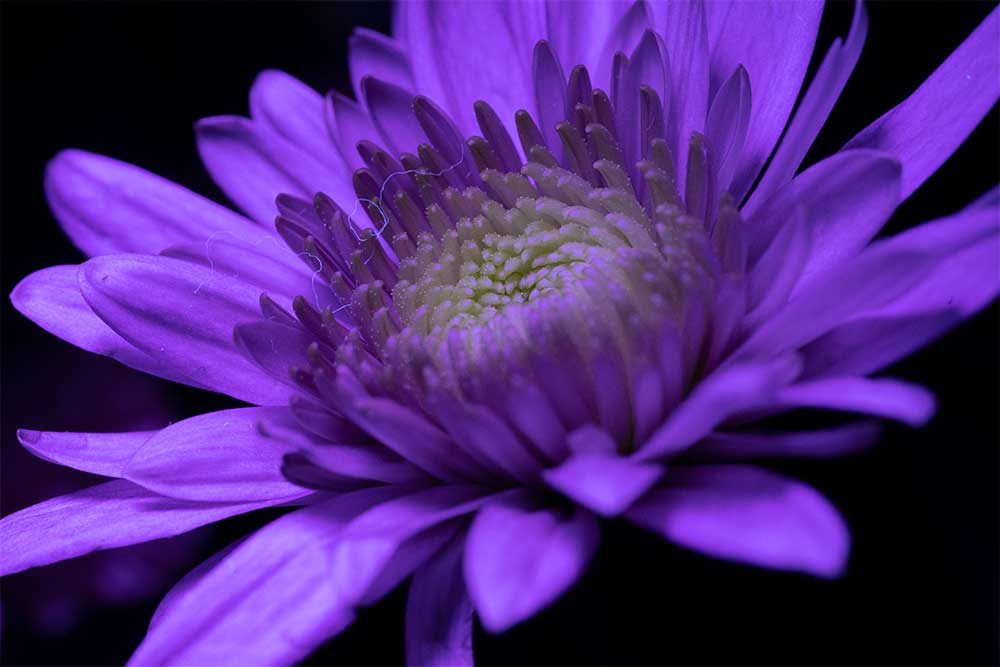
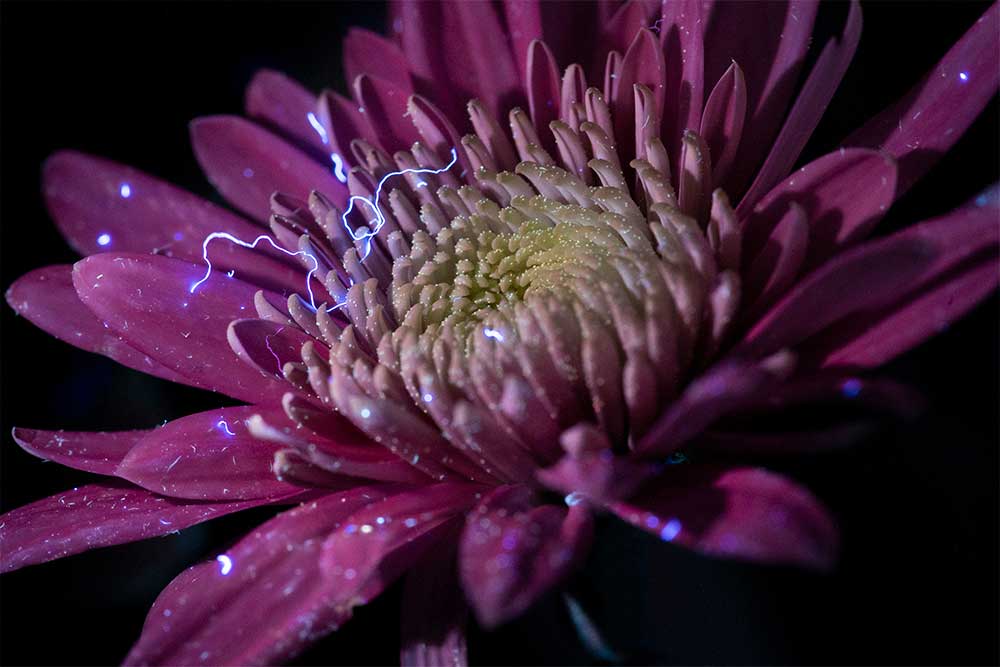
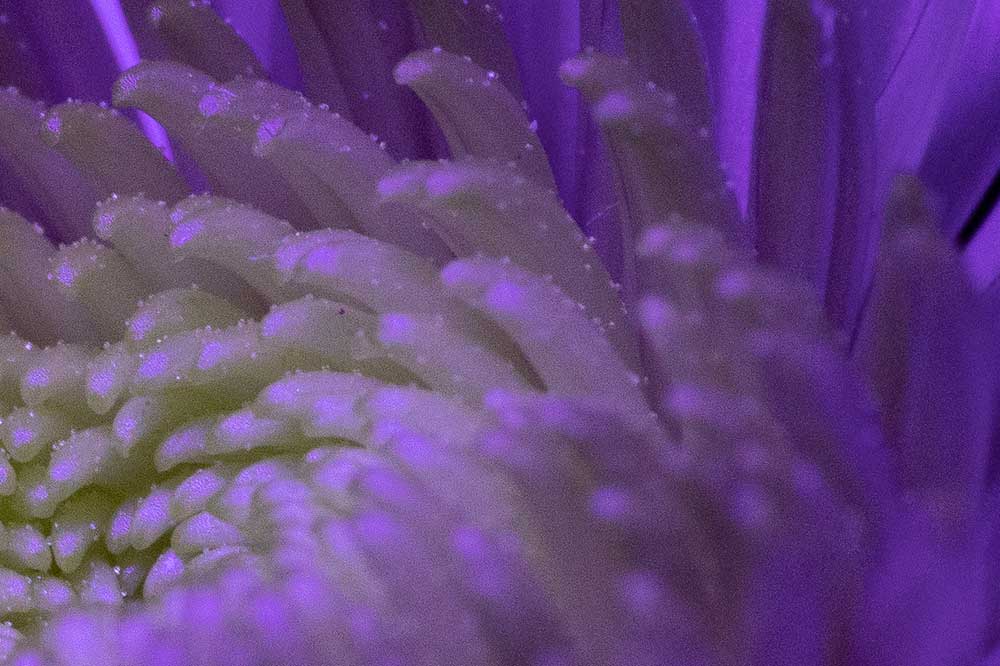
There is a bright purple hue over the flower, as seen in the first image. The colours are highly saturated and blown out and details are lost. A small amount of true fluorescence can be seen on the pollen, but it is lost by the abundance of violet and blue light.
Visible Light is Bad
The light source used for this image, although powerful, produces a lot of visible light along with the UV. Although some objects glow purple and blue, that colour should come from the subject, not the light source.
You can see that even the bright fluorescence from fibres on the flower is overpowered. We would usually remove dust and fluff from these kinds of images, but it makes for a good demonstration here.
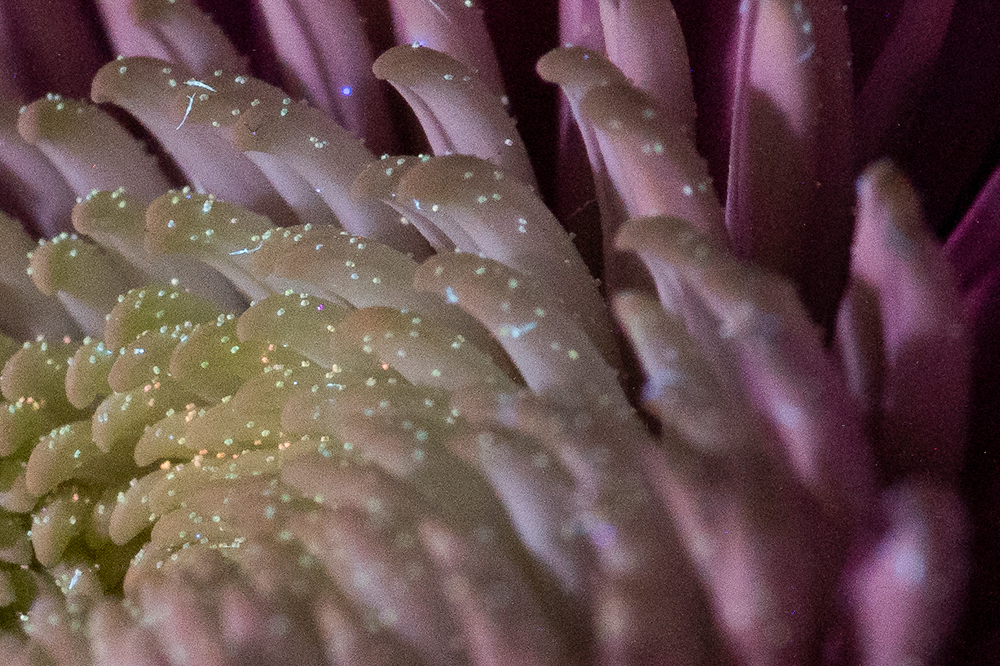
Use the slider in the image below to see the difference a pure UV light source can make to our close up image of the flower and pollen. All of these images are direct from the camera (with raw conversion) and we have not edited the colours or saturation in any way.
Let’s talk about settings.
The power of your UV light source might be at the forefront of your mind when choosing which to purchase. After all, power is one of the most important factors in conventional photography lighting. However, with UV light sources, there is a more important consideration.
Power will still get better settings, as with visible light. Be that as it may, it is less important than purity when you plan to capture subjects like flowers or the true fluorescent nature of your subject. Take a look at the settings for the two shots below.
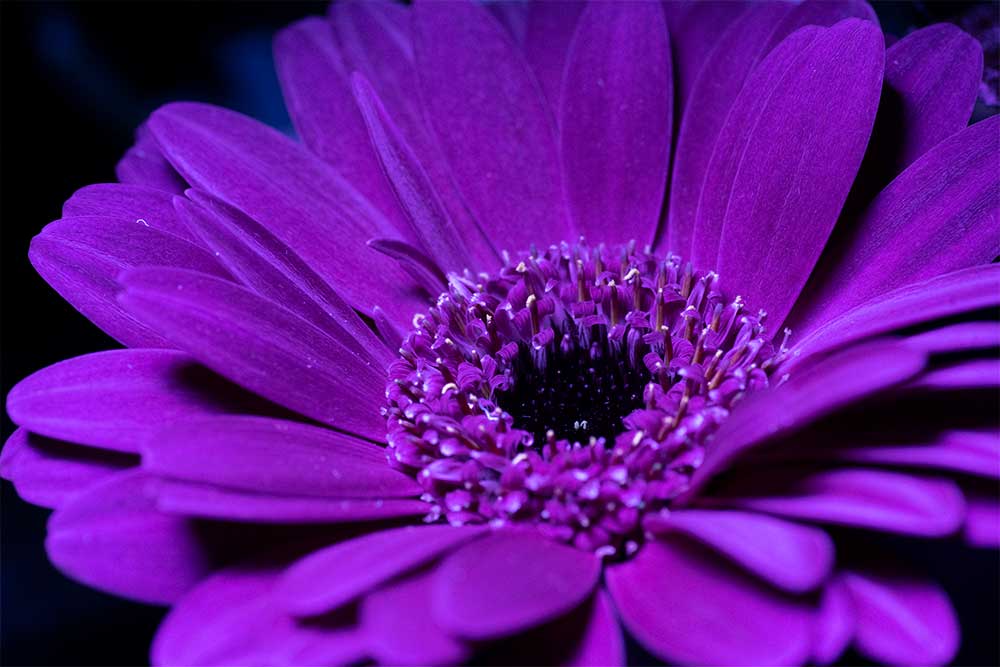
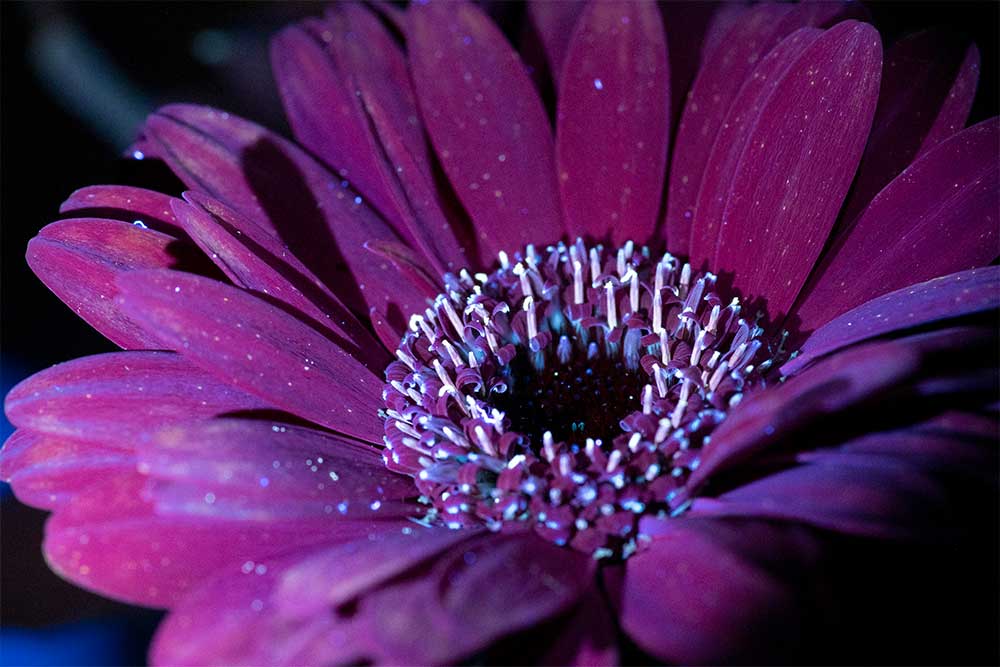
Once again, we have a flower with a lot of violet and blue from our impure UV light source. The difference in settings can be seen in the shutter speed. Our pure shot needs a long exposure to capture the minimal fluorescence from the subject. The impure light is powerful but deceptive.
The visible light in the shot, produced by the UV flashlight we used, is adding more light. Bad, visible light, that is overpowering the fluorescence of the flower.
Fast shutter speed, low ISO and a smaller aperture is usually the goal… but when you’re being picky about the kind of light you want to capture, the end justifies the means.


If you want to try UVIVF photography yourself, check out our UV lighting arms in the Adaptalux Shop. They are a pure UV light source, so all you need is a dark room!
Finally, make sure to subscribe to our YouTube channel for more macro photography tutorials, ideas and inspiration!
- Cool paper photography tricks that you should try at home - 14th April 2024
- Egg Macro Photography – Easter Egg Lightpainting - 30th March 2024
- Using Tonic Water to create amazing UV flower photography! - 16th March 2024


