Ring & Jewellery Macro Photography – How to control reflections in shiny objects – Watch on YouTube

Jewellery photography is in high in demand, as artists and jewellers create amazing pieces that should be shown off in images! However, for a beginner, jewellery photography is one of the trickiest places to start and comes with a lot of complex challenges that don’t affect other kinds of photography. In this article, we’re going to tackle the best way to get started with ring & jewellery macro photography and how to control reflections in shiny objects

Ring & Jewllery Macro Photography
Ring and Jewellery photographs usually fall under the classification of macro. This means that the subject is smaller than the sensor within our camera, and our aim is to capture it at it’s true size to show off the detail in the piece.
Shooting jewellery and rings will be greatly aided by having a macro lens. A macro lens will allow you camera to focus up close to the jewellery pieces and get the maximum amount of detail and resolution in your images.
You can of course do great jewellery photography on a phone camera, but be aware that there will be a limit to the uses you get from such photos. They won’t print very big, and if you want to display them on a large screen, the quality won’t do your jewellery justice.

Focus & Sharpness
One of the first challenges you will face with your jewellery shots, especially when shooting with a macro lens, is Depth of Field. Depth of field is how much of your image can be in focus at once. It will usually manifest in only being able to get part of your ring or jewellery piece in focus at once. Either the front, or back of the ring will be out of focus.
This effect is worsened by using a macro lens, the more magnification and detail you want to capture, the more shallow your depth of field will be. Depth of field is affected by a couple of factors, including the magnification and focal length of your lens, but also your aperture. If you only need a little extra depth, try zooming out a little, or upping your f number.


You can see the effect of depth of field in the images above. The first image has a very shallow depth of filed and a lot of detail is lost in the back of the ring. The second image however, has been focus stacked.
We highly recommend checking out our focus stacking tutorial for a full explanation of this advanced technique. It takes a lot more time and editing, but there is no other way to fully eliminate that problem of soft focus on a small subject like a ring. The difference when focus stacking can be dramatic!
How to control reflections in shiny objects
The next biggest issue is reflections. A big part of jewllery and particularly rings, is that they are usually shiny and have curved surfaces.
This presents a huge issue for photography as those reflections will capture the surrounding area and display it in the image. These reflections can often be distorted views of the camera or even photographer, but more often, the light sources.

Because of this, we need to be able to control our environment and lighting. There are many ways to do this, but the best starting point is always to take note of the reflections in the ring it’s self. If you have a window letting light in, you will see it in your image. The same for any overhead lights in the room, or even lights on your smartwatch, camera or phone.
Try to be aware of these ambient lights and cut them out wherever possible. We will add in our own lighting and place those reflections in strategic places within our shot to make our jewellery stand out.
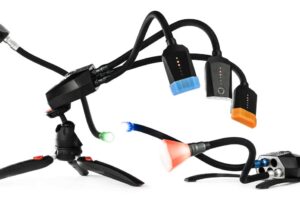
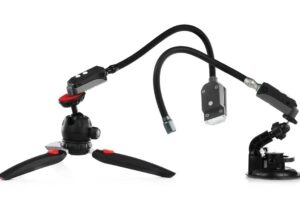
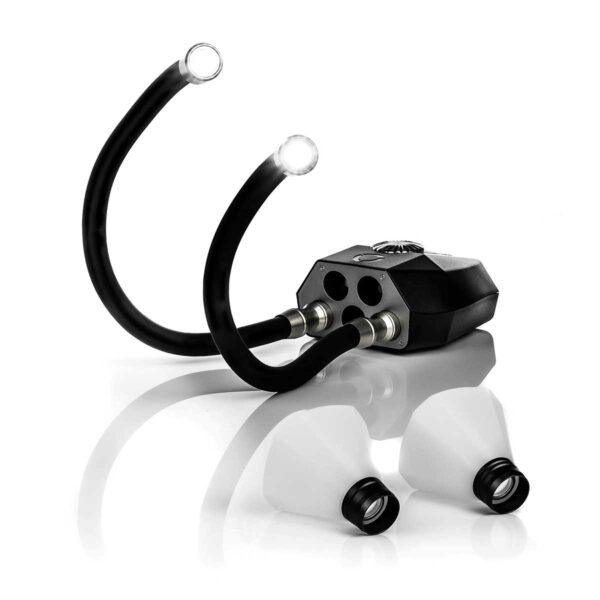
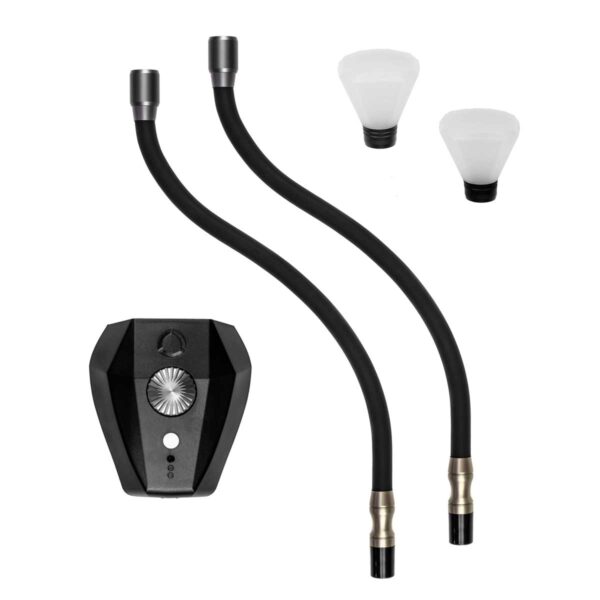
For the ultimate control over the placement of our light sources, we’re using the Adaptalux Studio, a miniature lighting studio designed specifically for macro photography. This is the scalpel of precision lighting. Small light sources on flexible lighting arms that can be placed around your subject to reflect in just the right places to make your jewellery shine.
Larger light sources won’t have the option of strategic placement. A large soft box or lighting dome will light up the entire ring and create a reflection everywhere, from a single direction. We have the best of both worlds with flexible light sources that can still be diffused.

Diffusion and soft lighting
Some jewellery will suit soft lighting more than harsh light. How harsh and dramatic your images look is controlled by the diffusion of your light sources. The Adaptalux Studio has clip on diffusion that works great for softening the reflections of the light sources, however with reflective objects like our rings, we sometimes need even more diffusion.
We opted to create a tunnel of white light by curving over a white sheet of paper and removing the diffusers from the light. This creates an elongated light source that looks much softer on the final image. Experiment with diffusion to find the look that suits your particular piece. Remember that diffusors will also show up in the reflections!


Editing & Stacking
As we already mentioned, we highly recommend the use of focus stacking when trying jewellery macro photography, however it does present more of a problem in editing.
You want your pieces to look flawless, but the amount of detail we have captured shows every little bit of dust or (the worst case) fingerprints!

The best way to combat this is always to make sure to clean your jewellery thoroughly before you even start shooting, but the next best thing is the remove, spot healing and clone tools in photoshop. Despite all the cleaning in the world, our rings are worn regularly and have accumulated lots of tiny scratches, in this case, the only fix is a professional polishing service to make them look brand new again!
We usually don’t advocate for the excessive use of clone and replacement tools in macro photography, what you see is what you get with us. However, when it comes to jewellery, cleaning up the imperfections in post-processing is common place. This is especially true because of focus stacking, the detail is incredible, for better or worse!

The placement of your lighting and use of focus stacking will take your Ring & Jewellery Macro Photography to the next level. Make sure to experiment with the placement of your lights for each different piece and you will find the best spots to show off your jewellery in it’s best light!
Don’t forget to subscribe to our YouTube channel for more macro photography tutorials, ideas and inspiration!


