Mushroom macro photography – Watch on YouTube

Mushrooms are strange. Unlike the flora you find basking in the sun’s light, they choose to grow in the dark, damp areas of the forest. Their unique shapes and structures are very interesting under a macro lens. In this article, we are exploring the complexities of mushroom macro photography!

Mushroom Macro Photography
As we so often do here at Adaptalux, we are going to take a closer look at something fairly common in the kitchen. We have some large edible mushrooms to take a look at with our macro lens. The top sides of the mushrooms have their typical brownish umbrella, but the underside hides some amazing detail.

Hiding under the protective hood of the mushroom are the gills or ‘lamellae’. These strange structures grow to maximise their surface area for dispersal of their spores. This interesting structure is going to be the focus of our mushroom macro photography.

Speaking of focus, this is one of the challenges you will face when taking macro photos of mushrooms. Although you can get much of the frame in focus by carefully lining up your mushroom perpendicular to the lens, there are no straight lines in nature. The wavey surface of the gills combined with a narrow depth of field from your macro lens leads to some areas being out of focus.

Focus stacking for sharpness
To combat the uneven nature of the mushroom, try focus stacking. We looked at this technique in more depth previously. Taking a few photos and stitching them together in post-processing allows you to get nice sharp photos of the entire mushroom.

Capturing the detail of the gills is key to this kind of mushroom macro photography. However, don’t be afraid to experiment with getting soft-focus shots too! With the strange structures on show, these images are almost abstract. With an interesting angle to make the most of your DoF, you might find something you like better!

Lighting the lamellae
The other challenge we have is lighting. The overhanging white parts of the mushroom create a lot of shadows. It’s easy to find them blocking the view of the gills. So, to get really get close and capture the detail, you will need a way to control your light. Being able to direct light onto the gills opens up a lot of options for controlling your shadows and exposure.

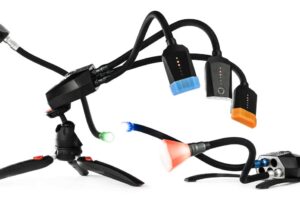
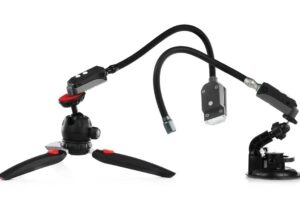
As you can see from the photo above, it’s hard to balance the dark colours of the gills with the light mushroom surface. The stem blocks light and creates shadows. We used the flexible Lighting Arms of the Adaptalux Studio to position the light.

Two white lighting arms with two level 2 diffusers was more than enough light for mushroom macro photography. The diffusers soften shadows and offer a more pleasing look to the pattern of the dark gills.

If you struggle with the contrast between light and dark areas of your mushroom, try a different type! There are many types of fungi and mushrooms to choose from. We shot a smaller woodland mushroom with white gills, which was much easier to photograph.

The white mushroom above was shot with a single white arm and diffuser instead of two. Mushrooms are an interesting alternative to other plants. They offer unique details that are a fun challenge to capture. Whether you are shooting in the wild or capturing your ingredients for dinner, mushrooms make for a fun macro photography subject!
Finally, make sure to subscribe to our YouTube channel for more macro photography tutorials, ideas and inspiration!
- Winter Macro Photography: Focusing on Tree Bark and Moss Textures - 8th February 2026
- 2024 Winner Announcement – Adaptalux Macro Photography Awards - 30th January 2026
- Dark Cinematic Toy Photography Tutorial – Alien (1979) Action Figure - 25th January 2026


