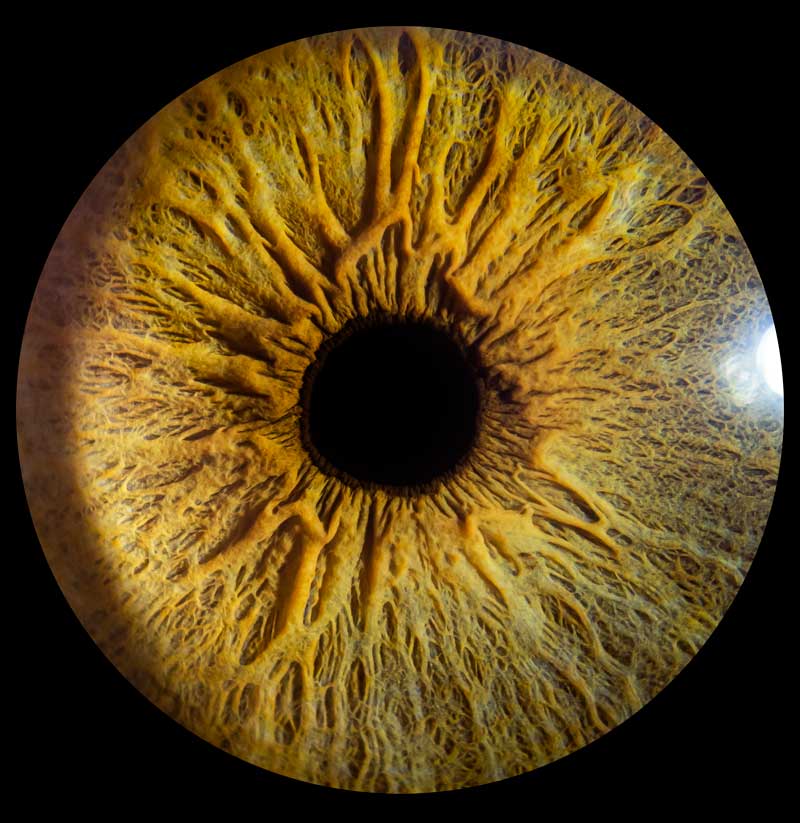
How to photograph your own Iris – Watch on YouTube
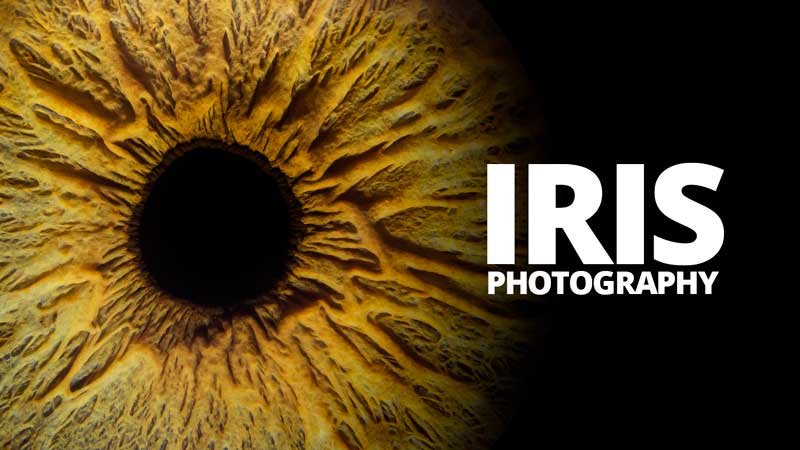
A question we get asked often by Iris Photography enthusiasts – What is the best lighting for Iris Photography? Flash or Continuous? How about placement and distance from the eye?
In this article, we’re going to answer those questions for those of you wanting to photograph your own eye. If you want to capture someone else’s Iris, there we have a full tutorial with the best setup for professional Iris Photography.
The best lighting for Iris Photography
The first thing you will have to choose when looking for an eye photography light source, is flash or continuous light. Both have their advantages, but it depends heavily on your needs and setup.
When to use Flash?
Flash is powerful and creates more than enough light for great settings and a deep depth of field. The most important factor that flash brings to the table though, is that it can freeze motion.
When photographing another person’s eye, there are 3 sources of movement to consider. The eye has a lot of involuntary movements which can cause an image to be ruined. The person themselves can also move their head to create motion blur. And lastly, you may also be prone to camera shake as you move the camera.
Flash will eliminate all of this movement, even if you choose to hand-hold your camera. We still recommend using a tripod and bracing your subject’s head against a solid surface, but it’s less of a concern with flash.
You should use flash if you are photographing another person, with a DSLR
When to use LED?
Continuous light like that from LEDs is on all of the time. This means that you can always see the position of your lights and how they are affecting your image. This is is a powerful tool for Iris photography as exact placement of your lighting can make or break an image.
If you are trying to photograph your own eye, then LED is the way to go. You can use live view on your camera to see exactly how your image is going to turn out as you make adjustments.
The last advantage of LED is that you don’t need to look through the viewfinder of a DSLR to be able to compose your shot. Mirrorless cameras only show you the image you have exposed for. So if you are exposing for a flash, you will only see a black screen on the camera until the flash fires. This makes it incredibly hard to compose and focus on a dynamic subject like the eye, especially your own. The mirror negates this problem in DSLRs, but having a continuous light can allow you to use the live view feature on your camera effectively.
You should use LED if you are photographing your own eye, or using a mirrorless camera.
Size and placement
Choosing a light source
The size of your light sources is important for managing the reflections on the front of the eye. The shape of our eyes makes reflections very obvious and mostly unavoidable without specialist medical equipment.
However, we can choose the location and size of our reflections by using a versatile light source. If you try iris photography with a large softbox or portrait light, you will likely end up with the full front of the eye as a reflection. This will eliminate any detail and colour within the iris itself. You should try to find the smallest possible light source that can provide enough light for good camera settings.
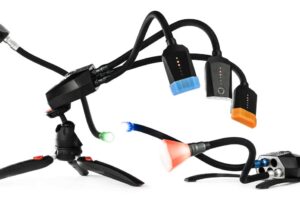
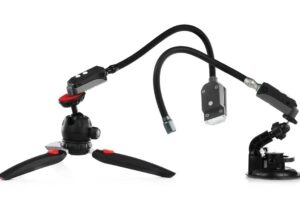
The flexible light sources of the Adaptalux Studio are ideal for moving your light around the eye and taking control of reflections. There are Flash and LED options and both are very small sources of light.
Distance and placement
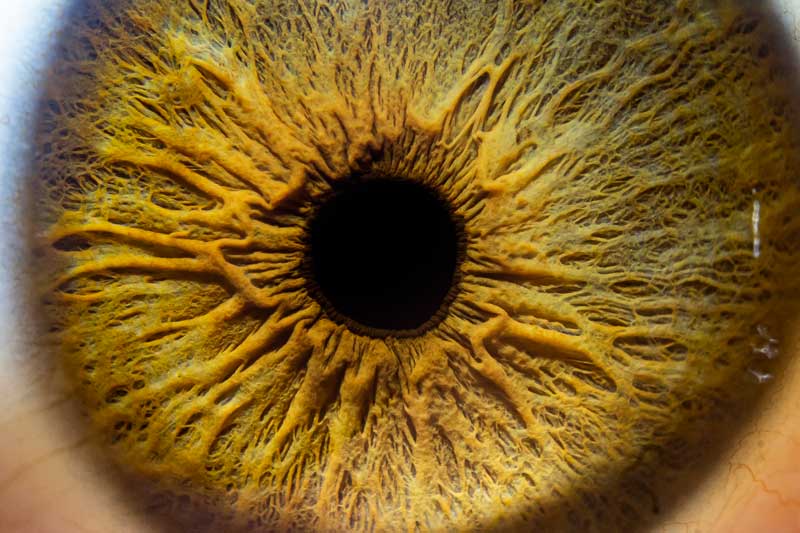
For the most dramatic view of the iris contours and contrast, you should be trying to light from the side of the eye. This will cast shadows across the surface of the iris and give you increased detail!
Lighting from multiple directions is possible with the Adaptalux Studio, but filling in the shadows may make your eye look a little flat and less eye-catching (pun intended) to the viewer. Every additional light source will also be another source of reflections so a simple one-light setup is actually the best lighting for Iris photography if your goal is a dramatic-looking image!
You should try to place your light source close to the eye to get the maximum amount of light onto the iris. Your depth of field will be very shallow close up to the eye so more light to be able to close down your aperture is preferable. Moving your light further away will give the illusion of it being smaller in the reflection, so if you are having trouble with glare from the eye, move your light further back.
How to photograph your own eye
It’s possible to photograph your own eye as long as you have the right lighting and the ability to see your camera display from the front. As we mentioned earlier, continuous light will be the best lighting for photographing your own eye as it enables you to focus and compose your shot as you go.
You should try to brace your head against the floor or a wall to reduce your movement and flip the display of your camera around. You can also use an external field monitor or even a live view link to your phone.
The rest just takes patience and lots of practice to get your eye in the center of the frame. You may have to move your eyelids out of the way a little to get the full iris in view.
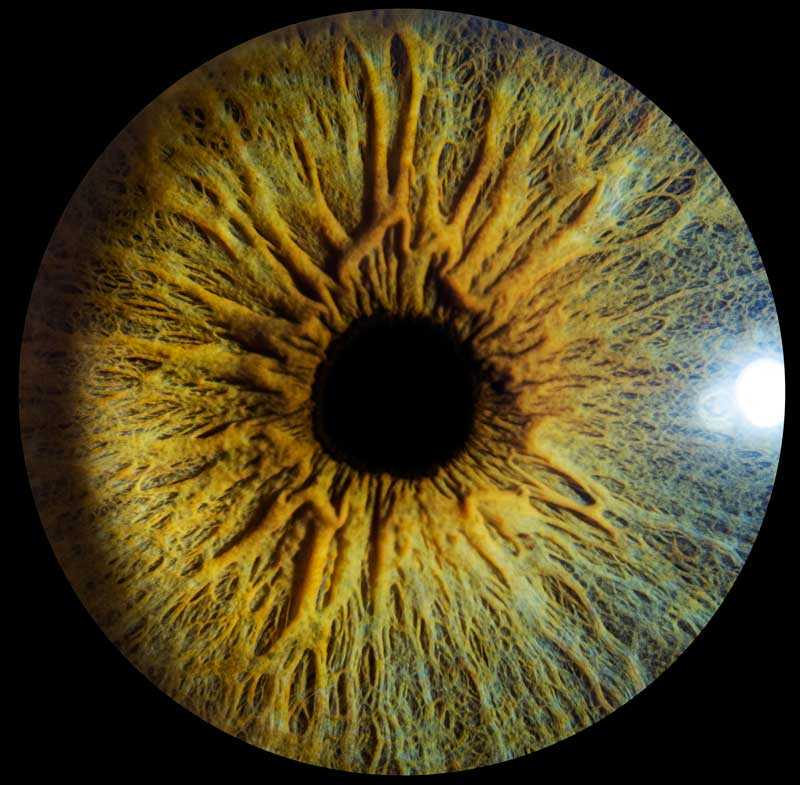
The last thing you may want to do is crop around the edge if the iris and darken your pupil. This can help to remove the distractions of the rest of the image so people can focus on the amazing patterns within the eye.
You can also spend time photoshopping out the reflections in the eye. If you want to explore how to achieve professional-level Iris Photographs with no reflection, check out our full tutorial that uses a different method to totally remove the reflection!
Don’t forget to subscribe to our YouTube channel for more macro photography tutorials, ideas and inspiration!


