Minimalist Wood Texture Photography – Watch on YouTube
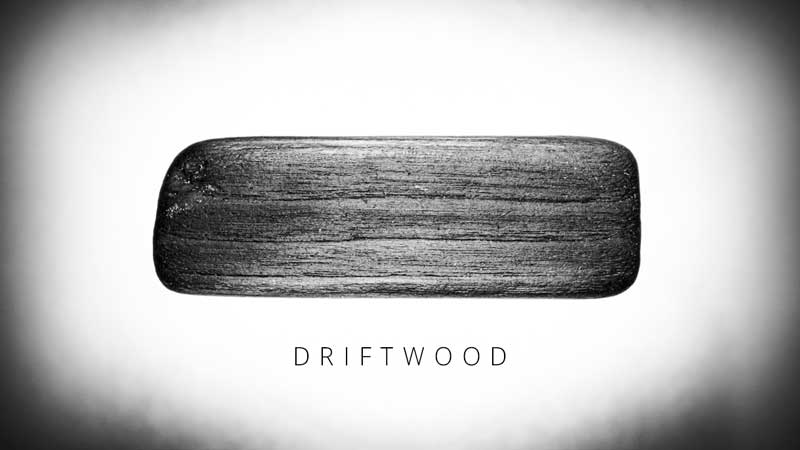
In this wood texture photography tutorial we’re capturing a minimalist photograph of a simple piece of driftwood. The goal is to capture a single photograph of the wood on a clean white background.
This is the final image we are aiming for;
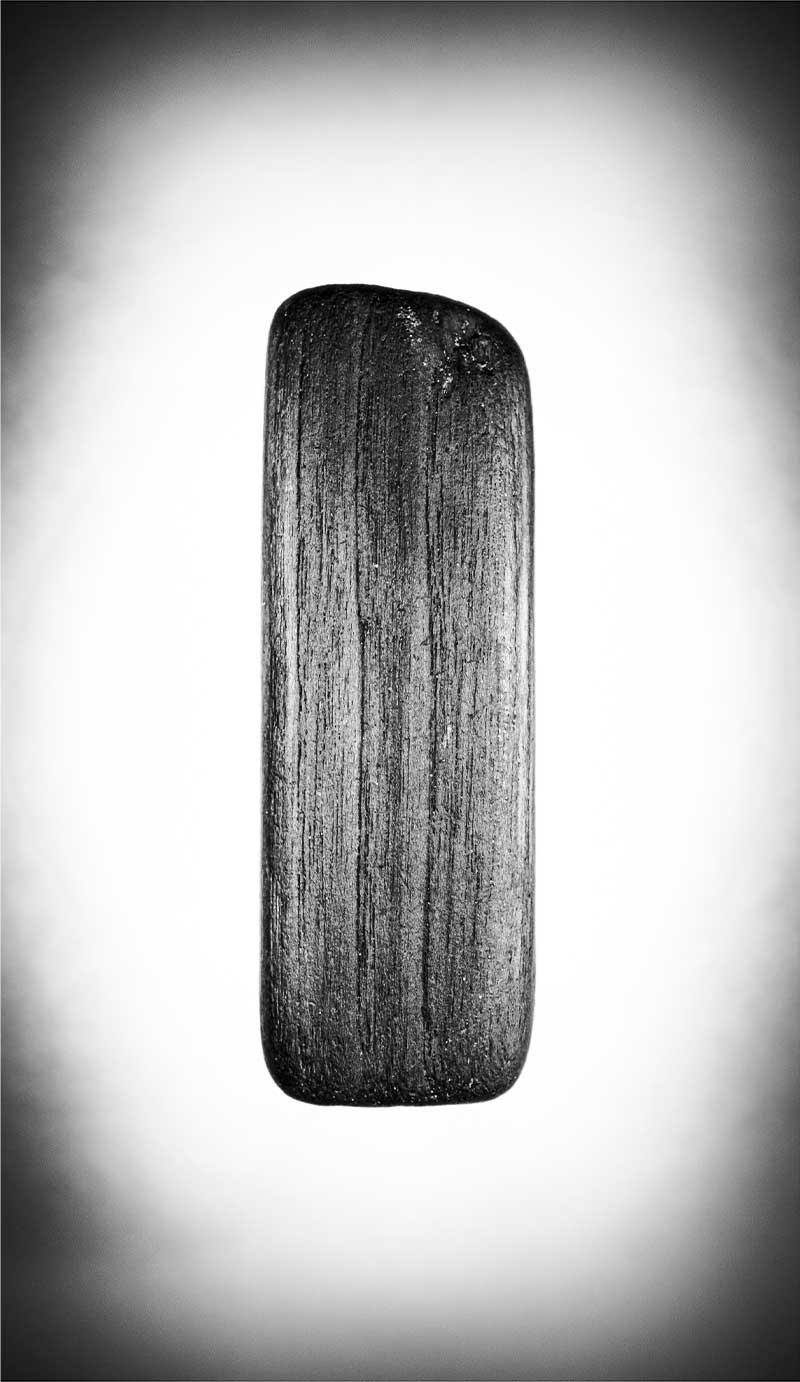
Wood Texture Photography
We want the texture of the wood to contrast with the clean, bright background. To achieve this we will be shooting from above onto a sheet of white paper.
The camera is placed on a tripod facing downwards with a wide view. The wide-angle allows for the best framing and cropping later. However, If you need the best resolution possible, it would be better to frame the shot perfectly in camera to avoid the need for cropping later.
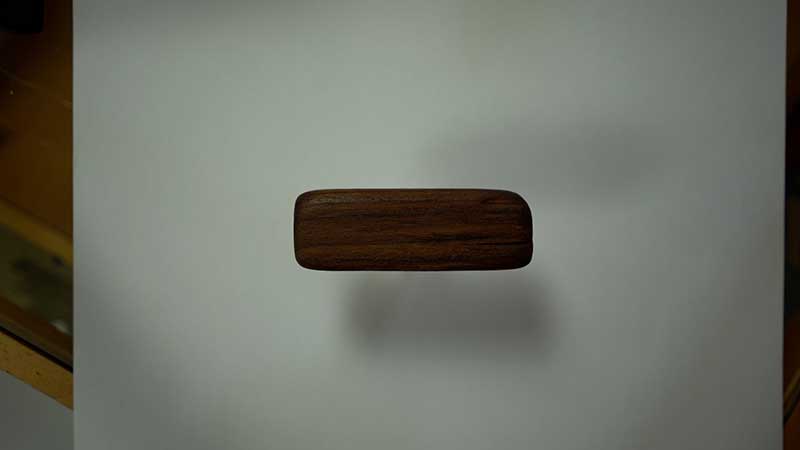
We have stood the driftwood away from the background using a small piece of transparent plastic. This will give the subject (wood) some distance from the background (paper). The plastic stand is transparent to reduce any shadows it would create when we add lighting.
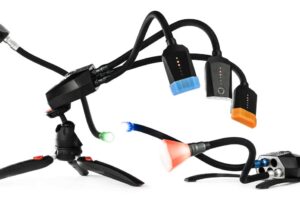
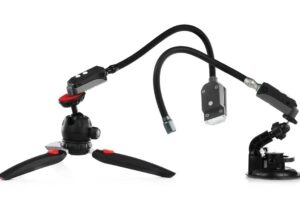
As you can see from the image above, the scene is quite dull with no additional lighting. We are going to add some diffused white lighting using the Adaptalux Studio.
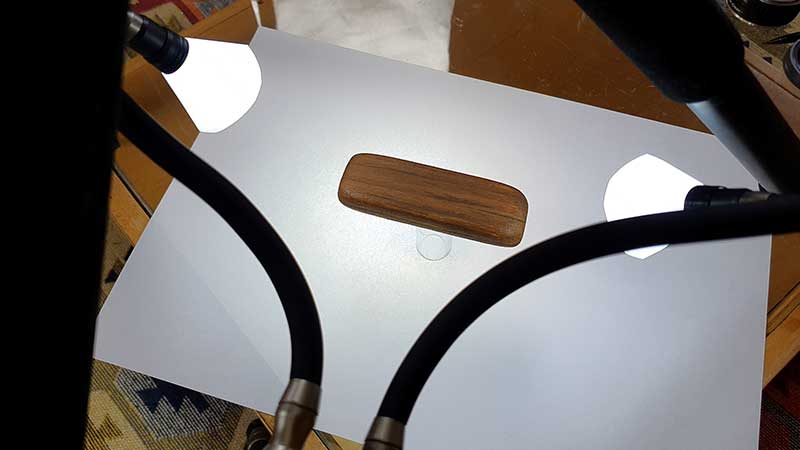
Lighting Setup
We are using a 3 light setup. The first light is under the surface of the paper, creating a bright spotlight behind the wood. This will help to create a gradient on the background and make sure our image is minimal, but not too plain.
We then have 2 lights to light the surface of the subject. The position of your lights will be critical for capturing fine texture details. Wood texture photography is best achieved when lit from the side.
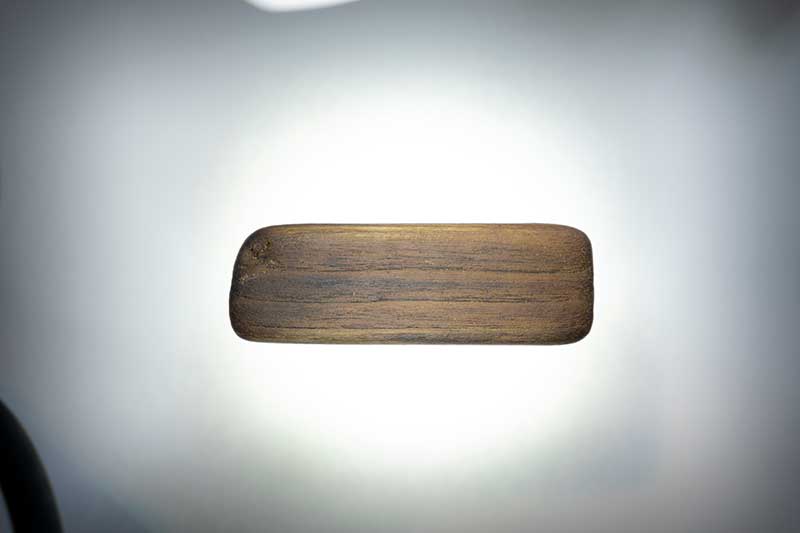
Additionally, the balance of your light is important to make sure you don’t over expose parts of your subject. The background should be over exposed to create pure white that transitions into grey at the edges.
Change and fine-tune the placement of your light to get the best contrast across the texture of the wood.
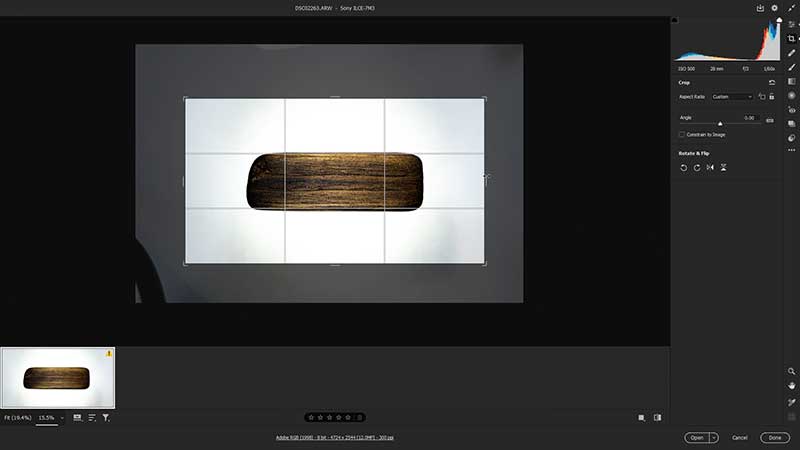
Post Processing
The image was shot and processed in RAW, allowing for maximum flexibility in changing the look of the image.
Contrast, texture, and clarity were increased to accentuate the wood texture. We went with a black and white approach to complement the high contrast, although the colour version was nice too. A crop matching the shape of the wood was chosen and we added a vignette to increase the contrast in the background.

Lastly, we flipped the image to be portrait, so the viewer “reads” down the length of the wood taking in the texture.
We took this photo for our monthly challenge. This month’s theme is wood. Learn how to enter and what you can win on the challenge post!


