











Quick Links
Connecting Flash Arms
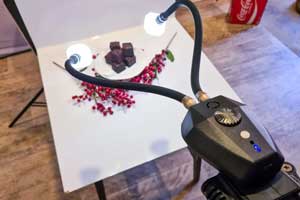
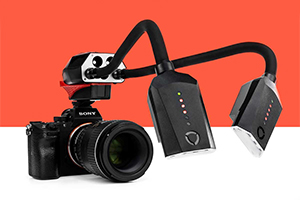
Begin use by attaching Lighting Arms to the Pod.
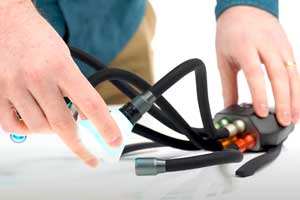
Make sure the contacts are clean and insert an arm into any port on the front of the Pod.
You will feel a magnetic pull, rotate the arm until it clicks into place.

Boost Mode
Boost mode dramatically increases Pod power output and is required for Flash Arm operation. Likewise, it is also important to turn up the power to the connected port to 100% for proper recharge times.
Pod Mini: With a Lighting Arm connected, press both buttons to toggle boost mode. Hold the plus button to turn the port up to 100%.
Control Pod: With a Lighting Arm connected, press and hold the dial to toggle boost mode. Press the diall once, then rotate clockwise to turn up to 100%.

Indicator Lights
The Flash Lighting Arm has a series of indicator lights that show the current status of the arm.
Green Light: The Flash Arm is receiving power from the Pod.
1 x Red Flashing Light: The Flash Arm is not getting enough power. Turn on Boost mode and increase the power of the port to 100%.
2 x Red lights alternating: The Flash Arm is “loading”. Usually when first plugged in or when using the App to control the Arms.
Red Lights lighting in sequence: The Flash Arm is charging. It can take up to 1 minute to fully charge on first connection.
Red solid light: Determines the power level from 1 – 5. The Flash Arm is ready to fire.
If the top light is only half illuminated, it means that level is re-cycling and will be ready to fire again shortly.

Turn on Boost Mode

Loading

Charging

Ready (Level 4)
Manipulating Arms
Lighting Arms are flexible. You can bend arms before inserting them into your pod, or adjust them in situ.
When bending an Arm, its best to bend the Arm along its entire length to reach tighter angles.
Flash Levels
Manual Control
The Flash Arms have a Control Button located on the underside that is used to cycle through the power levels.
Press the control button to increase the power level by one.
Do not use the power controls of the Pod. Pod power should stay at 100%.
Bluetooth Control
After connecting your Pod to the app, select a Flash Arm by double tapping a port
Then select levels 1 – 5 and they will be wirelessly synched to the Flash Arm.
You can learn more about App Control by clicking here.

Flash Level Quick Guide:
Level1: 1/8,000 of a second. Ideal for freezing extremely fast moving subjects.
Level 2: 1/4,000 of a second. A good all round setting for freezing insects and keeping a good amount of power.
Level 3: 1/2,000 of a second. Good all rounder setting, which uses a 50/50 balance of both speed and power.
Level 4: 1/1,200 of a second. Good for great power, whilst still been relatively fast.
Level 5: 1/600 of a second. Best setting for getting the most power out of Adaptalux Flash Arms.
Flash Trigger Setup
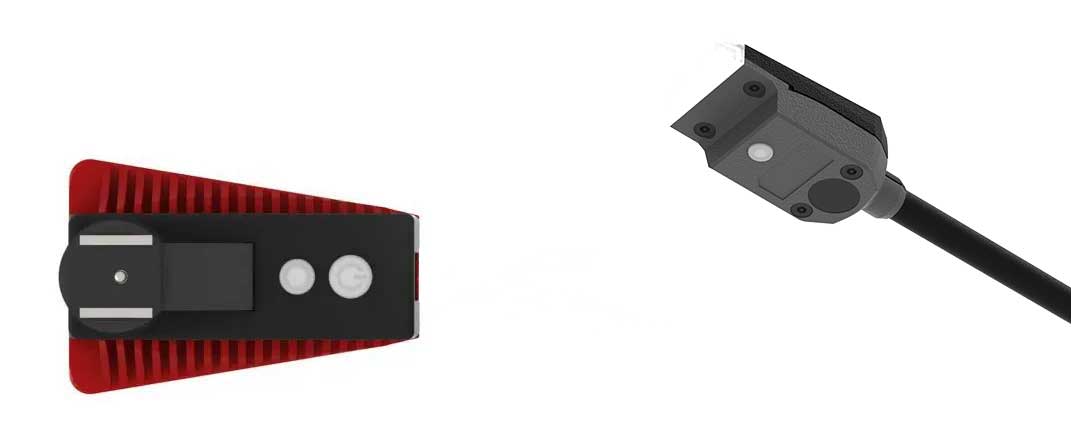
To trigger the Flash Lighting Arms you need an Adaptalux Flash Trigger.
The Trigger connects to the hot shoe of your camera to detect when the shutter is pressed.
Please refer to the Flash Trigger Instruction Manual.
Fire the Flash
With the trigger connected to your camera hot shoe press the shutter button on your camera and all connected and charged flash arms will fire.
After the flash fires, the indicator light for the set leve will dim for a moment while the flash re-cycles.
The flash will be ready to fire again when the indicator light fully illuminates.
Adding Gels & Pro Hoods
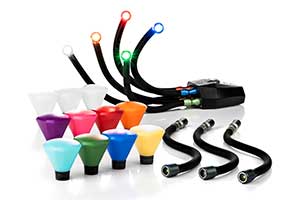
Flash gels stretch over the end of your Flash Lighting Arm.
To add a Pro Hood, fit it over the end of a Flash Arm and it will magnetise into place.


Removing Flash Arms
To remove the Lighting Arm, simply pull directly outwards.
Do not twist!
Once disconnected, push and hold the control button on the underside of the Flash Arm for 10 seconds. This will safety discharge any remaining charge in the Flash head.
Heat Caution
When using boost mode for extended periods, lighting arm heads may become hotter than normal. Please allow the LEDs to cool before touching the end of the arm or packing the arm for storage.
UV Caution
UV lighting arms create invisible ultraviolet radiation that can cause harm. Do not look directly into the lighting arm. UV blocking eye protection is recommended at all times while using UV lighting arms.
Flash Caution
Never shoot a Flash Arm directly into the naked eye as this can cause temporary sight loss and lead to long-term damage. Never attempt to disassemble a Flash Arm, they contain high voltage circuitry that can cause significant harm.
More Resources
Find product specifications and detailed user guides in our support knowledge base.