Heat Caution
When using boost mode for extended periods, lighting arm heads may become hotter than normal. Please allow the LEDs to cool before touching the end of the arm or packing the arm for storage.
UV Caution
UV lighting arms create invisible ultraviolet radiation that can cause harm. Do not look directly into the lighting arm. UV blocking eye protection is recommended at all times while using UV lighting arms.
Flash Caution
Never shoot a Flash Arm directly into the naked eye as this can cause temporary sight loss and lead to long-term damage. Never attempt to disassemble a Flash Arm, they contain high voltage circuitry that can cause significant harm.
WELCOME
You may be interested in our interactive welcome guide. Intended for new users to the Adaptalux lighting system.
VIDEO DEMO
We have video demos to walk you through the basics of using the Adaptalux Studio, LED Lighting Arms and Flash Lighting Arms.
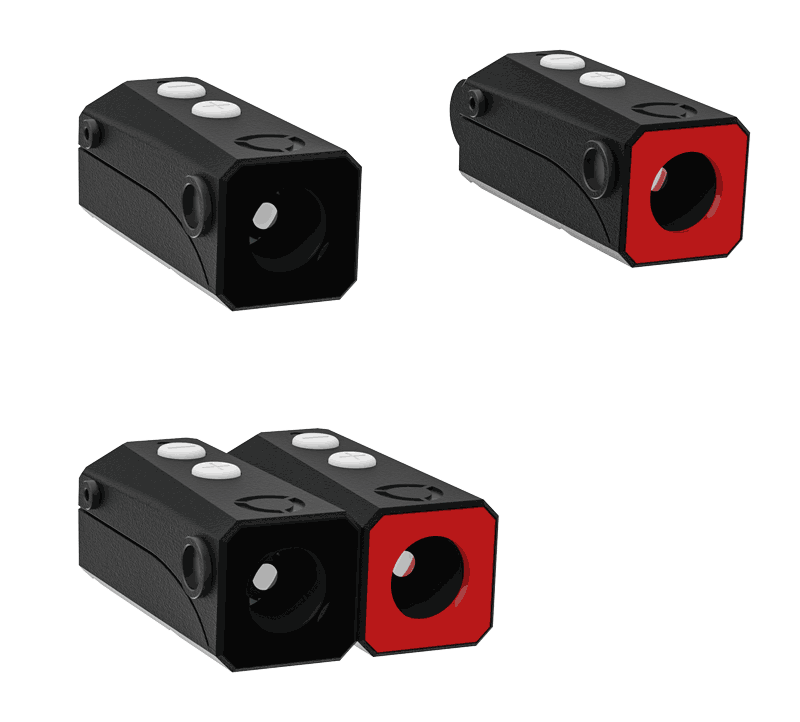
Your Pod Mini may have a protective film on the frontplate when new. Please carefully peel the film off to reveal your chosen coloured Front plate. It’s very satisfying 😉
Charging
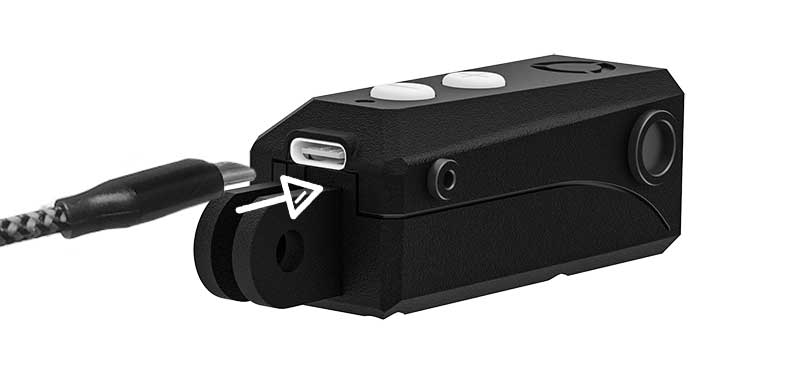
1. Charge your Pod Mini via the provided USB cable using a computer or USB walls adaptor (5V, 1A rated).
A flashing green light means the Pod Mini is charging.
Solid green, means the Pod Mini is fully charged and ready to use.
Connecting Lighting Arms
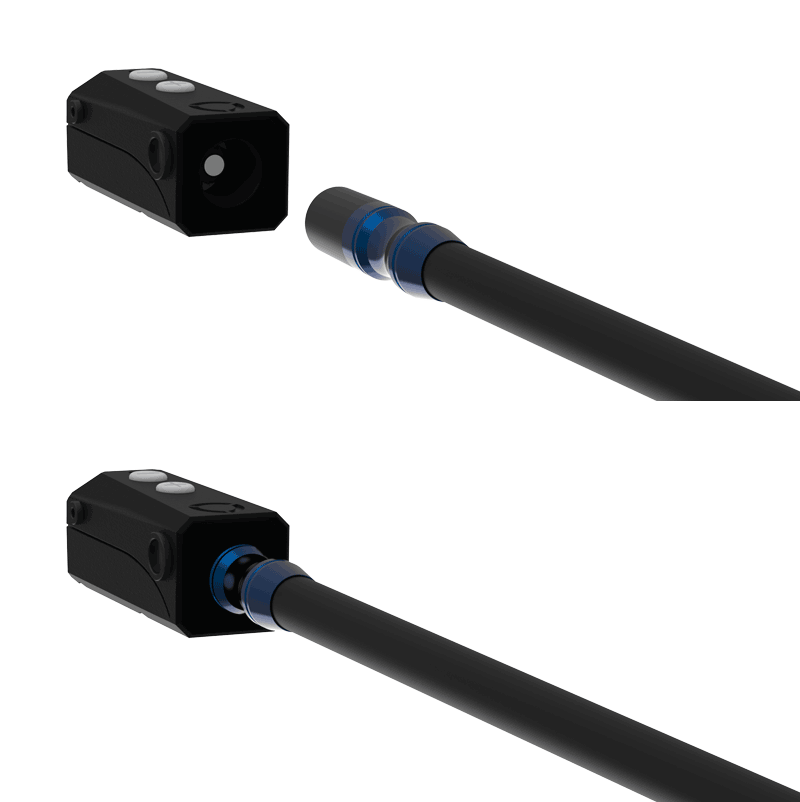
2. Your Pod is now ready to use. Begin by attaching Lighting Arms. Make sure the contacts are clean and insert an arm into the port on the front of the Pod Mini. You will feel a magnetic pull, rotate the arm until it clicks into place.
Brightness Control
3. Once inserted, LED lighting arms will automatically illuminate at 50% brightness. Flash Lighting Arms will charge to Level 3+ once boost mode is activated, see below.
If only one Flash indicator light illuminates, please activate boost mode. See step 5.
If your Pod is fully charged Flash Arms may initially charge to level 5 until the battery voltage stabilizes. You can still adjust the power down to achieve the desired flash speed.
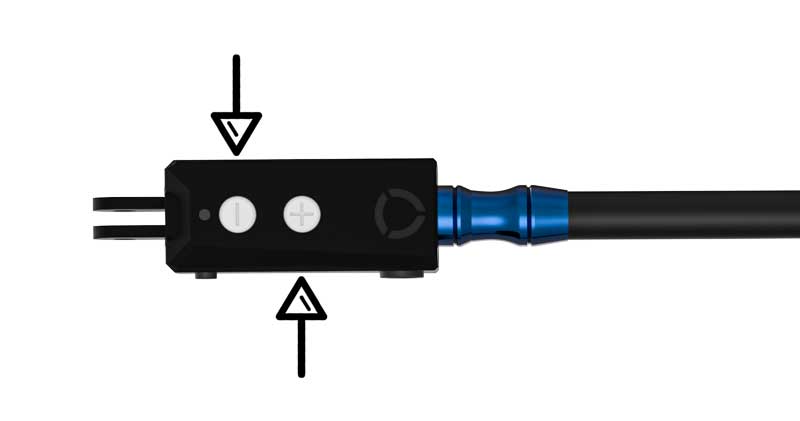
4. To control brightness, either hold the – or + button to decrease or increase the power to the connected Lighting Arm. The connected Lighting Arm will flash if you reach 0% or 100%.
Boost Mode
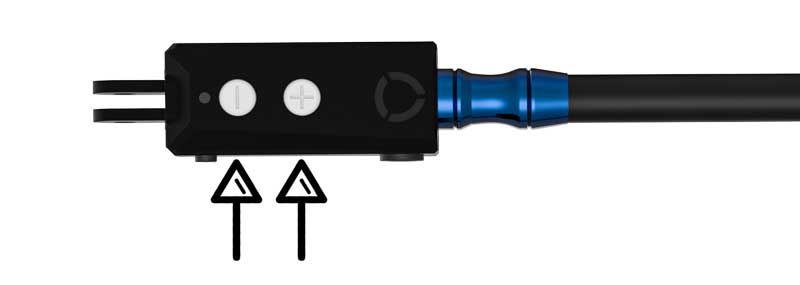
5. To activate ‘boost mode’ (required for full flash operation) press both the + and – button together once. To deactivate boost mode, press both + and – button together once again.
Caution: Leaving the pod in boost mode for extended periods will cause the battery to drain faster than normal, and LED arms to become hot.
Strobe Mode
6. Press and hold both the + and – button for 2 seconds. A amber light will show, shortly followed by strobe mode activating.
To exit Strobe mode, hold the – button for 1 second and strobe mode will deactivate.

Low Battery Indicators
7. The Pod Mini will display a slow flashing red light when the battery starts to become low.
The red flashing light will be displayed at a faster rate when the Pod battery is very low.
A solid red light will be displayed when the battery is exhausted and any connected Lighting Arms will be turned off. Please charge the Pod Mini as described in step 1.
Removing Lighting Arms
8. To remove Lighting Arms, simply pull out. Do not twist! Removing a Lighting Arm turns off and resets the Pod Mini.

Pod Mini Stacking
9. Pod Minis can be grouped together using the push-fit feature. Firmly push two Pod Mini’s together and they will join and hold together.
Stacked Minis must be supported when adjusting Lighting Arms to avoid pulling them apart. We do not recommend stacking more than two Pod Minis together when mounted.
To de-stack Pod Minis, pull them apart again
More Resources
Find product specifications and detailed user guides in our support knowledge base.


