Simple Product Photography Tutorial using your Phone and Photo Boards – Watch on YouTube
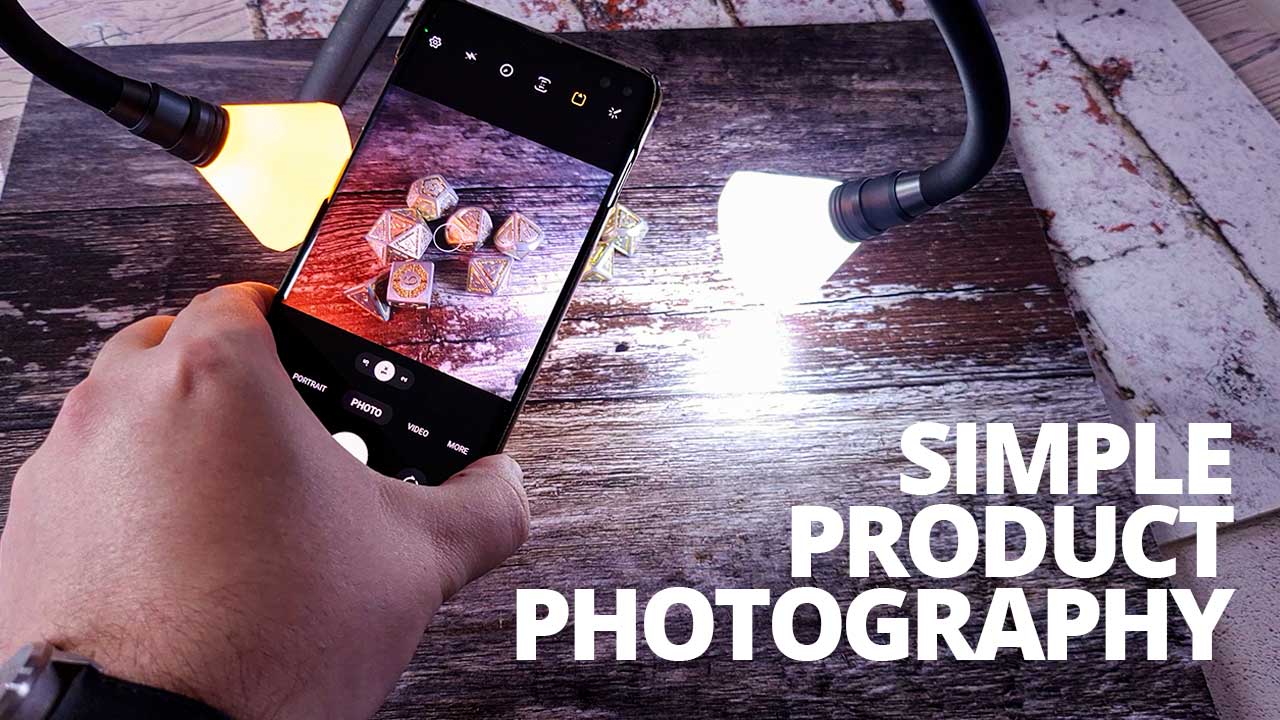
In this simple product photography tutorial, we’re going to be exploring a great setup for getting some easy but effective product photos. All of the photos on this page were shot using this setup and an older phone.
No Monster Setups.
Sorry for the pun, but the sentiment is true. When getting into product photography, it’s all too easy to end up with a cumbersome and time-consuming setup that is simply not practical.
When it comes to commercial photography and shooting lots of products, practicality is just as important as quality, if not more so. Having 100s of perfect images is nice, who doesn’t want perfection? However, if it takes too long to capture them all using a painstaking method, it will cost a lot of time for photos that may need replacing over the product’s lifecycle anyway.
This method is great for creative shots when you don’t have to time or hoards of equipment. You can easily get great, creative and eye-catching product photos with your phone!
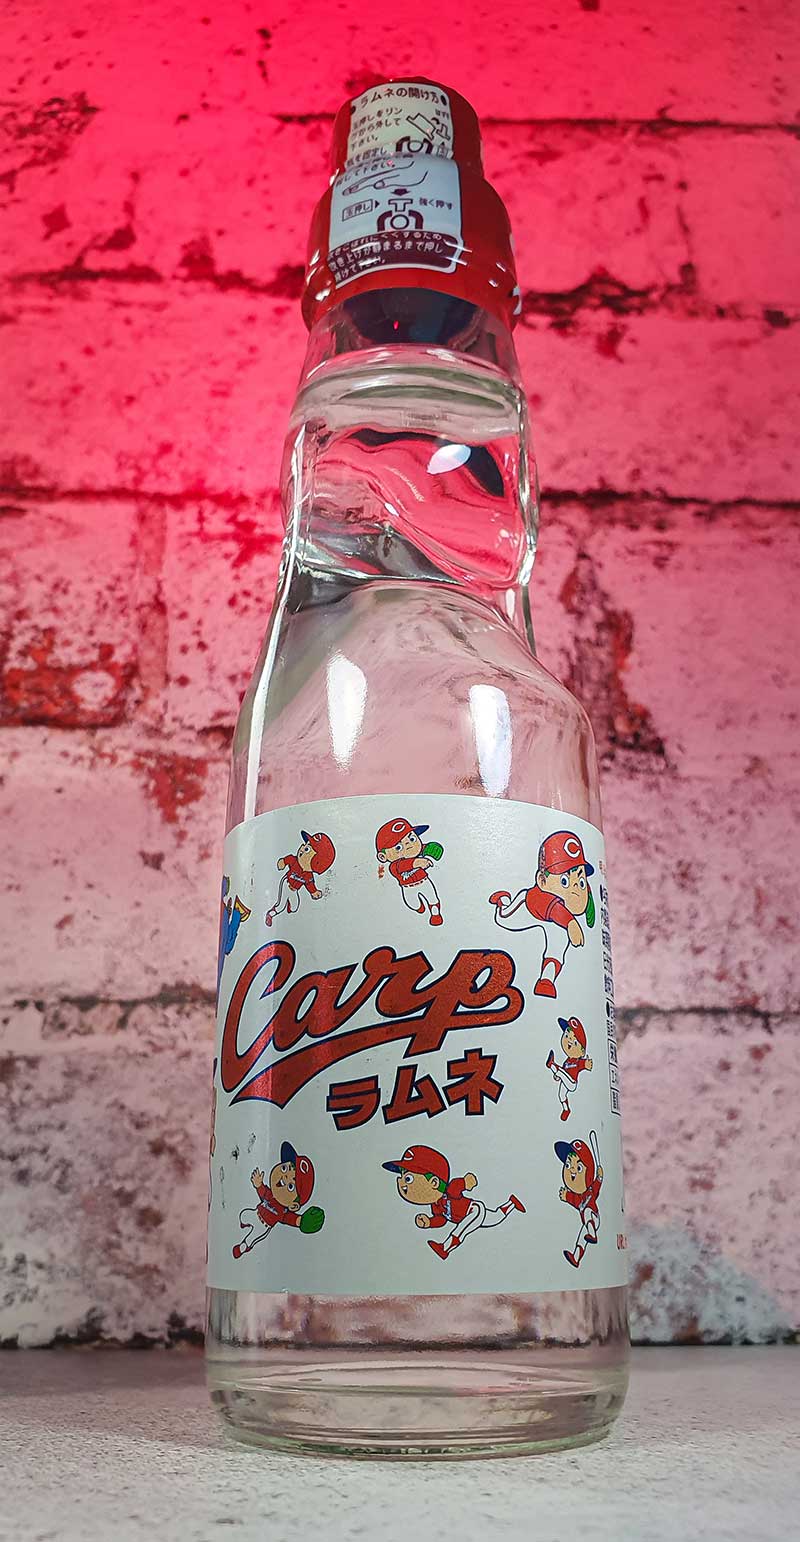
Black, White or Texture?
We’re going to be using Photo Boards for our shooting surface and backdrop. These are lightweight and portable printed boards with all kinds of different “textures”. The textures are super realistic but actually printed onto a flat board. Perfect for tricking the camera into thinking we’re shooting on the real thing.
They come in all kinds of different surfaces, including wood, stone, and even metal. If you’re looking for a more classic product photography style, like pure black or pure white, check out our other tutorials covering those methods.
We can use a collection of these boards to quickly add interesting features to our images and set the vibe. Use them as backgrounds, or surfaces to suit the kind of products you are shooting. They’re also super lightweight and easy to transport if you need to shoot on location!
Lighting & Colour
This would not be a product photography tutorial if we didn’t cover lighting. Lighting is the single most important aspect of any photography. If you think about your lighting, your images will be visually impressive and eyecatching!
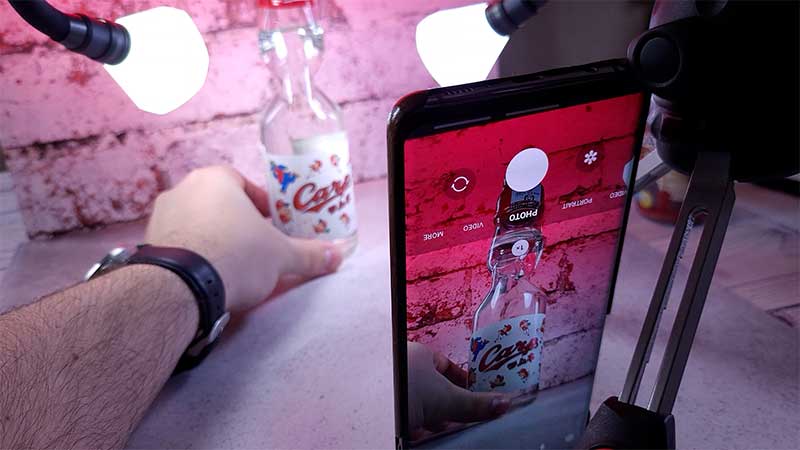
We’re using the colourful lights of the Adaptalux Studio to add themed colours into our images. Our bottles have coloured liquids, labels and caps so we added those colours into the backgrounds too! Of course, you can always shoot using plain white light if your product would not suit colourful backgrounds.
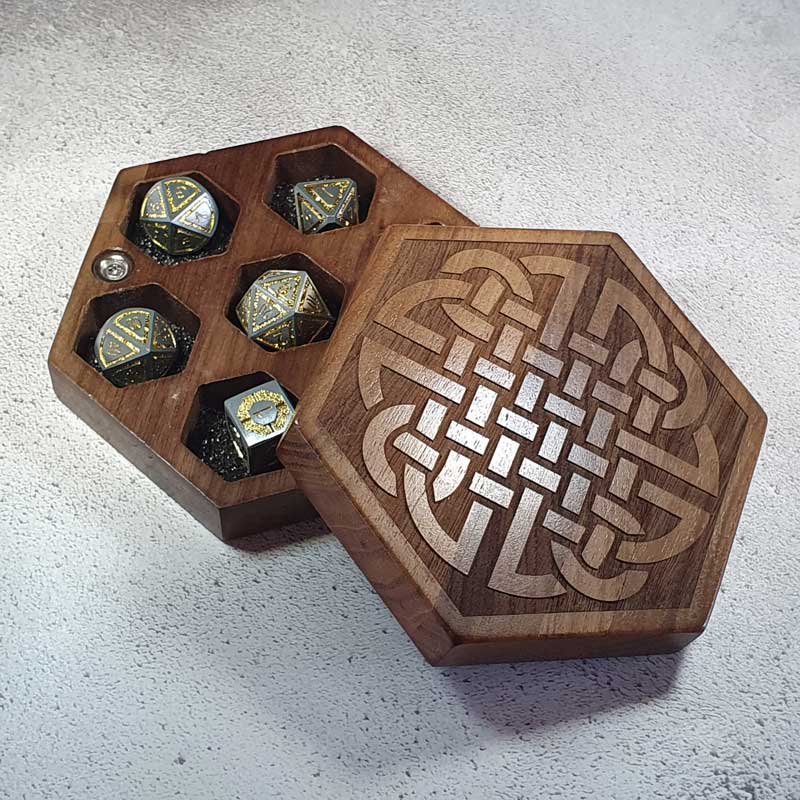
As you can see below, changing the background and/or lighting can quickly influence the look and feel of a product. Each bottle has its own personality with a bit of extra colour!
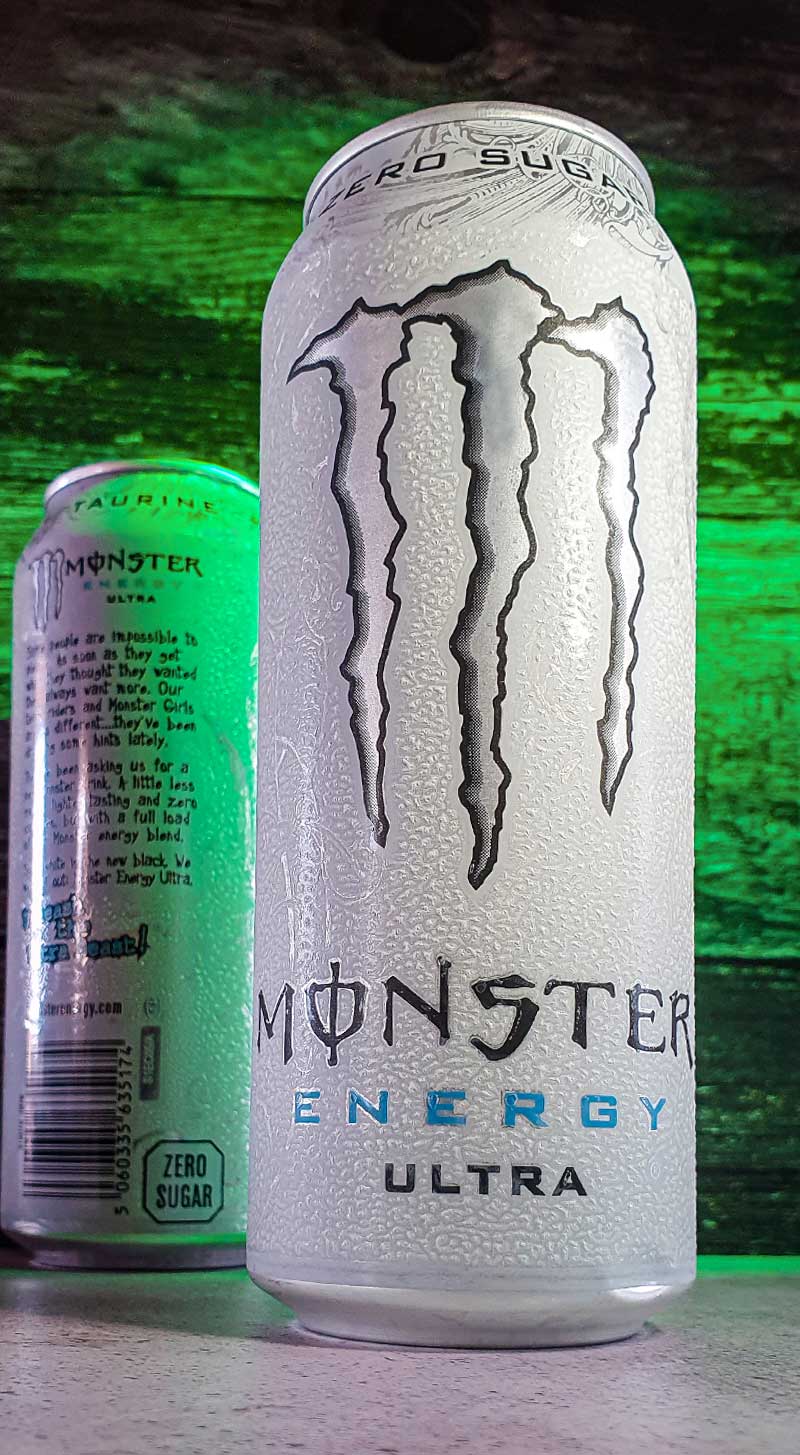
The brightness of the background and surface makes a big difference to the overall vibe of the images too. These bottles are much brighter and more fun-looking than the darker background monster energy can.

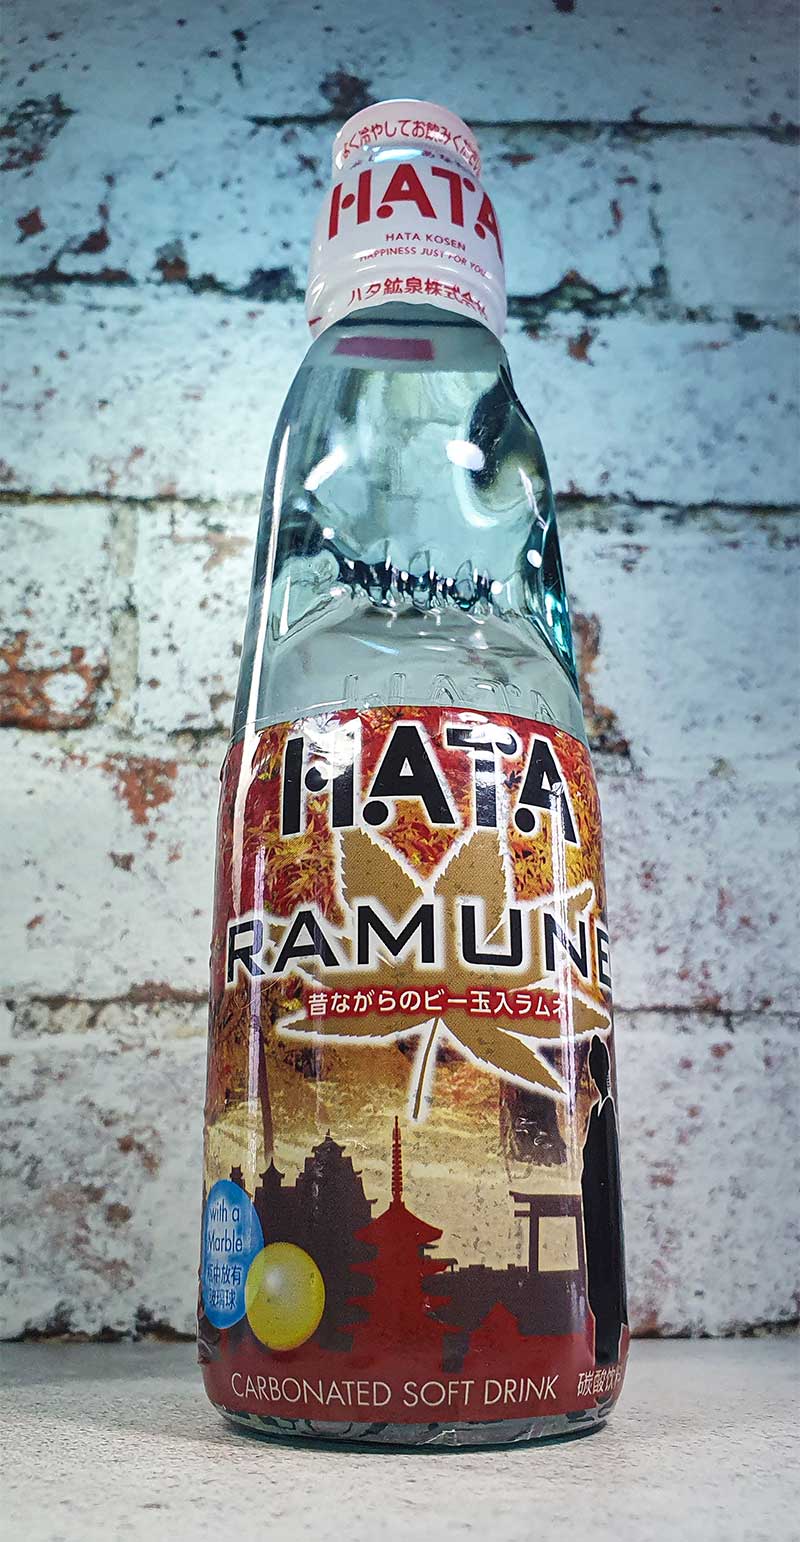
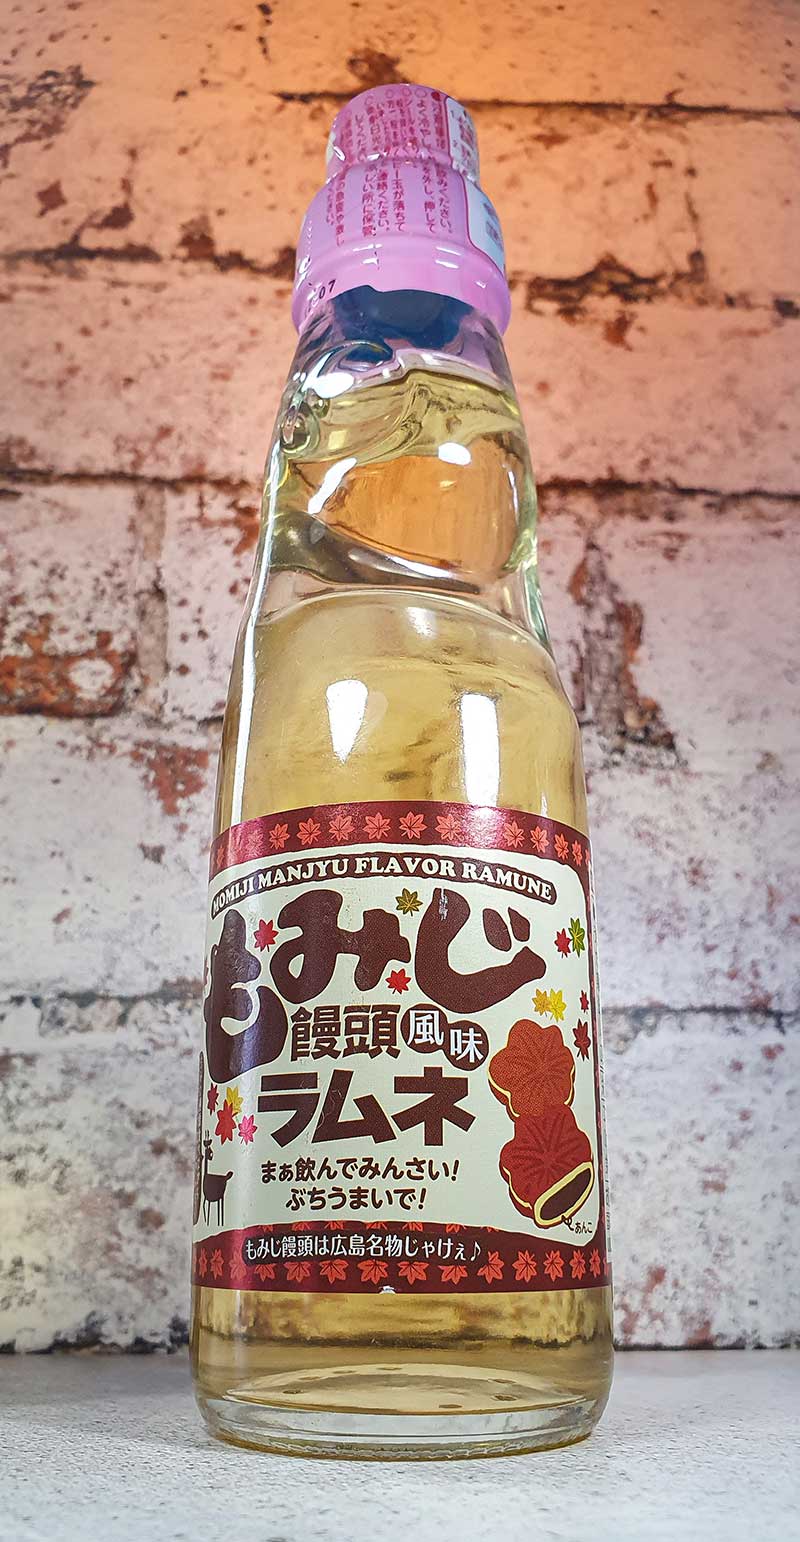
With only a phone, some good lighting, and a variety of textured Photo Boards, we were able to take some cool, eye-catching product photos. Of course, we’re not trying to sell these products, so you will likely want to put some extra care and attention into things like alignment and cropping. However, we’re pretty happy with them having been taken on a phone in the living room!

We hope this simple product photography tutorial demonstrates how easy it can be to get some cool product photos. Your phone, some lighting, and some textures to set the mood are all it takes to catch the attention of the viewer.
Of course, there’s always room for improvement too. If you find yourself with more time or a better camera, your results can only get better from here!
Don’t forget to subscribe to our YouTube channel for more macro photography tutorials, ideas and inspiration!
- Cool paper photography tricks that you should try at home - 14th April 2024
- Egg Macro Photography – Easter Egg Lightpainting - 30th March 2024
- Using Tonic Water to create amazing UV flower photography! - 16th March 2024


