Fruit Macro Photography Tutorial – Watch on YouTube
In this article, we are taking a look at a whole bunch of fruit under the macro lens. Getting close up to reveal details of a subject is great fun and if you get a lovely smoothly, fruit salad or jug of sangria at the end… well maybe that’s why fruit macro photography is so popular!
Fruit Macro Photography Tutorial
What you will need:
Camera – Most cameras with a manual mode will be great for this kind of photography, we used a Nikon D5600. You’re going to need a macro lens to get this close. We used the 100mm Tokina for all of the shots you see here. but you could use anything that gets the flower to fill the frame. Even a phone camera would do the trick as long as you can change your settings manually.
Tripod – Tring to get an entire slice of fruit in focus means we need to have a very precise adjustment of the angle of the camera. This is best done on a tripod, and if you have a ball head attachment, even better!
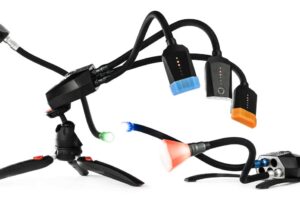
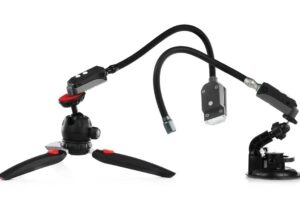
Lighting – The big trick to fruit macro photography, is the use of light. You will need a bright light source to place under your fruit slices. The flexible arms of the Adaptalux Studio are perfect for this.
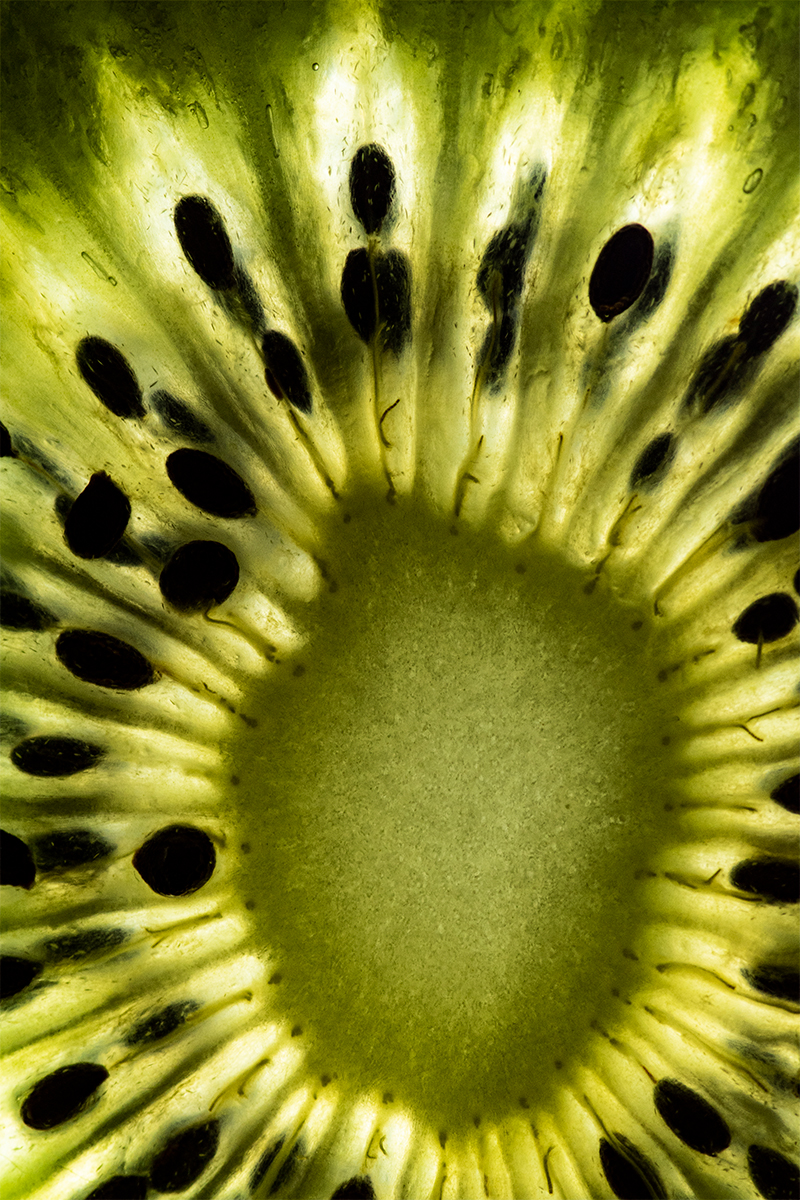
Choosing your fruits
Some fruits work better than others for this style of macro photography. You are looking for fruits that hold together well when sliced. The slices also need to be at least a little transparent. Common citrus fruits like oranges, lemons and limes are a great starting point. Grapefruits also look very interesting under the macro lens…
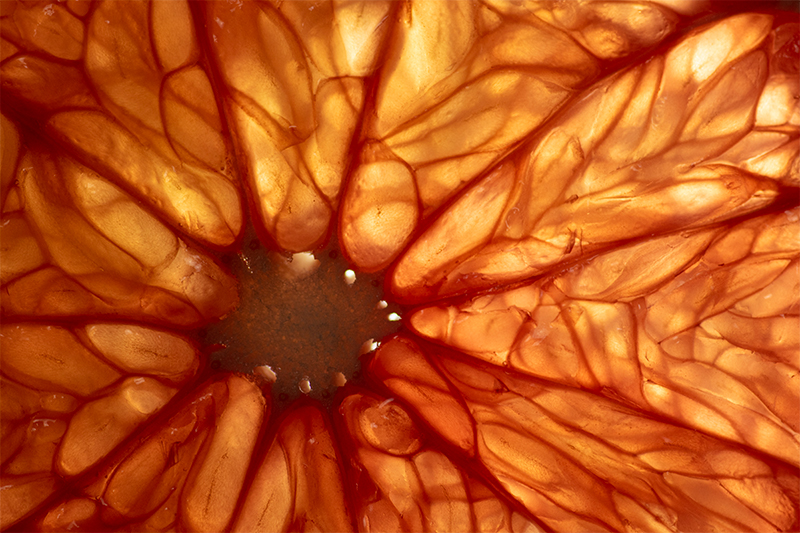
Some fruits, like the ones mentioned above, have amazing structures hidden within. When we shine light through the slice, it can be easily revealed.
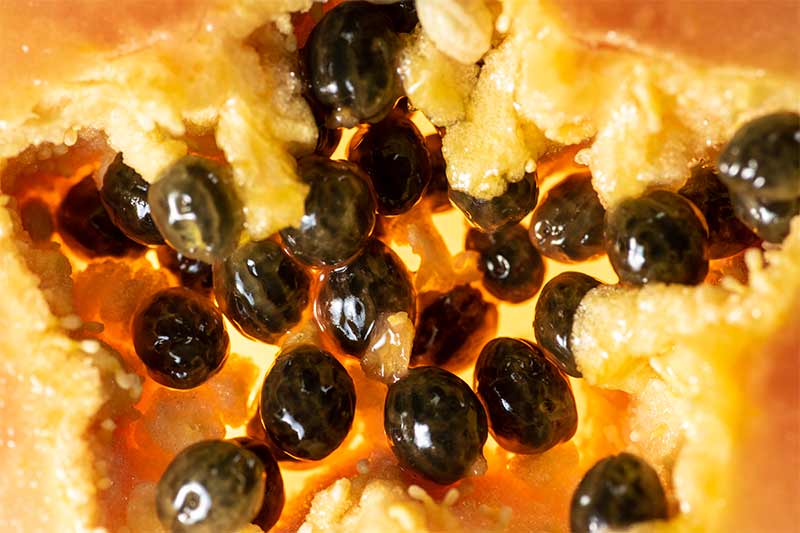
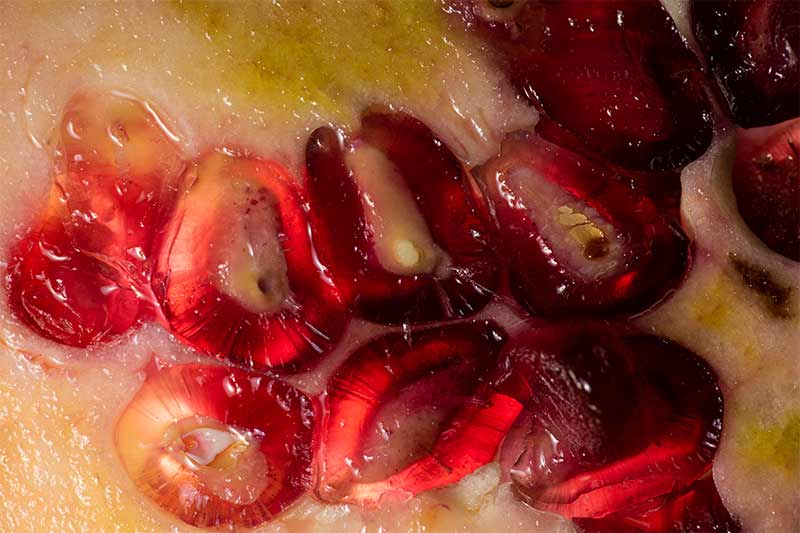
On the other hand, some fruits are very messy and fall apart easily. Some don’t allow light to pass through, which can ruin the effect. We found that the papaya looked interesting, but not particularly appetising in macro.
Focusing on a slice
The first challenge after selecting your fruit is slicing it. Use a sharp knife to try and keep the slice uniform across its surface. Any accidental angle on the slice will make it hard to focus across the entire length.
Use a tripod to point your camera directly downwards onto your shooting surface. If you can get the front of the lens parallel with the surface of your fruit slice, you will have no trouble getting your fruit in focus.
Lighting
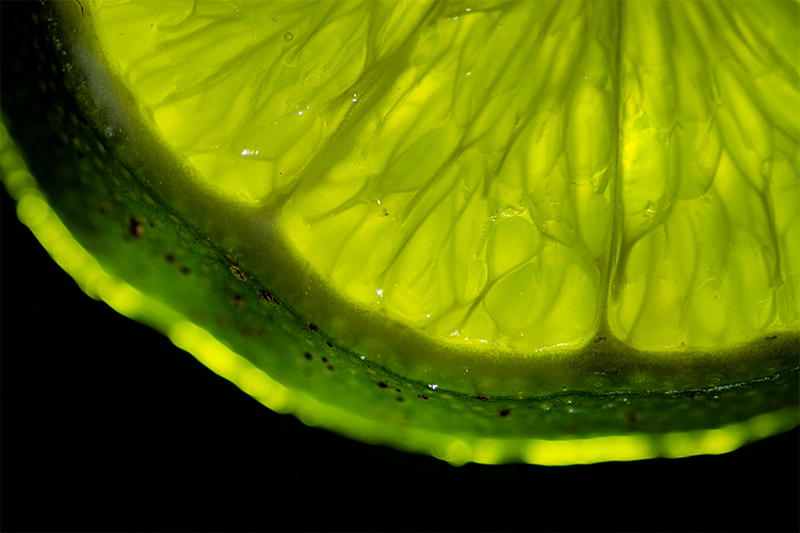
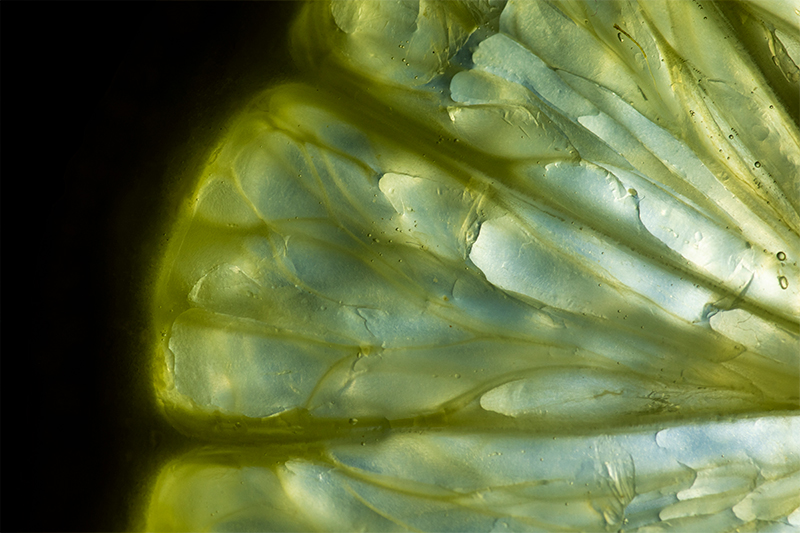
Here is the key. Light your fruit from behind/under the slice. The light shining through the subject will highlight all of the organic structure within. We have used this technique successfully in the past with leaves, but it works for fruit too.
Having a transparent shooting surface and versatile lighting helps to achieve this. Try placing your slices on glass or transparent plastic.
Composition
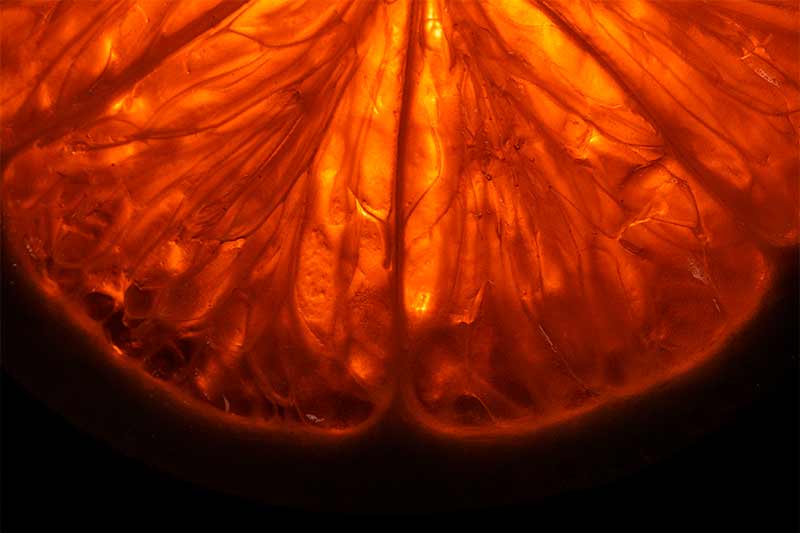
Having mentioned keeping your fruit flat, there is also something to be said for capturing the skin of the fruits. Seeing the edge of the slice, where the focus drops off helps to give a sense of depth and can add a point of interest in the photo.
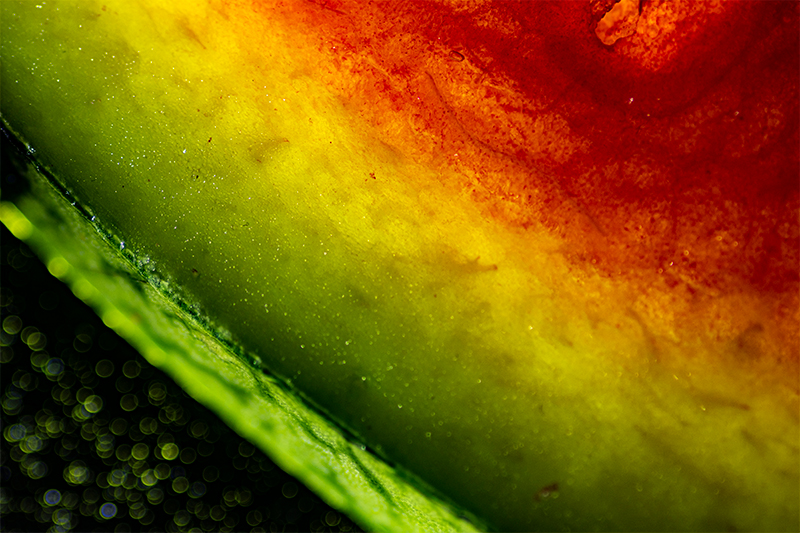
If you’re shooting past the subject, try adding a coloured backdrop too. The Bokeh created from the juice of the watermelon above looks nice on a black backdrop however the yellow background gradient card complements the colour of the orange too.
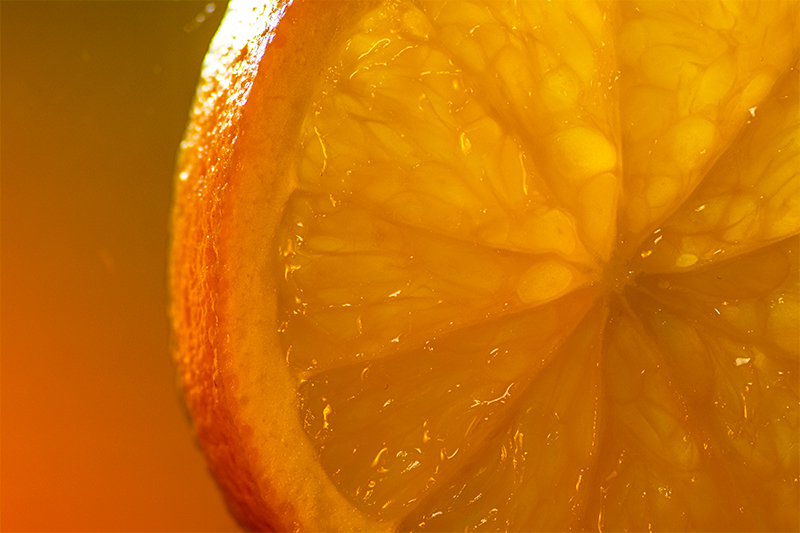
We hope this fruit macro photography tutorial has inspired you to slice up some fruit for yourself and give it a go. Don’t forget to wipe up the fruit juice from your shooting area before it dries and goes sticky!
Finally, make sure to subscribe to our YouTube channel for more macro photography tutorials, ideas and inspiration!
- Winter Macro Photography: Focusing on Tree Bark and Moss Textures - 8th February 2026
- 2024 Winner Announcement – Adaptalux Macro Photography Awards - 30th January 2026
- Dark Cinematic Toy Photography Tutorial – Alien (1979) Action Figure - 25th January 2026


