Water Splash Photography Tutorial Using MIOPS Splash – Watch on YouTube
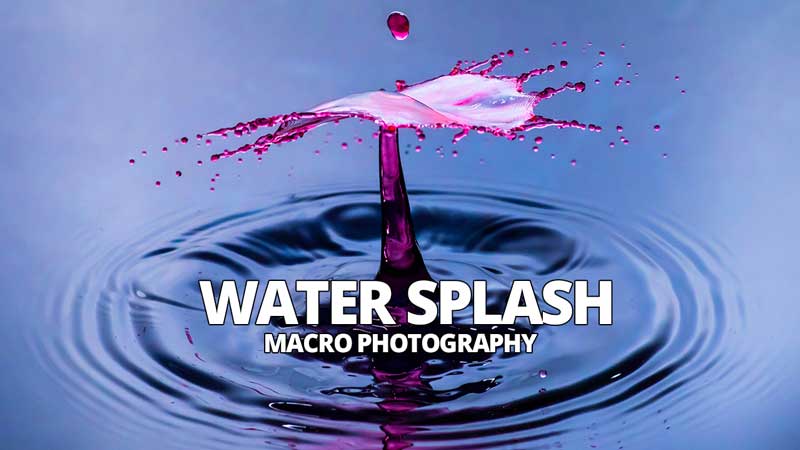
In this water splash photography tutorial, we will be using the MIOPS Splash and the new Adaptalux Flash Arm prototypes (see our update last week) to create some stunning splash art!
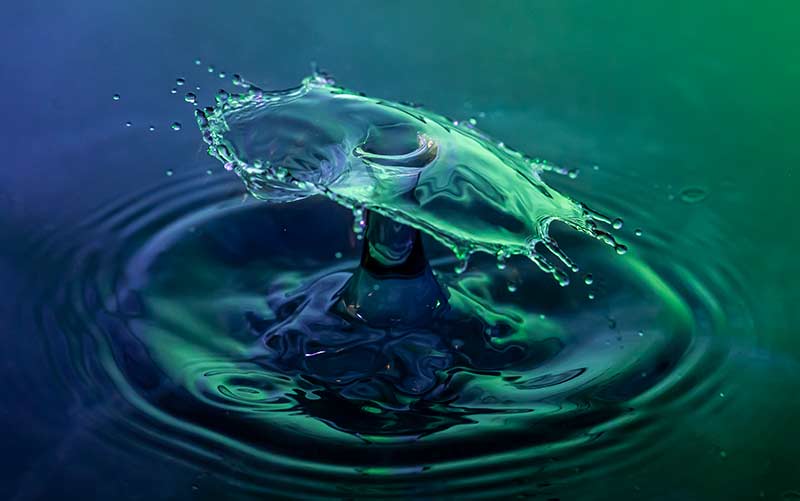
Water Splash Photography Tutorial
Water splash photography is a tricky subject to master! It can be very messy, fiddly and frustrating at times. However, when you manage to capture the split-second moment of drops colliding in mid-air, the payoff is worth the hassle!
If you have never tried this kind of photography before, it might be worth checking out our first article on the subject. We tested earlier prototypes of the Flash Arms, and the Pluto Valve with milk splashes. In that tutorial we covered the basics, here we’re expanding to add more colour to our splash art photos!
MIOPS Splash
There are a few integral pieces of equipment needed for splash art photography. In addition to a camera and flash system, you’re going to need a water drop kit. These usually consist of a reservoir, valve and some type of control interface.
Today we are using the MIOPS Splash water drop kit. It’s an all in one solution for creating your water drops and colliding them together. The splash kit connects via Bluetooth to your phone and allows you to release the water drops and trigger your camera remotely.
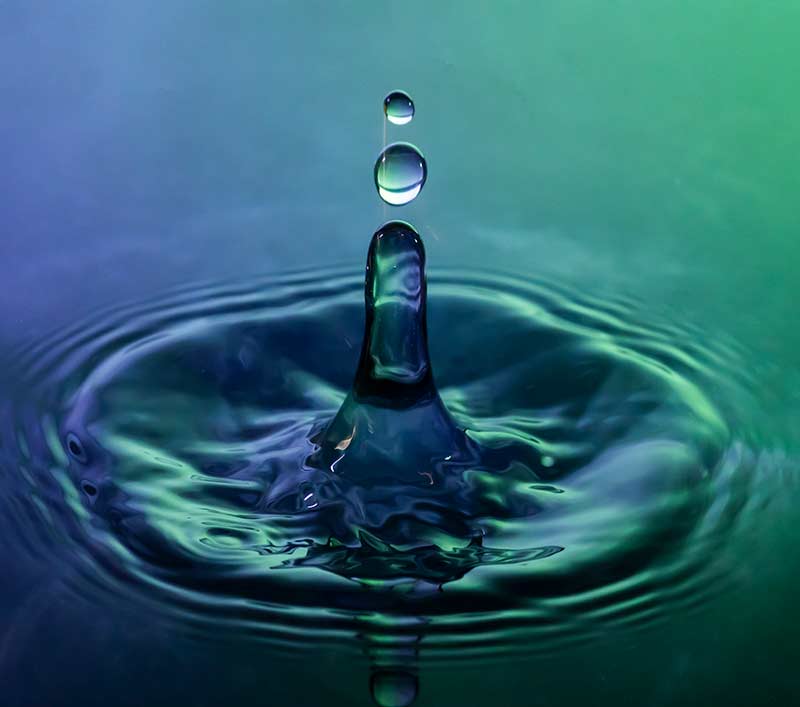
Although it is possible to capture single drops hitting a surface by eyeballing random drips from a water source… capturing a drop collision requires fine-tuning down to the millisecond. (A flash kit also makes those single drops far easier too).
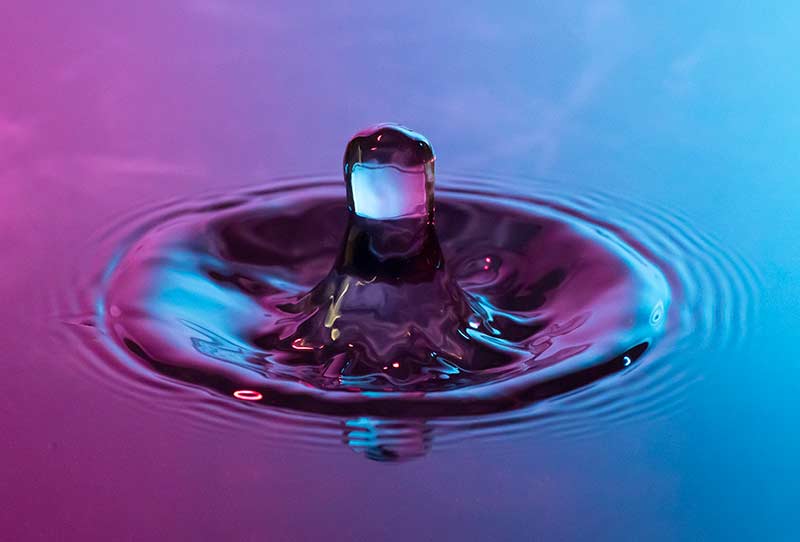
The trial and error of finding the correct settings for the height of your dropper is the most time-consuming part of water splash photography. Once you have your timings precisely set to trigger at the moment of a drop collision, you can turn your mind to the type of image you want to create.
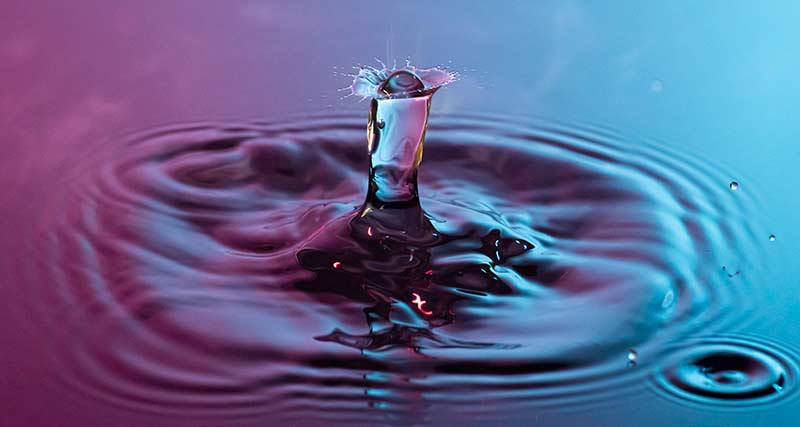
Colour & Composition
The goal of this water splash photography tutorial is to explore colour and composition. We wanted a new angle and a new way of introducing some colour to our water splashes. The trouble is… water is transparent and colourless!
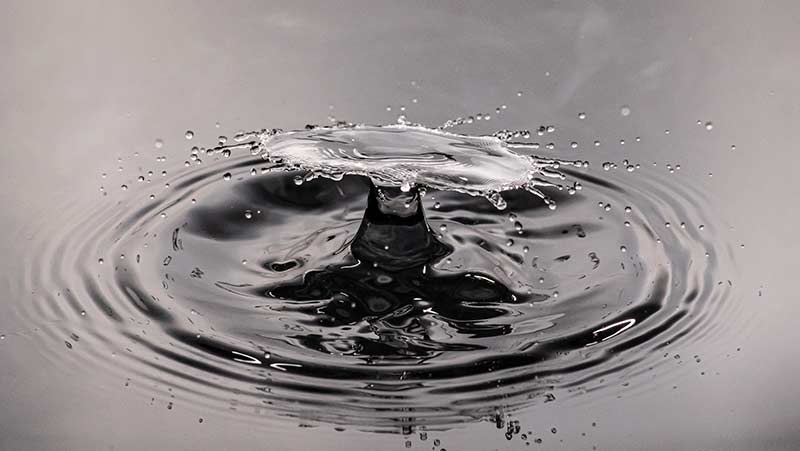
While you could opt for coloured backdrops like our Background Gradient Cards, they are tricky to integrate into this kind of scene. They collect water drops from the splashes, and the transition between the water surface and background can be distracting.
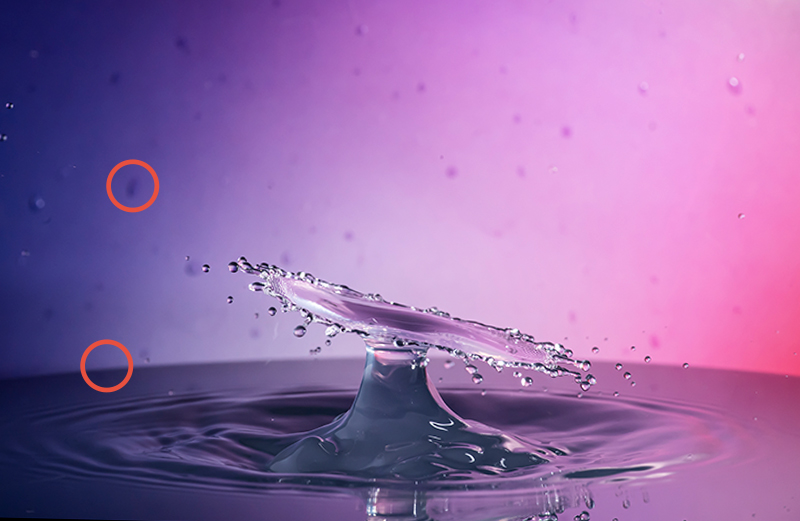
For this shoot, we decided to use the reflection of the water surface as a background. This means shooting from a higher angle. However, with a large enough container, you can get seemingly infinite gradients of colour in your water splash photos.
Reflecting Coloured Light
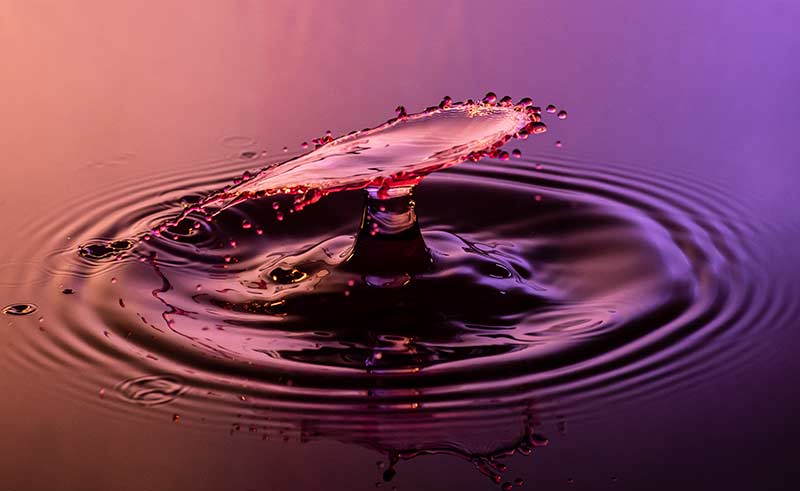
We positioned two Adaptalux Flash Lighting Arms to point directly at a large white surface behind our water trough. This had the effect of reflecting light down onto the water and back up to the camera. The splash disrupts the water, creating pleasing silhouetted ripples when shot from a high angle.
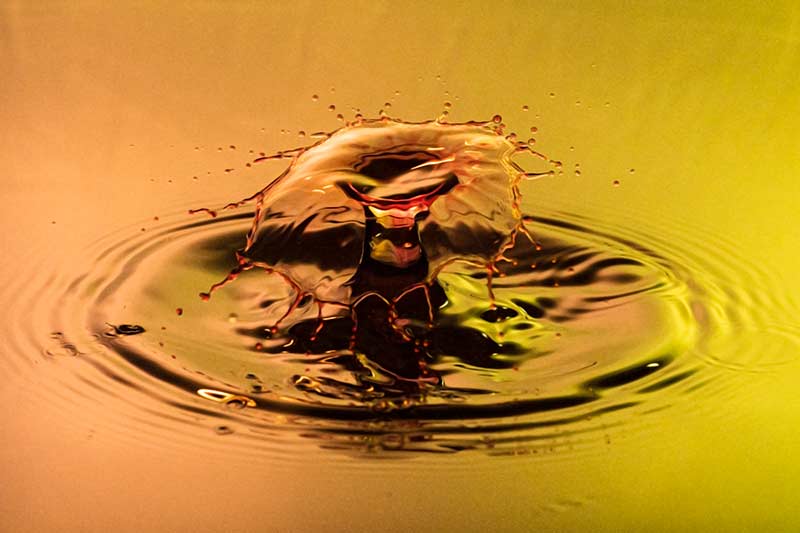
We used the included coloured gels on the ends of the Flash Lighting Arms to mix light on the white backdrop. This created a split effect of two colours in each image. Of course, you could use a single colour by putting the same colour on each arm or stick with white and add colour another way (more on that later!)
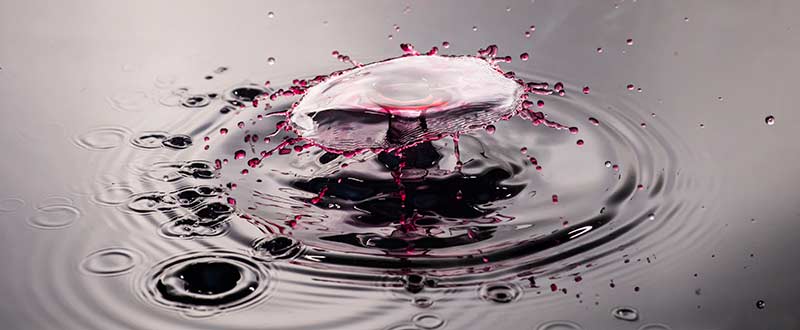
When relying on surface reflections as your source of colour, its important to control your light. Any light coming from under the surface will overpower the reflections. Make sure to use a black or dark coloured container for your water to drop into. You will also need to pay attention to the placement and direction of your strobes. Light coming from anywhere but the large rear reflector will show up in your image!
COMPOSING YOUR SHOT
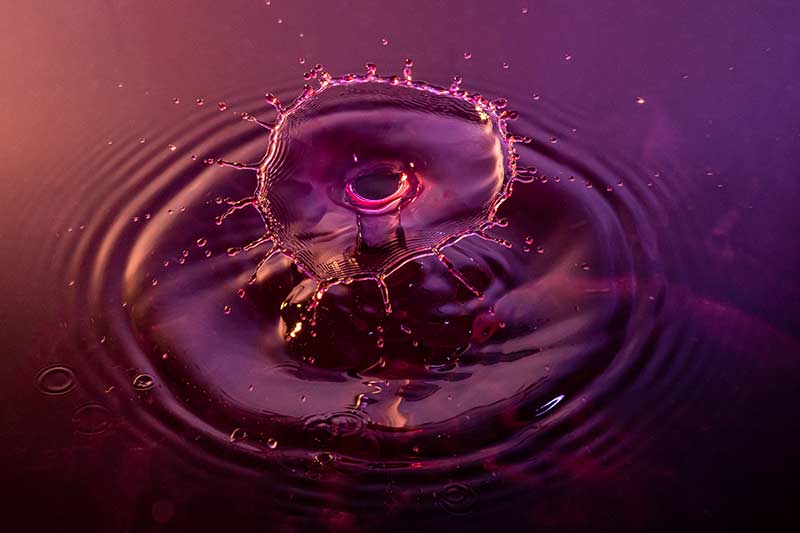
When using this method, your camera angle is determined by the size of the water container you have. You can shoot from a low angle if you have a large surface area to reflect light from. Sooner or later, you will start to get the front and back lip of the container in the shot, which will ruin the effect.
It’s best to find a large pan or tray to drop your water into. These were taken in a baking tray. While it would be nice to get lower, you also see more of the water splash and ripples from above.
The Splash Solution
While this is indeed a water splash photography tutorial, we’re not splashing pure water! The solution we put into our MIOPS splash is in fact part glycerin. Glycerin and other thickening agents can help to change the behaviours of your liquids. Our water stayed together more readily and created larger ‘explosions’ during the collision moments.
You can try without additives, but if you want more ‘gloopiness’, glycerin can be found in most baking departments at your local supermarket.
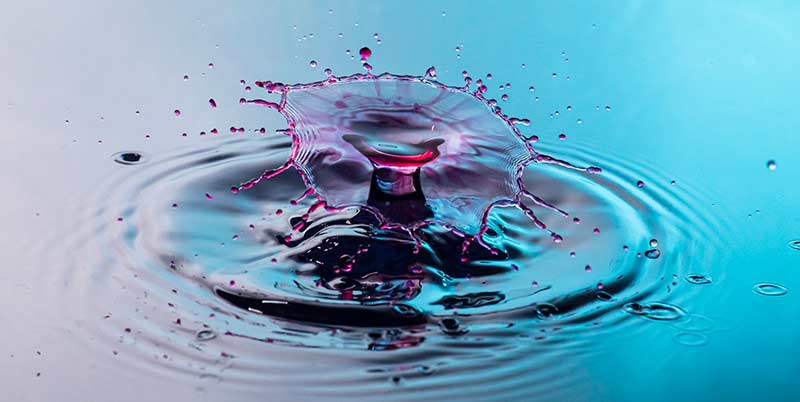
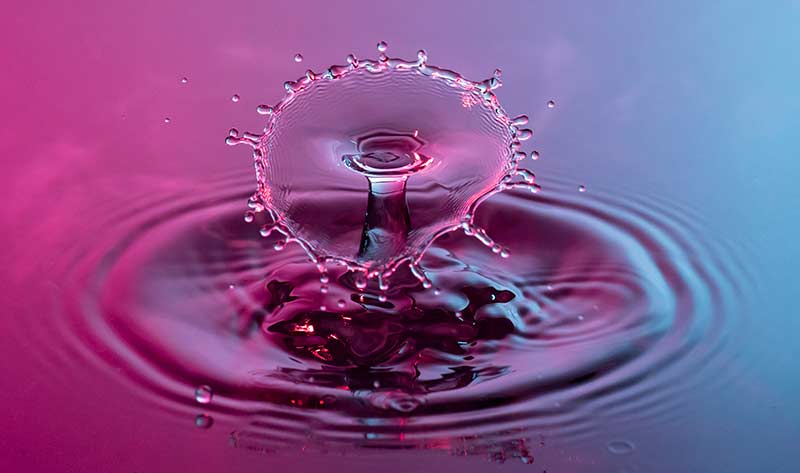
The other addition to our water was some food colouring. Although not as striking as a flood of colour from the background, subtle shades inside the water can look amazing.
We added some red to these drops and you can clearly see the pattern of the dye mixing with the water inside the drop.
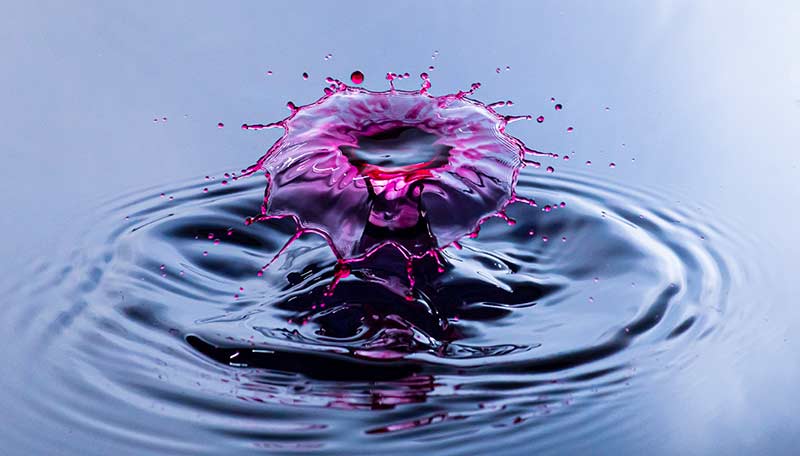
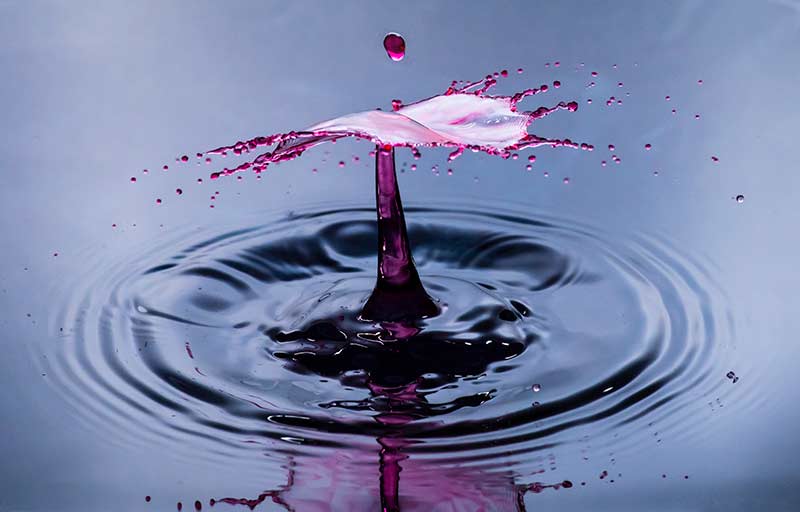
A small amount of milk can both thicken and add a haze to the look of your drops. This can work to create some variation in your shots, be will affect how the light is transmitted through the splash.
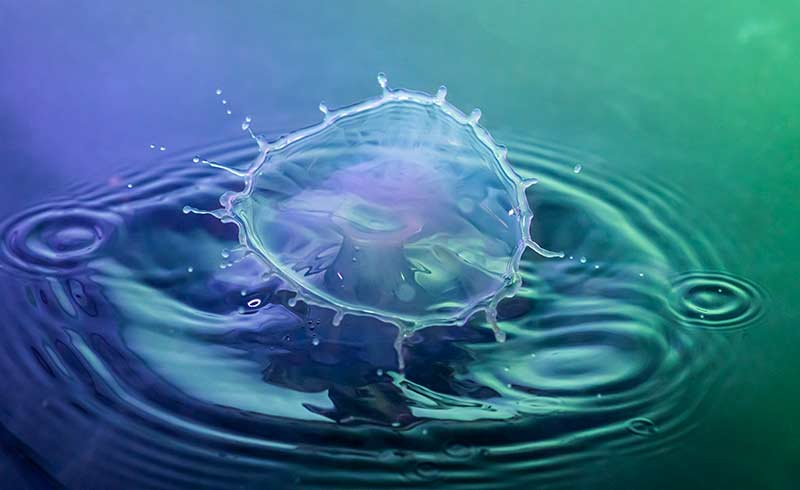
While this is only a small fraction of what can be accomplished with water splash photography, we hope this tutorial is useful in your own explorations of splash art and water drops.
Finally, make sure to subscribe to our YouTube channel for more macro photography tutorials, ideas and inspiration!
- Cool paper photography tricks that you should try at home - 14th April 2024
- Egg Macro Photography – Easter Egg Lightpainting - 30th March 2024
- Using Tonic Water to create amazing UV flower photography! - 16th March 2024


