











Quick Links

Charging
Charging the Pod
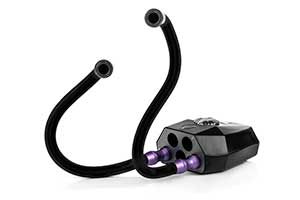
Charge your Pod Mini via the provided USB cable using a computer or USB walls adaptor (5V, 1A rated).
Indicator Lights
A flashing red and green Indicator light means the Pod Mini is initialising battery charge. This should last for around 10 seconds.
A flashing green indicator light means the Pod Mini is charging.
A Solid green Indicator light, means the Pod Mini is fully charged and ready to use.

Connecting Lighting Arms
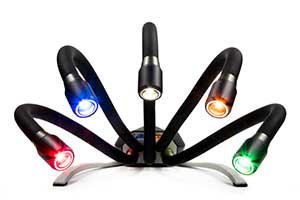
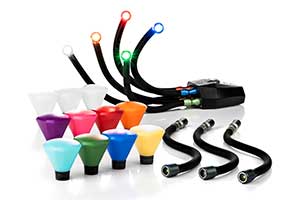
Begin use by attaching Lighting Arms to the Pod.
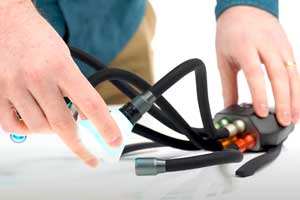
Make sure the contacts are clean and insert an arm into the port on the front of the Pod Mini.
You will feel a magnetic pull, rotate the arm until it clicks into place.

Brightness Control
Manual Control
Hold either the – or + button adjust the power provided to the connected Lighting Arm.

Bluetooth Control
1. Open the Adaptalux App and tap on Connect to Control Pod/Add/Manage Pod connections button.
2. Tap the Pod Mini you wish to connect to. The Pod Mini Indicator light will flash amber to indicate this is the Pod Mini being connected.
3. You can add multiple Pod Minis at once to the Adaptalux App by repeating instructions 1 & 2

Boost Mode
Boost mode dramatically increases Pod power output at the expense of battery life.
To toggle boost mode, Press both the + and – button together.
Boost Mode can also be toggled on and off wirelessly via the Adaptalux App.

On/Off while in use.
Turn the Pod off with an Arm Connected
Press and hold both the + and – buttons simoultaniously for 2 seconds to turn the Pod Mini off with an Arm connected.
To turn the Pod Mini back on, tap the + button and the Pod Mini will turn back on remembering its power setting when turned off.

Low Battery Indicators
Low Battery
Low Battery warning – Slow flashing red indicator light.
Critical Battery warning – Fast flashing red indicator light.
Battery Exhausted – Solid Red Indicator light.

Removing Lighting Arms
To remove the Lighting Arm, simply pull directly outwards.
Do not twist!
Master Reset
Perform a master reset by holding both the + & – buttons down with no Lighting Arm connected.
Continue holding until a rapid flashing red indicator light appears, when it does, let go of the + and – button.
Plug the Pod Mini back into USB to charge, and its initialisation sequence will begin.
Heat Caution
When using boost mode for extended periods, lighting arm heads may become hotter than normal. Please allow the LEDs to cool before touching the end of the arm or packing the arm for storage.
UV Caution
UV lighting arms create invisible ultraviolet radiation that can cause harm. Do not look directly into the lighting arm. UV blocking eye protection is recommended at all times while using UV lighting arms.
Flash Caution
Never shoot a Flash Arm directly into the naked eye as this can cause temporary sight loss and lead to long-term damage. Never attempt to disassemble a Flash Arm, they contain high voltage circuitry that can cause significant harm.
More Resources
Find product specifications and detailed user guides in our support knowledge base.