Watch on YouTube – Moss Photography Tutorial with water droplets!
When Sam suggested we shoot a moss photography tutorial, it’s safe to say there was some scepticism with how much there would be to see. However, Sam has shot moss before using the early prototypes of the Adaptalux Studio… So he knew how interesting it is when you get up close!
Moss Photography Tutorial
Getting up close and personal with any foliage is always interesting the first time. Seeing the natural world up close can be an amazing spectacle as we have demonstrated recently with our look into dry leaves, and the even more interesting UV flower shoot.
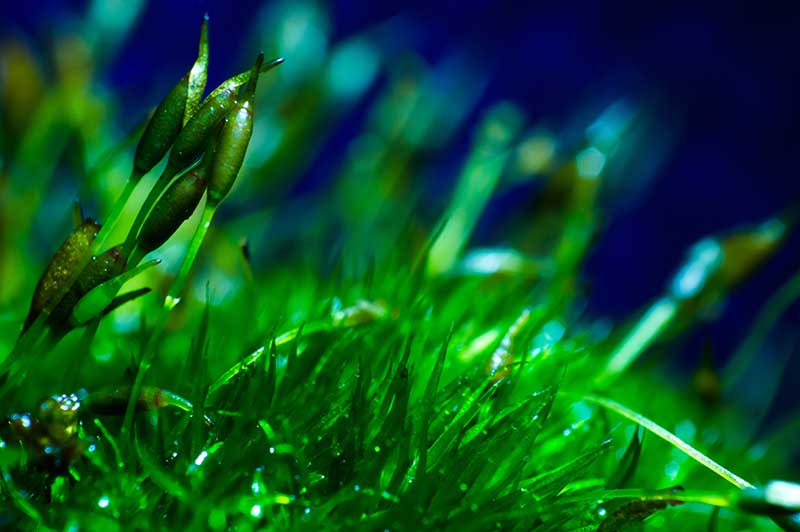
Moss photography is somewhat unique though. The structure of moss is such that it grows an almost grass-like surface, with stems reaching up and outward.
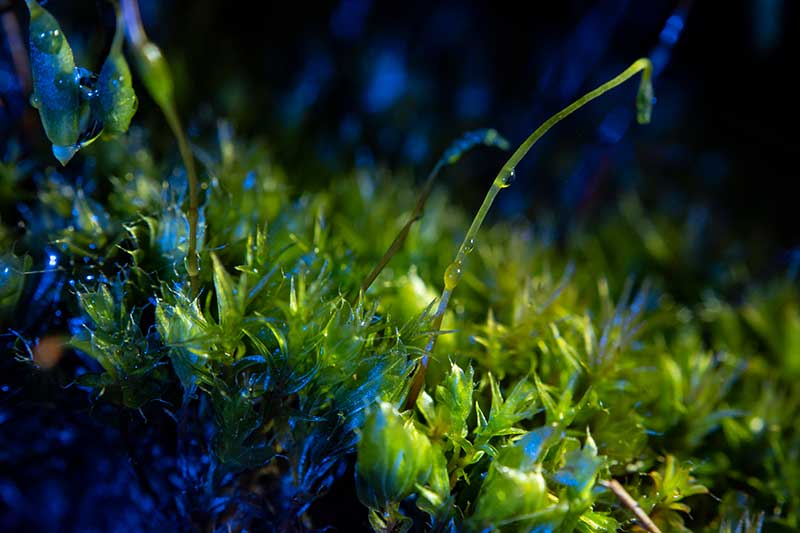
Getting up close to moss is almost like exploring an alien planet or fantasy jungle. If you can get close enough with your lens, the tiny stems can become towering trees.
For the images on in this shoot, we were using a reversed 50mm Lens. A cheap and almost “DIY” solution to getting close in, without the need for an exspensive dedicated macro lens.
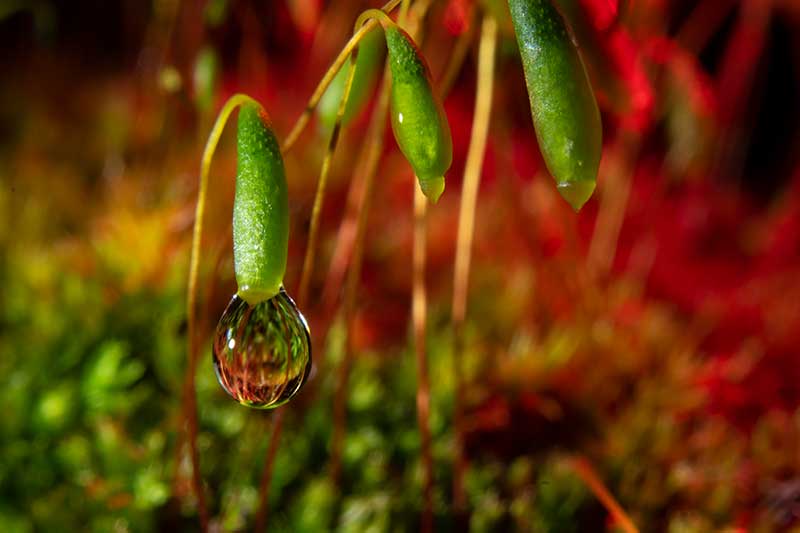
Focus
With a reversed lens setup like this, your depth of field is going to be very shallow. Even with a closed down aperture, you will only be looking at a fraction of a millimetre of the subject at a time.
To focus with a lens like the one we are using, you will also need to be moving in and out of the scene. The focusing ring now has little or no effect. Our lens setup had a fixed focal point, so moving the subject can often be easier than moving the camera!
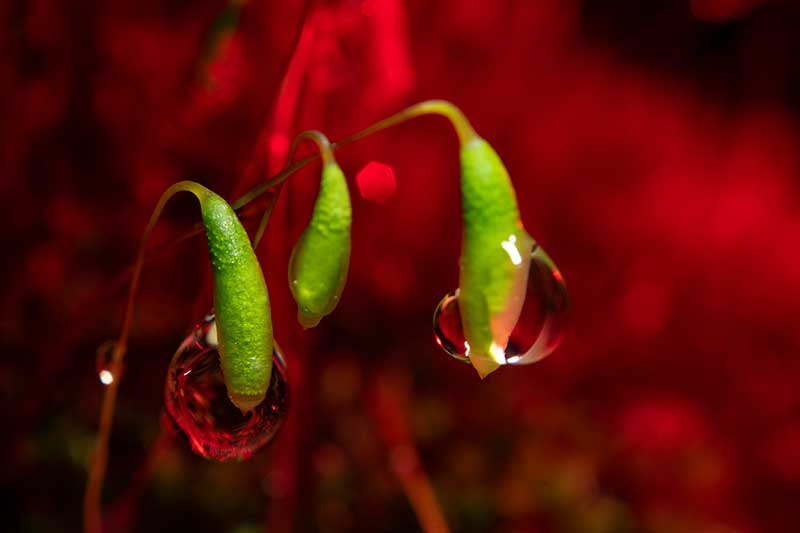
Lighting
If you are shooing indoors, lighting is going to be a big factor in your shots. We like to begin with a single light source to emulate the sun. This can give the effect of being inside that “jungle”. If the scene were life size, there would usually only be one light source.
Of course, with the handy coloured LEDs of the Studio, it’s easy to get carried away. Adding colour to the shots can make the scene look even more surreal and alien. These red shots look almost like a forest fire in the background.
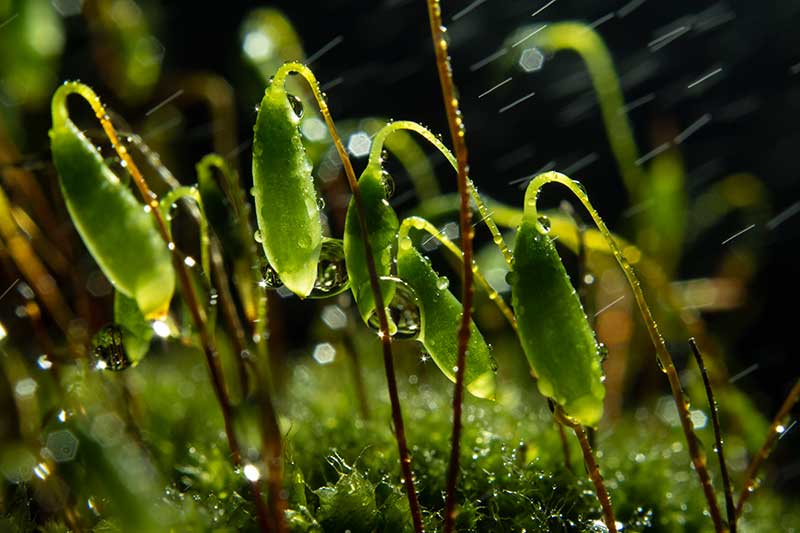
Water Drops
No moss photography tutorial would be complete without the addition of some water droplets. Use a spray bottle, dropper or seringe to add tiny water drops to your scene for that added “jungle” effect.
The lighting also plays a big part here. As the drops reflect light in the background, some wonderful bokeh can be created.
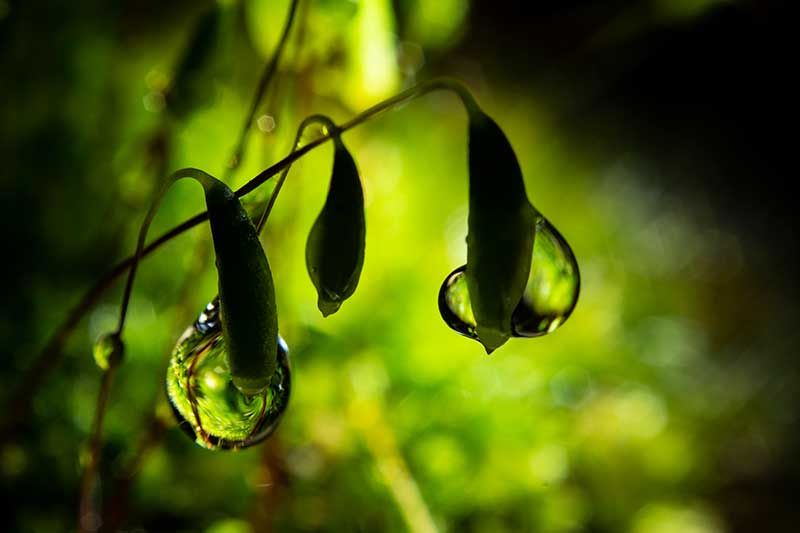
Moss photography is a great pass time for those cold and rainy days. It’s a bonus that if you don’t want to get cold and wet, just grab some and take it inside!
Don’t forget to subscribe to our YouTube channel for regular macro photography tutorials, ideas and inspiration!
- Winter Macro Photography: Focusing on Tree Bark and Moss Textures - 8th February 2026
- 2024 Winner Announcement – Adaptalux Macro Photography Awards - 30th January 2026
- Dark Cinematic Toy Photography Tutorial – Alien (1979) Action Figure - 25th January 2026


