Plugging In
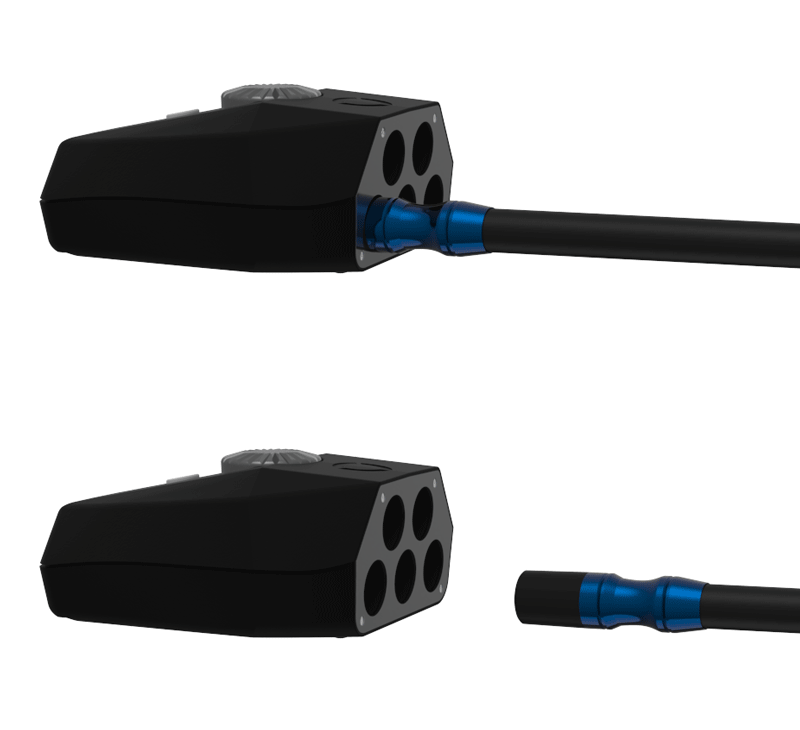
Make sure the contacts of the Lighting Arm and Control Pod are clean and insert an arm into any of the ports on the front of the Control Pod. You will feel a magnetic pull, rotate the arm until it clicks into place.
The arm may need to be rotated slightly to find the lock position. Do not force the Arm to turn once locked.
The Lighting Arm will illuminate automatically at 50% brightness.

Manipulating Arms
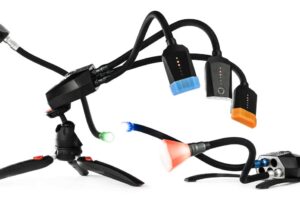
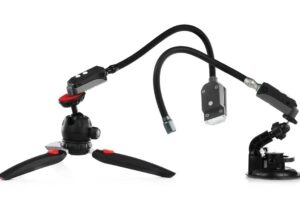
Lighting Arms are flexible, providing light wherever it is needed in your scene. You can bend arms before inserting them into your pod, or adjust them in situ. When bending an Arm, its best to bend the Arm along its entire length to reach tighter angles.
When manipulating an arm while plugged into the control pod, make sure to support the Pod and Lighting Arm connection. This ensures there is no excessive force on the Control Pod mount or the Lighting Arm connector.
Beam Angle Control
Unscrew the head of the Lighting Arm to limit the beam of light produced by the arm. Unscrew and remove the head for the widest possible beam angle.
Adding/Removing Filters
Diffusers and Colour Filters can be added to the Lighting Arms via the magnetic connection. Both the Lighting Arm heads and Filter have a magnetic ring. To add, magnetise to the end of the Lighting Arm, to remove, pull off.
Removing Arms
To remove a Lighting Arm and turn off the system, just pull the arm directly outwards from the pod. Do not twist the arm, there is no need to twist or “unscrew” the arm.
When there are no arm connected, the pod will automatically switch off.

Additional Resources
Adaptalux Studio information: Adaptalux Lighting Studio
Video Demo and Tutorials – Adaptalux Studio Demo


