Brightness Control Mode
To enter the brightness control mode, make sure to have at least one Lighting Arm plugged in.
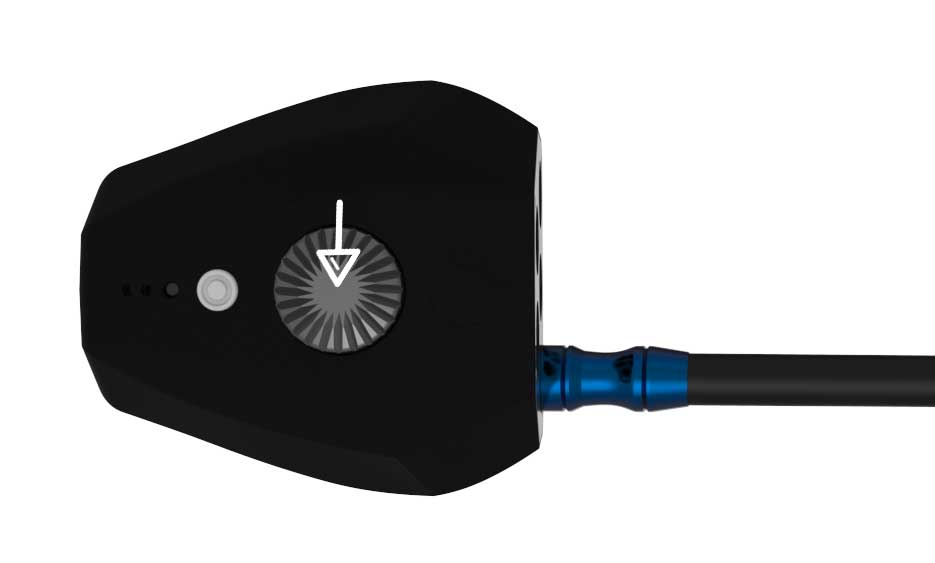
Press the dial down once and you will feel a click, this will activate brightness control mode. One Lighting Arm will begin to pulse, indicating that this arm is being adjusted. If you have a Flash Lighting Arm plugged in, the green and red indicators will flash on and off.
Brightness control mode will end after a few seconds of inactivity, returning the pod to normal operation and saving the brightness settings for each arm.

Adjusting Brightness
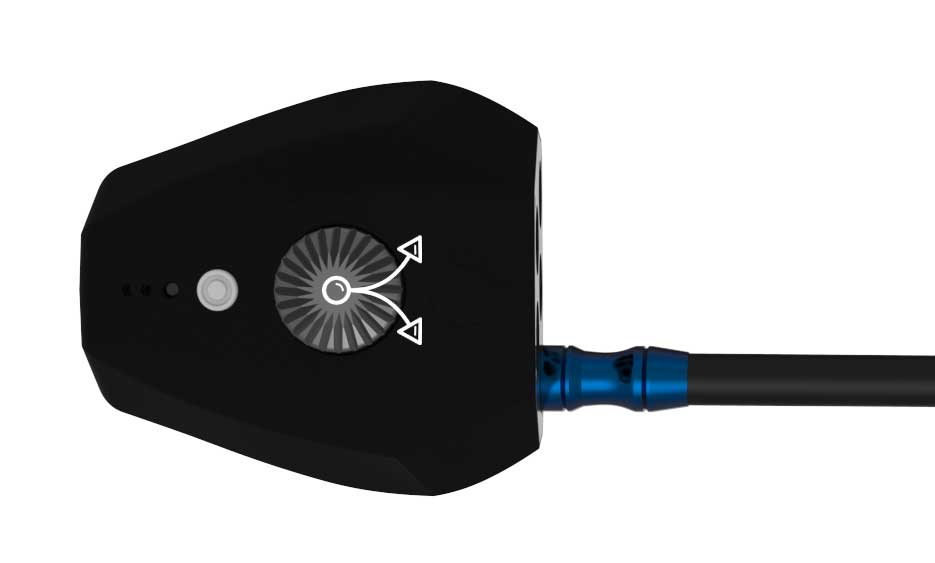
While in brightness control mode (pulsing arm) you can rotate the dial either clockwise or anti-clockwise to adjust the brightness of the pulsing arm. If adjusting a Flash Lighting Arm, the same operation will adjust the power level which is set by the 5 LEDs. The faster you rotate the dial, the faster the power will be adjusted to the connected Arm. Likewise, the slower you rotate the dial, the slower the power will be adjusted.
When rotating the dial, the arm will stop pulsing to show the current brightness. For a Flash Arm you will be able to see the 5 red power indicator LEDs go up and down as you adjust the Arm. The arm indicators/LED will flash when either maximum or minimum brightness is achieved.
When the brightness is set, either press the dial again to move to the next arm or leave the pod for a few seconds to save the new brightness/power settings.

Additional Resources
Adaptalux Studio information: Adaptalux Lighting Studio
Video Demo and Tutorials – Adaptalux Studio Demo


