


Smoke macro photography tutorial using Adaptalux Xenon Flash Lighting – Watch on YouTube
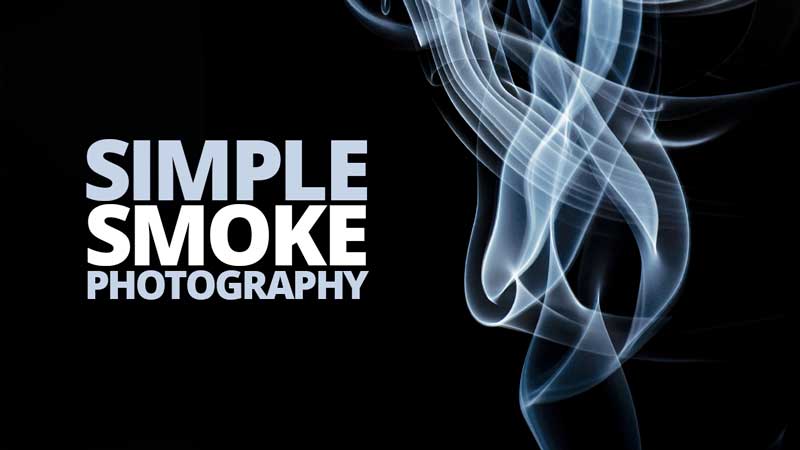
Looking for a creative macro project to try at home? This smoke macro photography tutorial will guide you through capturing stunning smoke images using our Adaptalux Flash Lighting Arms. With just a few simple tools, you can create beautiful and detailed photos that are full of texture and motion.

Why Try Smoke Macro Photography?
Smoke is unpredictable. It flows and curls in endless patterns. This makes it a great subject for macro photography. Each shot you take will look different. It is also a calming way to spend time experimenting with light and shape.
Once you start, it is easy to get lost in the process. You can shoot for hours and come away with hundreds of unique images.

What You’ll Need
You only need a few items to begin:
- A camera and macro lens
- A tripod
- Incense cones
- One of our Adaptalux Xenon Flash Lighting Arms
- A Pod Mini or Pod 3 to mount your flash
We recommend incense cones instead of sticks. Cones keep the smoke source still as they burn. Sticks move the smoke as they shrink, which can change your composition.
Set up your gear on a table in a dark room. Light the incense and watch for the areas where the smoke swirls and shifts. That’s where the best detail and structure appear.


How to Light the Smoke
Lighting is the most important part of smoke macro photography. You need a fast flash to freeze the movement of the smoke. This is where our Adaptalux Xenon Flash Lighting Arms come in.
Our Flash Lighting Arms are designed to freeze motion in a single frame. Unlike LED lighting, flash produces sharp and blur-free images when the subject is in motion and effectively eliminates camera shake. For this tutorial, we used a single flash arm mounted on a Pod Mini. You can also use our Pod 3 for more advanced setups.


The new generation of flash arms features radio triggering. This means you can place the flash anywhere around the subject without needing direct line of sight.
For smoke, place the flash behind the incense. Angle it slightly toward the camera. This will light the smoke from the back, helping the wisps stand out clearly against a dark background.

Camera Settings for Smoke Macro Photography
Set your camera to manual focus. Autofocus struggles with fine smoke details. Focus on the area where the flash hits the smoke most clearly.
Shutter speed is less important than usual. The flash will freeze the movement. We used a shutter speed of 1/200 second, but you can go slower if needed.

Make sure your exposure is dark enough that the photo looks black without the flash. This ensures the only visible light in your image comes from the flash. It helps you isolate the smoke. We used:
- ISO 1000
- Aperture f/11
- 1/200s
You do not need a black background if you leave enough space behind the incense and the flash will not light anything in the distance. However, if you are getting details from the background, it might help isolate the smoke.

Start Shooting and Experiment
Start taking photos and let the smoke change naturally. Each shot will show something new. Most of the images you take may not be perfect, but that is part of the process. Keep trying and adjusting your angle or lighting level.
You can change the brightness by adjusting the flash arm’s power. We started at level 3 and worked up to level 5. Use the control button on the flash arm to cycle through the levels. Give the unit a moment to charge after each change. Wait for the indicator lights to fully illuminate before you take your next shot.
Once you finish shooting, move to post-processing. You can enhance contrast, increase clarity, or even add colour to your smoke. You might also want to invert the image to isolate the smoke on a white background, or use the hue/saturation slider to change the colours!

Smoke macro photography is one of the easiest and most rewarding shoots you can do with our flash system. You do not need much space or equipment. Just one flash arm and a little patience is enough to create eye-catching photos.
Our 2nd generation flash arms make the process simple. If you want to explore more creative ideas with macro photography, check out our full lighting range in the Adaptalux Shop.
Remember to subscribe to our YouTube channel for regular macro photography tutorials, ideas and inspiration.

- Macro Photography with Hot Glue: Alien Egg Abstracts at Home - 29th March 2026
- Adaptalux at The Photography Show 2026 – Our Biggest and Brightest Year Yet - 23rd March 2026
- Needle Macro Photography – How to Capture the Eye of a Needle (10x magnification) - 15th March 2026


