Abstract Oil & Water Photography: A Step-by-Step Guide – Watch on YouTube
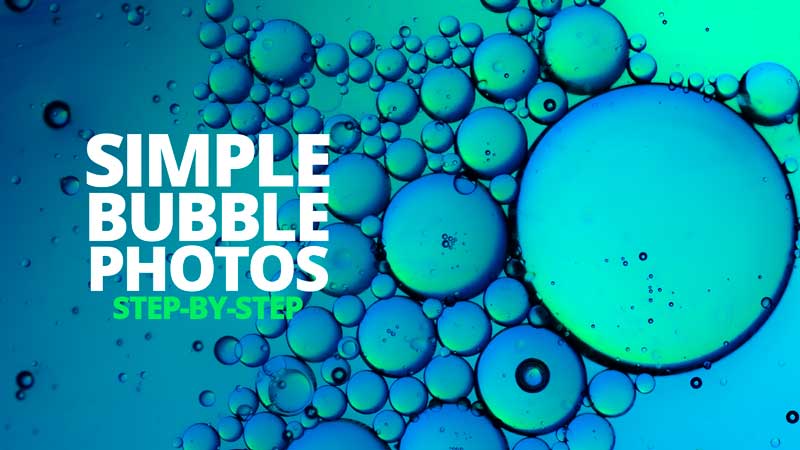
Looking for a creative photography project you can do right at home with minimal gear? Oil and water photography might be just what you need. This simple technique turns everyday household items into mesmerizing abstract art, full of colour, texture, and motion. Whether you’re brand new to macro photography or just want a fun way to flex your creative muscles, this setup is easy to pull off and surprisingly addictive.
In this tutorial, we’ll show you exactly how to get started – what gear you need, how to set up your scene, and a few tips to take your shots from basic to beautiful.
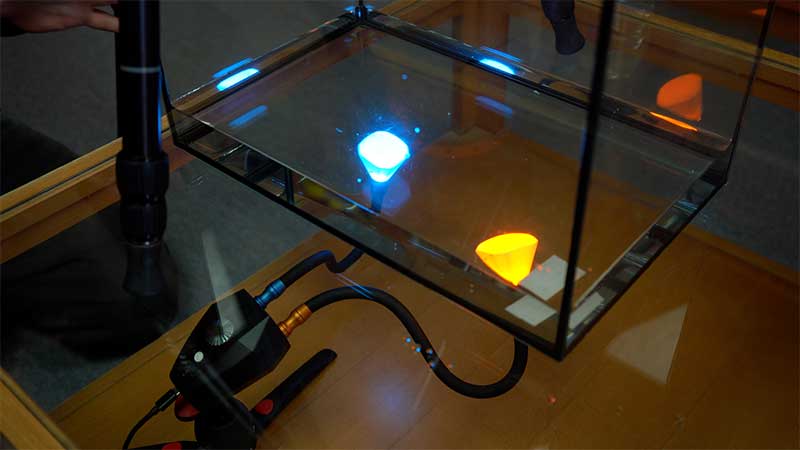
What You’ll Need
Gear:
-
A camera
-
A tripod
-
A macro lens (ideal, but you can crop your images in editing if needed)
Materials:
-
Water
-
Oil (vegetable, sunflower, olive – any kitchen oil will do)
-
A clear glass container (a baking dish or shallow bowl with a flat base works, but something like a fish tank with a clear base is ideal)
Start with a tablespoon of oil in your water. You can always add more later, but it’s harder to remove excess oil once it’s in.
Look for glassware that’s clean and free of scratches. Any imperfections might show up in your final image, especially with macro detail.
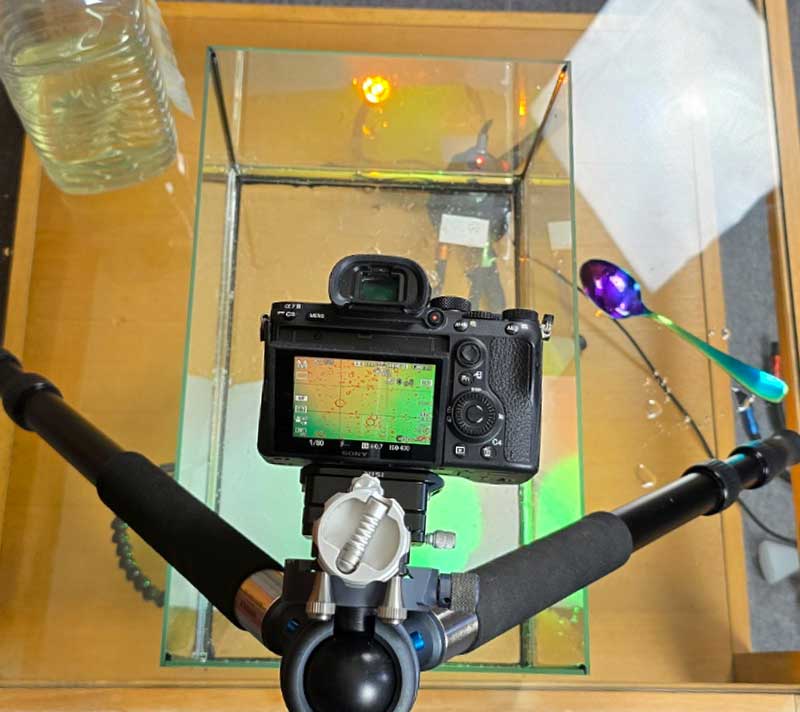
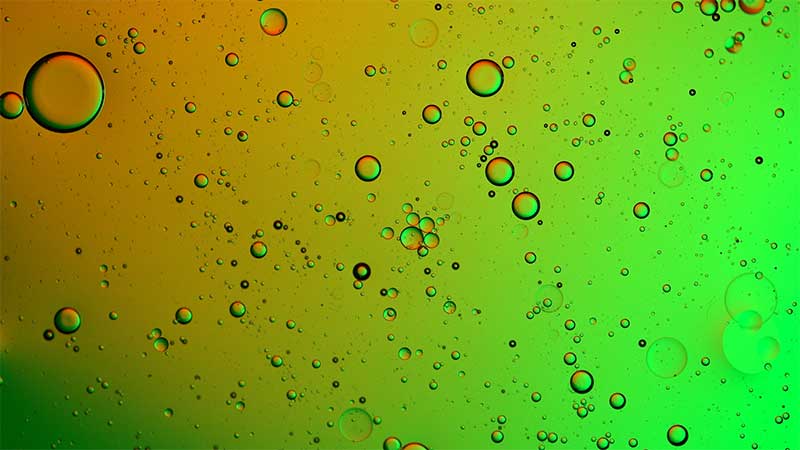
Setting Up Your Shot
To make your oil and water mixture really pop, you’ll need to shoot through your clear container onto something colorful. Raise your container off the ground to allow space underneath for light and background materials. Stacks of books work great – or if you have a glass coffee table, that’s a perfect ready-made setup.
Mount your camera on a tripod directly above the container. Keeping the lens parallel to the surface makes it much easier to focus and keeps more of the image in the same plane of focus.
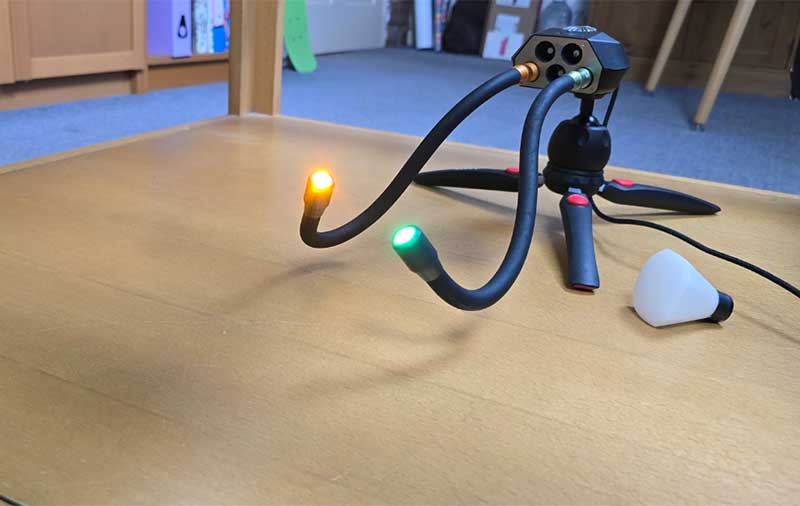
Lighting Techniques for Flower Photography
This is where the magic happens!
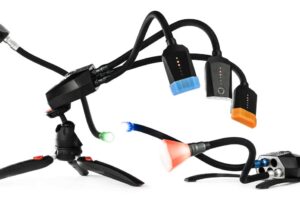
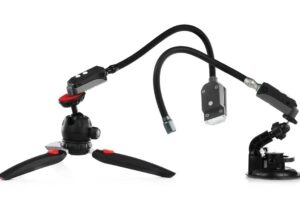
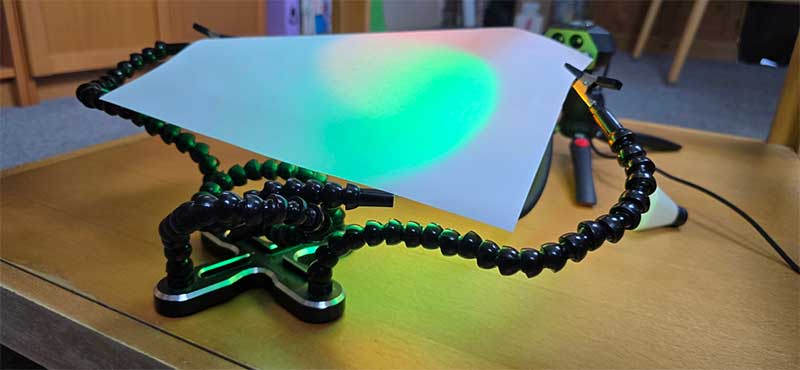
Place colourful materials underneath your glass – this could be printed paper, book covers, fabrics, or the easiest and most effective option, coloured lights with or white lights with colour filters. The Adaptalux Studio Lighting System is ideal for this job, getting light into the tight space below your water.
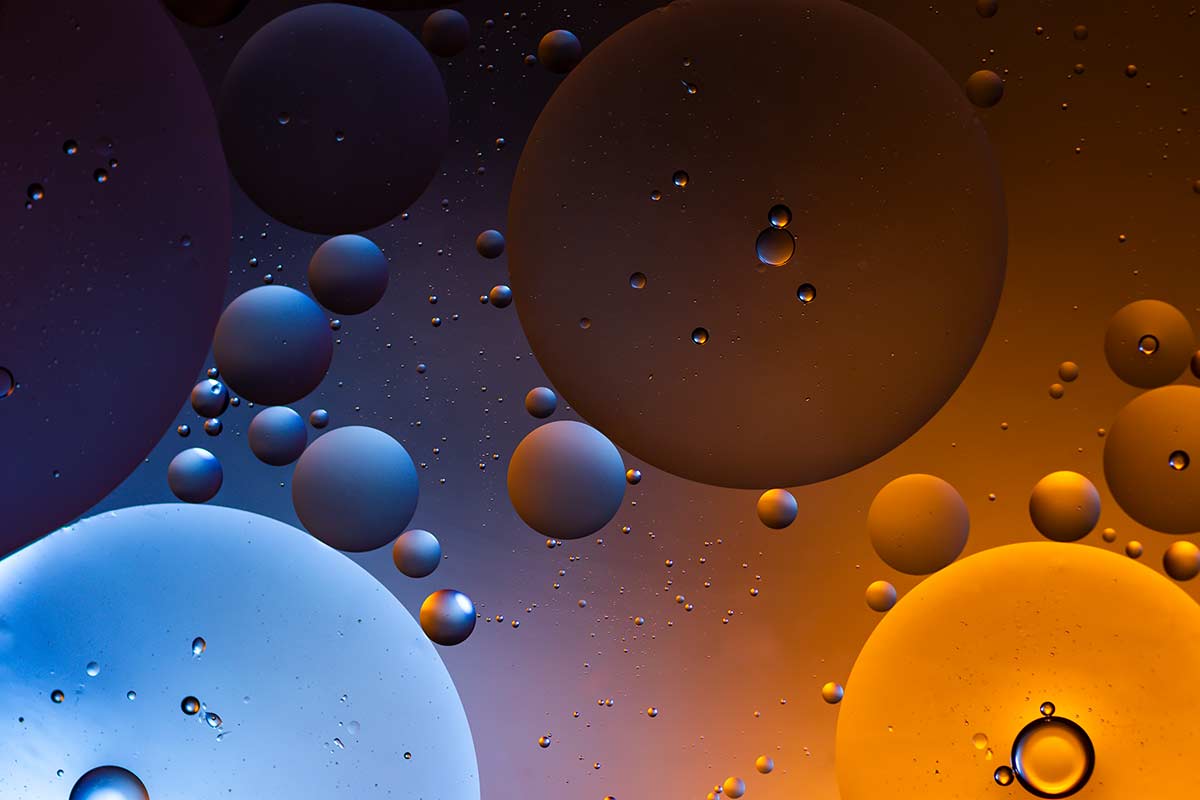
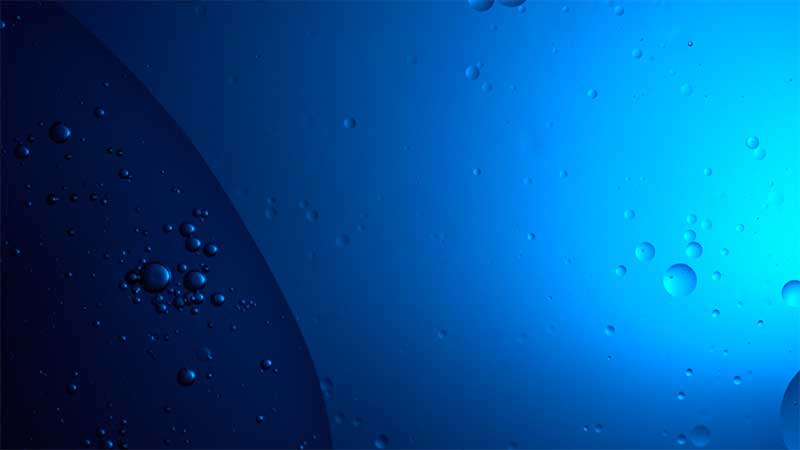
The goal is to light your container from below to create vibrant colour and contrast in the bubbles above. Let those colours shine through and interact with the oil droplets!
Tips for Stunning Shots
- Experiment constantly: Agitate the water and oil mixture gently. No two combinations of bubbles will look the same, and that’s the fun of it!
- Adjust lighting and colour: Try different coloured backgrounds or move your light source around to see how the bubbles respond.
- Reduce ambient light: Cut out lights from around your room to improve the relative colour and contrast of your backlighting.
- Use a fast shutter speed: If you’re stirring or shaking the mix, use a faster shutter to freeze the motion (e.g., 1/350s).
- Try a wide aperture: A shallow depth of field (like f/2.5) helps isolate the bubbles and blur the background for a dreamy effect.
- Try a narrow Aperture: A deeper depth of field makes it easier to get deeper bubbles in focus, but risks showing the background or scratches on the glass.
- Keep ISO moderate: ISO 200 is usually a good starting point.
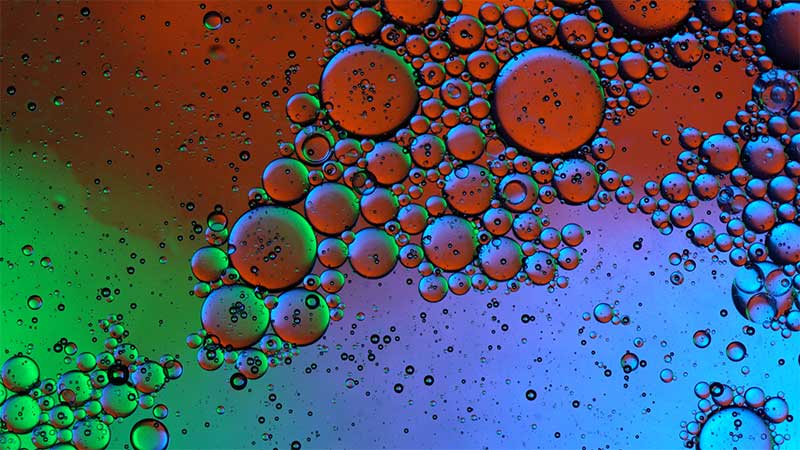

Oil and water photography is one of the most enjoyable macro projects you can do with minimal setup. And don’t forget – this isn’t just for stills. Record video too and capture the mesmerizing movement of the bubbles in real-time.
Remember to subscribe to our YouTube channel for regular macro photography tutorials, ideas and inspiration.
- Winter Macro Photography: Focusing on Tree Bark and Moss Textures - 8th February 2026
- 2024 Winner Announcement – Adaptalux Macro Photography Awards - 30th January 2026
- Dark Cinematic Toy Photography Tutorial – Alien (1979) Action Figure - 25th January 2026


