











Quick Links
Mounting Equipment
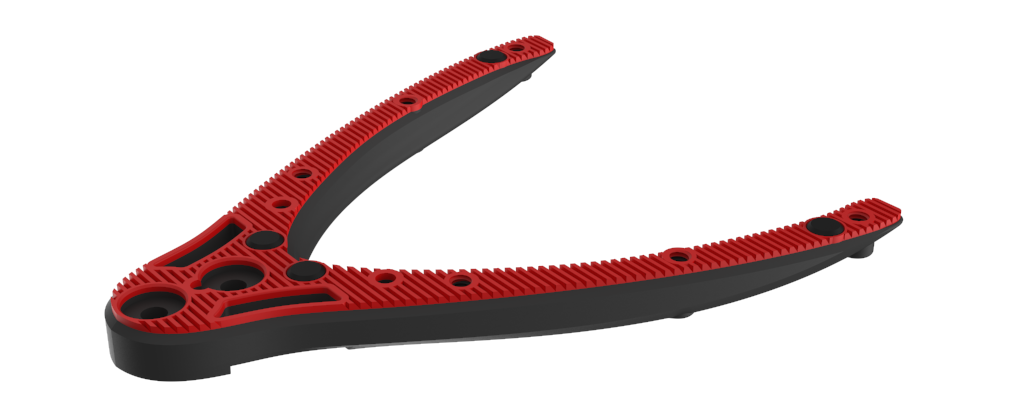
There are two dedicated mounting points on the Stabiliser 2.0.
Insert the provided D-Ring Thumb Screw through the underside of the desired mounting hole.
The 1/4-20″ thread will pass through the stabiliser to the top. Thread on your compatible equipment and tighten the D-ring thumb screw from below.


Accessory mounting
Built into the Stabiliser 2.0 are 6 female 1/4-20″ threads, that can be used to mount other accessories if required.
2x male to male thread adaptors are provided that can be used in these threads to provide a metal male thread for other photographic equipment.
Built-in Traction
On the underside of the stabiliser is a rugged tooth like structure.
This provides grip on carpets and textured surfaces.
Also on the underside are 4x soft, non-slip rubber feet.
These will provide grip on smooth surfaces like glass, plastic or metal.
Spiked Feet
The 6x female 1/4-20″ threads can also be used to attach the provided spiked metal feet.
Thread the feet into the underside of the Stabiliser 2.0.
Strap Installation
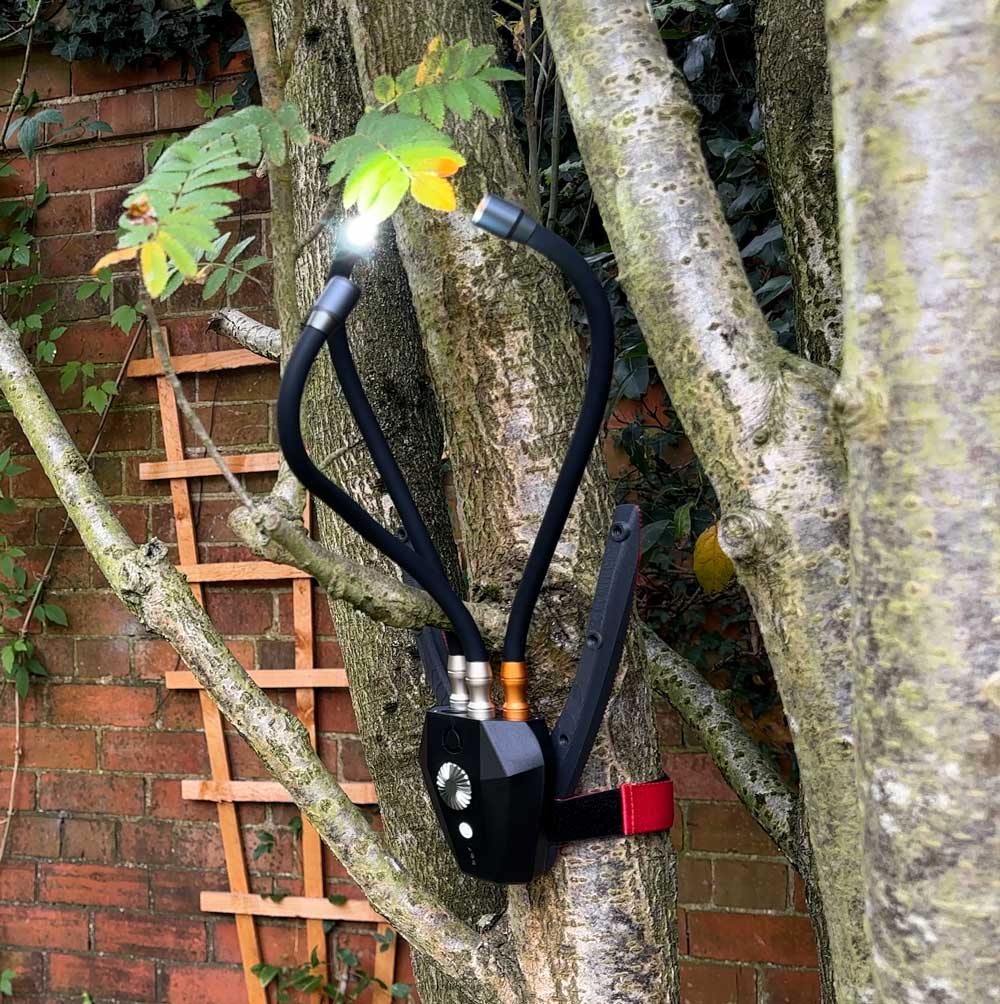
The included strap can be used to secure the product and your equipment a variety of objects.
1. The Stabiliser 2.0 features integrated strap slots. Pass the ratchet strap down one side and then back up the other slot.
2. Mount your equipment to the Stabiliser 2.0 using the D-ring or Male-Male threads..
3. Use the strap to secure the Stabiliser 2.0 by passing the strap back through the buckle, securing it with the Velcro strip.
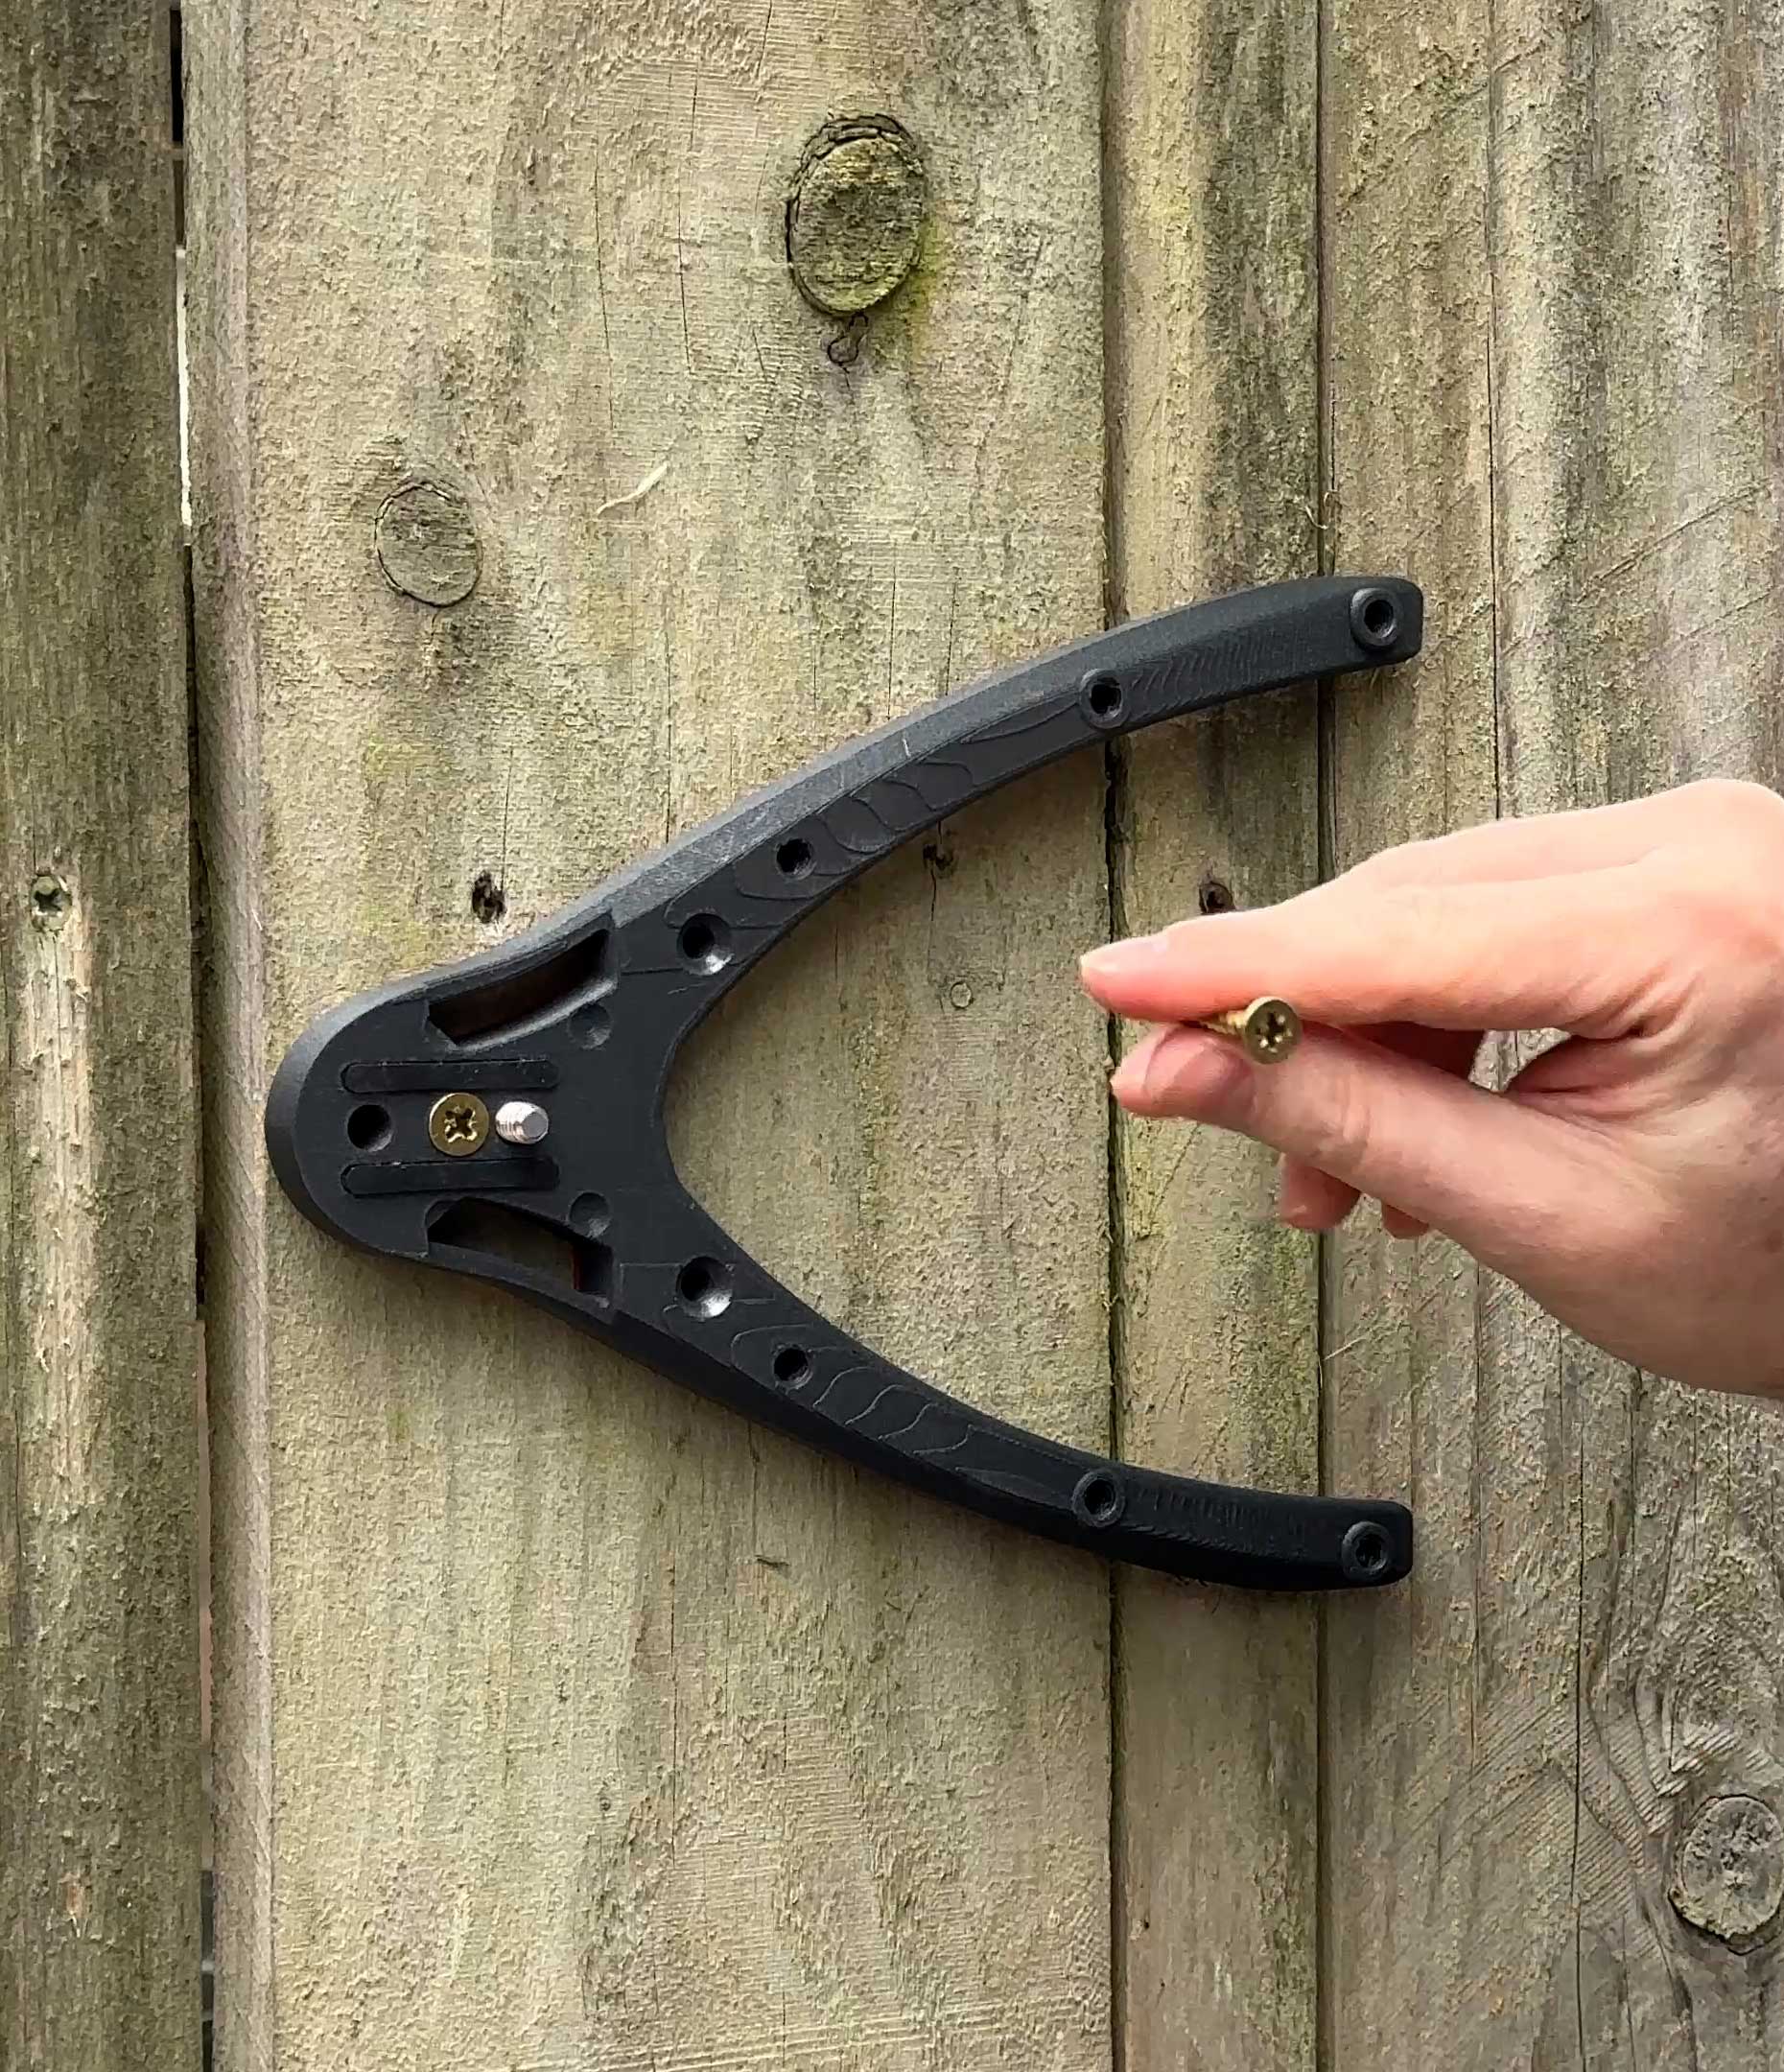
Semi-Permanent Mounting
The included strap can be used to secure the product and your equipment a variety of objects.
1. The Stabiliser 2.0 features integrated strap slots. Pass the ratchet strap down one side and then back up the other slot.
2. Mount your equipment to the Stabiliser 2.0 using the D-ring or Male-Male threads..
3. Use the strap to secure the Stabiliser 2.0 by passing the strap back through the buckle, securing it with the Velcro strip.
Setup Examples
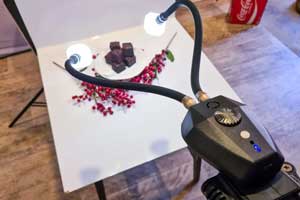
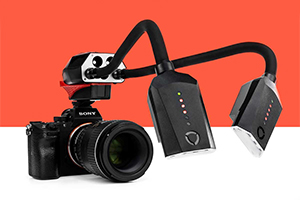
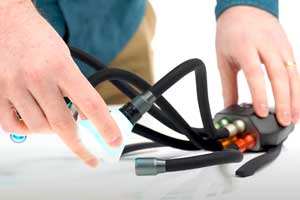
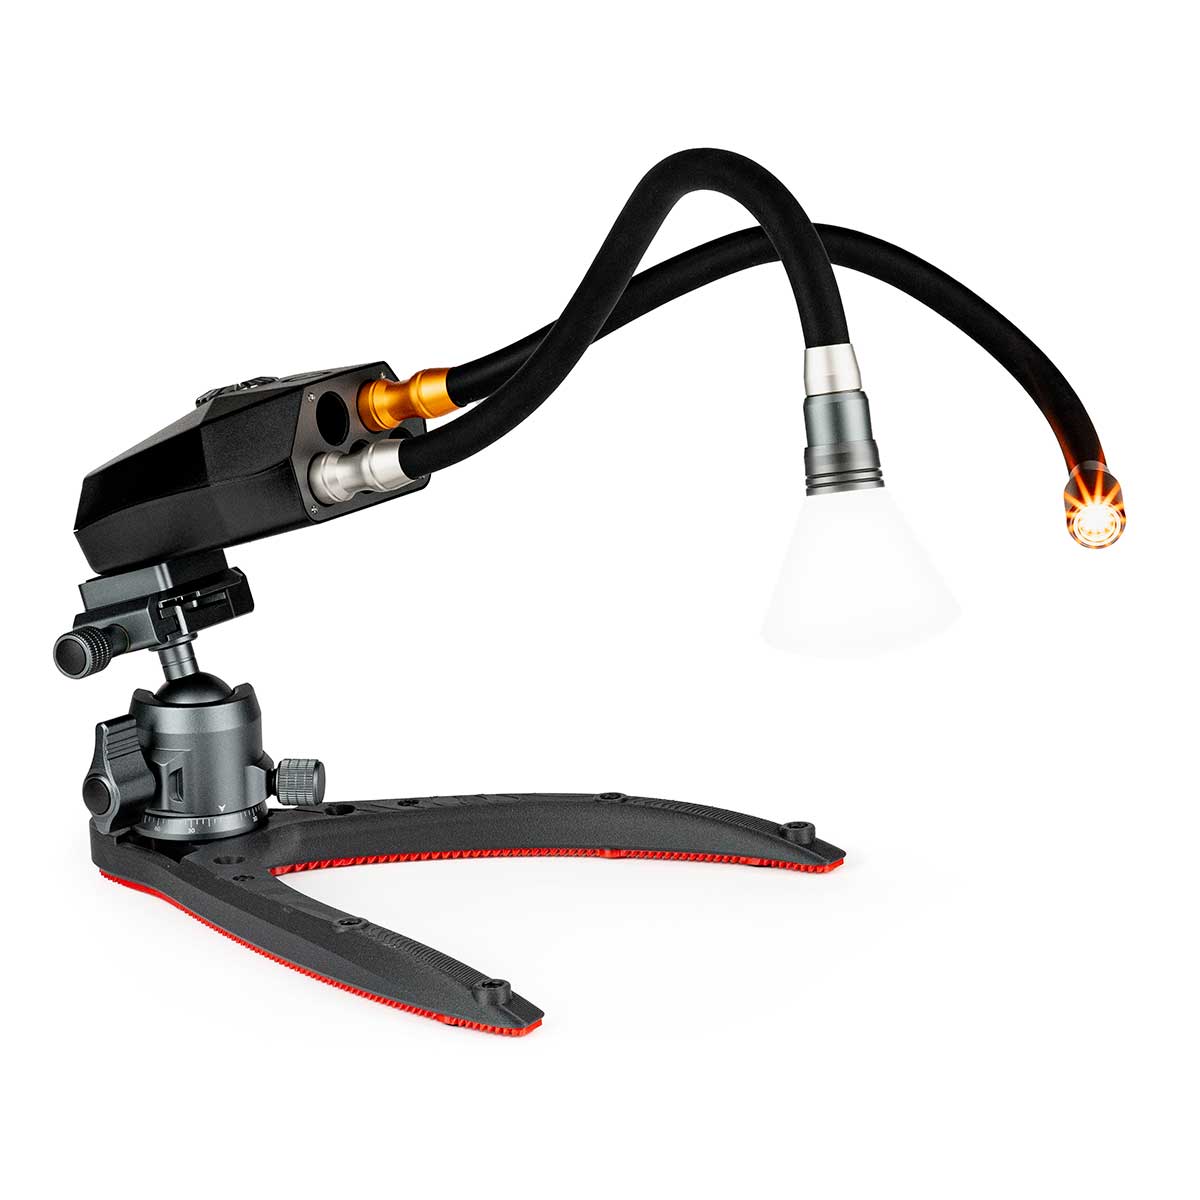
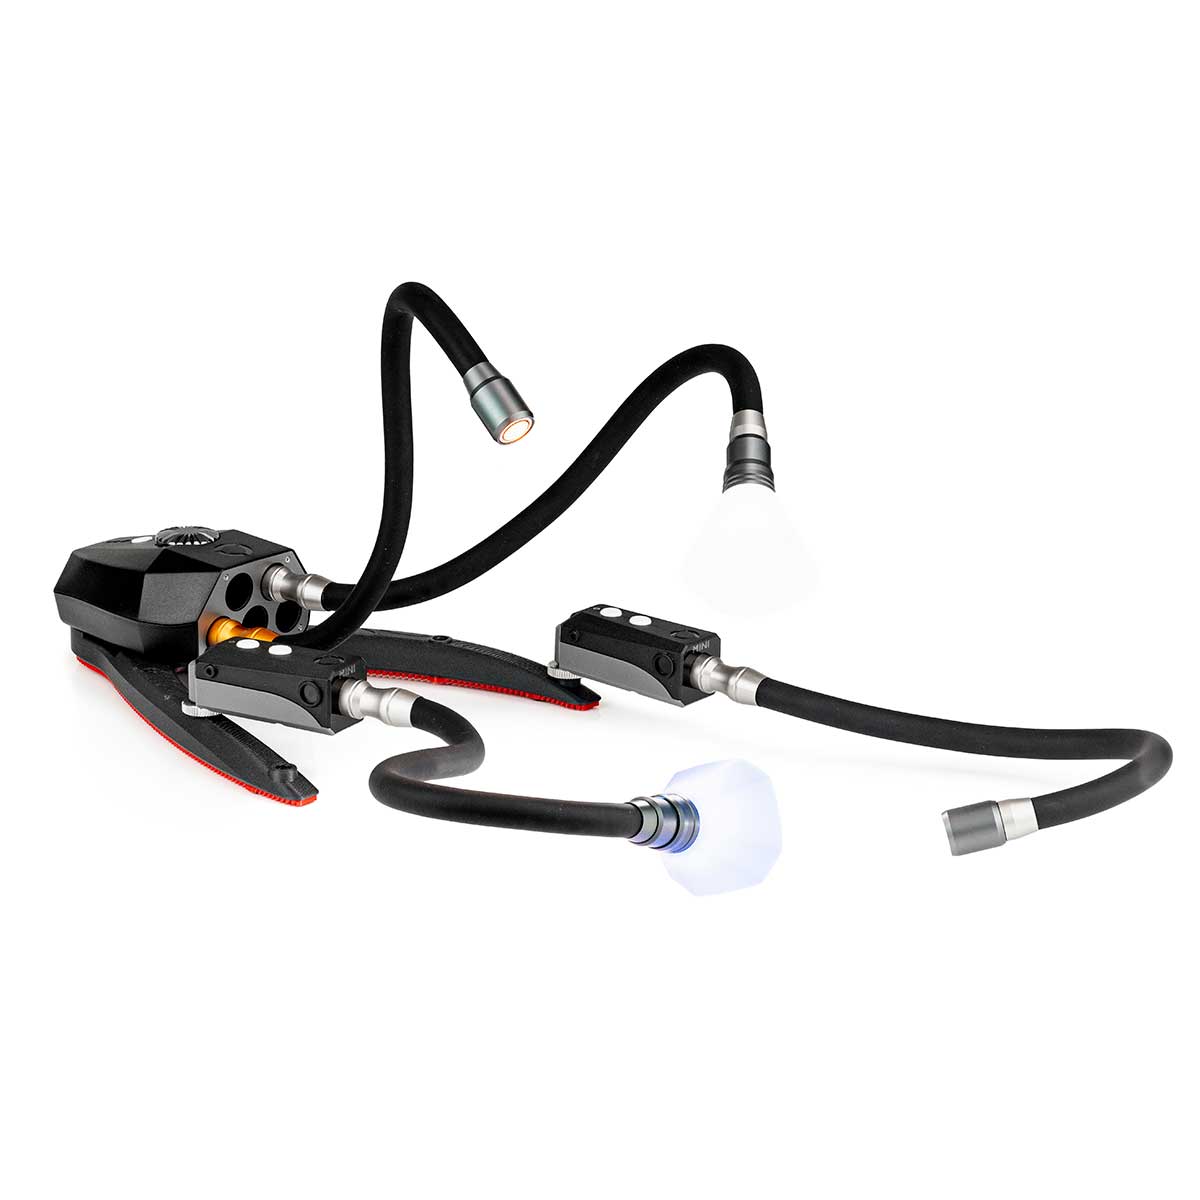
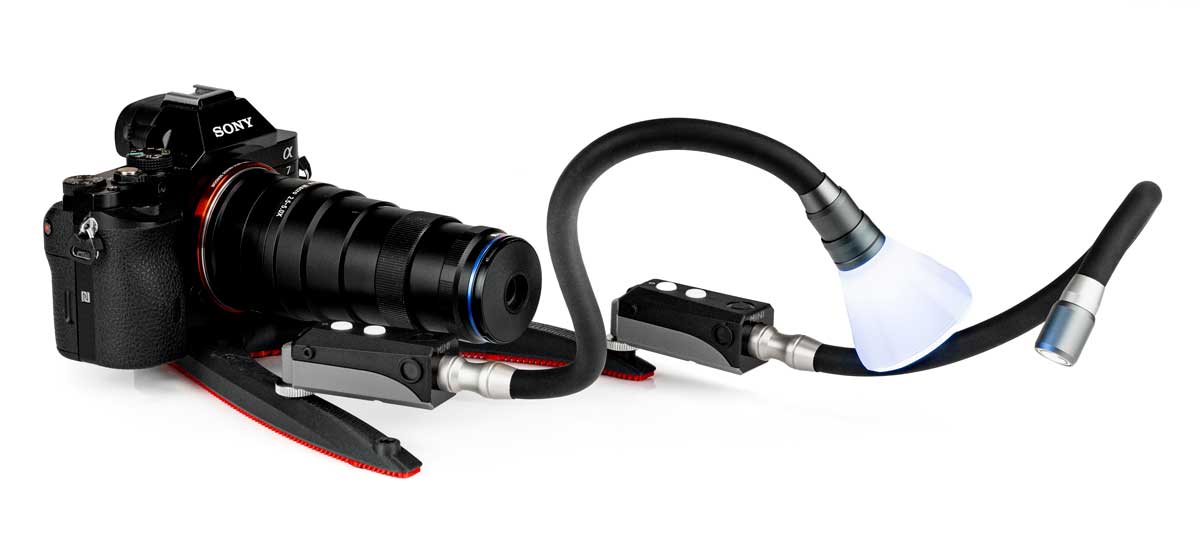
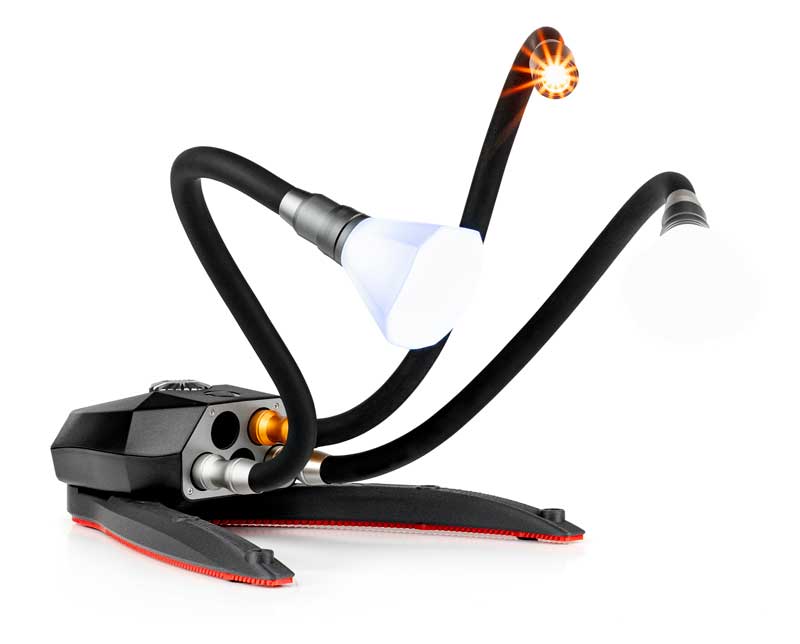
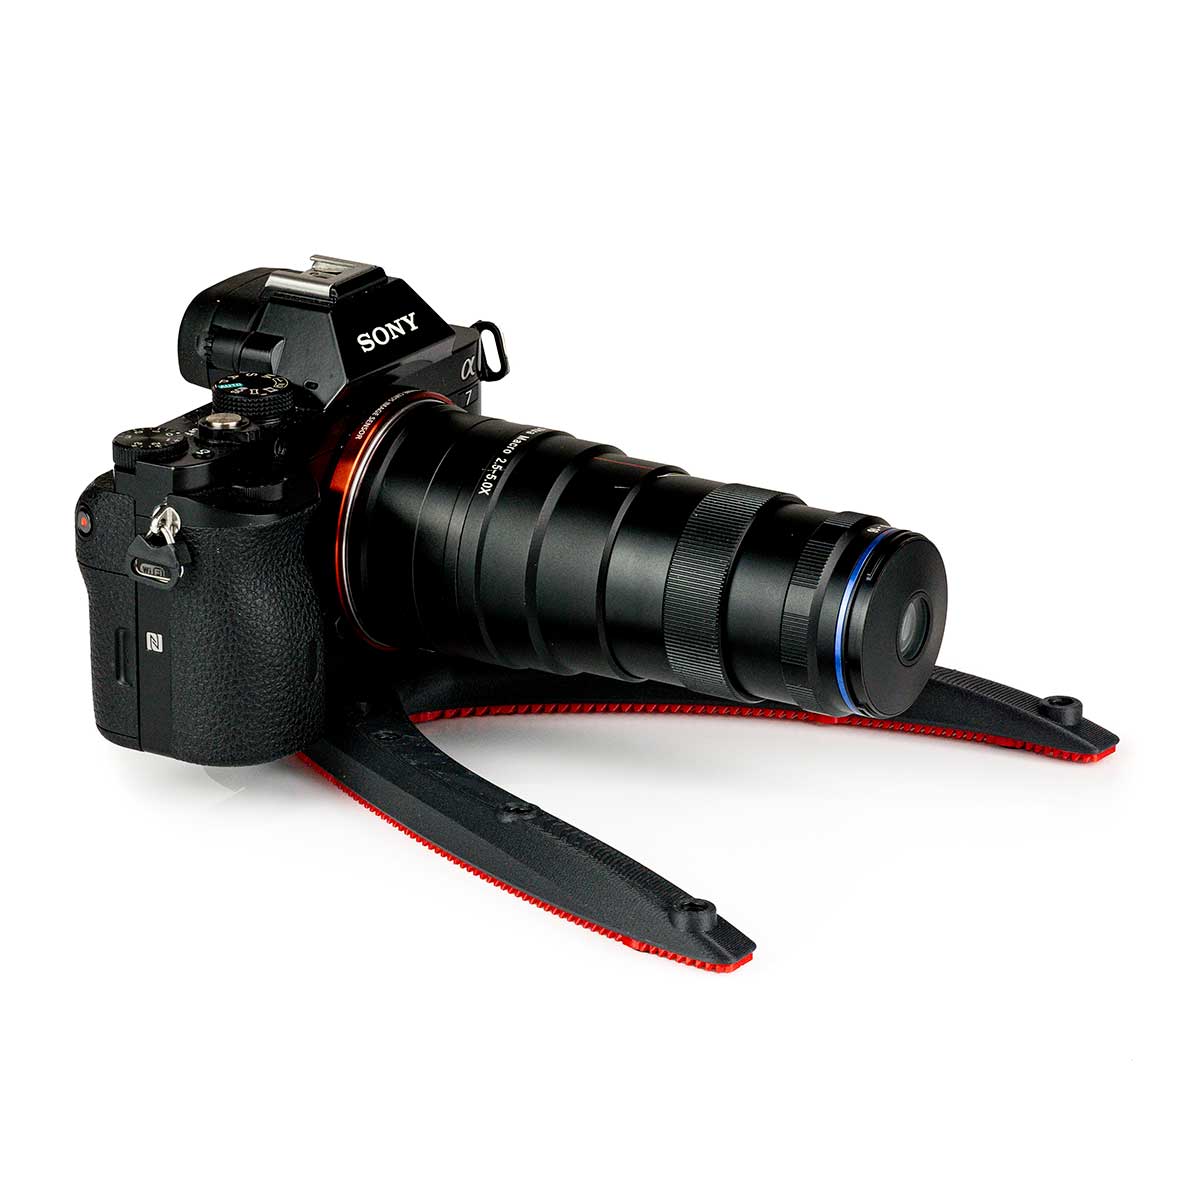
Below are some images showcasing the different configurations and methods of using the Stabiliser 2.0.
More Resources
Find product specifications and detailed user guides in our support knowledge base.