Heat Caution
When using the new control pod 2.0 boost mode for extended periods, lighting arm heads may become hotter than normal. Please allow the LEDs to cool before touching the end of the arm or packing the arm for storage.
 Adaptalux StudioLearn more about the complete lighting solution for macro photography.
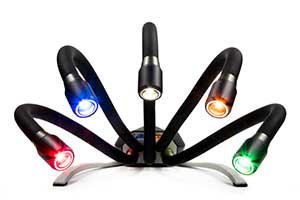 LED LightingContinuous lighting for creative macro photography and videography.
 Xenon FlashFreeze motion with new high power Xenon Flash lighting arms.
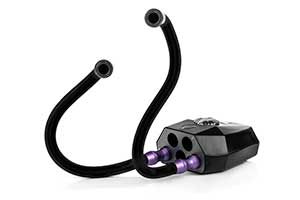 UltravioletDiscover unseen colour and effects with no need for camera modifications.
When using the new control pod 2.0 boost mode for extended periods, lighting arm heads may become hotter than normal. Please allow the LEDs to cool before touching the end of the arm or packing the arm for storage.
UV lighting arms create invisible ultraviolet radiation that can cause harm. Do not look directly into the lighting arm. UV blocking eye protection is recommended at all times while using UV lighting arms.
Laser lighting arms create laser radiation that can be harmful to your eyes if not handled correctly. Never shine lasers at the face & eyes of people or animals. Do not view lasers through optical equipment like camera viewfinders (use live view where possible).
You may be interested in our interactive welcome guide. Intended for new users to the Adaptalux lighting system.
We have video demos to walk you through the basics of using the Adaptalux Studio, LED Lighting Arms and Flash Lighting Arms.
1. Charge your Control Pod via USB using the provided wall adaptor.
An orange light should appear for 10 seconds then turn into a flashing red light.
A flashing red light means the Pod is charging.
Solid red, means the Pod is charged and ready to use.
If an orange light stays on then leave for 20 minutes as the Pod sets up the intelligent battery and light management systems.
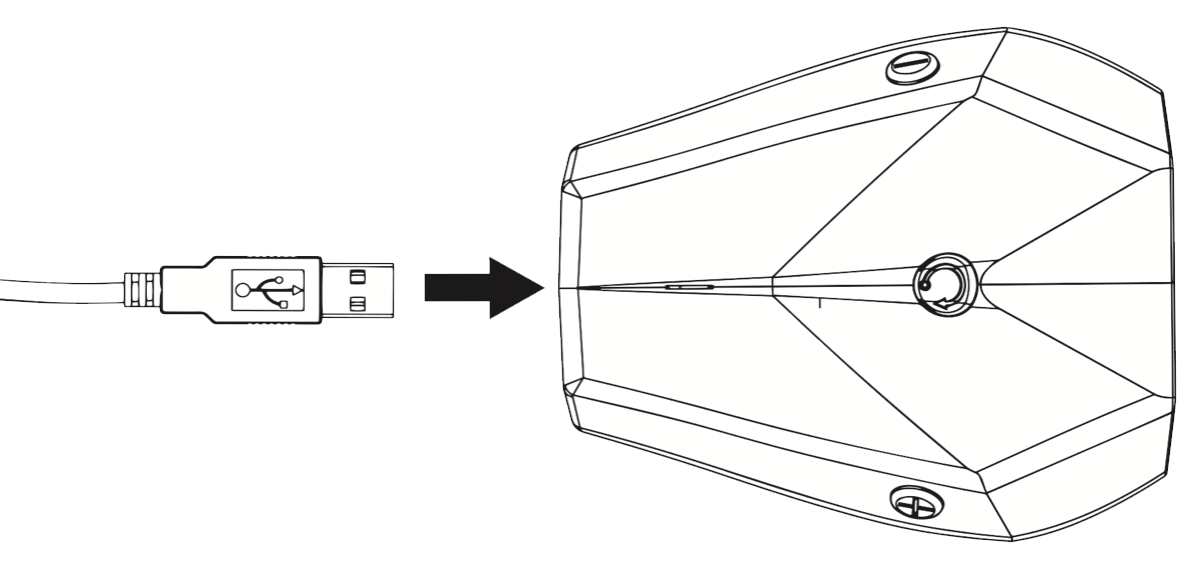
2. Your Pod is now ready to use. Begin by attaching Lighting Arms. Make sure the contacts are clean and insert an arm into any of the ports on the front of the control pod. You will feel a magnetic pull, rotate the arm until it clicks into place.

3. Once inserted, LED lighting arms will automatically illuminate at 50% brightness. Flash Lighting Arms will charge to Level 3+. (If only one Flash indicator light illuminates, please activate boost mode. See step 8)
Brightness can be controlled either manually or via bluetooth. To control manually, tap the top button on the pod and the LED or Flash Indicator lights will pulse, this indicates you are about to control the power level of this Lighting Arm. Tap again to select each subsequent connected Lighting Arm.
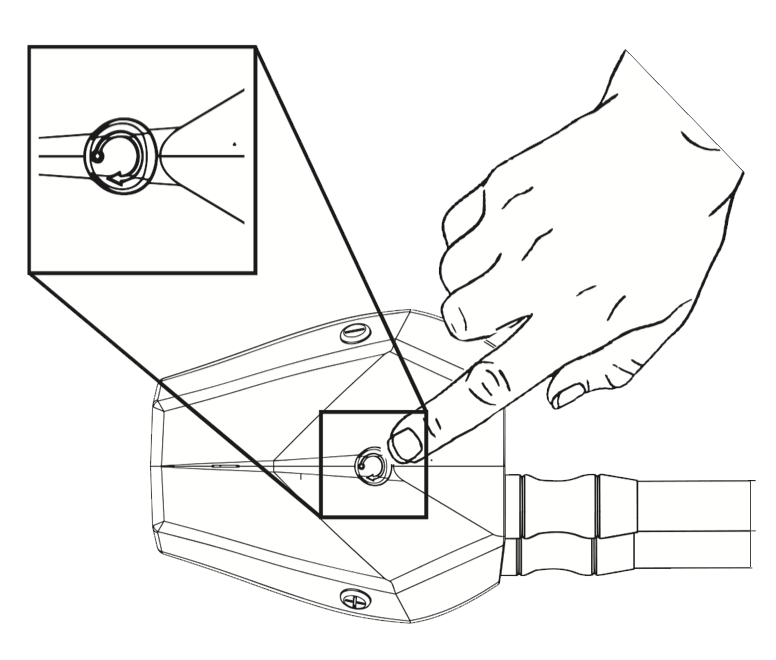
4. After entering manual control mode (while an arm is pulsing), hold either the – button to decrease brightness/speed (LED/Flash), or + button to increase brightness/speed (LED/Flash). The light will pulse when you reach maximum or minimum brightness. Leave for 5 seconds to save the new light levels and exit manual control mode.
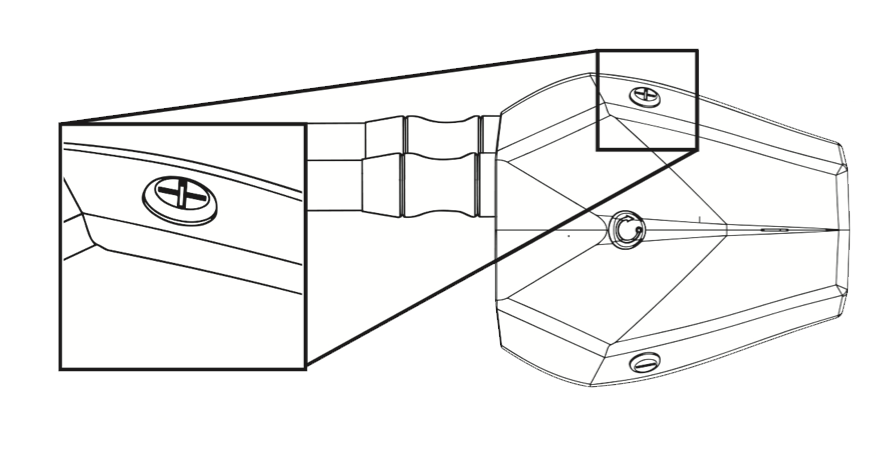
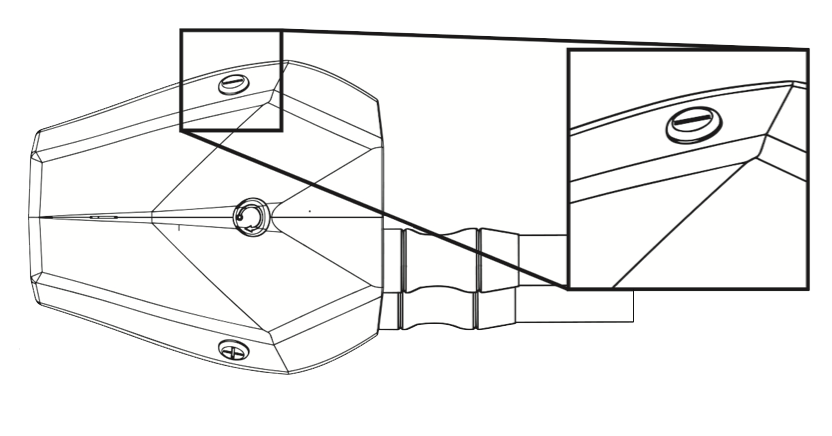
5. Add Adaptalux Diffusers & Colour Filters by simply snapping onto the Lighting Arm head.
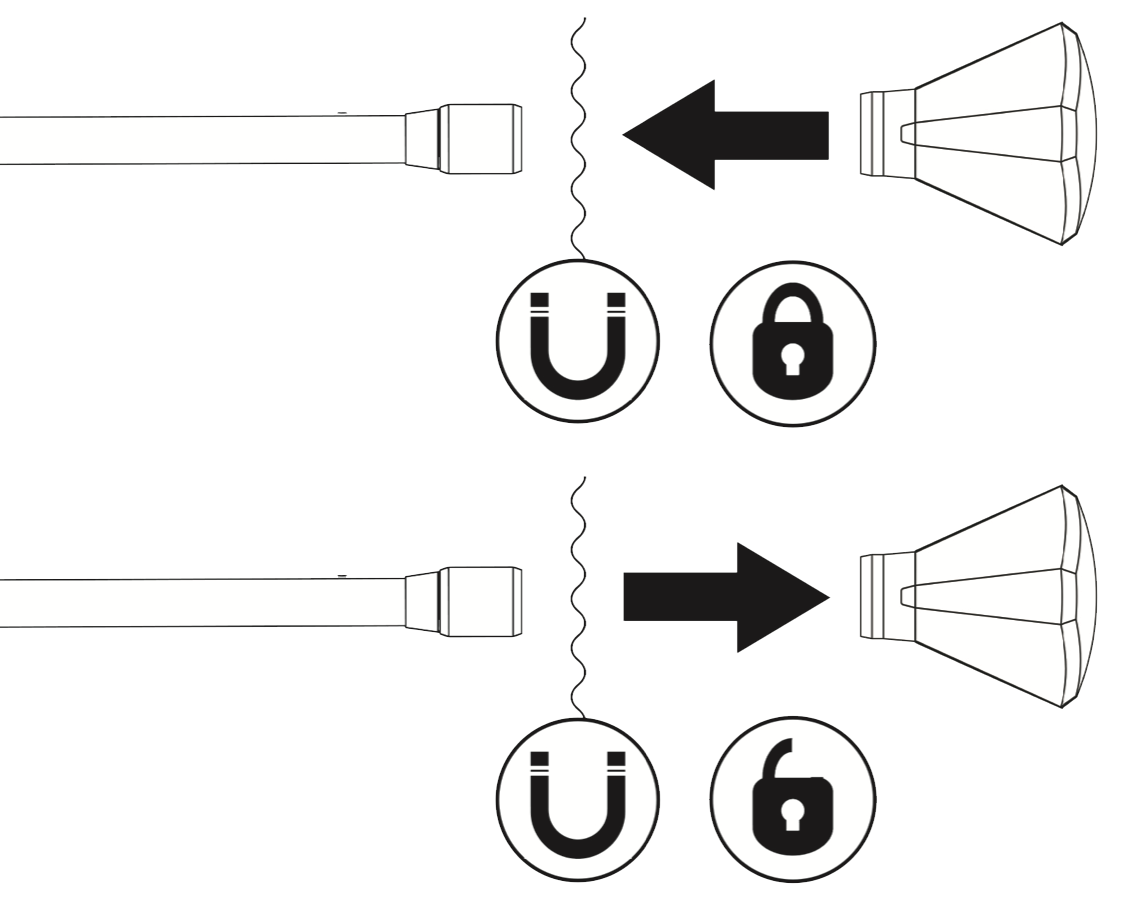
6. To remove Lighting Arms, simply pull out. Do not twist! Once all Lighting Arms are removed, the Control Pod will automatically switch off.

7. To turn off the pod with the lighting arms attached, hold the cycle button for 8-10 seconds, when the indicator light turns green, release to place the pod in “sleep” mode. This uses minimal power, but will still drain the battery, we recommend this for only shot periods of time.

8. Control Pod 2.0 only. To activate ‘boost mode’ (required for full flash operation) hold the + button until LED brightens or more flash indicator lights charge, then use the pod as normal. To deactivate boost mode, hold the + button again. This must be done before connecting to Bluetooth. Caution: leaving the pod in boost mode for extended periods will cause the battery to drain faster than normal, and LED arms to become hot.

Download a PDF copy of the original instruction manual for the Adaptalux Studio Control Pod 1.0
Note, this is now out of date and only recommended for reference.
Find product specifications and detailed user guides in our support knowledge base.
We will keep your cart saved until you're ready to checkout.